Hydraulic disc brakes provide a high-tech solution for effectively slowing down a bicycle.
Well set-up and serviced brakes will stop you when needed and give you the confidence to ride your bike to the best of your ability.
So how do you keep them working at their optimum? Here are six of the best ways to improve and maintain the performance of your hydraulic disc brakes.
1. Set up for success

You have some control over how you set up your brakes. All modern disc brakes should have side-to-side adjustment for the caliper. This is usually secured by a 5mm Allen bolt or a T25 Torx – or sometimes a 4mm Allen bolt.

There are various ways of getting the caliper aligned correctly. By that, we mean the disc rotor not rubbing when the wheel is spinning and the pads hitting the disc squarely from both sides.

One common hack is to squeeze the brake on with the lever and then tighten the bolts with your free hand. This should get you into the right ballpark, even if it isn’t 100 per cent effective.

Now look from the top of the brake caliper and spin the wheel. You should be able to detect if the rotor is rubbing. Undo one of the bolts and attempt to line up that end of the caliper. Repeat this until it doesn’t rub.
2. Reach for the stars

Up at the lever end, first adjust the angle of the lever on the handlebar so you have a comfortable wrist and finger position with your hand on the brake lever in your normal riding position.

In addition, you can usually adjust the reach of the lever. Sometimes this is fixed, but often there is a screw or a knurled wheel you can adjust. This is to enable you to hold your hand at the most comfortable position before beginning braking.
Much of this is personal preference and depends on myriad factors such as hand size, bar width and bike length.

Bite-point, sometimes called travel-adjust, works in a different way, which is usually to pre-pressurise the fluid in the braking system to change how much travel the lever has.
That is to say the distance between where the lever sits at rest and where it is when it begins to apply braking force. These are great at enabling you to fine-tune your brakes to your preference, or to help match the front to the rear.
Again, where this point should be is down partly to personal preference so have a play.
However, make sure you always have enough space between your brake lever and your handlebar to enable your brakes to work before the brake lever contacts the handlebar grip.
3. True your rotors

Bent disc rotors can cause rubbing, even when the brake is not applied, as well as pad knock-back, increasing the brake-lever travel. Simply put, you want your brake rotors to be as straight as possible.
For lazy, wavy bends, it’s often possible to use your hands to gently massage the rotor back to true. For sharper bends, such as those caused by impact damage, it can be necessary to use a tool.

A rotor-straightening tool like the one above is perfect, but if you don't have one, you can also use an adjustable spanner – provided you clean all the grease off properly with brake cleaner first.

Find the bent portion of the rotor by spinning the wheel, and looking and listening for contact with the pads. When you find the spot you’re looking for, wait until it clears the caliper and bend it in the direction you want. Work gently at first – it doesn’t take that much force.
Next, repeat the process of spinning the wheel to see if there is still some pad contact.
This is a long drawn-out process, so patience is key. I always find a cup of tea helps, too.
4. Fix sticky pistons

Sticky pistons occur for a number of reasons, from dirt and contamination to a warped seal or piston. This will cause the pistons in your hydraulic disc brake caliper to require differing amounts of force from the fluid to make them move, meaning they don’t push the pads to contact the rotor squarely and at the same time (as they should).
A good quick fix is to drop the wheel out of your bike and squeeze the brake a few times.
Don’t push too much and let the pads contact each other, because this can cause big trouble for trying to get the pistons to retract again afterwards. Just go until you can see the pads start to move towards each other a little.
Next, use a disc brake pad spreader, or a tyre lever if you don't have the correct tool, to spread them apart again. Keep working the pistons back and forth in this way. Refit the wheels and see if the brakes improve.

If symptoms persist after working the pistons like this, it’s time to move up to DEFCON 2. Remove the wheel and the brake pads and press the brake again.
Don’t push too much and let the pads contact each other because this can cause the pistons to fall out of the caliper, which is at best a pain to push back in and at worst can write off the caliper.
Push the brake until you can see the pistons start to move toward each other a little.

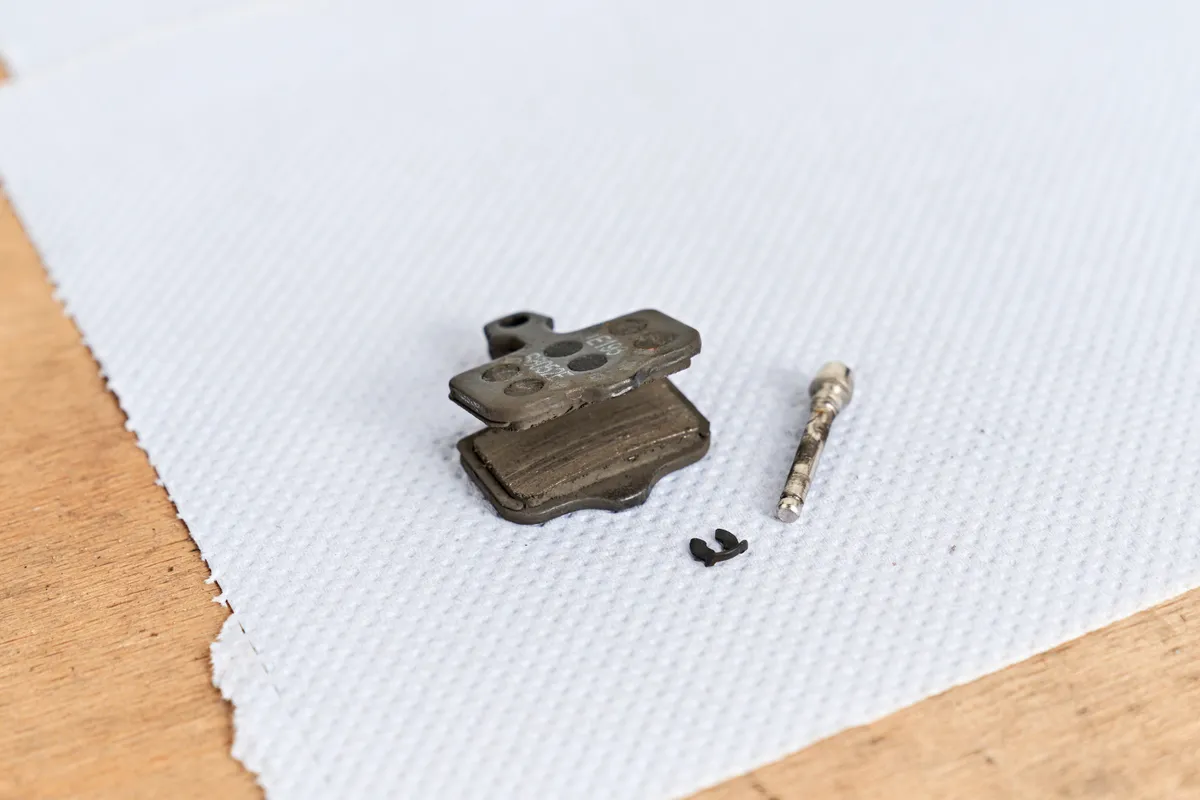
Get some brake fluid and use a paper towel to spread it over the curved, outer surface of the piston where it meets the seal. Refit some junk pads (they will likely get some brake fluid on them, contaminating them) and then use a pad spreader to push the piston back home.
Now, very carefully, clean off all the excess brake fluid that has been squeezed out.

Next, refit your good-condition, uncontaminated brake pads and your wheel, and see if that has fixed the issue.
5. Prevent contamination

Contaminated pads or disc rotors can stop the pads gripping the rotor and causing the heat build-up needed to make your brakes work.
Excessive squeaking and lack of braking performance (despite a solid-feeling brake lever) are often signs you have contaminated pads.
If this is the case, replace your pads and clean your disc rotors thoroughly.

Clean the rotors with disc-brake cleaner and then rinse with water. Remember disc-brake cleaner just gets the contaminants moving, it doesn’t magically erase them, so rinsing with water is key.
If you’re on a tight budget and can’t just throw your pads away, there is a bit of a hack here.
Put your pads in some pliers and use your gas hob or a gas torch to torch the pads and boil/burn off any contaminants. You should be able to see it bubbling out. Please take care when doing this by using heatproof gloves, and guarding yourself from the flames.
Some people say baking in the oven has the same effect, but I haven't found it as effective.
6. Bleed your brakes

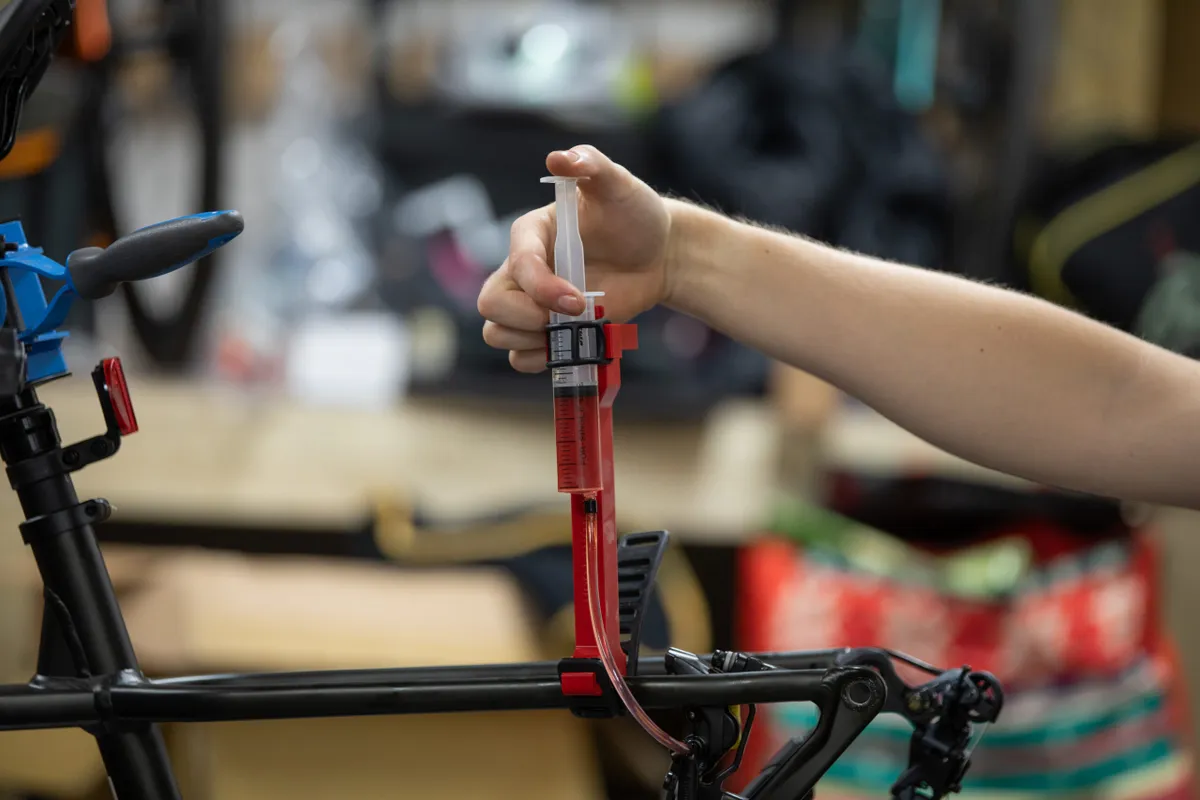
This is more advanced, but if you have spongy brakes, it's often because they have air in the system. Air can migrate in through the seals and play havoc with a braking system.
Simply put, brake fluid is incompressible but air can be compressed. So if there is only fluid in your hoses the brake lever feels nice and solid, but if there is air in there too it feels spongy.
Bleeding SRAM brakes or Shimano brakes can be difficult, but armed with the correct tools and knowledge, it should be within the remit of a competent home mechanic.
