A buckled wheel is a misery. Caused by spokes gradually working themselves loose, crash damage and heavy impacts, a buckled wheel usually means a trip to the bike shop. But with this video, the right kit and some practice, there’s no reason not to tackle this problem yourself.
In the latest Park Tool Maintenance Monday video, James Tennant gets out his spoke keys and wheel jig to take viewers through the process of checking a wheel for lateral and radial true and resolving any issues. If you don't have a wheel jig, you can still use these techniques to true your wheels – just turn the bike upside down and use cable ties around the frame to act as your reference points.
Remember to subscribe to the BikeRadar YouTube channel so you don’t miss any of our how-to videos.
how to true a wheel
Video: how to true a wheel
Need to stock up on tools before you start? You can purchase the Park Tools used in the video at a number of dealers across the UK.
Check for loose spokes
With the problem wheel on the jig, squeeze pairs of spokes together and tighten up any that are obviously loose. All spokes should have a roughly equal tension
Lateral truing (side-to-side)
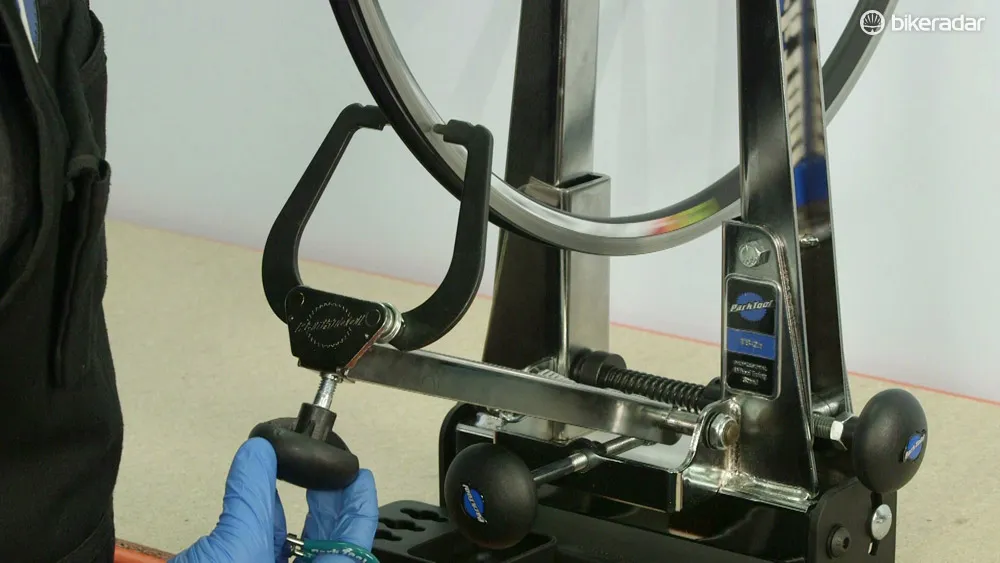
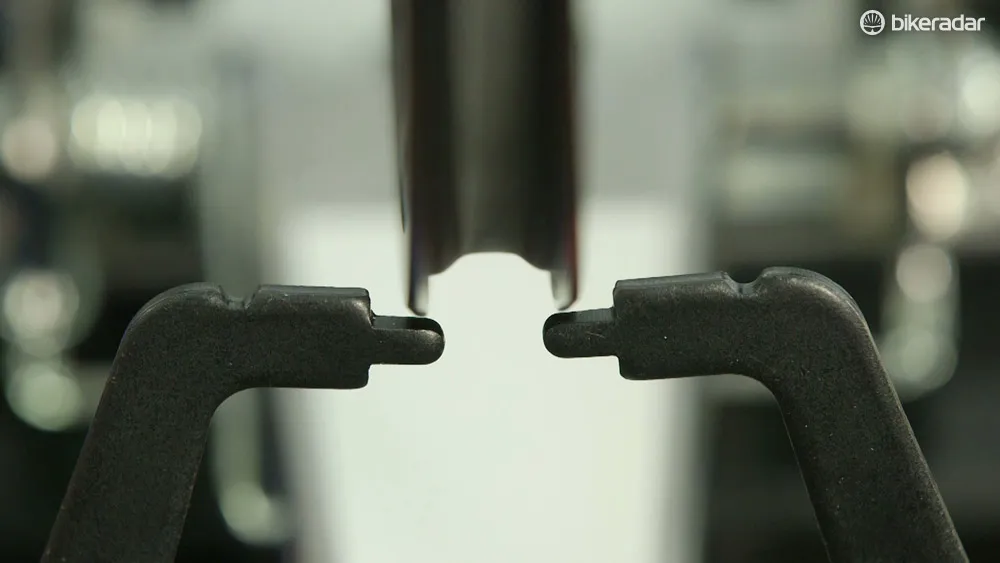
Identify the spots where the rim is out of lateral true (which would mean it would rub against brake blocks). Bring the jig callipers alongside the rim and gradually tighten them until they make light contact with the rim.
Identify the nearest spoke that would pull the rim back towards the centre and tighten it by a quarter turn. Check alignment and keep going until the wheel is true.

De-stress the wheel and repeat lateral true
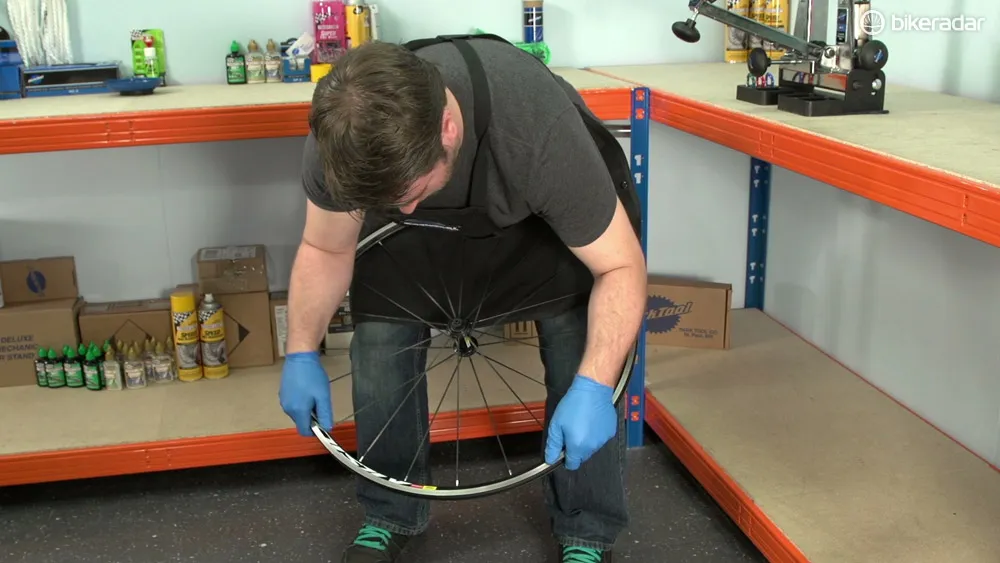
Once the wheel is roughly realigned, take the wheel off the jig. Grip the wheel horizontally with hands on the top rim in the 10 o’clock and 2 o’clock positions, and press the wheel down on your thighs applying pressure through your forearms. This is to bed the nipples in.
Work around the wheel and then return it to the jig and readjust if necessary. Repeat the readjusting and de-stressing processes until the wheel is laterally aligned.

Radial truing (the roundness of the wheel)
With the wheel back in the jig, align the callipers under the rim to check where the rim is out of radial true. Gradually move the callipers up until they make light contact. Identify to the two spokes nearest the problem area and tighten each by a quarter turn. Spokes work in pairs when it comes to radial truing, so always tighten two at at time.

De-stress the wheel and repeat the radial true
With the wheel now radially aligned, de-stress the wheel as above, return it to the jig to make any required micro adjustments, and get out riding again.
