Setting your sag should be the first step when setting up your mountain bike suspension.
This fundamental process sets your spring rate and is the foundation for all other suspension adjustments.
In this guide, we’ll explain exactly how to do this for your front fork and, if you have one, your rear shock.
What is suspension sag and what does it do?

Sag is how far your mountain bike sinks into its travel under your weight, while static.
The correct sag enables your suspension to give you the perfect mix of grip and support. Grip comes from the wheel staying in contact with the uneven ground beneath the bike, while support from the suspension ensures the bike handles well.
For the suspension to perform both these functions properly, the bike has to sit in the correct portion of the suspension travel, when compressed by your weight – including all your riding gear – under the forces of gravity.
Setting your sag means correctly identifying and setting the stiffness of the spring, often referred to as the spring rate, in your fork or shock.
How to set your suspension sag
Measuring and setting your sag is reasonably simple for air-sprung forks and shocks.
You will need:
- A shock pump
- Ruler or tape measure
Setting fork sag

- Make sure the rubber O-ring on the stanchion is pressed down against the seal.
- Get onto your bike wearing your regular riding gear and assume your riding position – standing on the pedals, hinged at the hips and arms slightly bent. It’s important you don’t bounce the bike while doing so.
- Without bouncing the bike, dismount gently.
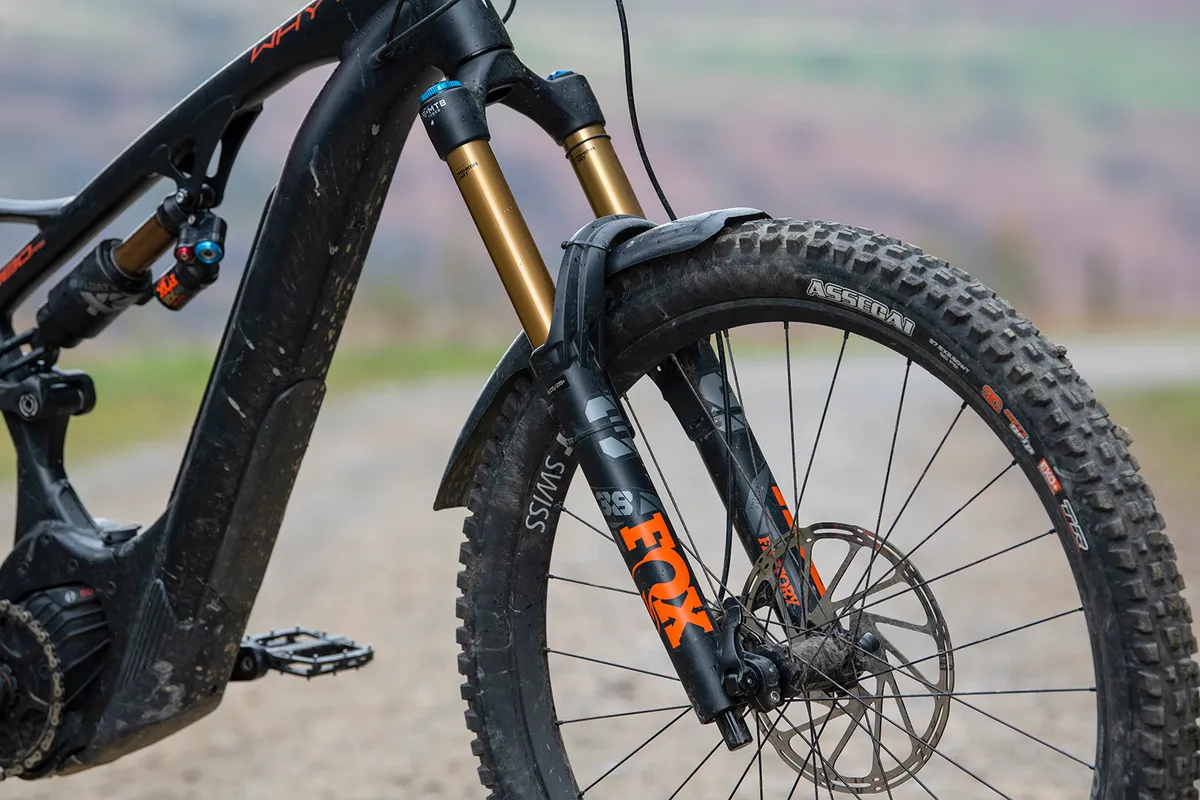
- Use a ruler or tape to measure the amount of stanchion showing above the seal but below your sag ring.
- Take the measurement, in millimetres, and divide it by the amount of travel the fork has and multiply by one hundred. For example: 20 (sag in mm) divided by 100 (fork travel in mm) multiplied by 100 = 20 per cent sag.
If your fork sag is below 20 per cent, let a little air out using a shock pump, noting the new pressure, before measuring again. If it’s above 25 per cent, add a little air using a shock pump and repeat the process.
If you have a RockShox fork, you can use the sag indicators anodised into the stanchion to see where they line up with the O-ring to measure the sag.
It's important to note that most modern air-sprung suspension forks have a transfer port to enable air to automatically equalise between the positive and negative chambers in the air spring. Make sure to cycle the fork slowly a few times after changing the air pressure: this allows the air to circulate through the transfer port and avoids false sag readings.
Setting shock sag

- Make sure the rubber O-ring on the stanchion is pressed down against the seal.
- Ensure your shock is in the open/unlocked position if you have a pedal platform or a lockout.
- Get onto your bike wearing your regular riding gear and sit on the seat gently. Lift your feet up off the floor, without bouncing the bike.
- Put your feet back on the floor and gently get off the bike without bouncing your suspension.
- Use a ruler or tape to measure the amount of stanchion showing above the seal but below your sag ring.
- Measure in millimetres, divide it by the amount of stroke the shock has (the total distance it can compress) and multiply that by one hundred. For example, 33 (sag in mm) divided by 120 (shock stroke in mm) multiplied by 100 = 27.5 per cent sag.
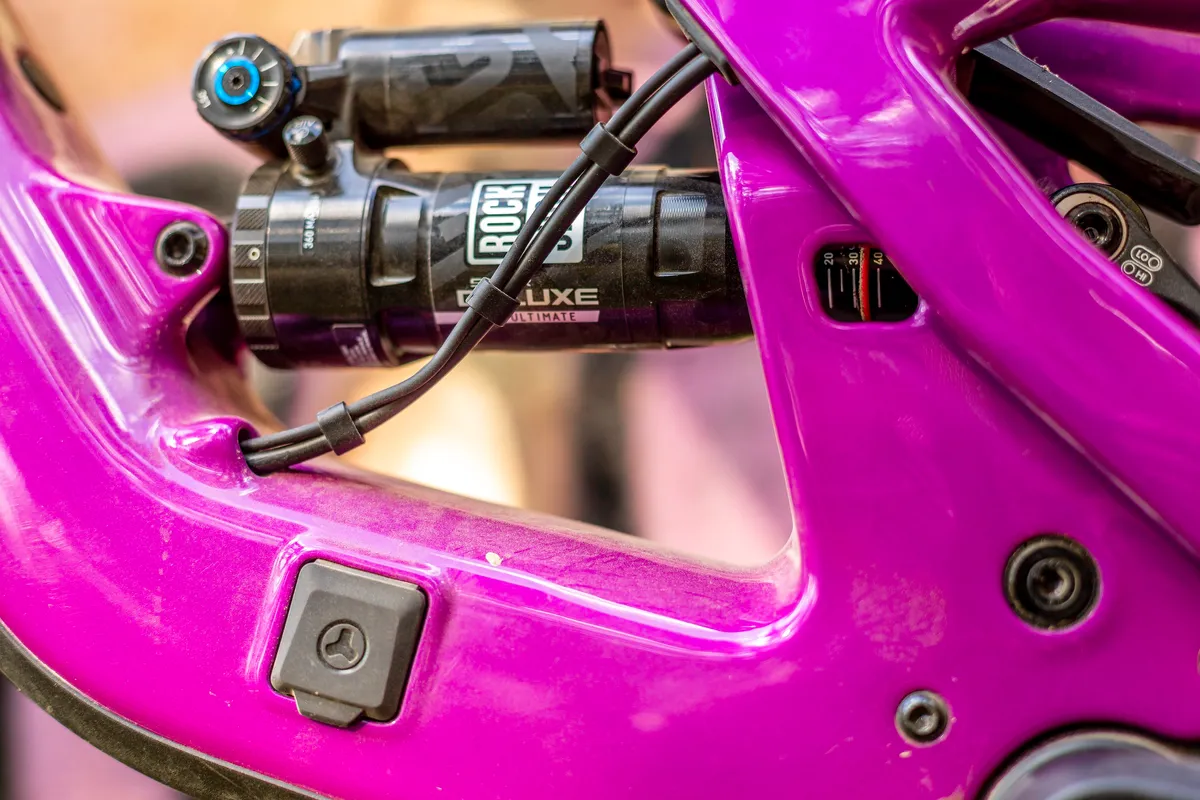
If the sag is too low (under 25 per cent), the shock is too hard, so let a few psi out of the shock and re-measure. Conversely, if the sag percentage is too high (over 30 per cent), your shock is too soft – add a few psi and re-measure.
If you have a RockShox air shock, you can use the sag indicators anodised into the stanchion to see where they line up with the O-ring to measure the sag. If your shock doesn’t have sag markings, you will have to calculate the sag percentage yourself.
As with air forks, air shocks also have a negative spring, so make sure you cycle the suspension slowly a few times after changing the air pressure to ensure you get accurate measurements.
Setting sag on coil suspension

If you have a coil fork or shock, refer to the manufacturer's specifications to check you have the right stiffness of spring installed. If you do, add or remove preload via the preload dial until you achieve the correct sag.
If you’ve tried to achieve the correct sag measurement by using your preload dial but can’t get the desired sag, you will need to replace your spring with one that better suits your weight.
What happens if my suspension has too much sag?
If your suspension has too much sag, you will likely experience the following:
- Bottoming out too easily, too often and too hard
- No support from suspension
- Regularly striking your pedals on the floor
- Not being able to carry speed because the suspension absorbs all your energy
What happens if my suspension has too little sag?
If your suspension has too little sag, it will likely:
- Sit too high in the travel
- Feel harsh and stiff, causing rider fatigue
- Struggle to generate traction
- Make the whole bike feel skittish and hard to control
Further tweaking

Once you have spent some time understanding the effects of different sag setups and how they feel on the trail, it’s time to explore the other tuning possibilities of modern suspension.
You can use volume spacers to tweak your suspension’s progressivity or perfect your rebound and compression damping.


