A broken freehub is usually made apparent by the loss of power to the back wheel when pedaling. While many freehubs can be serviced, it's easier to just replace basic Shimano models.
Before you start, you need to make sure you have the correct freehub body, so consult your local bike shop before you buy.
How to replace a Shimano freehub
How to replace a shimano freehub
Video: How to replace a Shimano freehub
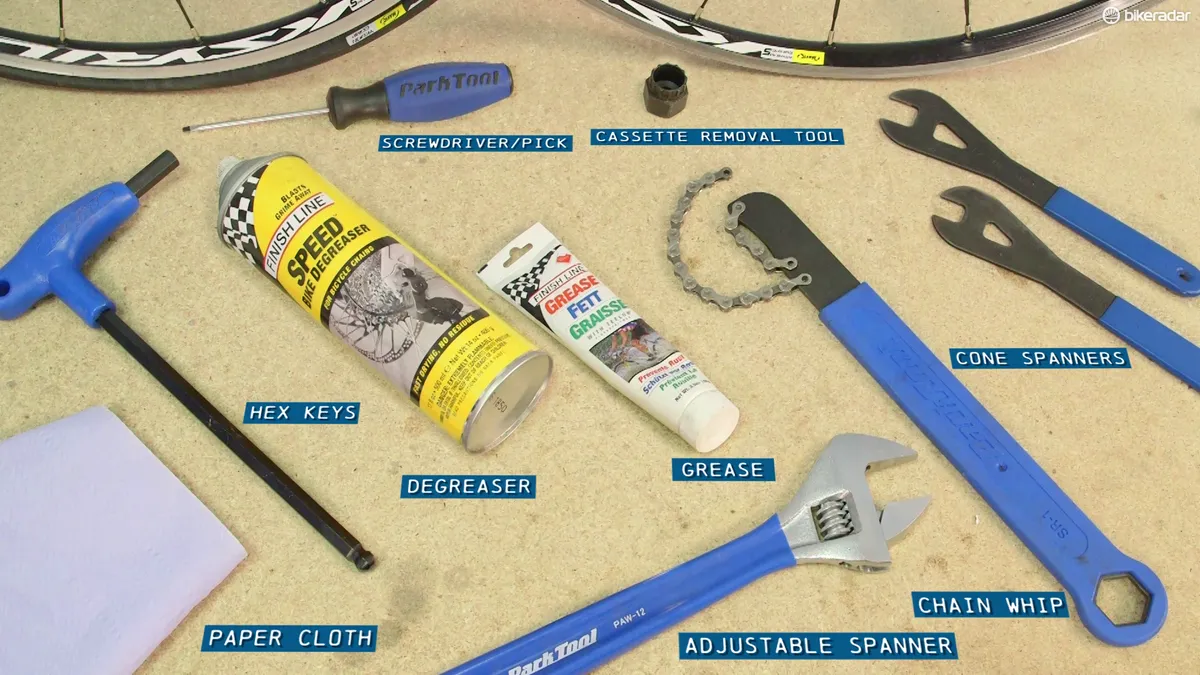
Tools for the job
- Chain whip
- Cassette removal tool
- Adjustable spanner
- Magnetic screwdriver
- Paper cloth
- Grease
- Regular and cone spanners
- 10mm hex key
- Degreaser
Remove the freehub
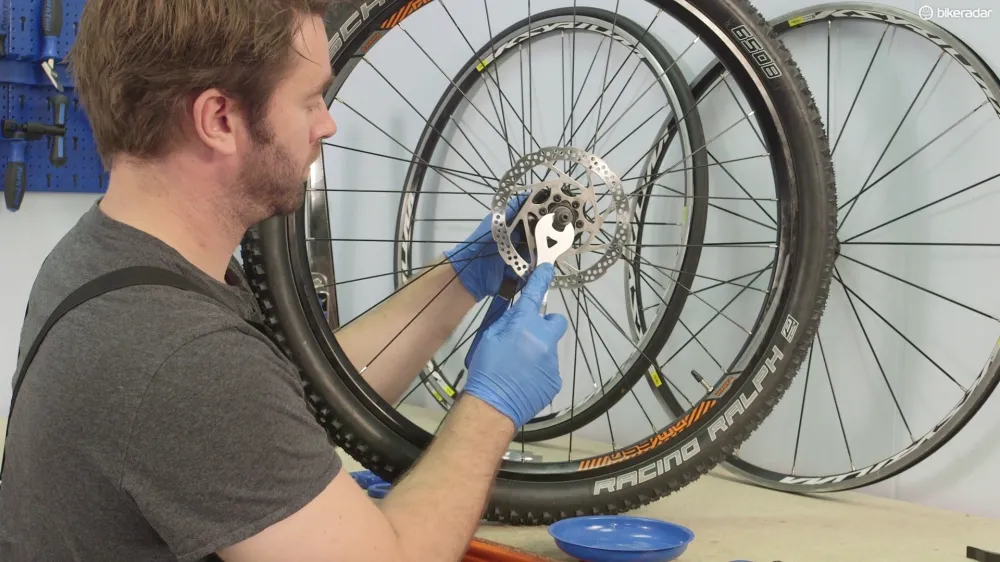
Start by removing the wheel from the bike and detaching the cassette. Our How to change a cassette video will help if you are unsure.
Once the cassette, axle and bearings have been removed from the hub body, you can detach the freehub itself.
Remove the axle and bearings - check out our How to service a hub video for help with this.
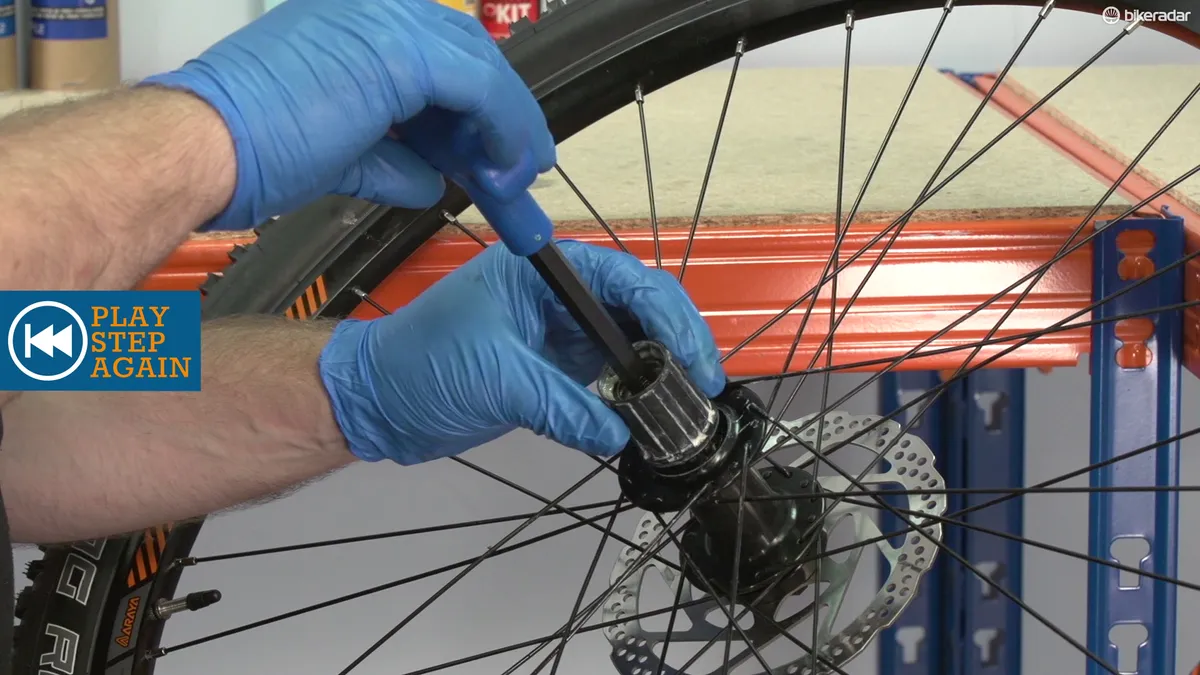
Insert a hex key into the hub – the required size will usually be 10mm. You should feel it insert into the internal thread of the fixing bolt.
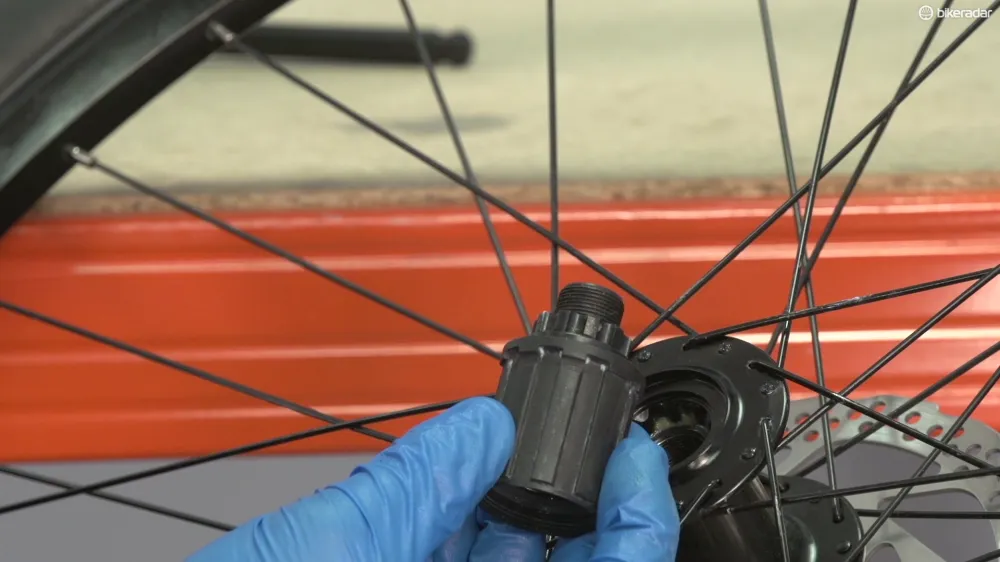
You can now undo the fixing bolt and unwind, allowing the freehub to come away from the hub body.
Fit the new freehub
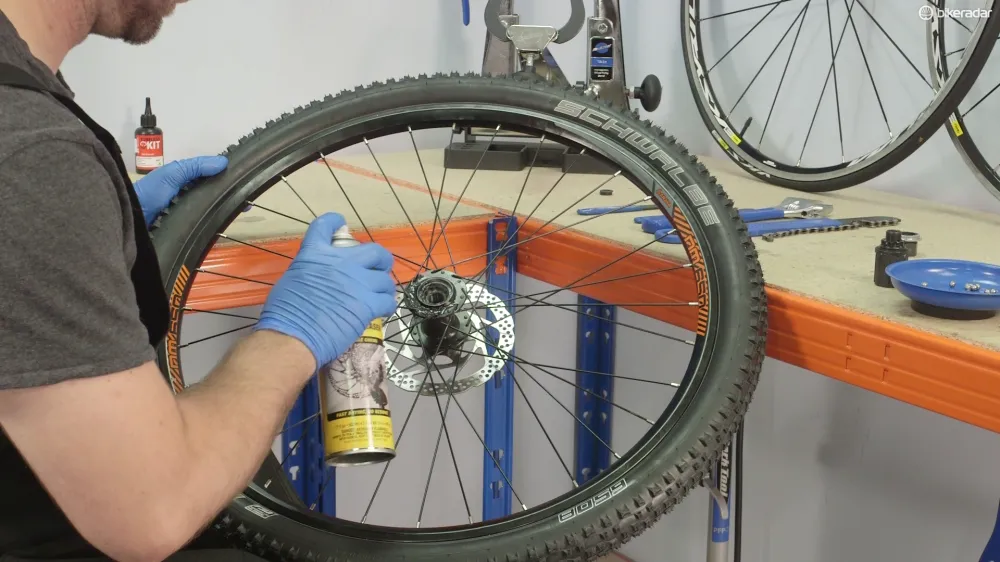
Before fitting the new freehub, its worth giving the hub a quick clean, using some degreaser and paper cloth.
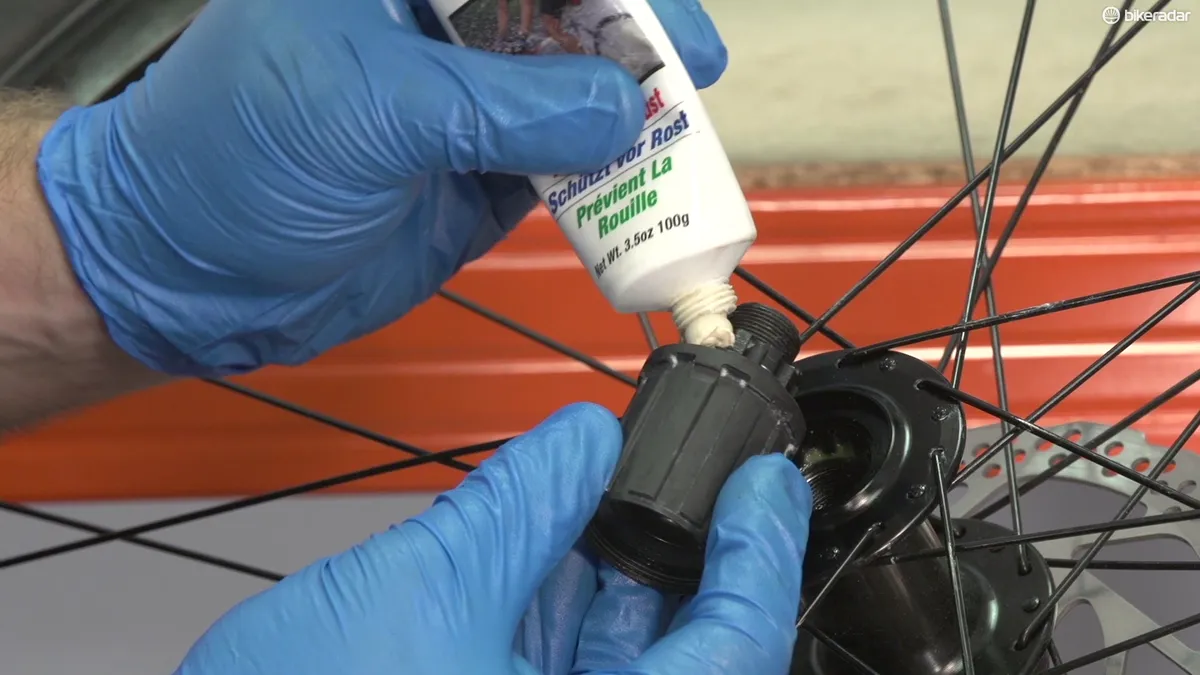
Take the new freehub and insert the fixing bolt if it’s not already installed. Apply grease to the thread, insert the hex key and wind the fixing bolt back into the hub body.
Tighten the fixing bolt firmly to the torque printed in the manufacturer's documentation – usually around 30Nm.
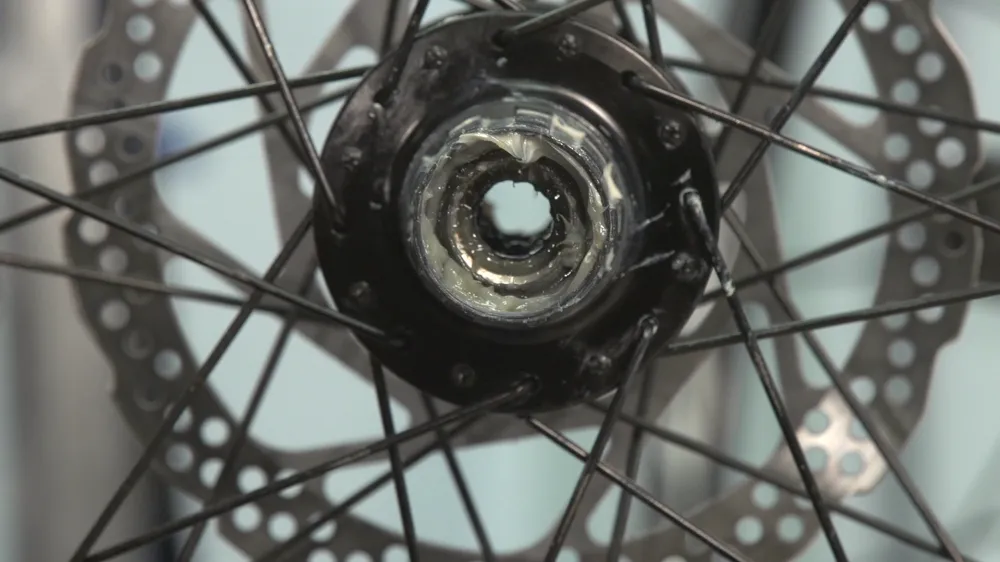
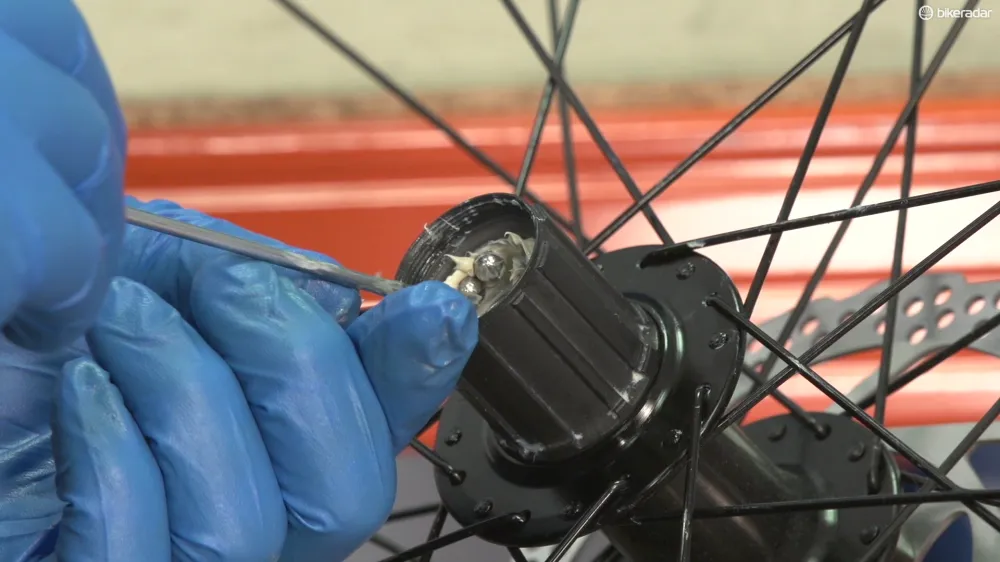
Return the axle and cassette and the wheel is ready to go back on the bike. Liberally apply grease to the bearing race, and replace the bearings with a magnetic screwdriver.
When in place, return the axle and tighten the cones using the cone spanners. Finally, return the cassette – and the skewer if you have one – and replace the wheel on the bike.

