Whether it’s part of a service or to fit a new unit, knowing how to replace a crankset is a useful skill.
In this in-depth step-by-step tutorial, we'll talk you through the process of removal and refitting for the four major types of crankset – Shimano, self-extracting cranksets (SRAM, FSA), Campagnolo and square-taper.
If you’re removing the crankset to replace the bottom bracket, it’s worth double-checking the bottom bracket you’re going to fit is compatible with your crankset.
How to fit and replace a Shimano crankset

Most modern Shimano road, mountain and gravel bike cranksets are comprised of two pieces, with the spindle bonded to the driveside arm. These are known collectively as Hollowtech II cranksets.
The non-driveside crank arm is fitted to the protruding portion of the spindle. This is clamped in place using an integrated clamp. A similar arrangement is used on Promax and FSA Gravity cranksets.
Shimano still produces three-piece Octalink and square-taper cranksets. The fitting removal process for these is covered later in this guide.
Tools required

- 5mm hex key
- Torque wrench and 5mm hex socket
- Shimano Hollowtech 2 installation tool
- Rubber mallet
- Flathead screwdriver (optional)
- Grease
- Rag
How to remove a Shimano crankset
Step 1

Shift the chain into the small chainring and smallest cassette cog. You could consider manually unshipping the chain and gently laying it to rest around the bottom bracket shell.
Step 2

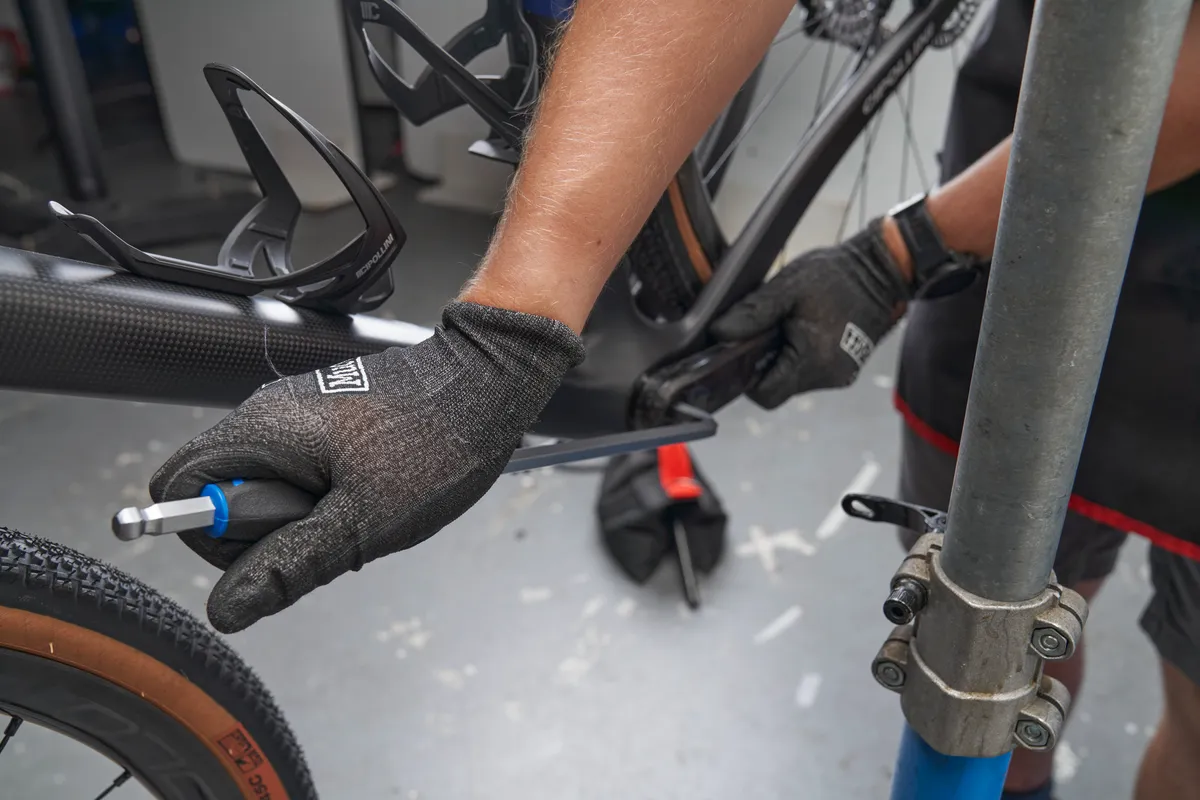
Evenly loosen the two 5mm pinch bolts. Loosen these off a little at a time – don't undo one fully then the other. They don’t need to be fully undone.
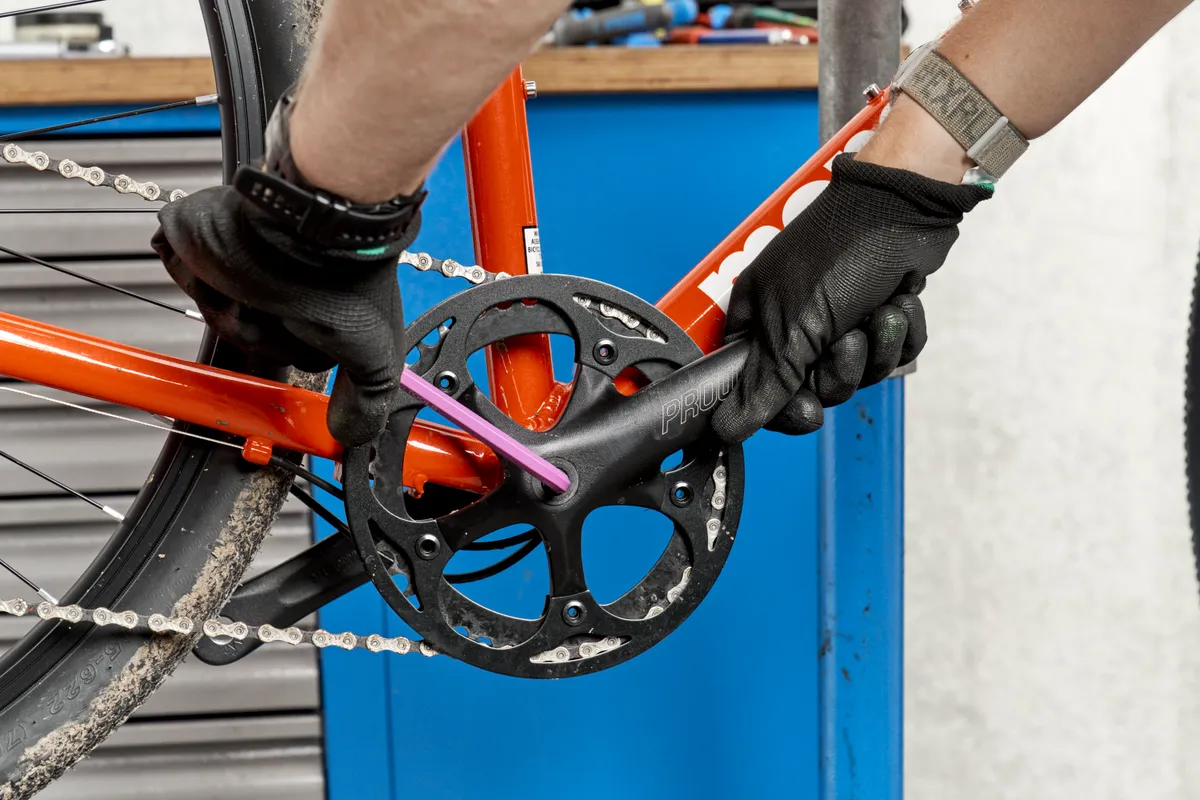
Step 3

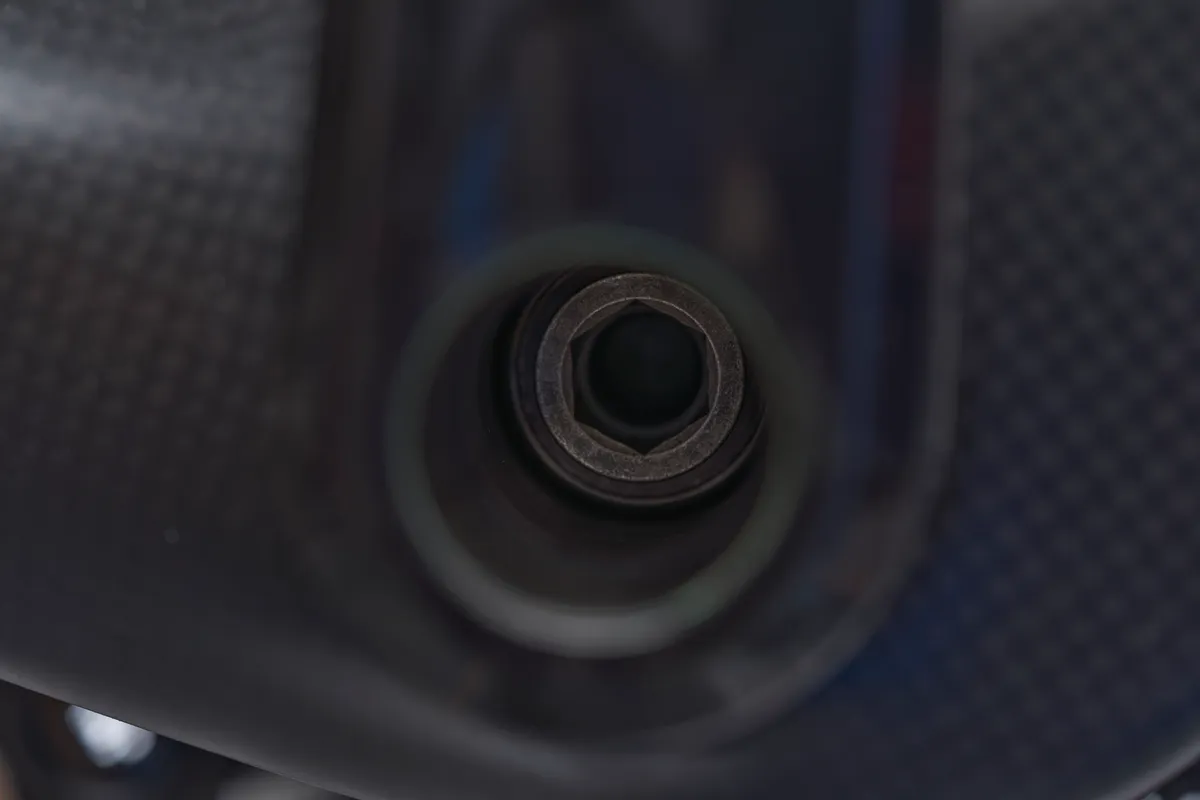
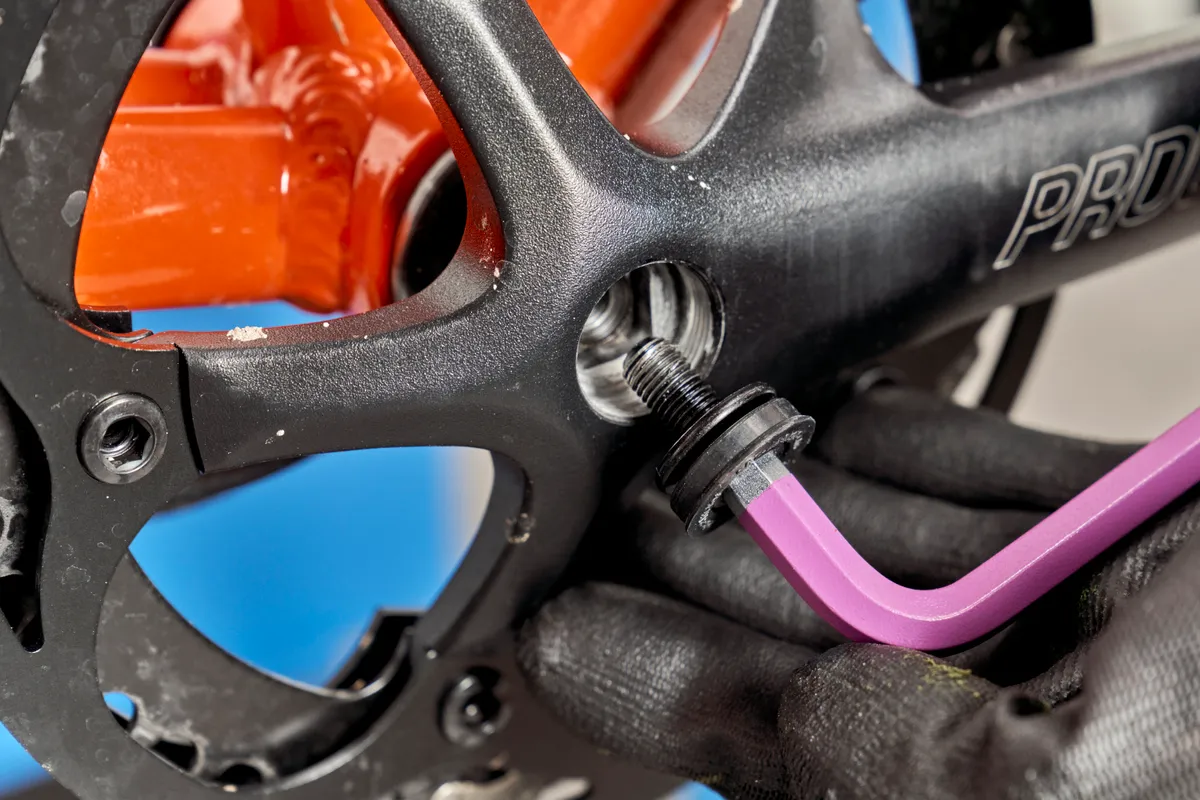
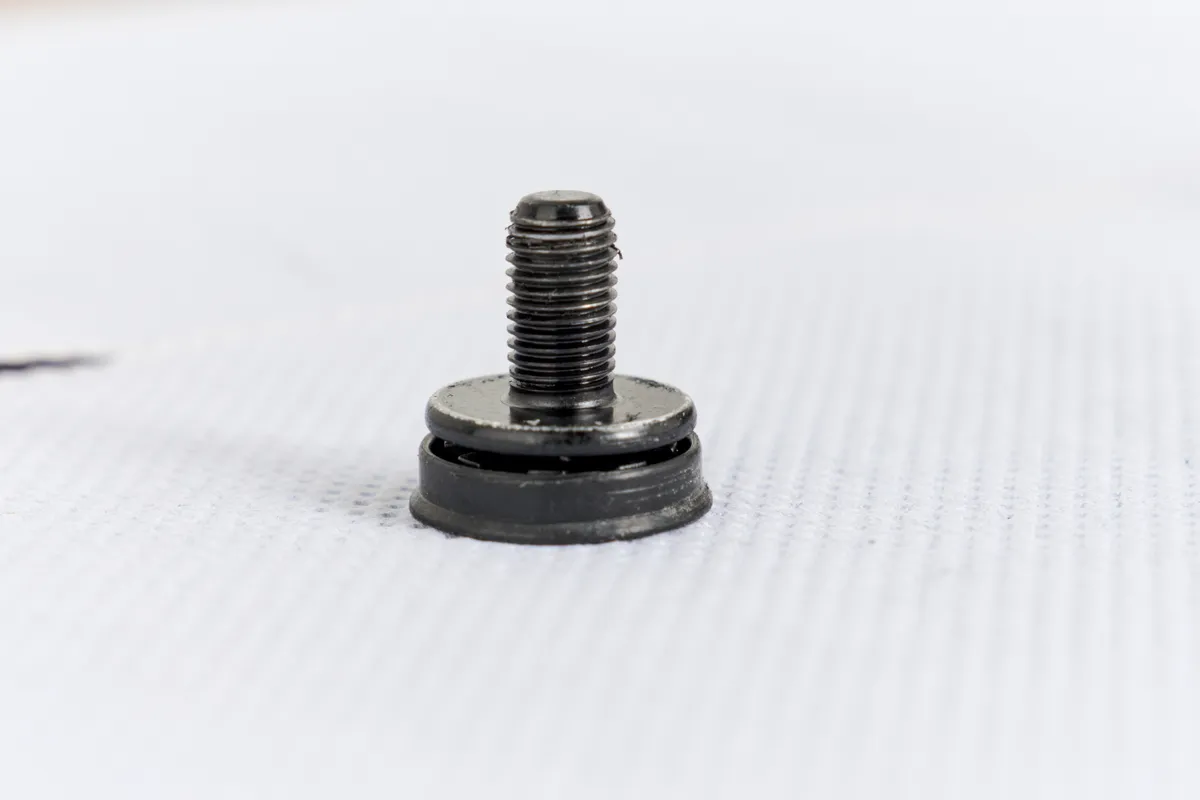
Using a Hollowtech 2 installation tool, undo the Hollowtech cap (Shimano refers to this as the ‘crank arm fixing screw’ in its technical documentation).
This screw is proprietary with an eight-point star shape. Lift up the small plastic catch (Shimano refers to this as a ‘plate') that sits between between the two pinch bolts.
Step 4

The non-driveside crank should now remove by hand, although you may need to give it a light tap with a rubber mallet from the inside of the crank arm. Should this be the case, we’d recommend placing a rag over the inside of the crank arm for protection.

Take note of any dust seals that may come off with the arms.
How to refit a Shimano crankset

Refitting is the opposite of removal, but there are some important notes to be aware of.
To start, it’s worth giving the crankset a thorough clean before refitting.

Next, apply a thin layer of grease to the crank spindle, especially where it meets the bearings.
We’d recommend Shimano Premium Bearing green grease for best results, although you can use alternatives.
Step 1

Feed the driveside crank arm through the bottom bracket shell, taking care to replace any relevant spacers or dust seals.
You may need to use a rubber mallet to fully seat the arm. Again, consider covering the face of the crankset with a rag.
Step 2

Grease the splines of the spindle and install the non-driveside crank arm.
There’s a mark on the opposite side of the spindle with a hole to ensure the non-driveside crankarm is perfectly fitted 180 degrees apart from the driveside.
Step 3

Grease the threads of the Hollowtech cap and install it into the non-driveside crank arm. Shimano quotes a low 0.7-1.5Nm torque.
If you over-tighten the cap, the crank arm will be pushed too far into the bearings, resulting in notchy operation. You can inspect your work by rotating the cranks to check if it’s too tight or too loose.
Step 4

Press down the plate and equally tighten the two pinch bolts to 12-15Nm.
Before fitting the chain onto the chainrings, inspect for any play.
How to replace a self-extracting crankset

Many cranksets, such as those from SRAM and FSA, use a self-extracting design.
This enables the crankset to be removed without a crank puller.
The main crank bolt that secures the crankset to the spindle essentially functions as a crank puller when the bolt is loosened, in combination with a retaining ring. Therefore, only one tool is required to remove the crankset.
Tools required

- Hex keys
- Torque wrench and appropriate socket
- Rubber mallet
Step 1

There can be variations in which crank arm the main crank bolt is located. On SRAM DUB cranksets, it is on the driveside.
Regardless of which side it is on, begin by loosening the crank bolt.

The crank bolt can take quite some force to undo (especially on SRAM DUB cranksets), so we’d recommend keeping the chain on the big chainring to avoid skinning your knuckles. We’d also advise performing this step with the bike on the ground so gravity helps you.

If you’re finding it difficult to loosen, consider using a long ratchet handle or breaker bar for additional purchase.
You could consider using a toe strap to secure the non-driveside crank arm to the non-driveside chainstay.

Once the bolt breaks free, loosen until the arm slides off and away from the spindle. There will be a period when there is more resistance in turning the bolt. This is typical – keep going until the crank arm is free.
Step 2

Take note of any spacers, wavey washers or dust seals that come off with the crank arm.
Remove the opposing crank arm – it may require some persuasion with a rubber mallet.
How to refit a self-extracting crankset
Step 1

Apply grease to the spindle, the splines of the crank arm and on the inside of the threads.
Step 2

Install the crank arm that doesn’t contain the main crank bolt – on this SRAM Rival crank, this is the non-driveside.
You may need to use a rubber mallet to tap it into place. Make sure you refit any washers or seals.
Step 3

Install the opposing crank arm. It can be a little fiddly making sure it is correctly positioned 180 degrees from the non-driveside. We’d recommend holding onto the arm as you initially tighten the main crank bolt.
Step 4

Tighten the crank bolt to the manufacturer’s recommended spec – a high 48-54Nm for this SRAM DUB crankset.
Inspect for play.

You’ll need to adjust the preload if there is any play. Loosen the preload adjuster bolt and turn in the direction of the + arrow. Tighten until the edges of the preload collar touch.
Do not over-tighten the preload adjuster, because you risk damaging the bottom bracket bearing. Inspect for play.
How to remove a Campagnolo UltraTorque crankset

There are two types of Campagnolo cranks – UltraTorque and PowerTorque.
The PowerTorque standard is now largely defunct, so we’ll be concentrating on UltraTorque here.

Campagnolo cranks differ from other manufacturers in that they are a two-piece system. The spindle uses a Hirth joint – this sees the spindle split in the middle with a series of interlocking teeth.
Unlike other manufacturers, where the bottom bracket bearings are a separate unit, bearings on Campagnolo systems are pressed directly onto the spindle.
Like a self-extracting design, a single crank bolt holds both arms together.
Tools required

- Needlenose pliers
- Long-reach 10mm hex key
- Torque wrench and 10mm socket
- Grease
- Rag
- Rubber mallet
Step 1

You’ll first need to remove the bearing clip retainer, which is located on the driveside bottom bracket cup. Use needlenose pliers to lift one side of the retainer, before removing the other.
Step 2

The 10mm crank bolt is located on the non-driveside on current 12-speed Campagnolo cranksets, as well as Ekar. However, it's located on the driveside for older generations.
Loosen the bolt with a long-reach 10mm hex key.
Note Super-Record cranks use a reverse-threaded titanium bolt.
Once loosened, remove both crank arms.
How to refit a Campagnolo crankset
Step 1

Apply a thin layer of grease to the spindle and the crank bolt – we recommend Campagnolo Professional Grease.
Install the driveside crank arm and then the non-driveside. Push the two arms together so that the geared teeth of the Hirth joint engage together. This can be fiddly.
Step 2

Install the 10mm hex bolt.

Campagnolo recommends a 42-60Nm torque – we’d advise aiming towards the lower end of the scale, while making sure the crankset is free of play.
Step 3

Install the bearing clip on the driveside bottom bracket cup. Locate one hole, then use a needlenose plier to guide the clip into the second hole.
How to replace a three-piece crankset

Three-piece cranksets comprise of two crank arms and a separate bottom bracket unit, which contains the crank spindle. There are two types of interface – square-taper or splined. A number of splined interfaces exist but Octalink and ISIS are the most common.
Tools required

- 8mm hex key/14mm socket
- Crank puller (specific for square-taper and Octalink/ISIS)
- Torque wrench
- Grease
- Flathead screwdriver or pin spanner (if your cranks feature dust caps)

Step 1
Undo the 8mm hex or 14mm crank bolt on either side of the crank.
These may sometimes be obscured by a dust cap, which can be removed with a flathead screwdriver or a pin spanner, if the cap is threaded.
Occasionally, there is a washer behind the crank bolt – make sure you remove it.
Step 2

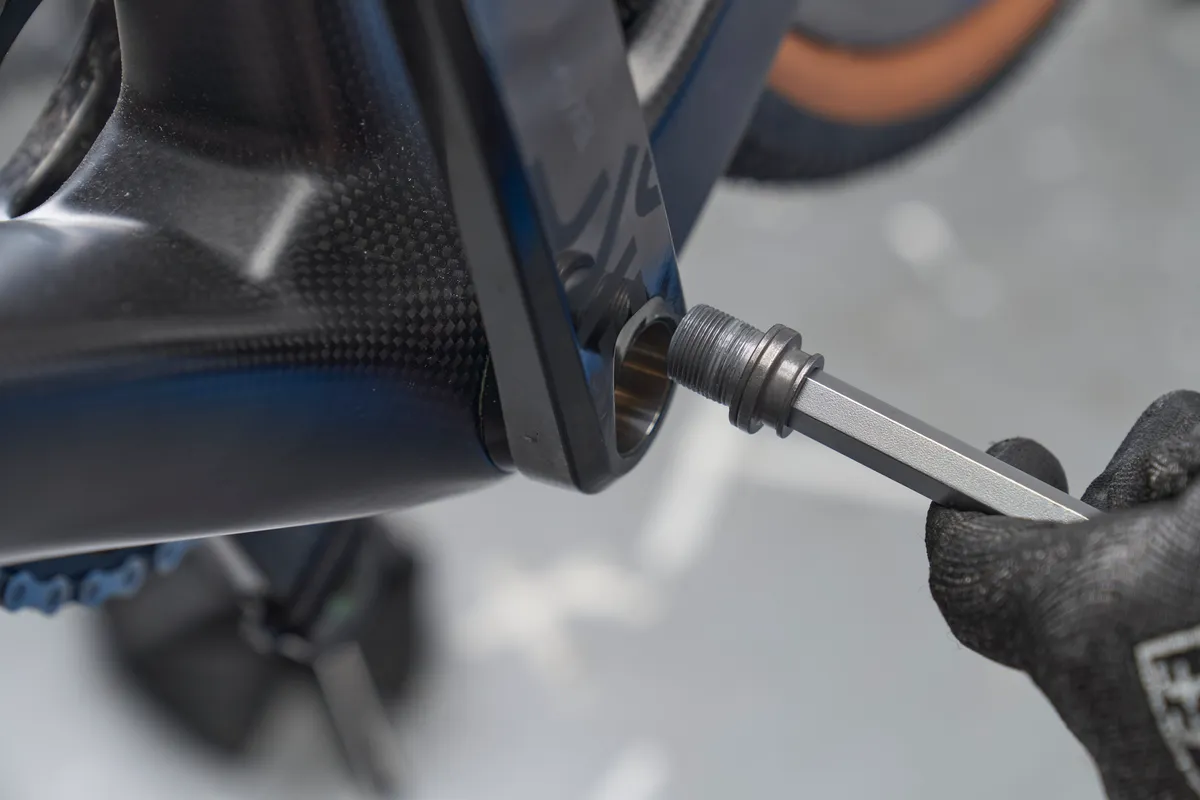
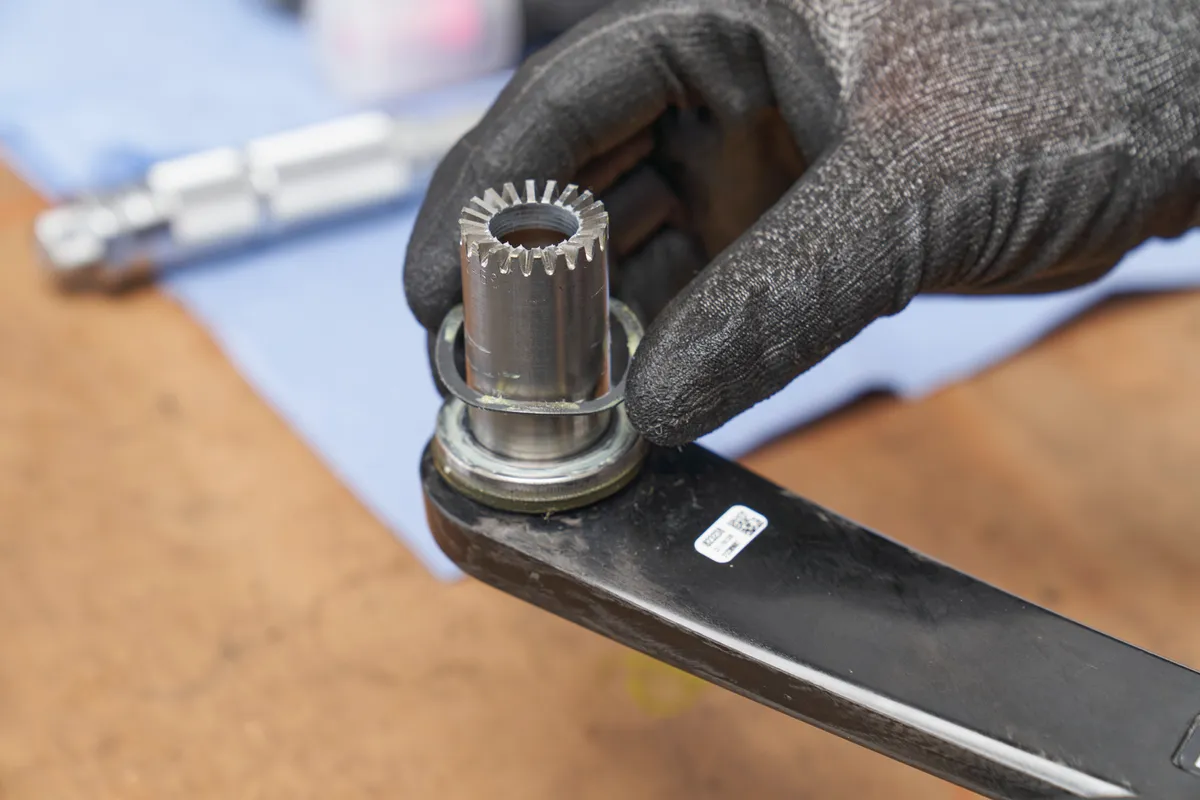
Apply a light coat of grease to the threads of the crank puller.
Make sure the driver is unthreaded. Thread the crank puller into the threads of the crank arm by hand.

Once finger tight, we recommend nipping up the head of the crankset puller to make sure it doesn’t loosen during removal.
Now, start to thread the driver of the tool until you feel it contact the end of the spindle.
You will feel some resistance as the crank puller pushes against the end of the spindle. Keep tightening and you should notice the crank starts to move away from the spindle. Continue until the crank arm is fully removed.

Remove the crank puller from the crank.
Step 3

Repeat for the other side.
How to refit a three-piece crankset

Step 1

Refitting is a far simpler affair because you won’t need to use the crank puller. Apply a light coating of grease to the square-taper, making sure the arm is in place on the splines of the spindle and thread the crank bolt in by hand. In this example, it’s an 8mm hex.

Then, tighten to the recommended torque, generally between 30 and 40Nm.
Step 2

Repeat for the other side, placing the crank arm 180 degrees from its opposite.