Changing a chainring on your road bike or mountain bike is a fairly simply task, but one that needs performing promptly when chainring teeth become worn. You can also swap chainrings to alter gear ratios to give you fewer teeth for easier climbing, or more teeth for on-the-flat time trial efforts.
Check out the video below to take you through changing chainrings.
Before you start, you’ll need to bear in mind your chainset’s bolt circle diameter (BCD) when buying new rings. BCD is usually either 110 or 130mm – or essentially compact or traditional sizing. If your bike came with 50x34T chainrings, it’s almost certainly 110 BCD. If it came with 53x39T chainrings it’ll be 130 BCD. Of course, you can always measure the diameter of your old chainring from bolt hole to bolt hole to check. There’s always an exception and in this case, it’s the four-bolt systems used on the newest 11-speed Shimano groupsets, for which a variety of chainring sizes are available without the worry of different BCDs.
Video: how to change a chainring
Video: How to change chainrings
This video is part of the Park Tool Maintenance Monday series. You can purchase the Park Tools used in the video at a number of dealers across the UK and internationally. For more maintenance videos, subscribe to the BikeRadar YouTube channel.
Tools for the job
- Hex or torx keys
- BB removal tool
- Chaining nut wrench tool
How to replace a chainring
1. Remove chainset
Unless you’re only changing the outer chainring – which it’s often possible to do by un-bolting it and slipping it over the crank arm – you’ll need to start by removing the chainset. Check out our how to replace a crankset video for how to do this.
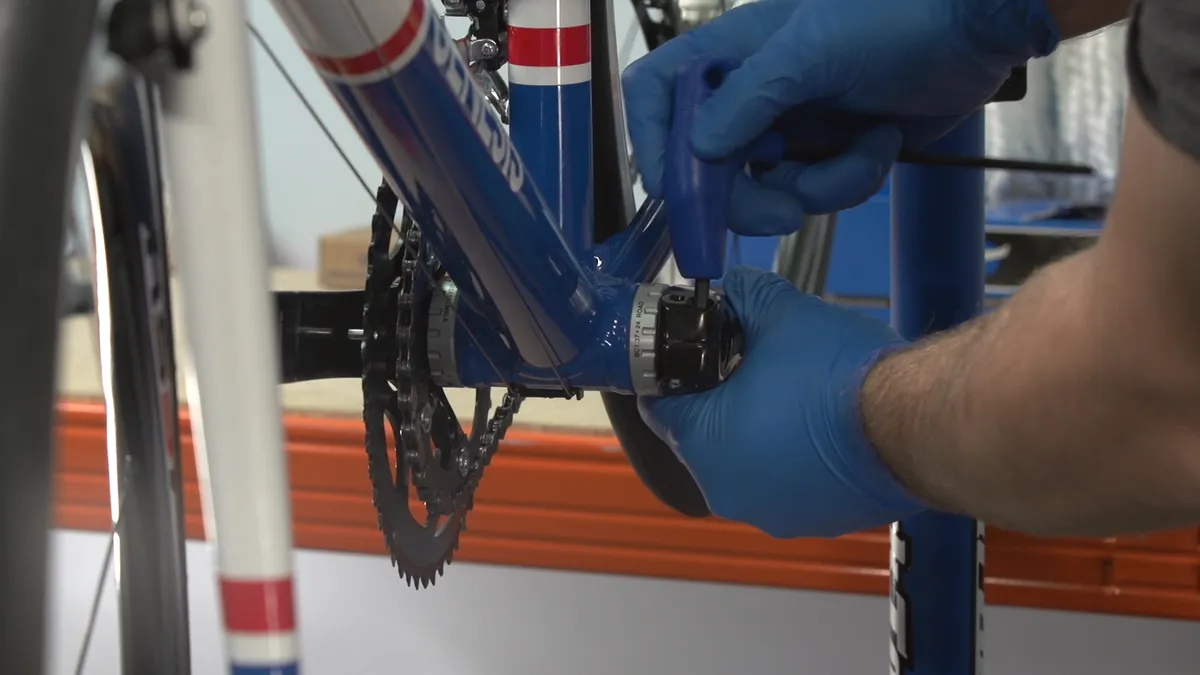
You will usually have to remove the chainset to replace the chainrings
2. Remove chainring bolts
Some high-end cranksets allow you to remove the chainring bolts with only a hex or torx key, but if your chainset uses traditional bolts, you’ll need either a chainring nut wrench tool to sit in the slotted recess of the chainring nut or another hex key (often 1mm larger than the front) to hold in the rear nut and prevent it turning.
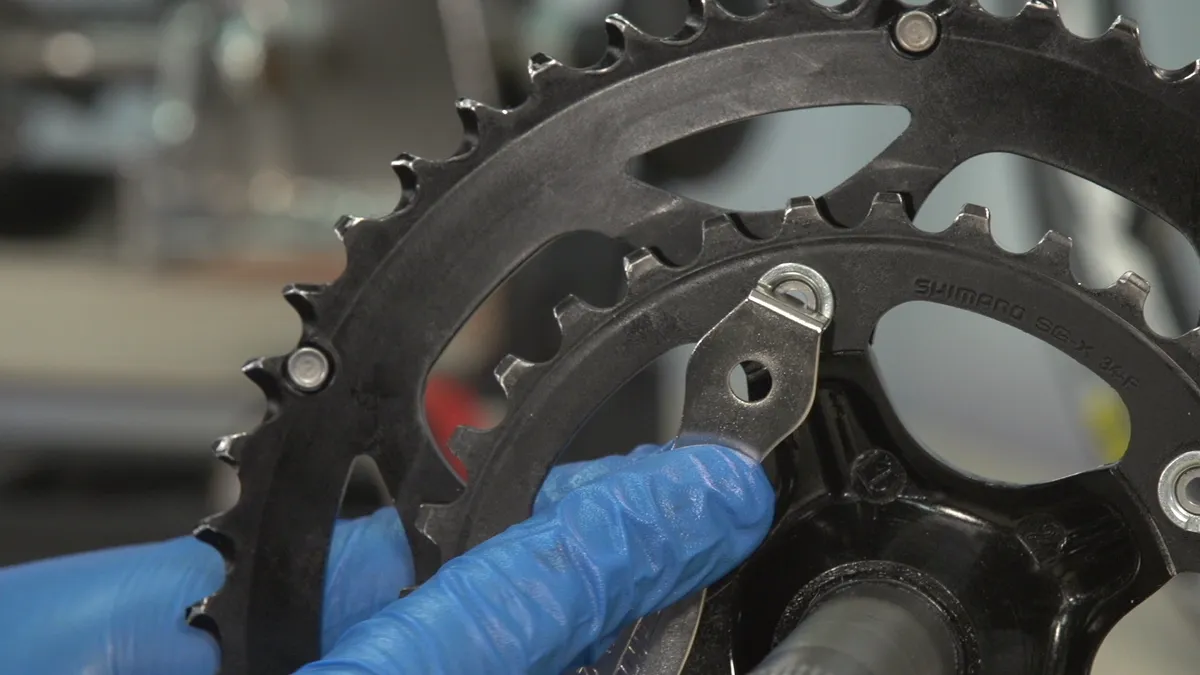
The chainring nut tool keeps the chainring nut secure while screwing or unscrewing the bolt
Secure the nut and unscrew the bolts in an anti-clockwise direction. Remove the bolts, taking care to keep them safe for installation of the new rings. You can now remove the old chainrings to discard or thoroughly clean if you’re only changing one ring to alter ratios.
3. Replace chainrings
When replacing the chainrings, you need to pay attention to their rotational alignment.
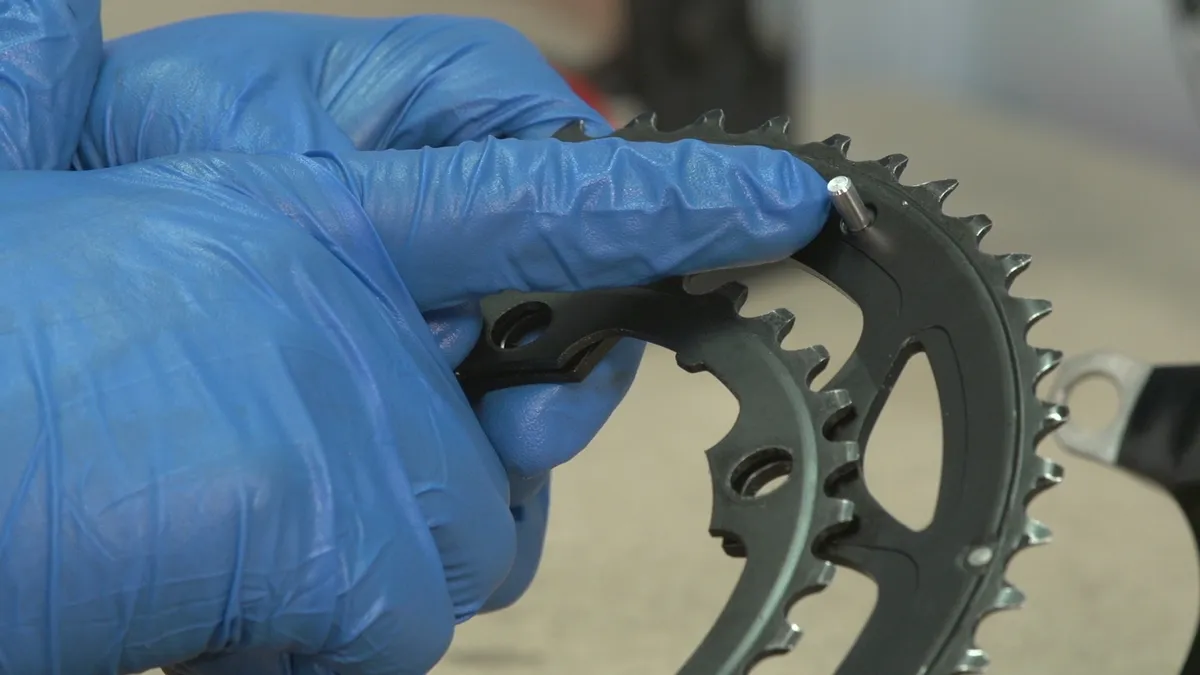
The outer (largest) ring usually has a small pin sticking out from its surface. The ring should be installed so that the pin is positioned behind the crank-arm, where it can help avoid a total chain jam in the event of the chain over-shifting and falling between the outer ring and crank.
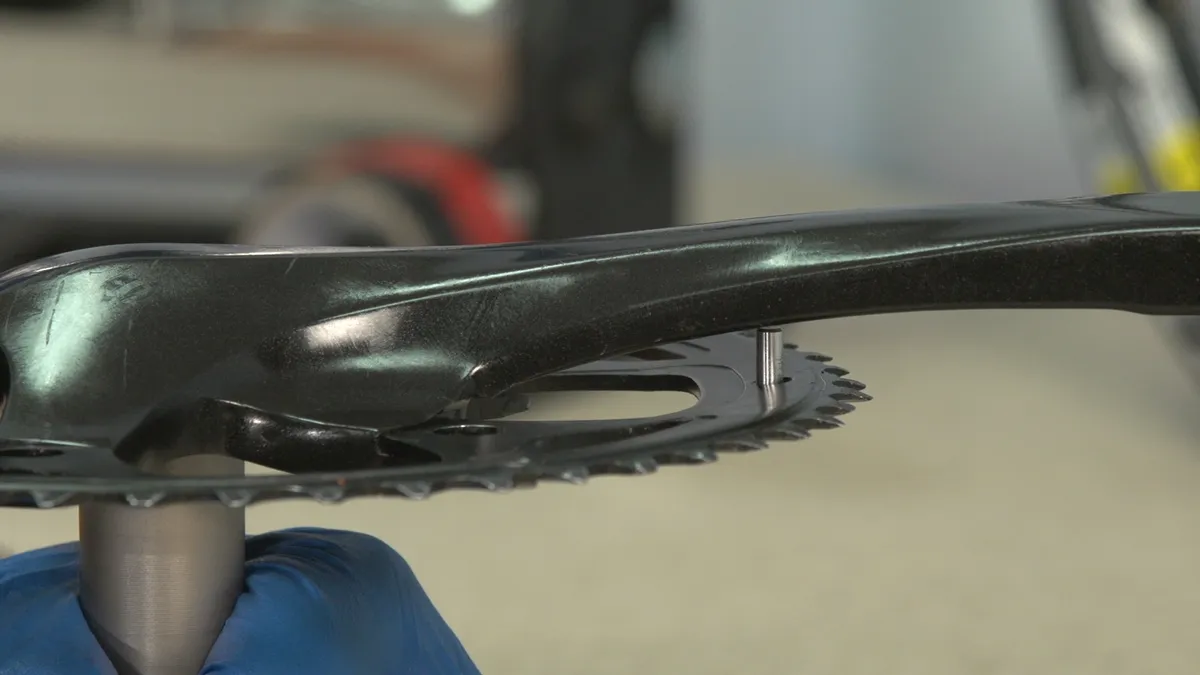
The pin stops the chain getting stuck between the crank arm and chainring
The inner ring will usually have a small tab on the inside of the outer part of the ring, which also needs to be fitted behind the crank.
The ramped edge of the teeth – which aids shifting – or any branding or other markings should be visible as you place the ring on.
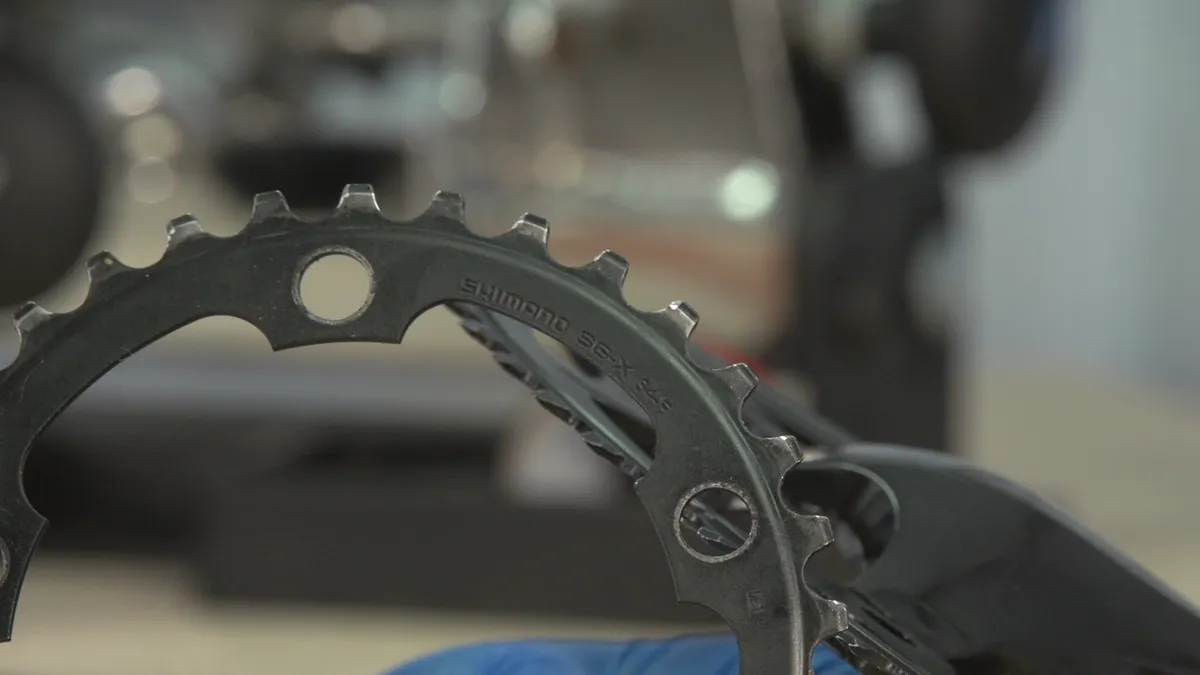
The branding faces outwards – setting the teeth the right way round for smooth shifting
With rings aligned, place each nut into the bolt hole. Securing the nut with chainring nut wrench or hex key, thread the bolt into the nut in a clockwise direction, screwing in just until the bolt feels resistance and the rings are held in place. Repeat for all bolts and then gradually move from bolt to bolt, tightening each bolt a quarter of a turn each time until tight. You can also use a torque wrench for this process, tightening to the recommended torque printed on the bolts.
Re-fit the chainset, making sure to thread the axle through the chain.
Give the bike a pedal and shift through the gears to check all is working correctly. If you’ve changed the size of your outer chainring, you may need to adjust the height of the front derailleur to get the smoothest possible shift – here’s how to set up your front derailleur.
