If you’re an early adopter of road bike disc brakes, you may be new to the world of disc brake bleeding. It’s a common mountain biking task – and a fairly easy one with the right tools – that will keep your brakes performing to their maximum potential.
Hit play on the video and we’ll take you through the process. You can also scroll down for further written instructions.
How to bleed shimano road bike disc brakes
You’re going to need
- Hex keys
- Bleed kit
- Mineral brake fluid
- Spanner
- Needle nose pliers
- Screwdriver
- Paper cloth
- Degreaser
Most brake fluid is hydrophilic, so will absorb moisture. It’s therefore important to store it in a dry place with the container properly sealed. If you do get moisture in the fluid it will boil in the brake system and cause gas to form – this will cause the brakes to feel spongy.
There are two main types of brake fluid, DOT (which gets its name from being classified by the US Department of Transportation) and mineral oil. Each will come with various safety warnings, so check the packaging before proceeding.
Shimano brakes use mineral fluid, while Avid and other brands use DOT 5.1. It’s crucial to use the right fluid so check your supplies before getting started.
1. Prepare
When bleeding a brake you must make sure the calliper is lower than every other part of the brake system — the front brake is usually OK, but you may need to alter the position of the bike. This is to allow the fluid to move upwards through the system.
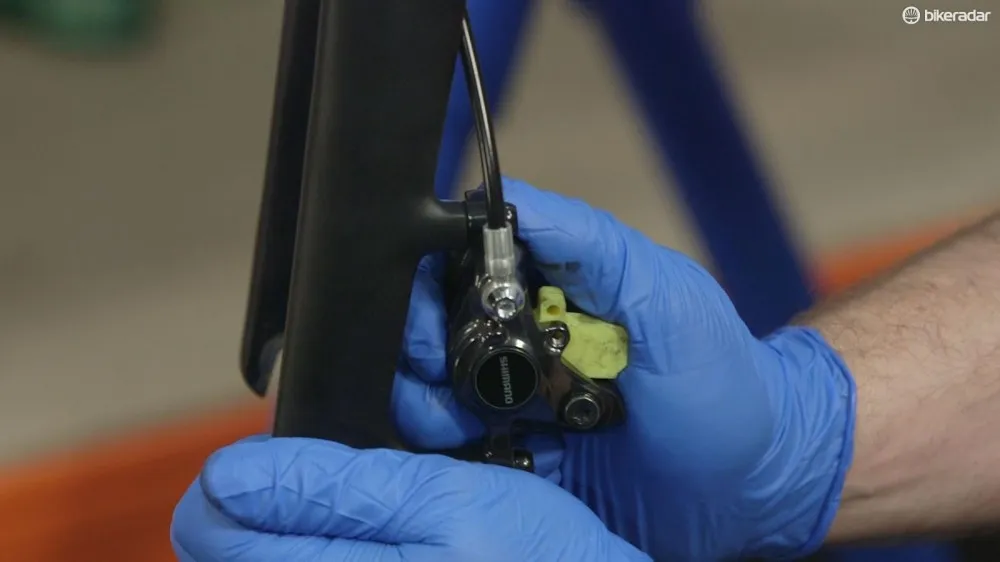
It’s a good idea to remove the wheel and disc brake pads, then fit a bleed spacer. If you don’t have one, you can leave the wheel in place, though you will run the risk of contaminating your pads with brake fluid.

It's best to remove your wheel and pads before fitting a bleed spacer
Pull back the hoods to expose the top of the braking unit. Remove the plastic fairing by removing the screw at the top and unclipping the plastic panel.
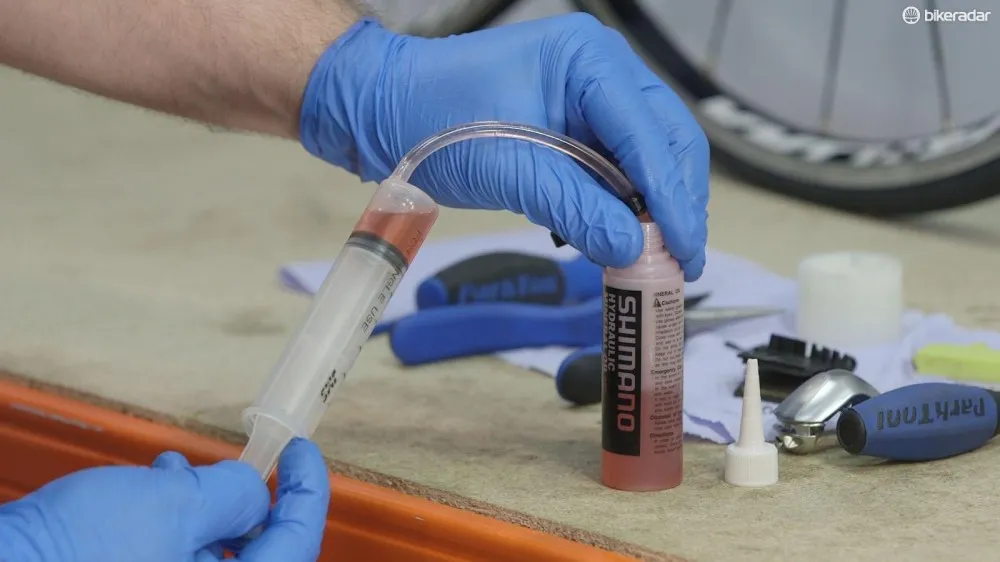
Next, undo the lug screw on the brake lever and screw in the bleed pot. Remove the nipple dust cover, then fill your syringe with brake fluid. Push out as much air as possible, attach the hose to the nipple and lock it into place. You can now use a hex key or box spanner to open the bleed port, taking care not to knock off the hose.
You’re now ready to bleed.
2. Bleed
Try not to squeeze the lever during the bleed process as it can force air into the system.
Slowly squeeze the syringe to start the fluid moving through the brake system — you should see the fluid rise into the fluid-pot on the brake lever. Give the hose a tap to help move any stuck air bubbles, then, finally, lock off the bleed nipple.

When filling your syringe with fluid, a little air is sure to get in there – squeeze it out before going any further
The system should now be free of air — a more responsive feeling lever will be a clear sign that the system is properly bled. If it’s not, you’ll need to repeat this step.
Don’t be tempted to re-use the old brake fluid, it may contain dirt and moisture that you don’t want to get in your brake system.
3. Finish
Make sure you’ve locked off the lug screw on the calliper then remove the hose — taking care not to spill any fluid — and reinstate the dust cover. Insert the stopper into the bleed pot and unscrew it from the brake lever.
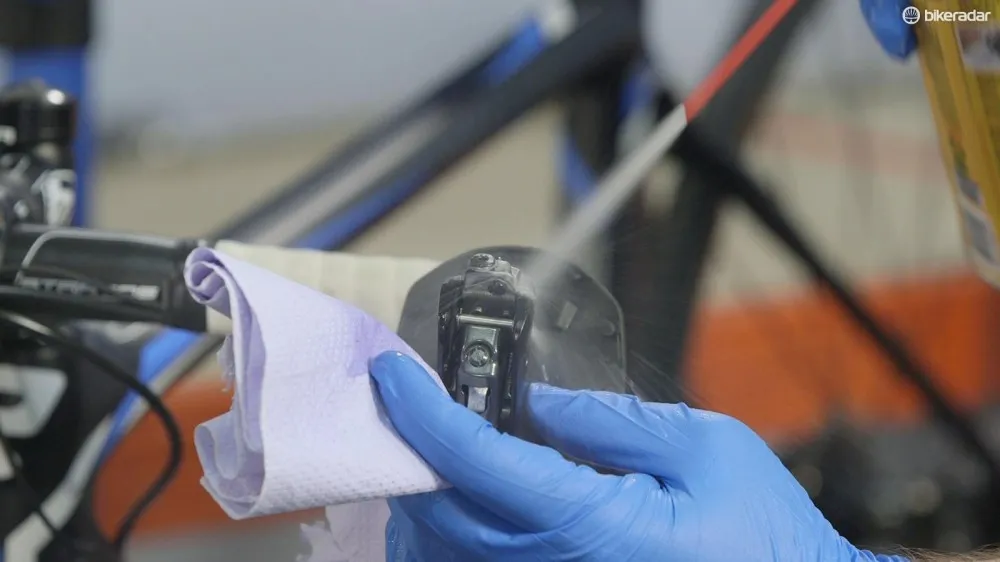
Return the lug screw to the lever and clean the brake unit with degreaser and paper cloth to remove any remaining brake fluid. Replace the fairing and secure with the screw.

Be sure to clean your brake lever and callipers with degreaser to ensure no brake fluid is left behind
At this point, you should replace your gloves to prevent contamination of the brake pads. Remove the bleed spacer, then spray the calliper area with degreaser and clean thoroughly with paper cloth. Reinstall the brake pads and wheel, then pump the lever until it bites and resets the pad position.
The bike is now ready for a cautious test ride in a traffic-free area.
