If the gears on your bike slip when you’re pedalling, or if they can’t shift into certain gears, they may need adjusting.
When you change gears on your bike, the shifter pulls a set amount of cable, which in turn moves the front or rear derailleur a predetermined distance. This moves your chain onto a different sprocket on the cassette or chainring.
Gear cables can stretch over time and derailleurs can be knocked out of alignment. If you find your chain is skipping a gear or that your shifting is getting stuck, then there’s a good chance you need to adjust your gears.
This is also known as indexing your gears.
If the gears on your bike are indexed properly, each single click of the shifter will cause a single shift up or down the gears, front or rear.
In this step-by-step guide, we explain how to index your front and rear derailleurs by adjusting cable tension.
We also outline how to set the limit screws on your drivetrain. This is useful if you are setting up a new front or rear derailleur from scratch.
If you’re not sure where to start, jump to our guide on how to diagnose and fix common shifting problems with your bike gears at the end of this article.
A silent and smooth-running drivetrain can make all the difference to your ride and fixing your bike's gears is something that even the most mechanically inexperienced can handle.
How to index the gears on your bike
Before we get stuck in, we recommend you check the condition of some of your drivetrain components to avoid any frustrations later on.
First, check that a bent derailleur hanger isn’t to blame for your shifting woes (check our step-by-step guide on how to diagnose and straighten a bent hanger for more info).
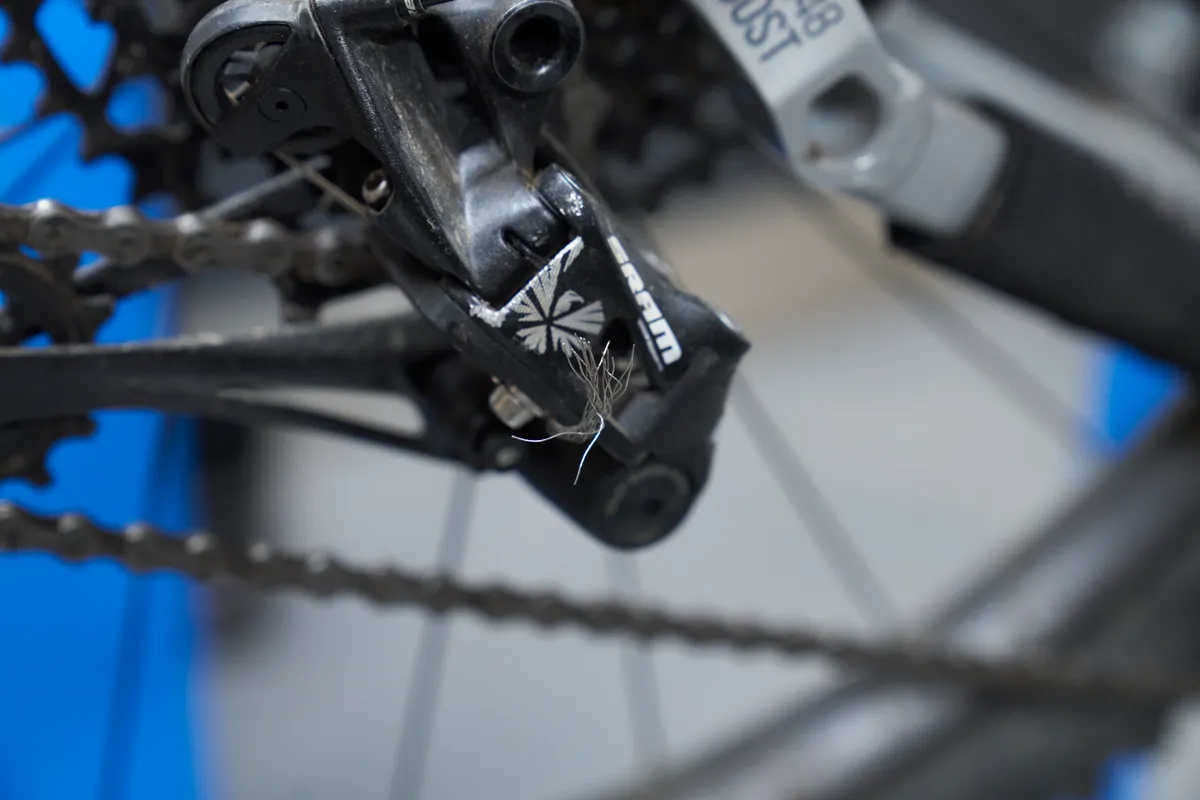
It’s imperative the cables are in good condition. The cable ends shouldn’t be frayed and the outer housing shouldn’t have any cracks or splits. In any case, it’s best to replace them once a year or so.
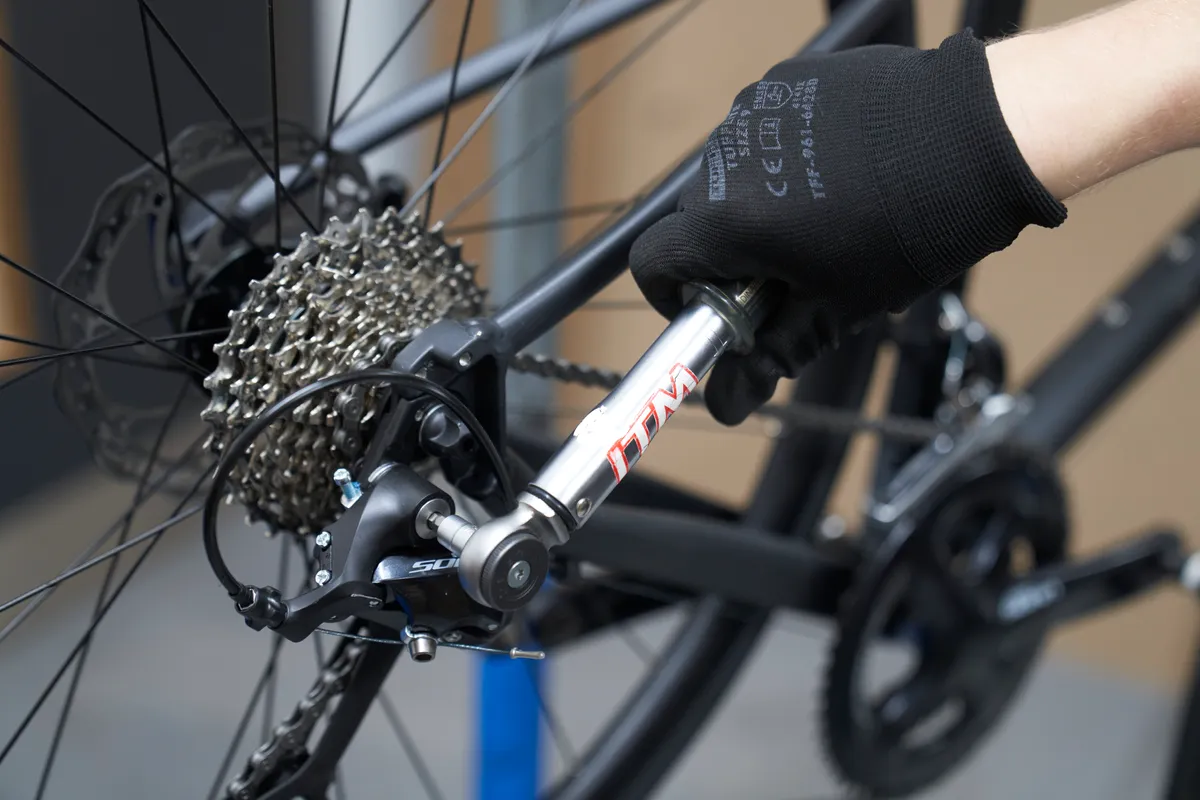
It’s also worth making sure the derailleur mounting bolts, crankset and cassette are fastened to the manufacturer’s recommended torque.
You should also check the condition of the derailleurs and shifters if they are old. Derailleurs can develop play or slop in the pivots or linkages over time. It’s a good idea to hold the derailleur cage and check if it has excessive lateral movement.
The ratchet inside the shifter can wear over time too. A vague or dead shifting feel is often symptomatic of this.
Some shifters, such as many Campagnolo options, can be serviced, whereas the ratchet mechanism in Shimano shifters is the equivalent of a Swiss watch and instead requires replacement.
If this is the case, you’ll need to replace these parts.
If you’re setting up a new derailleur, you’ll need to set the limit screws and B-gap adjustment before indexing the gears. You can read how towards the end of this guide.
What you need to index your gears
- A hex key to fit your derailleur cable retention bolt, usually a size 4mm or 5mm
- A torque wrench and socket to torque the cable retention bolt (optional but recommended)
How to index a rear derailleur
Step 1
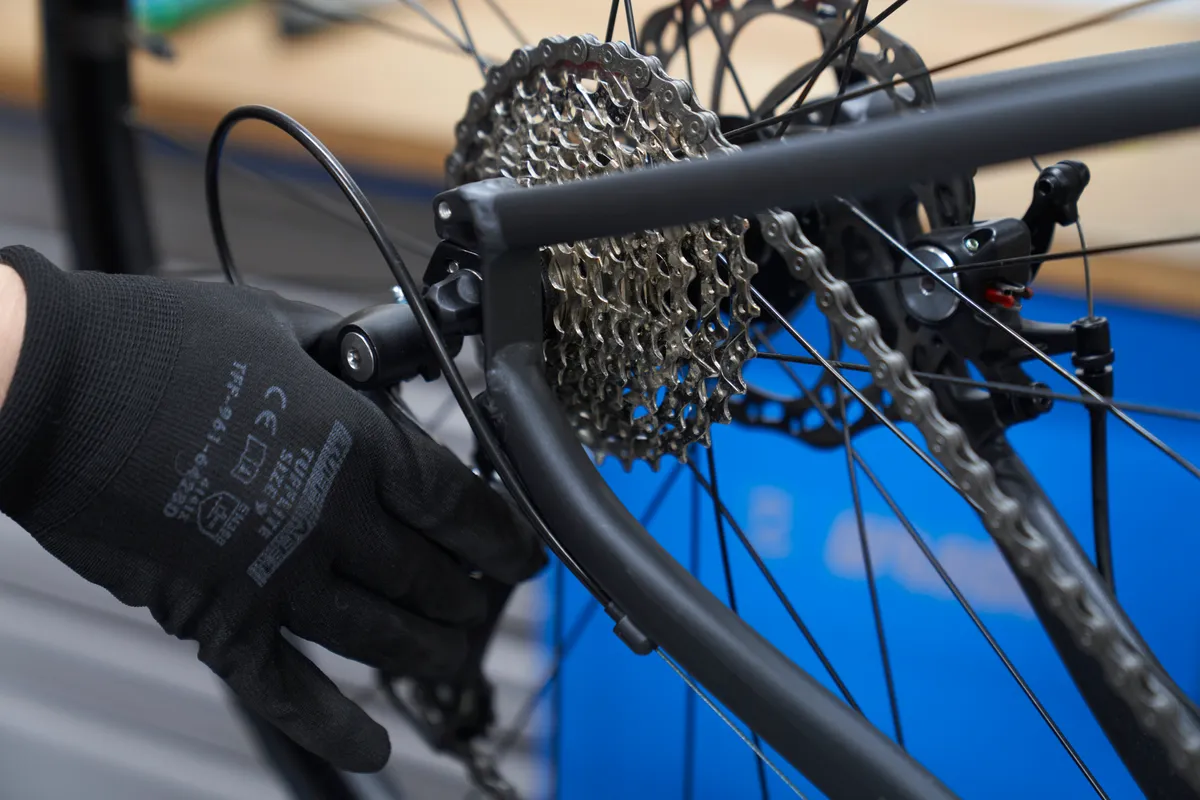
Shift the rear derailleur into the smallest cog.
Carefully and slowly move the rear derailleur manually while pedalling to make sure the chain doesn’t drop off either end of the cassette. If it does, you’ll need to check the hanger alignment and the limit screws.
If your drivetrain features a front derailleur, shift it into the middle or smallest chainring.
Step 2
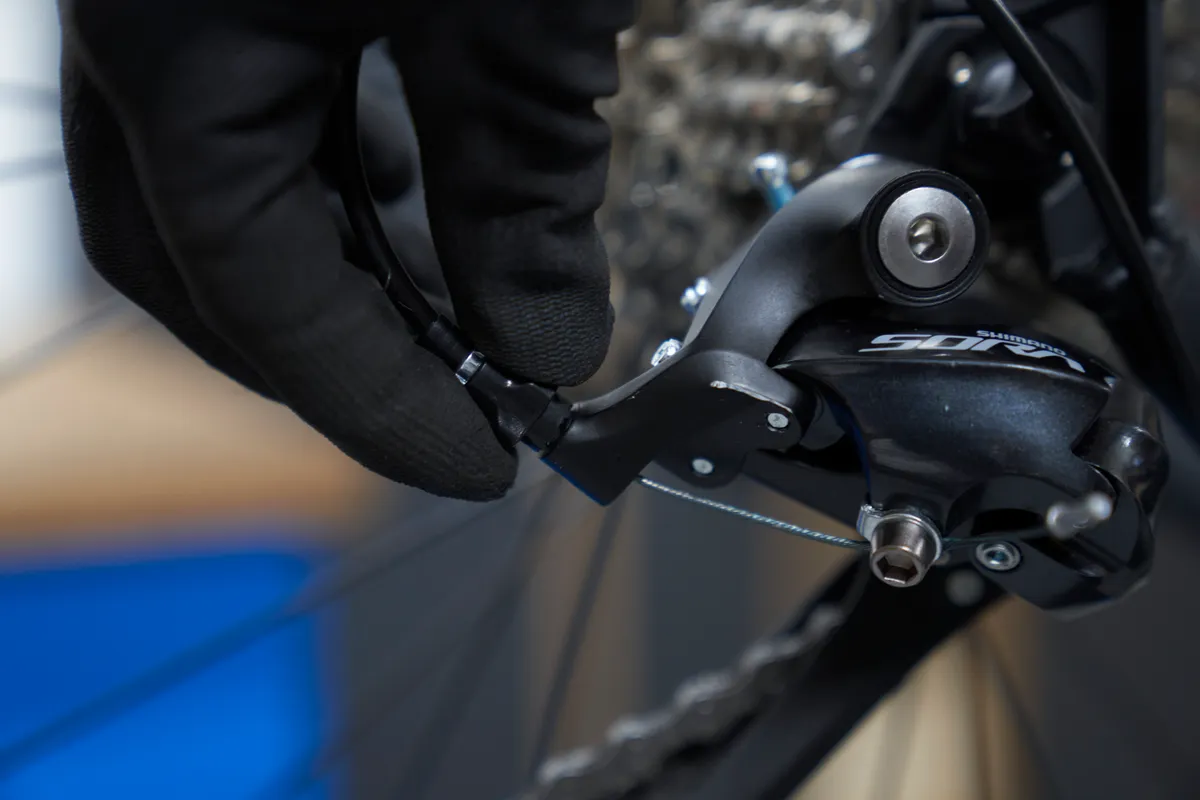
Wind the barrel adjuster in fully clockwise, then out by one turn.
A barrel adjuster is a mechanism that makes small changes to the cable tension by effectively increasing or decreasing the length of the gear outer.
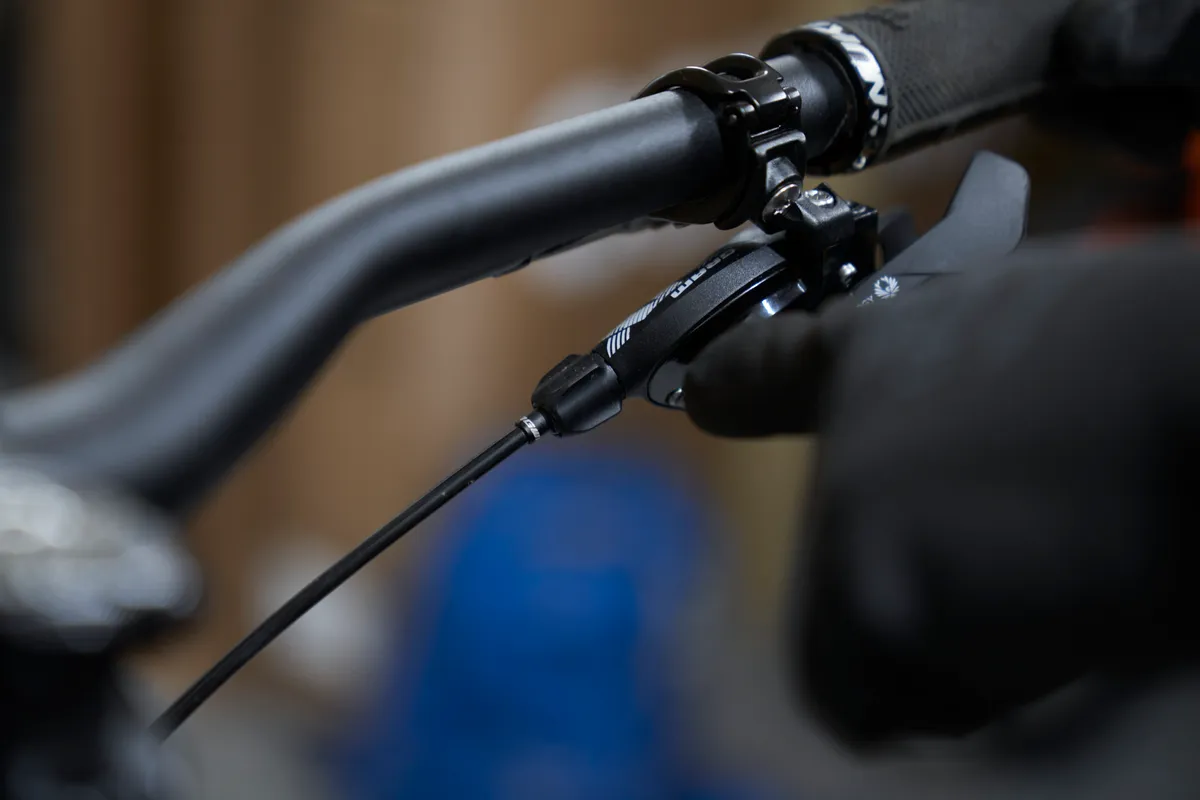
It is usually located on the back of the derailleur or on the shifter. Some road bikes have in-line adjusters, which are integrated in the cable housing.
Step 3
Release the cable mounting bolt on the back of the derailleur.
Step 4
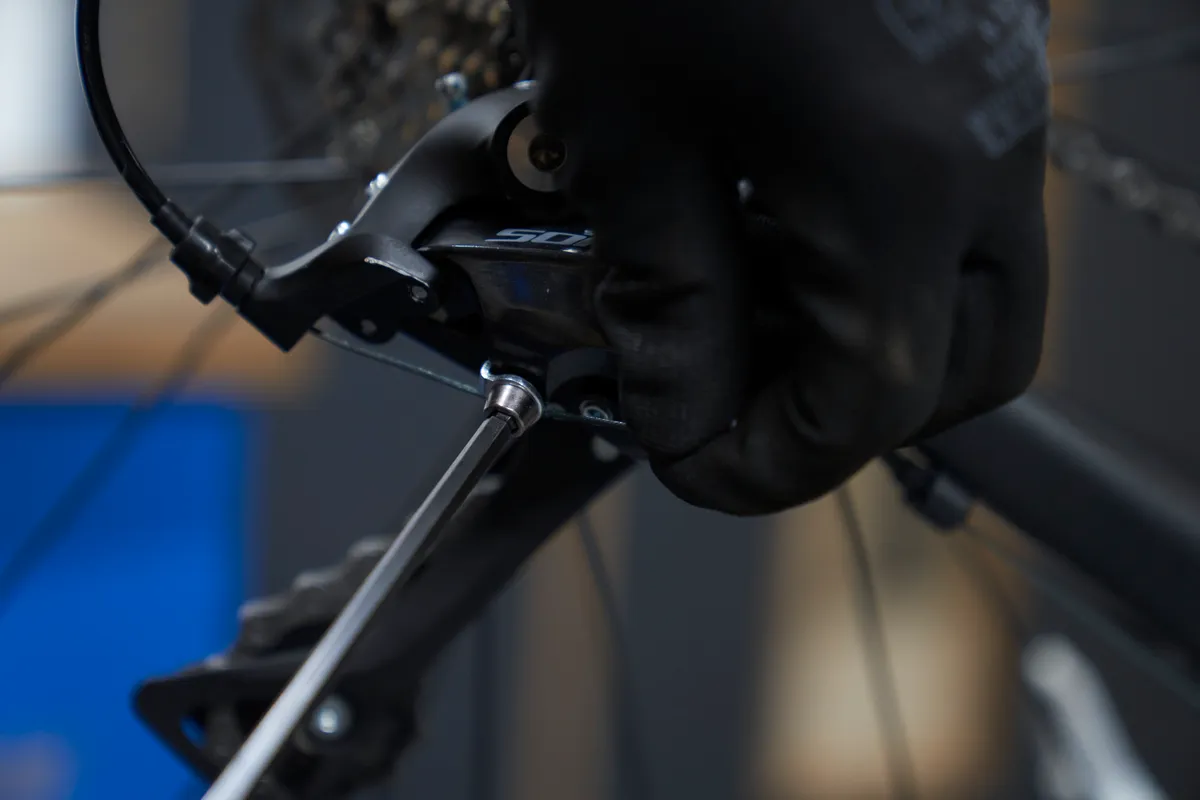
With the chain in the smallest cog, pull the shifter cable taut and re-tighten the retention bolt to spec.
Step 5
Pedal gently and press once on the shifter to shift the chain onto the second smallest cog.
If the chain didn’t shift to the second gear, you’ll need to increase the cable tension by turning the barrel adjuster counter-clockwise.
Keep turning the cranks and increase the cable tension until it shifts into gear.
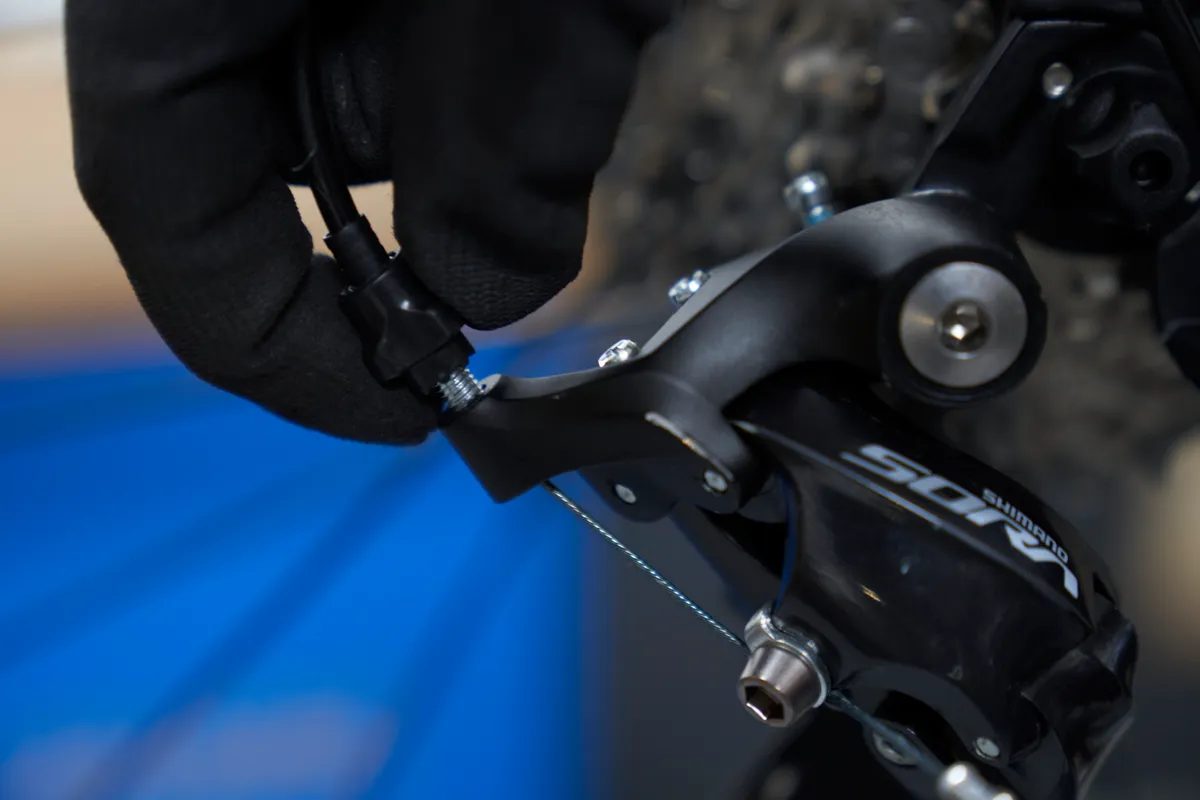
If you’ve had to wind the barrel adjuster out a lot, it’s worth undoing the cable mounting bolt, pulling more cable through and starting again. If you leave the barrel adjuster as it is, it won’t leave much room for future adjustments.
If the chain shifted smoothly into the second gear and there is no excessive noise, that’s a good sign.
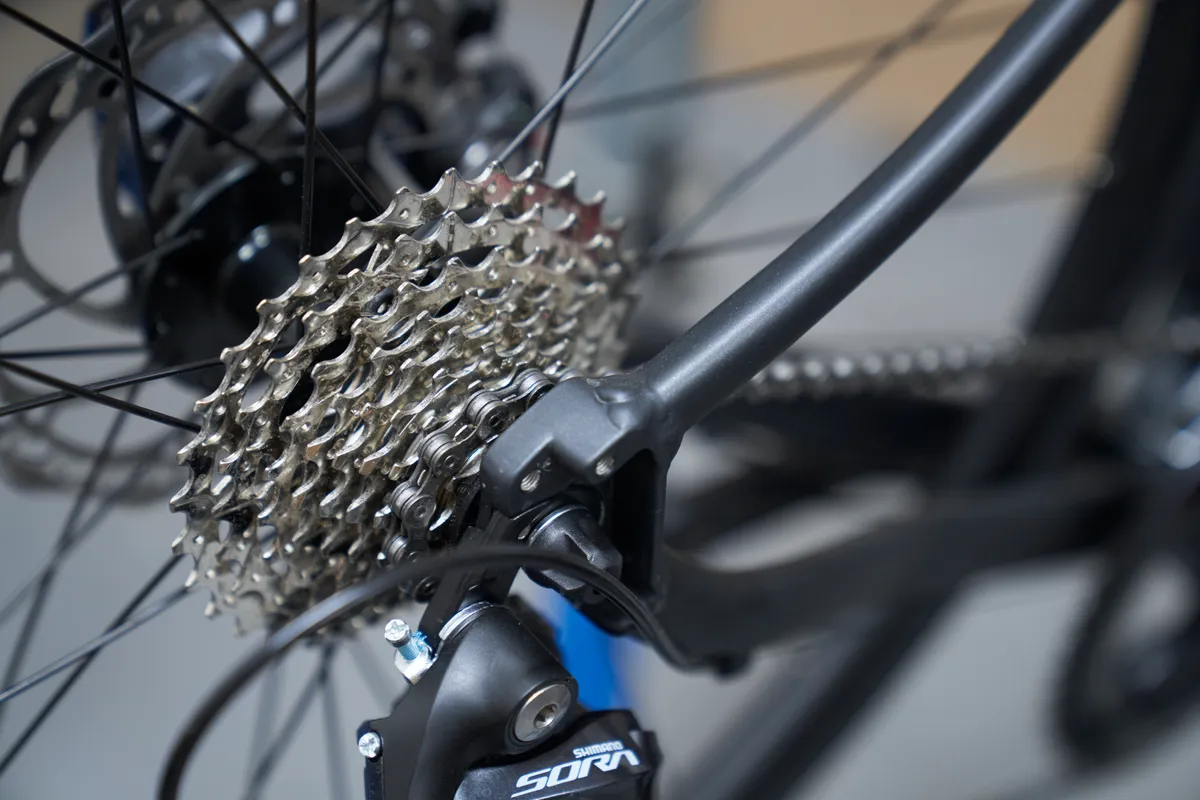
If the chain over-shifts, reduce the cable tension by turning your barrel adjuster clockwise until the chain runs smoothly in the second smallest cog.
As a general rule, it’s recommended to only wind the barrel adjuster in or out by a quarter turn each time before re-checking for the best result.
Step 6
You’ll now want to check the chain shifts back down to the smallest cog smoothly.
If the downshift is hesitant, decrease the cable tension in small increments.
Step 7
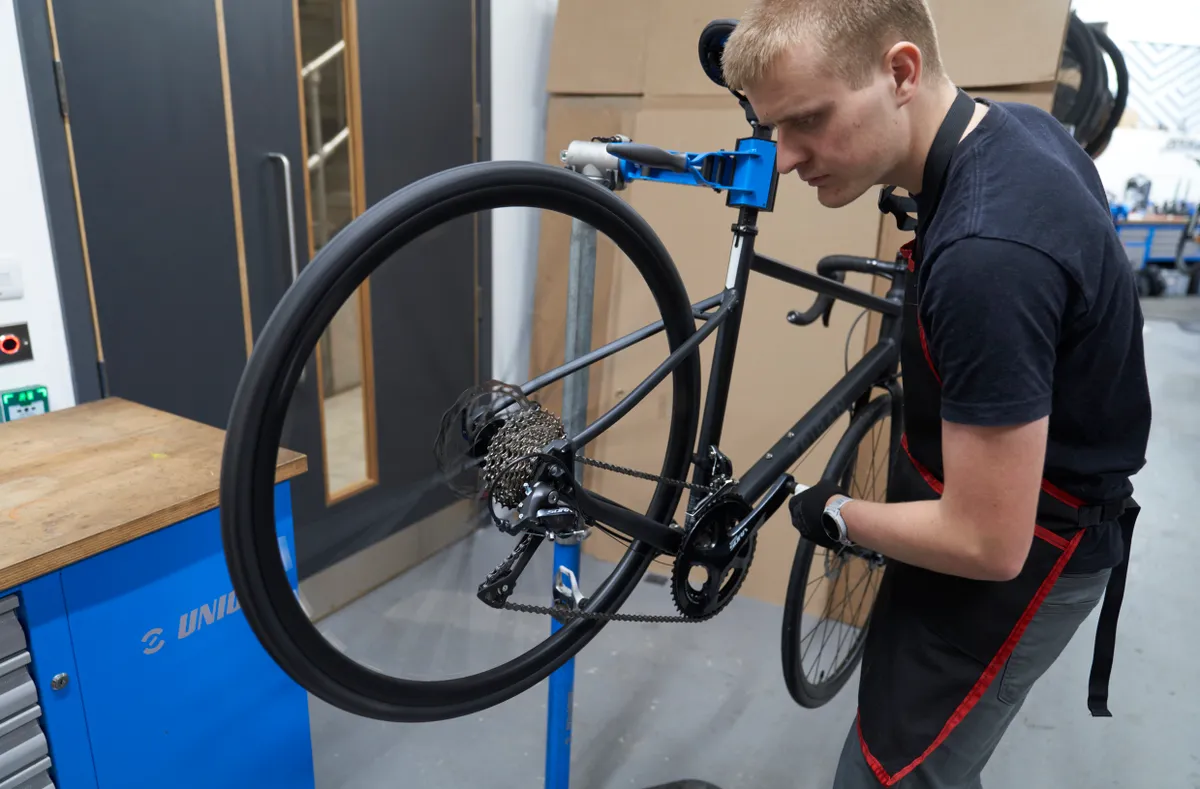
Now repeat this process for the third cog on the cassette.
Once you’ve got the first three gears indexed properly, the indexing will likely be fine for the rest of the cassette. You can now check the indexing of the rest of the gears, increasing or decreasing cable tension in minute increments as required.
Use the barrel adjuster, either on the derailleur or shifter.
If you’re finding the downshifting is generally responsive, but upshifting isn’t, there’s a high chance the problem is dirty inner cables or housing, in which case you should try lubricating or replacing them.
For further information check out our in-depth guide to adjusting your rear derailleur.
How to index a front derailleur
Step 1
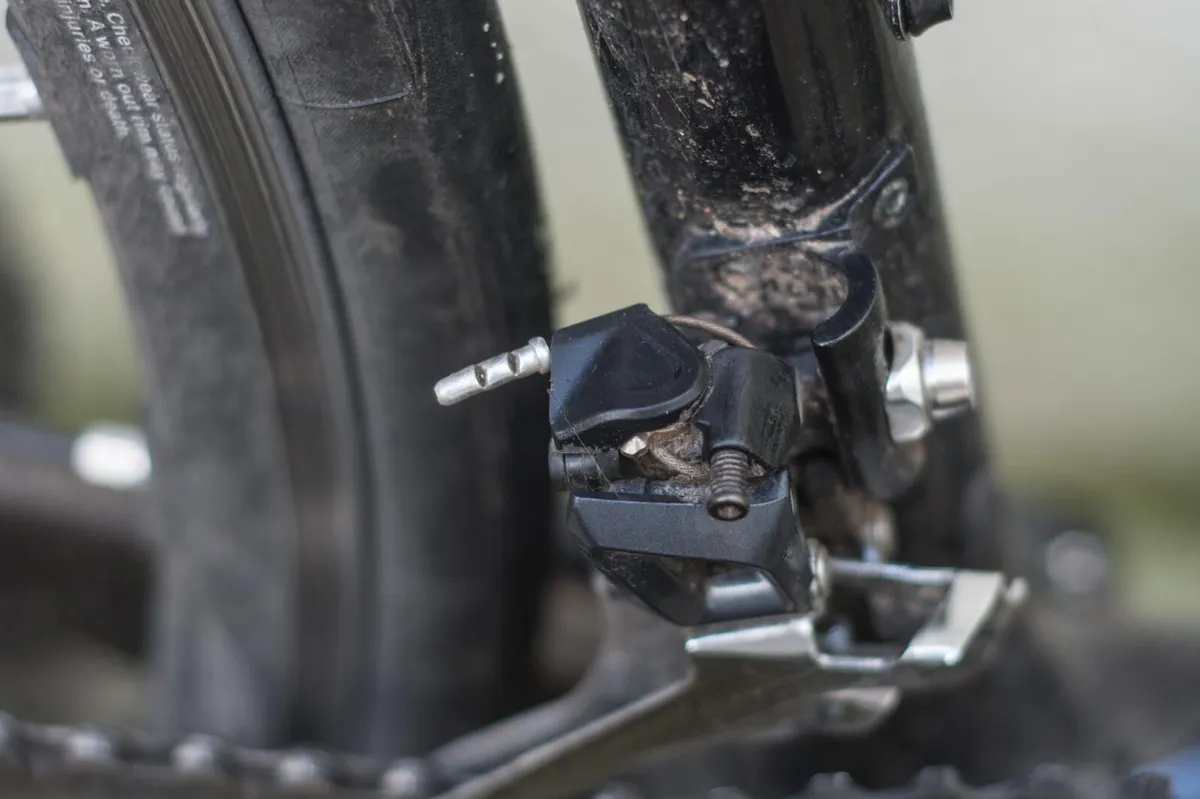
Shift your front derailleur to the smallest ring and your rear derailleur into a cog near the middle of the cassette.
Slacken the front derailleur cable by winding the barrel adjuster fully clockwise.
The barrel adjuster will either be at the shifter or inline on the cable.
Modern Shimano front derailleurs integrate the cable tension adjuster into the derailleur body.
Step 2
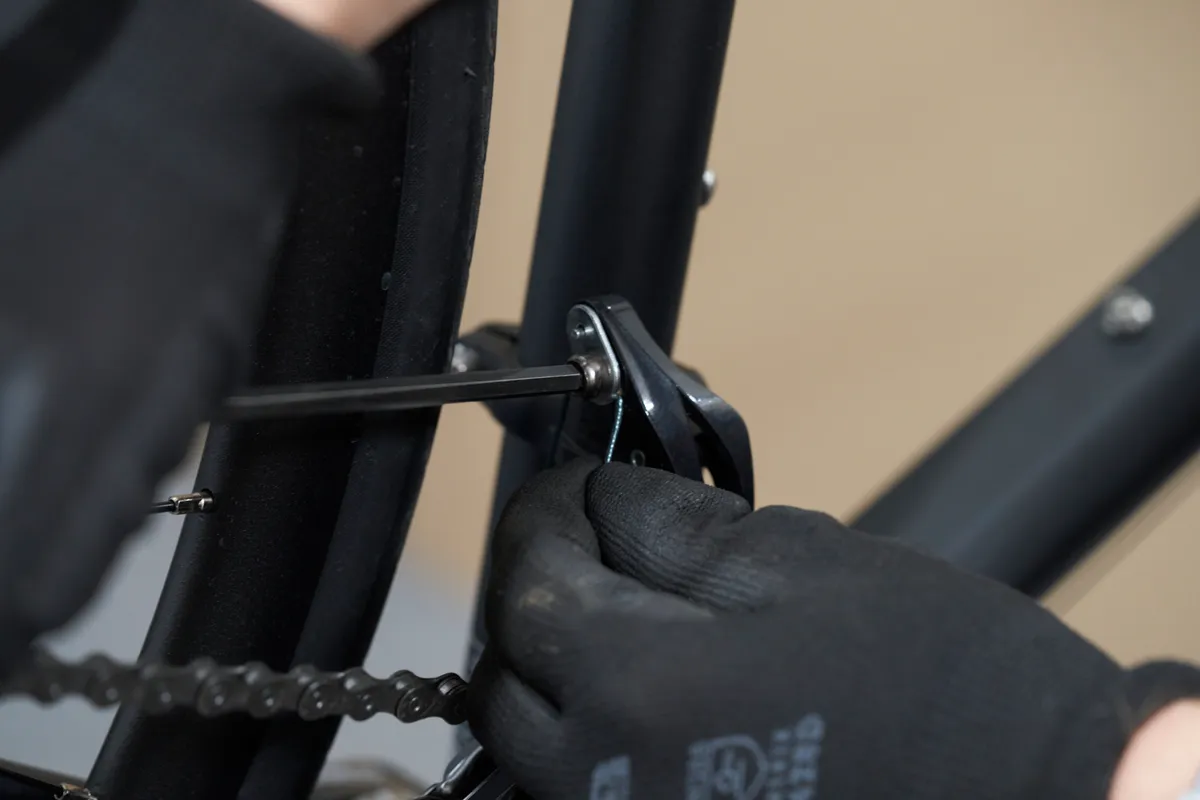
Release the cable retention bolt, take any slack out of the cable and then re-tighten the cable retention bolt. Front derailleur cables typically require more tension than a rear derailleur to operate.
Step 3
Attempt to shift to the middle or outer ring. If shifting is hesitant, wind the barrel adjuster one half turn anticlockwise before pedalling again.
Step 4
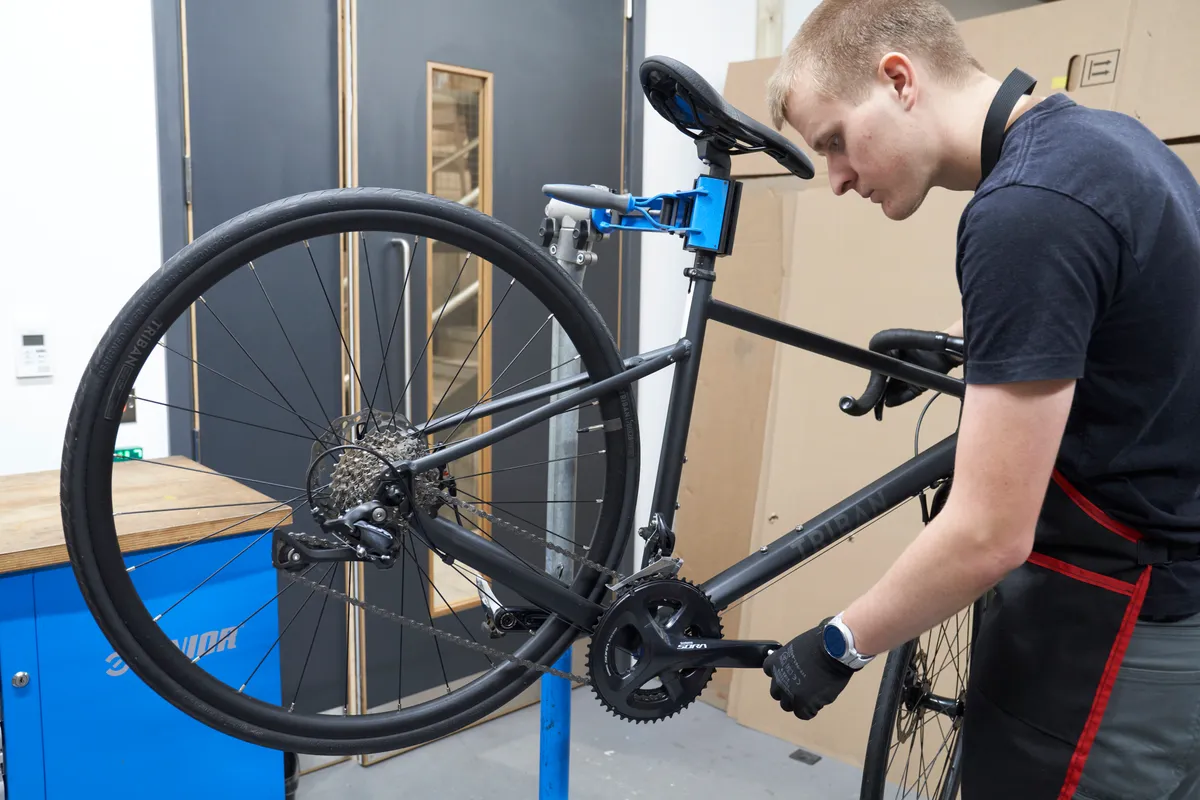
Repeat this process until the chain shifts up smoothly onto the bigger ring. If you have a third chainring, try upshifting to it and add another half turn if shifting is still hesitant.
Once you’re happy with your upshifting, drop back down through the rings to check your downshifts.
Some front derailleurs have a trim feature to stop the chain from rubbing on the outer or inner plates in certain gear combinations. It’s worth checking this functions correctly during indexing.
Setting derailleur limit screws
Limit screws control the range of movement of a derailleur. The limit screws are usually located on the B-knuckle or parallelogram plates.
The screws butt up against a tab built into the parallelogram plates, stopping the derailleur in its tracks.
If they’re not set properly, your chain may be able to drop off the cassette or chainrings, which can be dangerous – for both you and your bike.
What you need
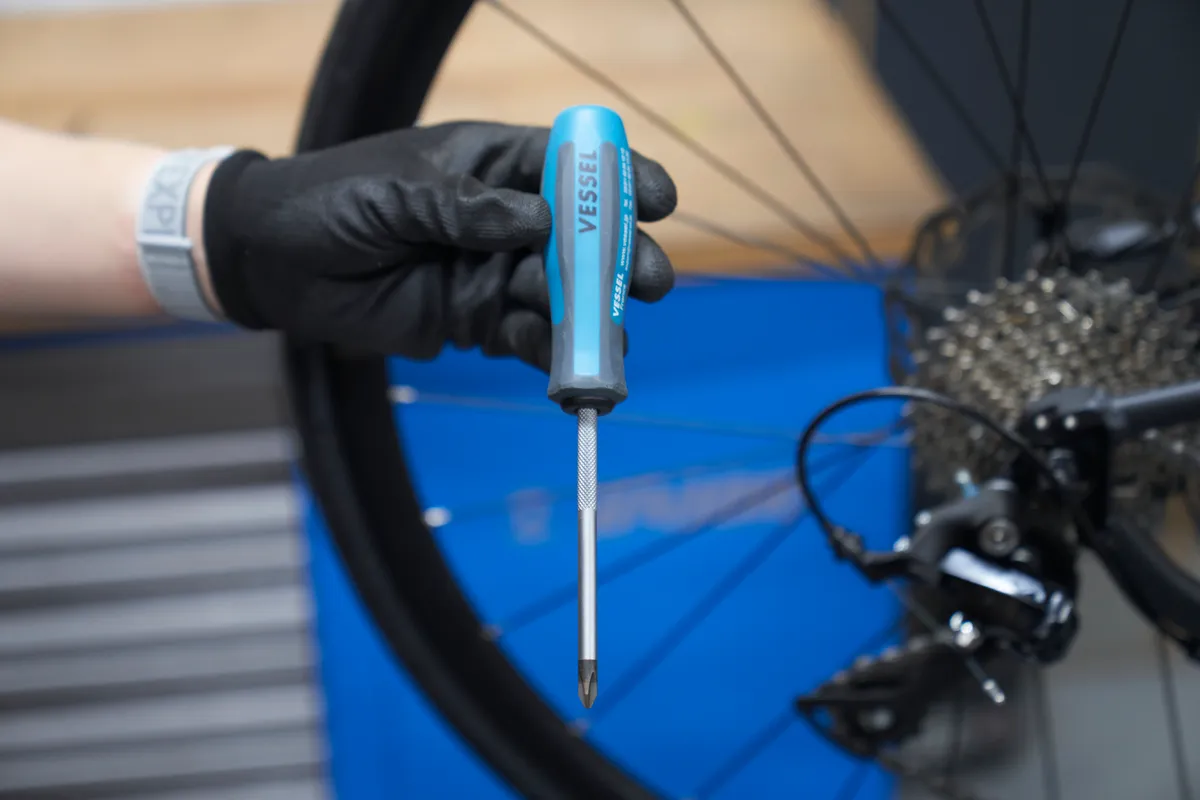
- A small crosshead screwdriver or hex key. Many Shimano derailleurs use a JIS head. A JIS screwdriver is recommended but not essential.
- 4 or 5mm hex key to secure the cable pinch bolt
- A torque wrench and socket to torque the cable retention bolt (optional but recommended)
How to set derailleur limit screws
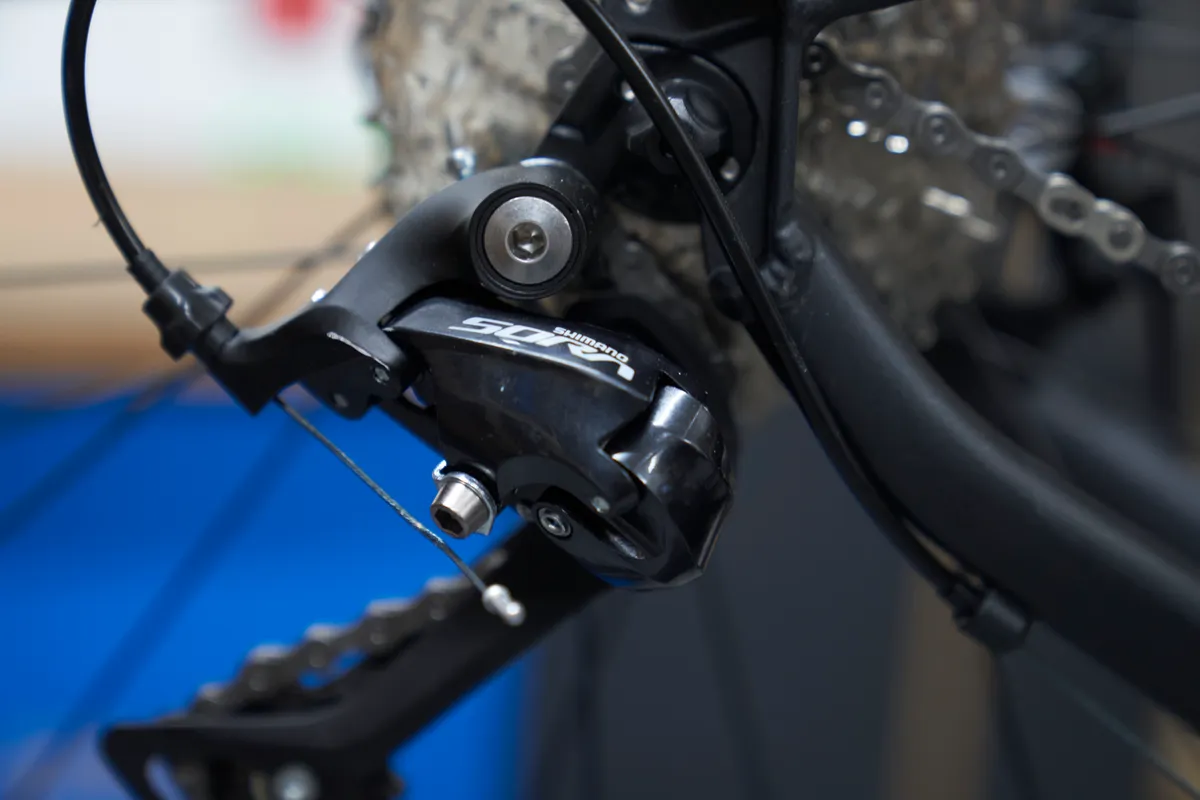
Although different methods exist, it’s best to set the limit screws with the cable disconnected. This is because cable tension is taken out of the equation.
Modern derailleurs require a hex key to adjust them, although some use a Phillips or crosshead screwdriver. Older Shimano derailleurs use a JIS head for their limit screw but, with due care, you should have no issues using any crosshead screwdriver.
Step 1
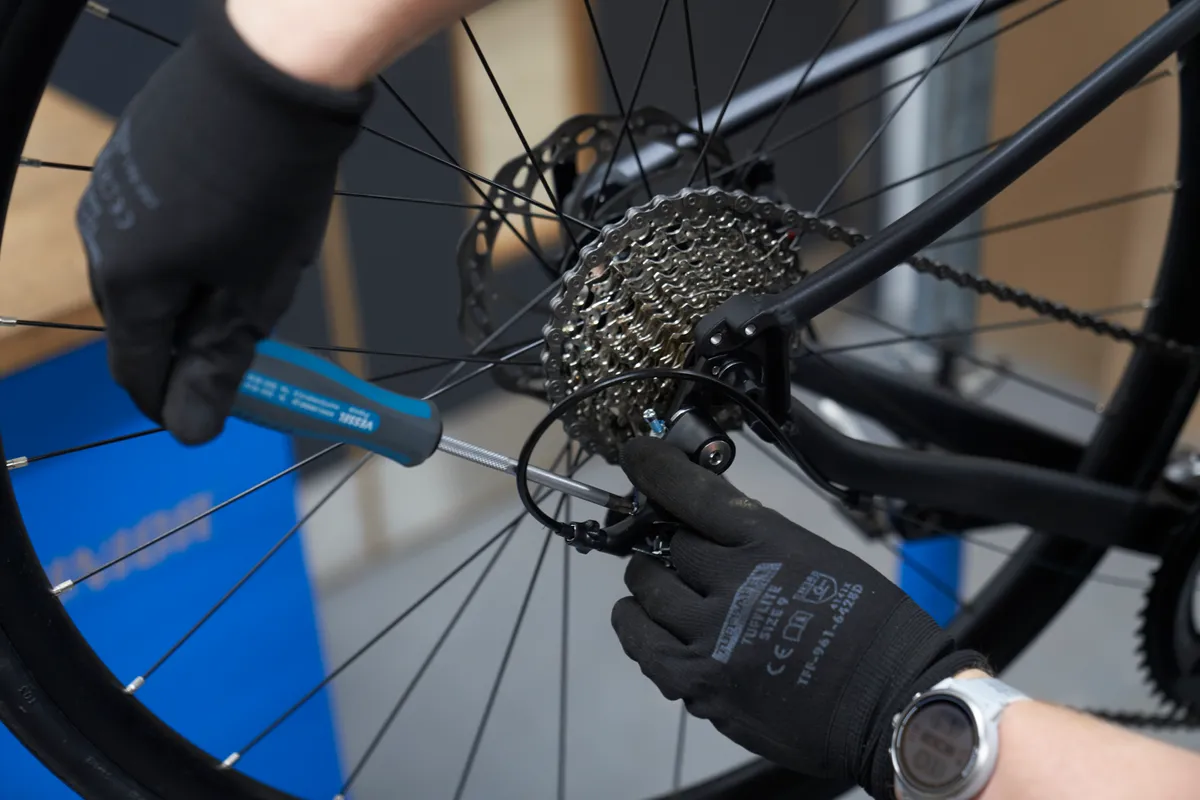
Push the derailleur into the largest cog and adjust the 'L' limit screw.
We’ll first set the lower limit screw on the rear derailleur, which prevents the chain from derailing into the spokes.
Locate the lower limit screw, which will usually be marked with an ‘L’.
Push on the derailleur to manually shift up to the highest gear possible.
While still manually pressing on the derailleur, gently turn the cranks and wind out the low stop screw until the cassette shifts to the biggest cog and isn’t jumping or clicking.
If the derailleur isn’t new, we recommend an alternative method.
Set the limit screw so the chain runs in the second largest cog.
Then, while applying pressure to the derailleur, slowly unwind the limit until the chain jumps onto the biggest cog and runs smoothly.
Doing it this way means the tolerance of the derailleur’s limit isn’t skewed towards the wrong end of the scale.
Step 2
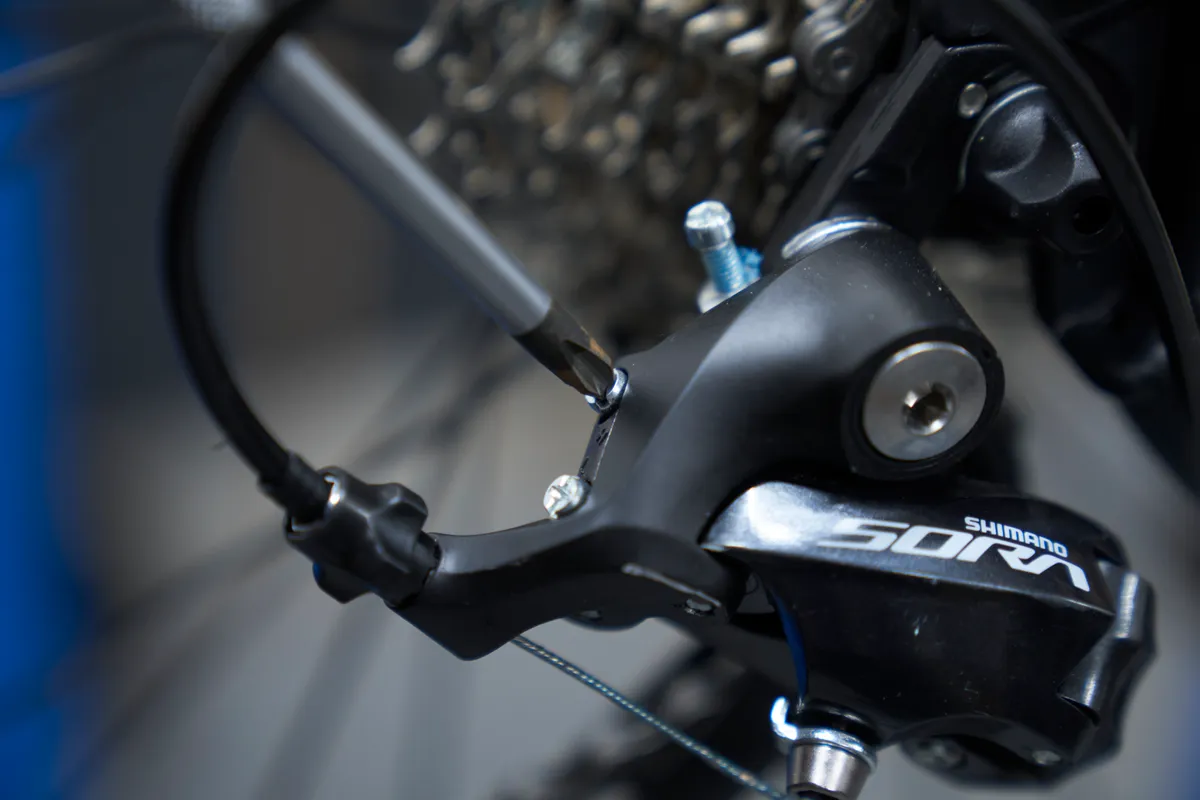
We’ll now set the high limit screw to prevent the chain from shifting off the cassette into the driveside dropout.
Wind out the high (H) adjuster and allow the chain to move towards the bottom of the cassette by pedalling gently.
Wind in the high adjuster until the chain returns to the smallest ring/highest gear and runs smoothly without jumping or clicking.
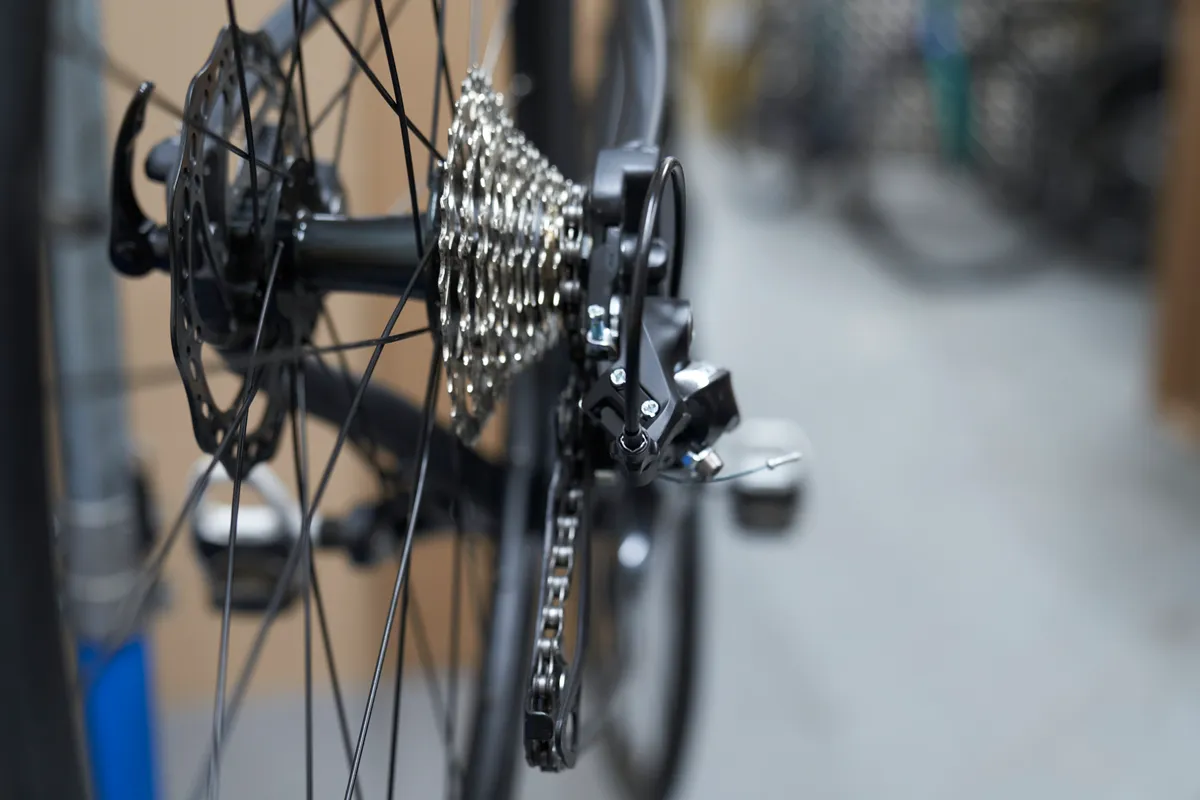
Like the low limit screw, we recommend setting up a used rear derailleur by first setting the high limit such that the chain runs in the second smallest cog.
Then, wind the screw out slowly until the chain shifts into the smallest cog.
Your rear high and low limits should now be set.
Step 3
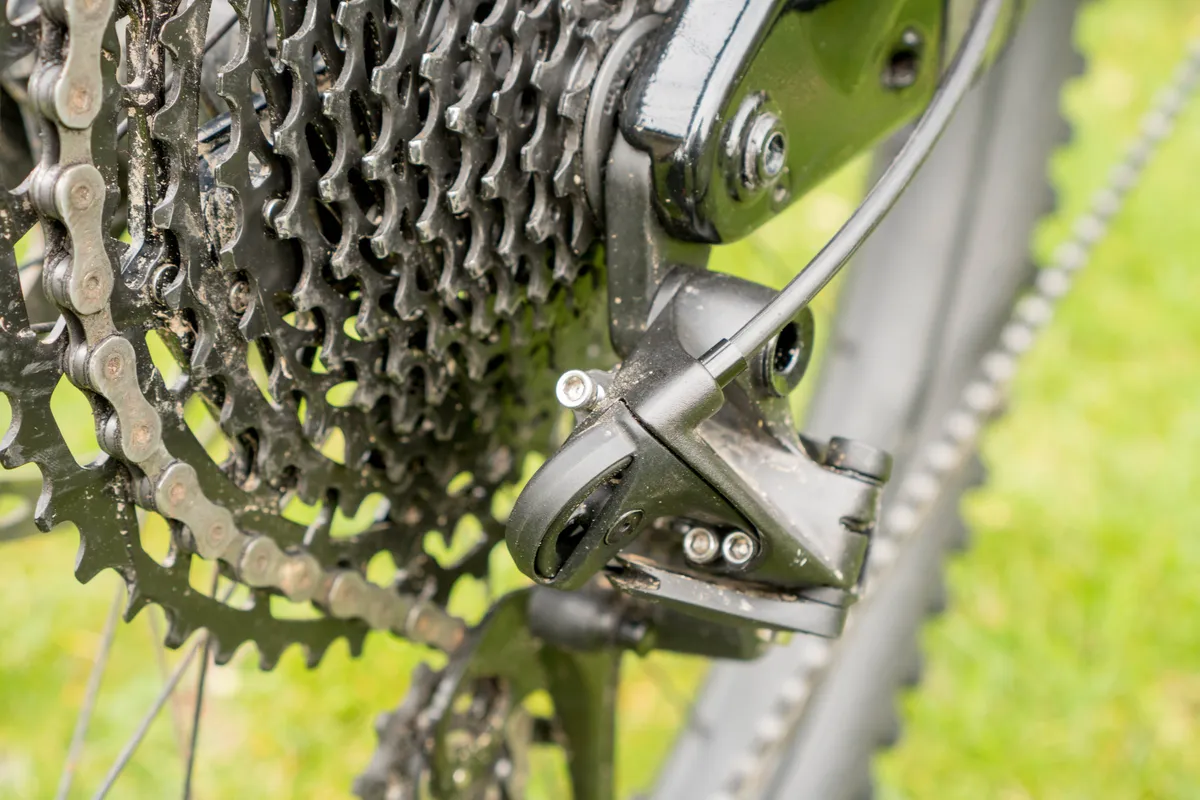
We’ll now adjust the B-gap (also known as B-tension, body angle or 'dangle-angle').
With the bike in the highest gear, the upper jockey wheel should run just clear of the cassette. Turning clockwise will increase the gap, anti-clockwise will close it.
Most manufacturers’ derailleurs require a B-gap of between 5 and 6mm. Adjust until you have achieved this clearance. You can use a 5 or 6mm hex key as a guide.
The B-gap is a particularly critical adjustment on the latest 11- and 12-speed mountain bike groupsets.
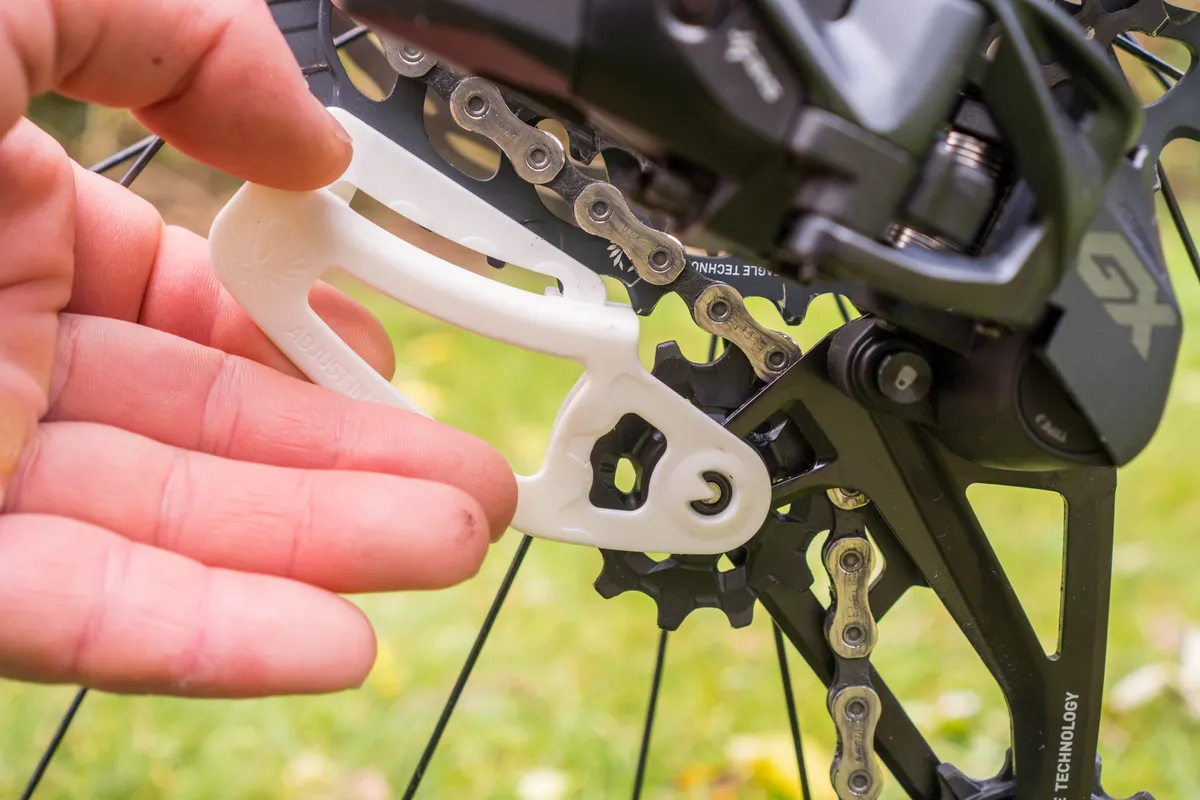
SRAM supplies a tool that you can line up with the derailleur pulley wheel and the cassette cog to help you achieve the correct adjustment.
If you are adjusting the B-gap on a full-suspension mountain bike, bear in mind you’ll need to set this up with the shock under its required sag.
Step 4
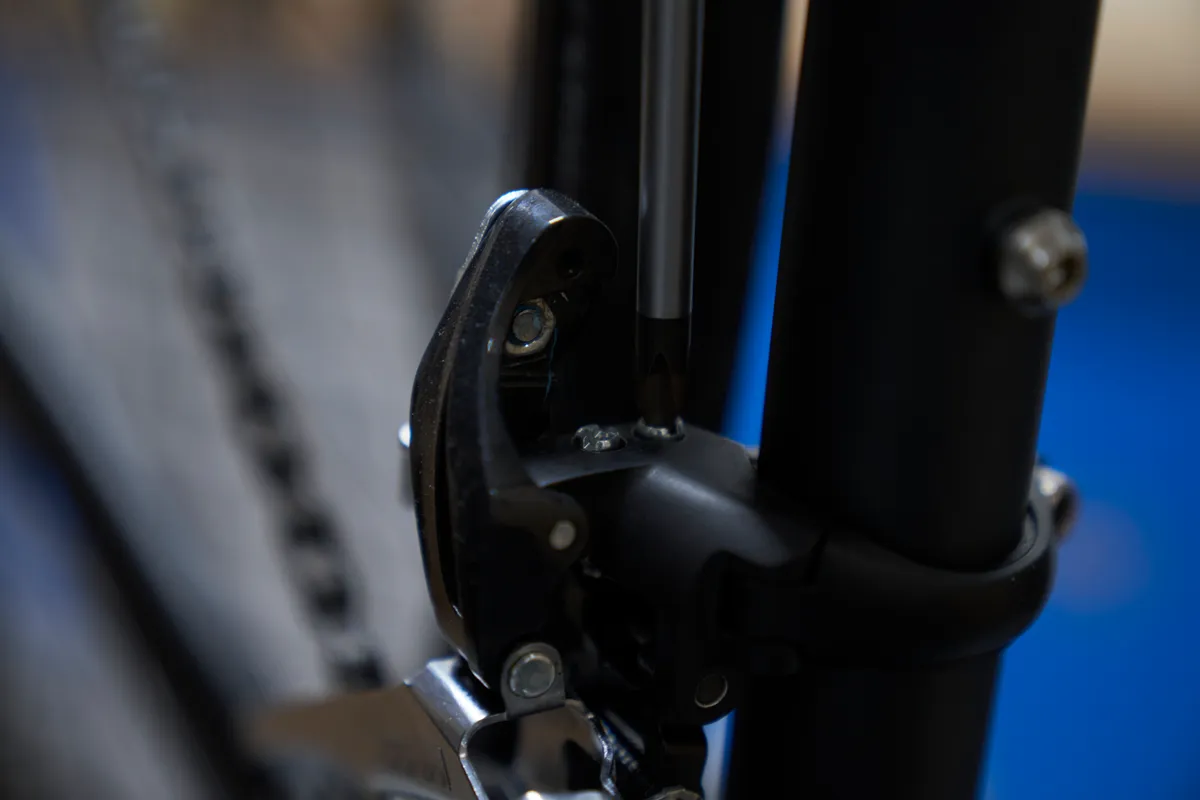
We’ll now set the low limit of the front derailleur, which stops the chain from shifting off the smallest chainring.
Again, it’s worth disconnecting the cable or having it in its slackest setting to take cable tension out of the equation.
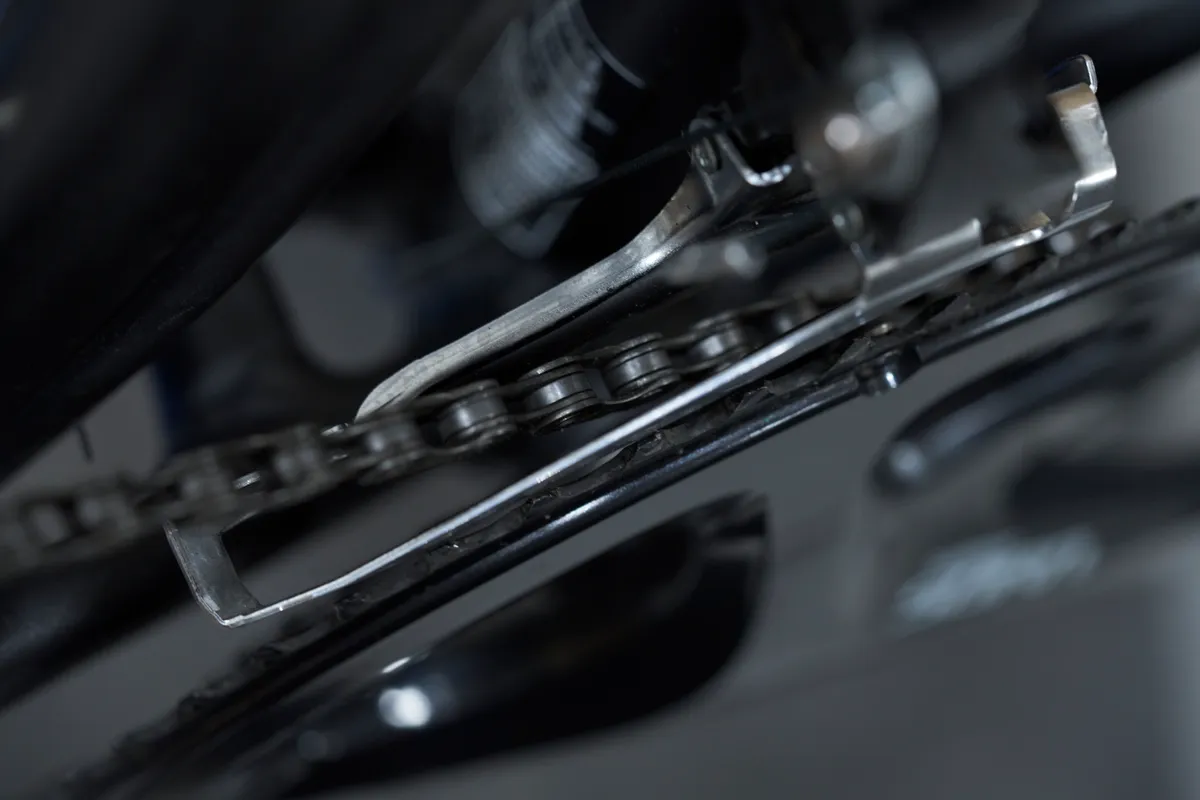
Shift the front derailleur to the smallest ring and the rear derailleur to the largest cog. Fully wind in the front derailleur's low limit (L) adjustment screw.
Slowly turn the pedals and wind out the screw until the chain returns to the small ring and runs smoothly, without rubbing on the derailleur cage.
Step 5
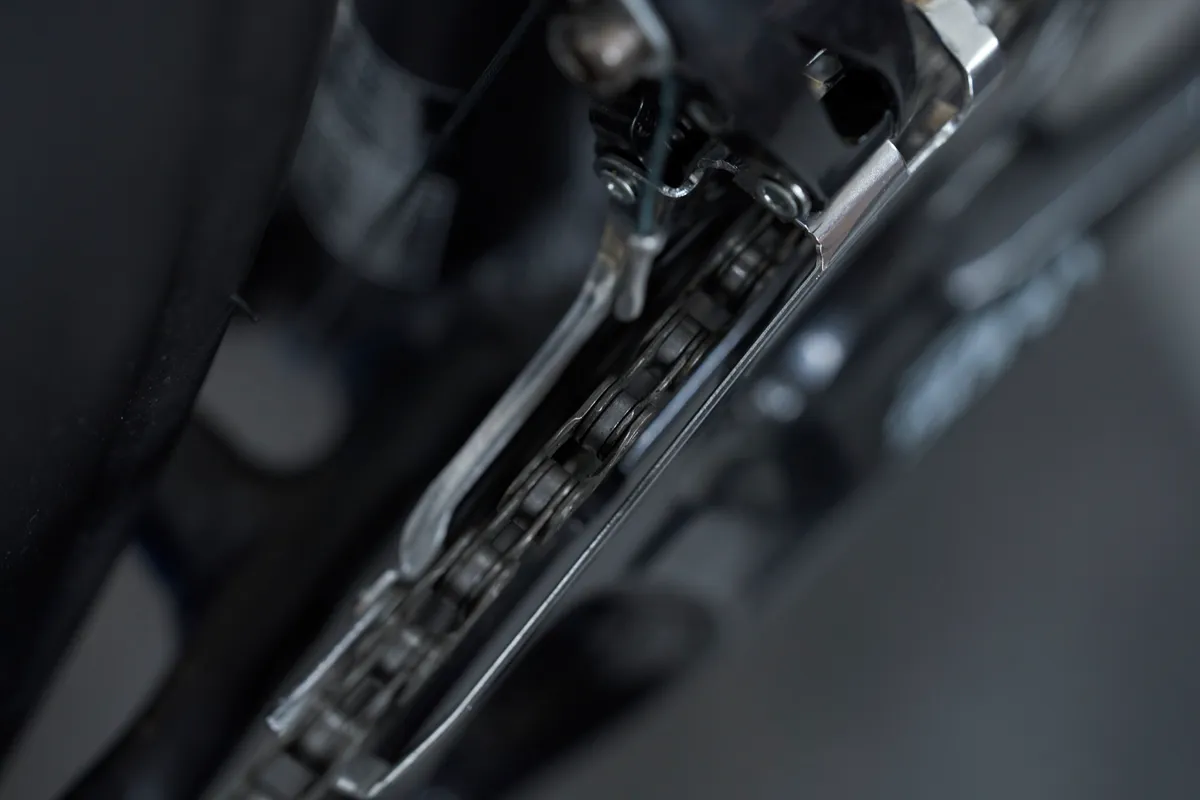
Finally, we’ll set the high limit of the front derailleur, which stops the chain from overshifting off the chainring.
Shift the rear derailleur into the smallest cog.
Manually pull on the cable to encourage the derailleur to shift into the largest chainring.
Keeping pressure on the cable, wind out the screw a half turn at a time until the chain jumps to the biggest ring. After this, quarter turns will enable you to adjust the derailleur so it doesn’t rub the chain.
Now the front derailleur limits are set, you may need to make adjustments to the indexing.
You can read our guide on how to adjust your front derailleur for more advice, including how to setup electronic front derailleurs.
How to diagnose common drivetrain problems
Problem: Gears won't shift up or down perfectly with one click
- Solution: This is most commonly caused by stretched gear cables and you will need to re-index your gears
Problem: Gears are well indexed but the chain keeps dropping off either end of the cassette or chainrings
- Solution: This is most commonly caused by poorly set up derailleur limit screws and these will require adjusting. It can also be caused by a bent derailleur hanger
Problem: My rear gears are properly indexed, but the chain shifts too far in one direction
- Solution: If the chain won't run to the bottom of the cassette and shifts over the big cog into the spokes (or vice-versa), it sounds like a bent rear hanger needs straightening or replacing. If you've been in a crash or damaged the bike somehow, this is the likely cause. It is also possible, but less likely, that the limit screws are causing this
Problem: Downshifting is fine but upshifting is sticky or slow
- Solution: When were your cables last replaced? Dirty cables and housing can cause slow or inaccurate shifting
Problem: Chain slipping, jumping and generally misbehaving
- Solution: Inspect the chain wear using a chain checker. Depending on how worn it is, you may need to also replace the cassette and chainrings
