There are few things quite as annoying as clicking or jumping gears, but knowing how to adjust your rear derailleur can save you from such frustration.
In this guide, we’ll take you through how to adjust a rear derailleur with easy-to-follow step-by-step instructions.
We’ve also got a troubleshooting section in case you’re struggling, as well as tips and tricks for setting up electronic rear derailleurs.
How rear derailleurs work

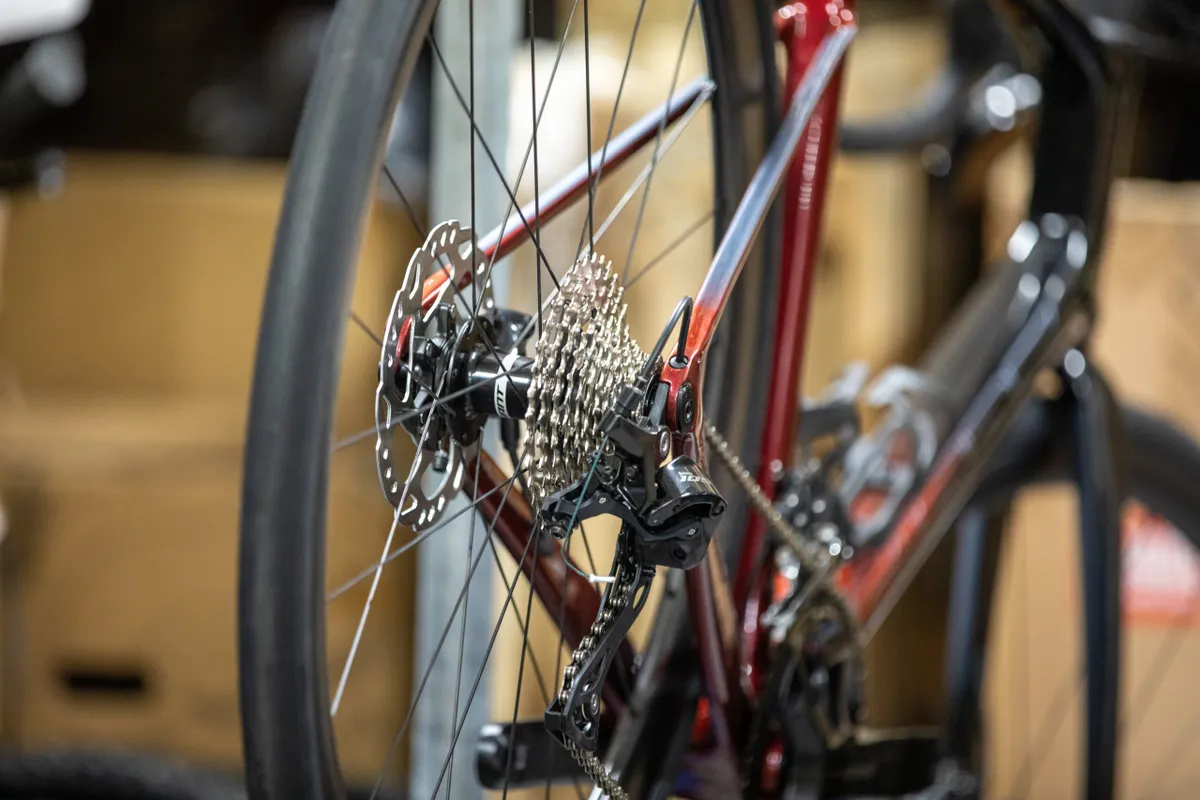
The rear derailleur is a key component in your bike’s groupset, shifting the chain onto the various cassette sprockets.
When you change gear on your bike, the shifter pulls or releases a set amount of cable. This moves the rear derailleur a predetermined distance, shifting your chain onto a different cassette sprocket.
When set up correctly, your rear derailleur should shift one gear for every click of the shifter.
Parts of a rear derailleur
In terms of adjustment, there are typically four parts of a rear derailleur we need to be concerned about:
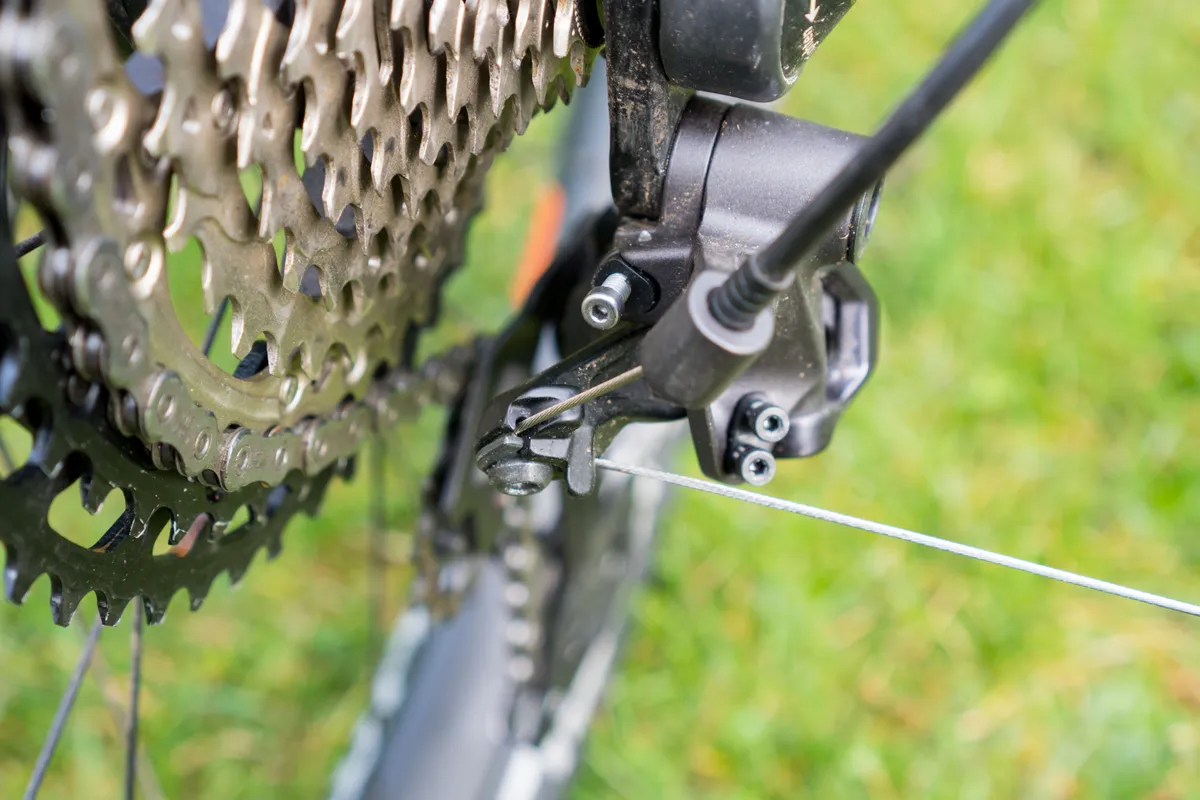
- Two limit screws
- B-gap
- Barrel adjuster
The limit screws control how far the rear derailleur can shift in either direction. Setting the limit screws correctly prevents the chain from shifting off the cassette and into the spokes, or into the driveside dropout.
The B-gap adjustment determines the distance between the upper pulley (also known as the guide pulley) of the rear derailleur and the cassette teeth.
The barrel adjuster shortens or lengthens the cable run to fine-tune the indexing. Some derailleurs may lack a barrel adjuster, where it is instead incorporated into the shifter.
How to adjust a rear derailleur
This guide explains how to adjust a rear derailleur from scratch, as if you’re installing it for the first time.
If you're adjusting a rear derailleur that’s already on your bike, head straight to Step 4.
Tools required

- A hex key to fit your derailleur cable-retention bolt and limit screws (the latter may require a screwdriver)
- Torque wrench and socket (only needed if setting up a rear derailleur from scratch)
- Cable cutter (if installing a new cable)
Step 1
We’re first going to set the high limit screw. This controls how the chain runs on the smallest cog of the cassette, and is usually marked with the letter H.
It’s good practice to adjust the limit screws without the gear cable attached to take cable tension out of the equation.
For a 2x (two chainrings) drivetrain, set the rear derailleur’s limit screws with the chain on the larger (outer) chainring.
For a 3x (three chainrings/triple) drivetrain, set your rear derailleur’s limit screws with the chain in the middle chainring.
Adjust the screw so the chain runs smoothly on the cog without jumping or clicking.

If the chain wants to shift into the second cog, back off the tension by winding the screw counter-clockwise. If the chain is trying to jump off the bottom of the cassette, wind the screw in clockwise. You only need to make small adjustments, so be patient and precise.
To check the limit is set properly, manually push the rear derailleur while pedalling into the middle of the cassette and then let go, allowing the rear derailleur to drop the chain back into the first cog.

If the chain always reverts back to the smallest cog without any jumping or skipping, the high limit screw is set correctly.
Step 2

Now, we’ll set the low limit screw, which stops the chain from derailling into the spokes.
Manually push on the derailleur to shift it up to the highest gear possible.
While still manually pressing on the derailleur, gently turn the cranks and wind out the low limit screw until the cassette shifts to the biggest cog and isn’t jumping or clicking.

Another method we recommend is setting the limit screw so the chain runs in the second largest cog. Slowly unwind the limit screw until the chain jumps into the biggest cog and runs smoothly. This method ensures the tolerance of the derailleur’s limit isn’t skewed towards the wrong end of the scale.
Step 3

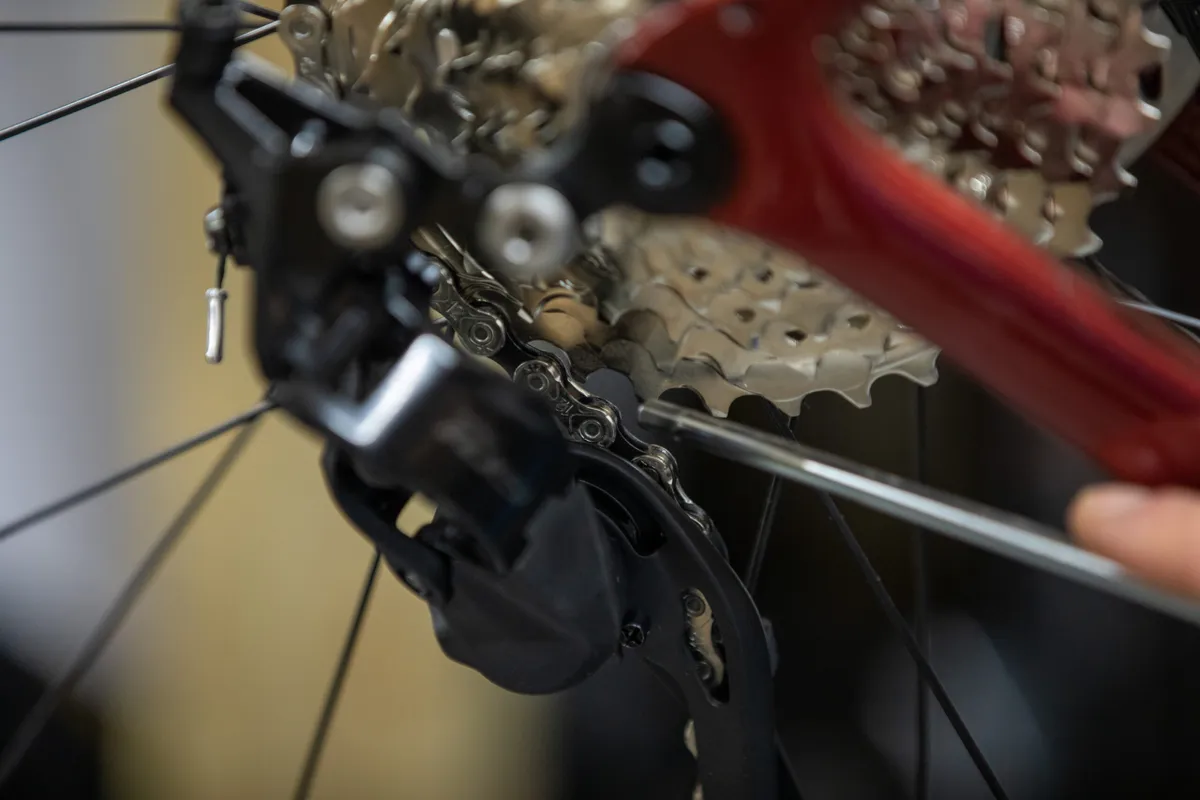
We’ll now connect the gear cable. Before routing the cable, wind the barrel adjuster in fully clockwise, then out by one or two turns – this gives a good scope for adjustment later.
Route the cable through the barrel adjuster and the cable-pinch bolt, making sure the cable is routed through the latter correctly.
If it’s not obvious how the cable should be routed, you could fully remove the pinch bolt and take note of the groove on its underside face.
Pull the cable taut and tighten the pinch bolt to the manufacturer’s recommended torque spec – usually 5Nm.
If the gear cables are new, it’s vital you pre-stretch them (technically, you’re seating the outer housings in the cable stops, but stretching is more descriptive).
Without pedalling, press on the shifter throughout its cycle and then downshift a couple of times. The cable should stretch and you can then loosen and re-secure the cable in the pinch bolt.
Step 4

We can now start to work on indexing the gears.
With the chain in the smallest cog, press once on the shifter to shift the chain onto the second smallest cog.
One of three scenarios will happen:
- The chain either shifts to the second cog without excessive noise
- It stays in the smallest cog
- It overshifts
If the chain didn’t shift to the second gear, increase the cable tension by winding the barrel adjuster counter-clockwise while pedalling until it makes the shift and the chain doesn’t make any rasping noises on the cog.
If you’ve had to unwind the barrel adjuster a lot, it’s worth undoing the cable pinch bolt, pulling more cable through and starting again. Otherwise, there won’t be much room for future adjustments.
If the chain overshifts, you’ll want to decrease the cable tension by winding the barrel adjuster clockwise until the chain settles on the second cog without any excessive noise.
You may need to make minute adjustments and we’d recommend only adjusting the barrel adjuster by a quarter turn once you’re almost within range.
Step 5

We’ll now check that the chain shifts back down to the smallest cog smoothly.
If the chain is hesitant to downshift, decrease the cable tension in small increments.
Step 6
Repeat steps 4 and 5 for the third cassette cog. Once you’ve got the first three gears indexed properly, it’s likely the indexing will be fine for the rest of the cassette.
Step 7

Check the shifting across the entirety of the cassette, making small adjustments to the barrel adjuster if required.
If the downshifting is responsive but upshifting isn’t, the cables likely need lubricating or replacing.
Step 8
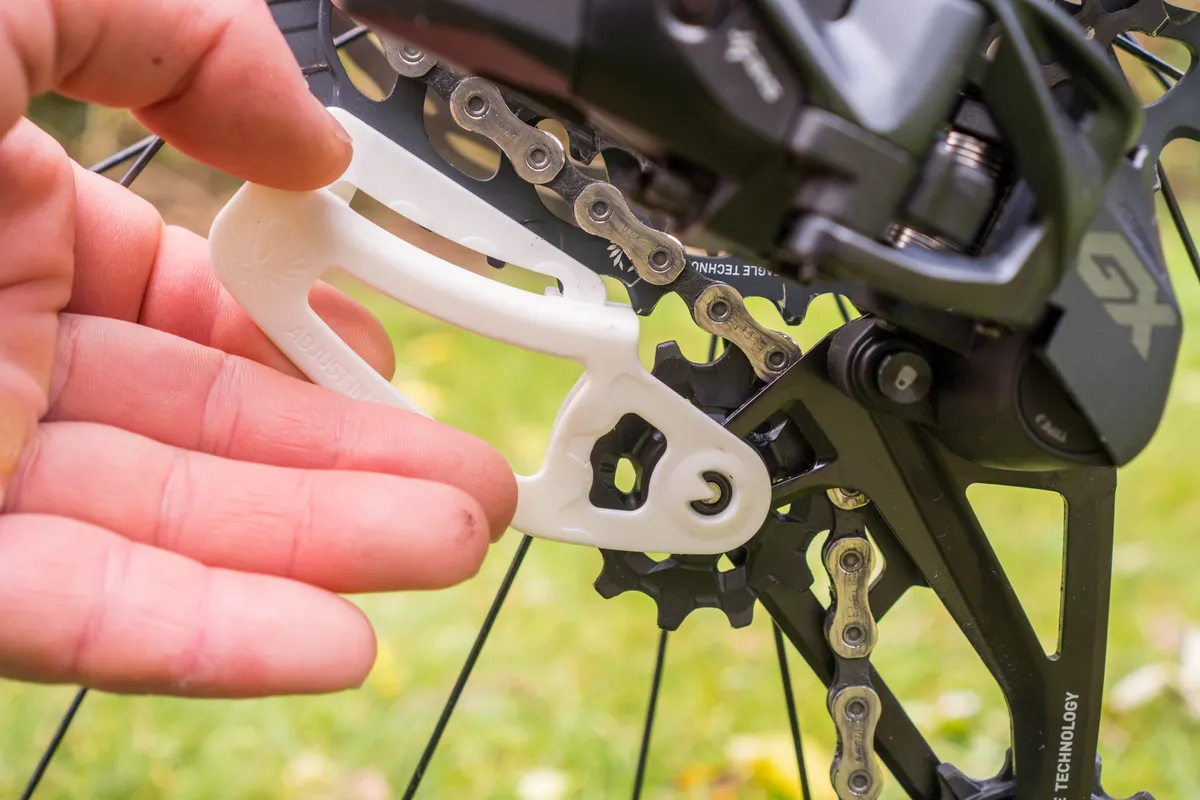
We’ll now set the B-gap (also known as B-tension). With the chain in the largest gear, the upper jockey wheel should just clear the cassette. Turning clockwise will increase the gap whereas anti-clockwise will close it.
Refer to the manufacturer’s recommended clearance. Most manufacturers recommend a B-gap of between 5 and 6mm. Adjust until you have achieved this clearance – you can use a 5 or 6mm hex key as a guide.
If there isn’t a recommended clearance, make sure you take your time to experiment and get this right. If the B-gap is set so the guide pulley is too close to the cassette, the chain will make a rumbling sensation as you ride. If there’s too great a distance, the shifting will be sloppy.
Modern 12- and 13-speed groupsets are particularly reliant on the correct B-tension. SRAM includes a tool you can line up with the derailleur pulley wheel and the cassette cog.
If you’re adjusting the B-gap on a full-suspension mountain bike, bear in mind you’ll need to set this up with the shock under its required sag.
If you’ve had to make significant changes to the B-gap, it’s worth re-checking the indexing.
Other factors that can impact your rear derailleur’s shifting

If you've followed our steps but your bike gears still aren't working correctly, there are a few things to check.
Firstly, check that the derailleur hanger isn’t bent. You’ll need a derailleur hanger alignment tool to straighten a bent hanger. If you don’t have this tool, a good starting point is eyeballing the hanger to check it isn’t obviously bent.

Check the cassette and chain wear – a worn chain will shift poorly.
Check that the cables are in good condition. If the cable ends are frayed – or the outer housing has any cracks or is split – replace it.
Make sure the rear derailleur mounting bolt, crankset and cassette are all tightened to the manufacturer’s recommended torque.

Finally, if the derailleur or shifters are old, inspect their condition. On the derailleur, look for any slop in the pivots or linkages. You can check this by holding the derailleur cage and checking it has excessive lateral movement.
With the shifter, the ratchet inside can wear over time and you can tell if this is the case by a vague or dead shifting feel.
How to adjust an electronic rear derailleur
Electronic rear derailleurs differ from mechanical ones in that they are powered by motors, communicating either wirelessly or via wires. The way in which you adjust them differs between manufacturers.
You typically need to press a button on one or various components to enter an adjustment mode, which performs an equivalent function to a barrel adjuster.
Of course, make sure the system has sufficient charge.
Shimano Di2

On its latest 12-speed semi-wireless groupsets, Shimano recommends first setting the B-gap before then focusing on the indexing and setting the limit screws last.
- Shift into the eighth cassette cog and smallest chainring. This is the position Shimano recommends starting in before adjusting the gears.
- Press and hold the function button on the rear derailleur for between 3 and 5 seconds – the LED will light up yellow.
- Then press the downshift button on the right shifter until the chain shifts into the ninth cog with a slight rubbing noise.
- Shimano then recommends pressing the upshift button five times to back off the rear derailleur to its final position.
- To exit adjustment mode, press and hold the rear derailleur function button for half a second.
- Check the chain shifts smoothly in all gears.
When you’re in the smallest or largest cogs, Shimano recommends winding in the relevant limit screw until it lightly touches the derailleur’s inner link.
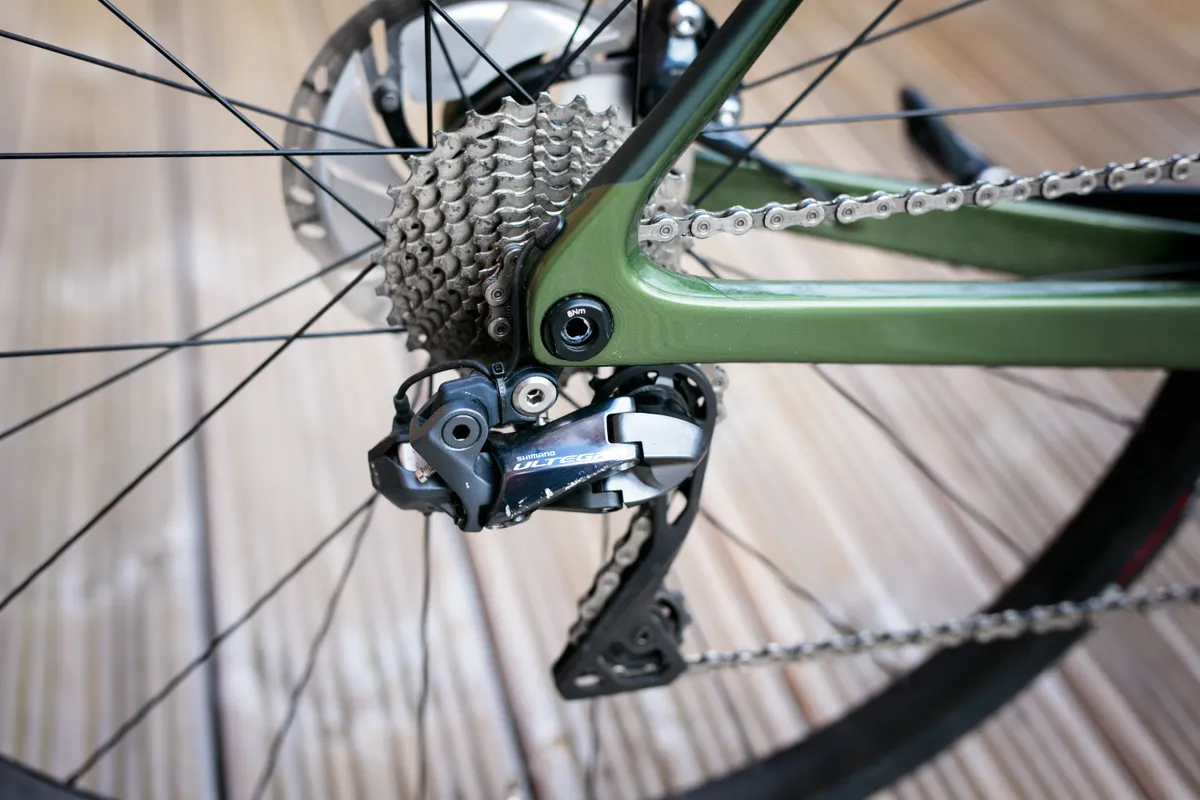
If you have an older 11-speed groupset, the process differs. Before adjusting the rear derailleur, you'll need to have set up the front derailleur (if applicable).
- Shift the chain into the largest cassette cog. Don’t worry if the indexing isn’t perfect – we’ll come onto that later.
- Set the rear derailleur’s low limit screw with a 2mm hex key.
- Now set the B-gap. Shimano recommends a 3 to 4mm gap.
- Shift the chain down the cassette and take note of the quality of the indexing. If you need to make any adjustments, you'll need to enter adjustment mode. Press the function button on the junction box to enter adjustment mode for 3 to 5 seconds. A red light will illuminate to indicate you’re in adjustment mode.
- Use the right shifter buttons to make minute adjustments to the rear derailleur.
- Press the function button again for 3 to 5 seconds to exit adjustment mode.
- Check the indexing and adjust as required.
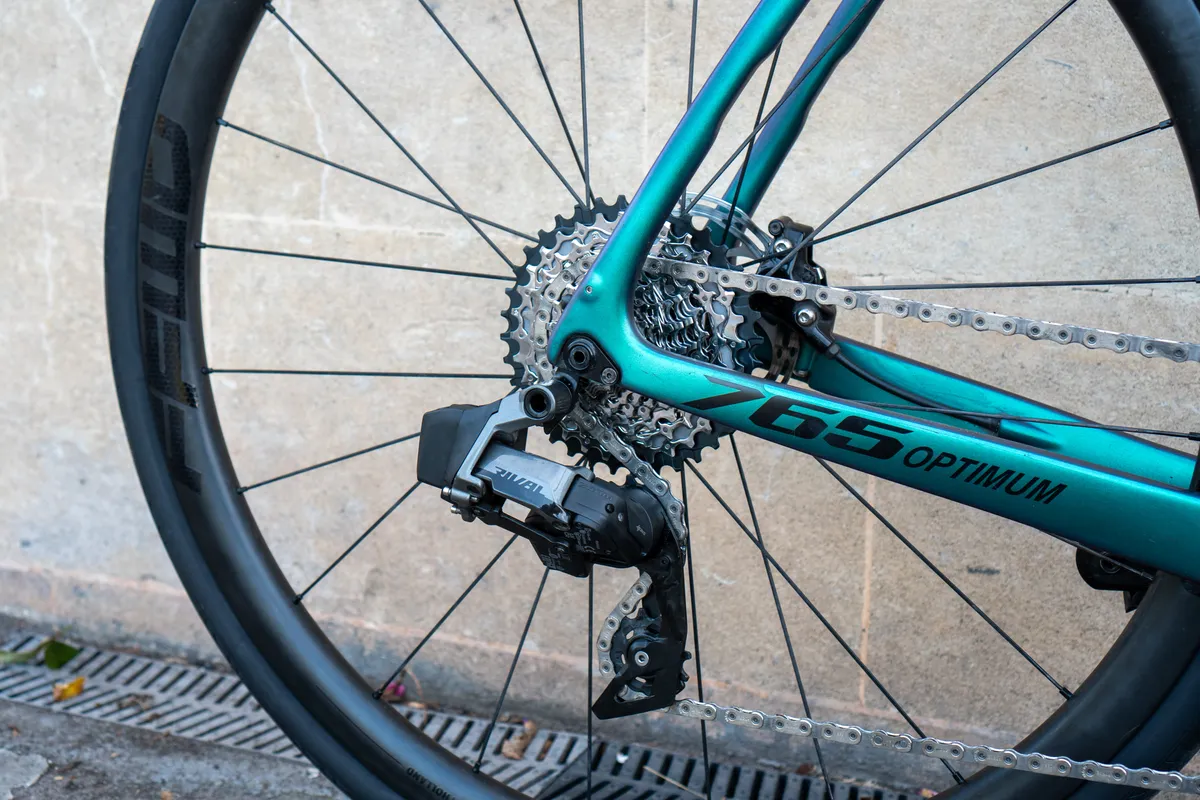
SRAM AXS
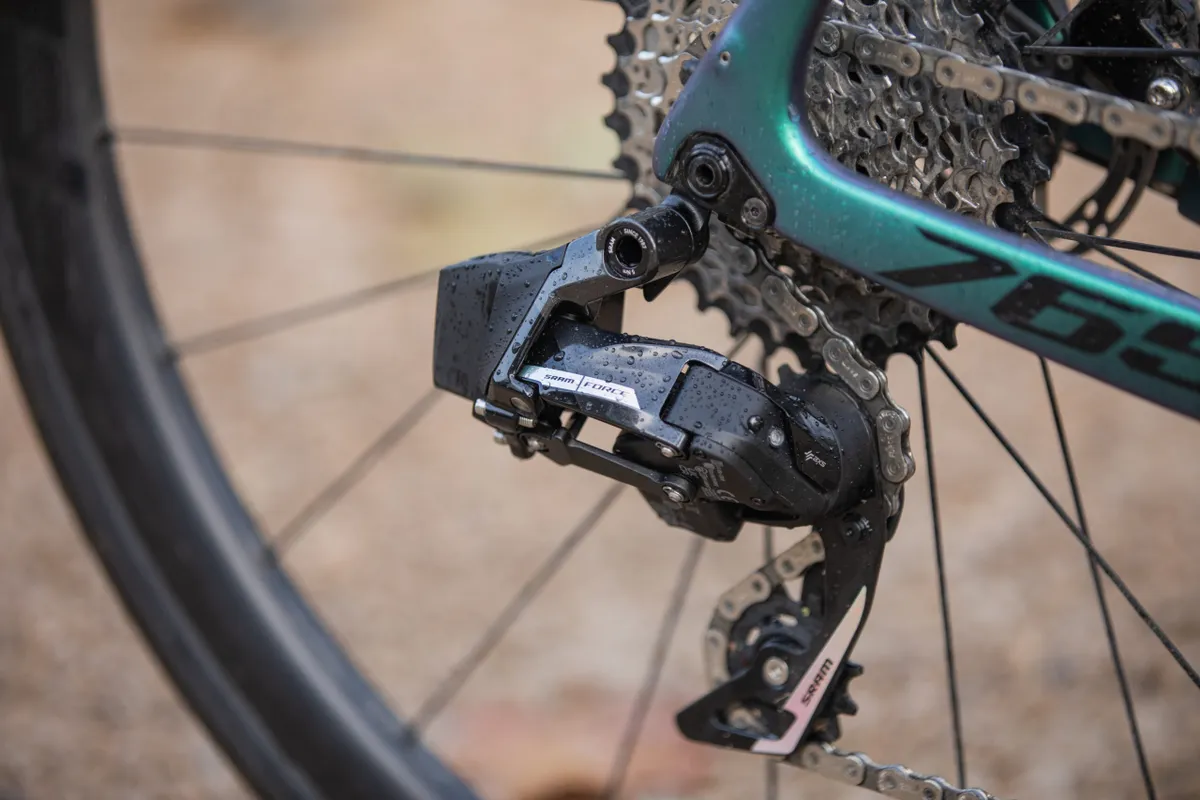
The only tool you’ll require is a 2.5mm hex key to set the limit screws.
- We first need to pair the components. Make sure you have installed a charged SRAM AXS battery in the derailleur(s).
- Press the AXS button on the rear derailleur until the green LED blinks slowly, then release. Once the rear derailleur is in pairing mode, the rest of the components can be paired in any order.
- Press the AXS button on the front derailleur (if applicable) and both shifters until the LED blinks quickly, then release.
- Press and release the AXS button on the rear derailleur to exit pairing mode. You can check everything works by pressing on the shifter and checking the derailleur executes the command.
- If you’re using a front derailleur, it must be in the outboard position before you can begin installation. Set the derailleur so both guide marks for the height and angle align with the chainring. SRAM also provides a Set Up Tool with some of its derailleurs in the box, which simplifies this step.
- Make sure you install a front derailleur support wedge that best fits between the derailleur and your frame. The motors in SRAM front derailleurs are aggressive and not using a wedge will put more stress on the frame.
- Shift the rear derailleur into the largest cog and set the B-gap. You’re likely to achieve the best results using SRAM’s specific B-gap guide tool.
- Set the low limit screw, making sure the limit screw lightly touches the inner link of the rear derailleur.
- Shift the chain into the smallest cog and set the high limit screw, again ensuring the limit lightly touches the rear derailleur’s inner link.
- Set the front derailleur’s high limit screw so there is between 0 and 0.5mm clearance between the chain and outer plate. Unlike a mechanical derailleur, you mustn’t manually press on a SRAM derailleur to check the limit screws because this may damage the motor.
- Set the front derailleur’s lower limit screw by shifting the chain into the small chainring and largest cassette cog. Again, there should be between a 0 and 0.5mm clearance between the inner plate and the chain.
- To set the rear indexing, you’ll need to use the MicroAdjust feature, which moves the rear derailleur by 0.25mm in either direction. You can enter this mode by pressing on the AXS button on the relevant shifter, or you can even do this via the ‘Drivetrain settings’ of the SRAM app. Although the derailleur may not appear to move, watch for the derailleur button to flash to confirm the command has been executed.
The process for SRAM direct-mount rear derailleurs differs from conventional derailleurs. Check out our step-by-step guide to installing and setting up SRAM’s Eagle Transmission rear derailleur.
Campagnolo Super Record Wireless

The process for setting up a Campagnolo Super Record Wireless rear derailleur differs from its previous EPS electronic groupsets.
The only tool you’ll need is a 2mm hex key.
- Shift the chain so it's in the sixth cog.
- Press the ‘Mode’ buttons on the inside of both shifters at the same time for five seconds, until the LEDs light up pink.
- Press the ‘Mode’ button on the right shifter within one second – the LED will light up pink for a moment and then the rear derailleur will light up solid pink.
- Like SRAM, use the shifter buttons to centre the chain on the cog until there is no rasping.
- Once correctly positioned, press the mode buttons again on both shifters at the same time. The LEDs will briefly light up blue, while the rear derailleur starts to flash blue slowly to come out of adjustment mode.
- Now, shift onto the largest cog and set the low limit screw and B-gap (Campagnolo recommends a distance of 5-7mm).
How to replace a rear derailleur
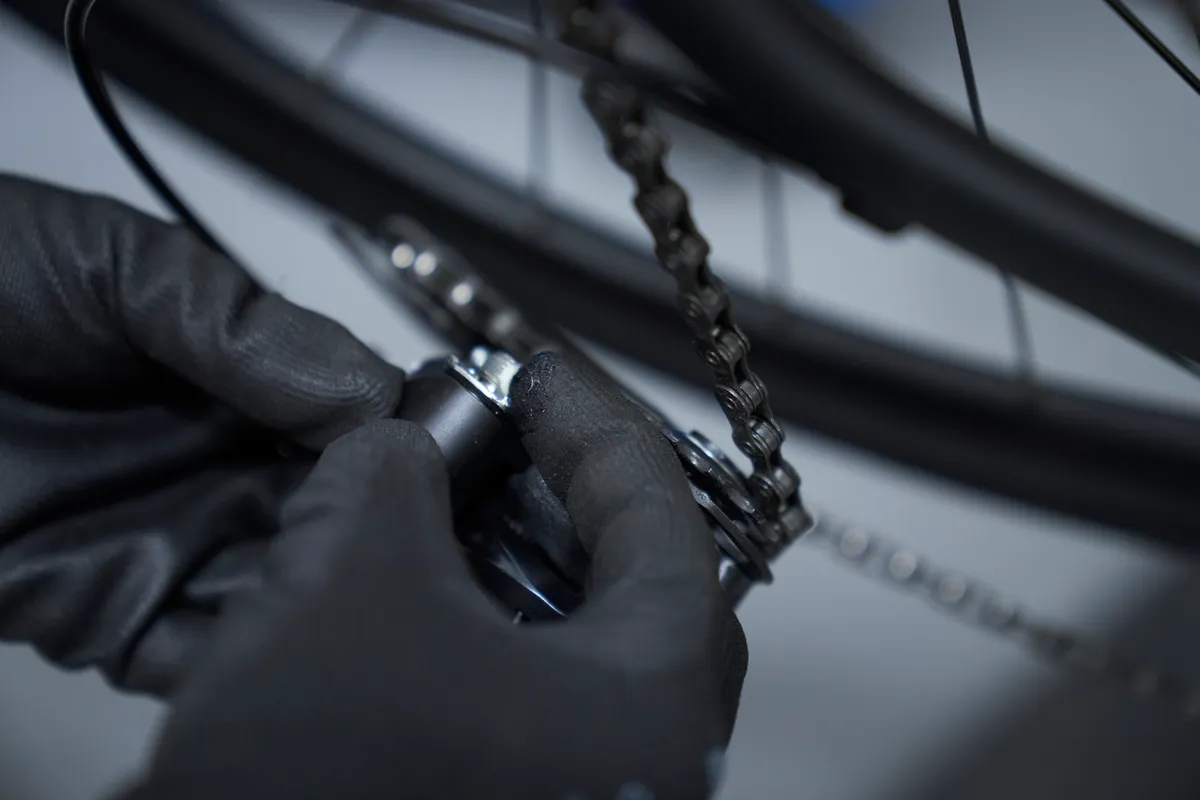
To replace a rear derailleur, you’ll first need to remove the chain if it’s installed.
Then, simply undo the old rear derailleur’s mounting bolt.
Lightly grease the threads of the new rear derailleur and install the new rear derailleur, taking care not to cross-thread it. Tighten the mounting bolt to the recommended torque – usually 5Nm.