In the third instalment of our Adventure Addicts series, we sharpen our gravel skills with a masterclass from former British Cyclocross champion Nick Craig to help #groadies make a smooth transition from tarmac to trail.
- Adventure Addicts part 1: Gravel riding explained
- Adventure Addicts part 2: How to have a gravel adventure
To echo Liam Neeson’s character in Taken, gravel riding requires a particular set of skills. If you’ve come from the road, then a lot of habits need to be unlearned (or at least tailored) for gravel.
Mark Bailey, road cyclist and gravel-guru-in-training, takes the plunge.

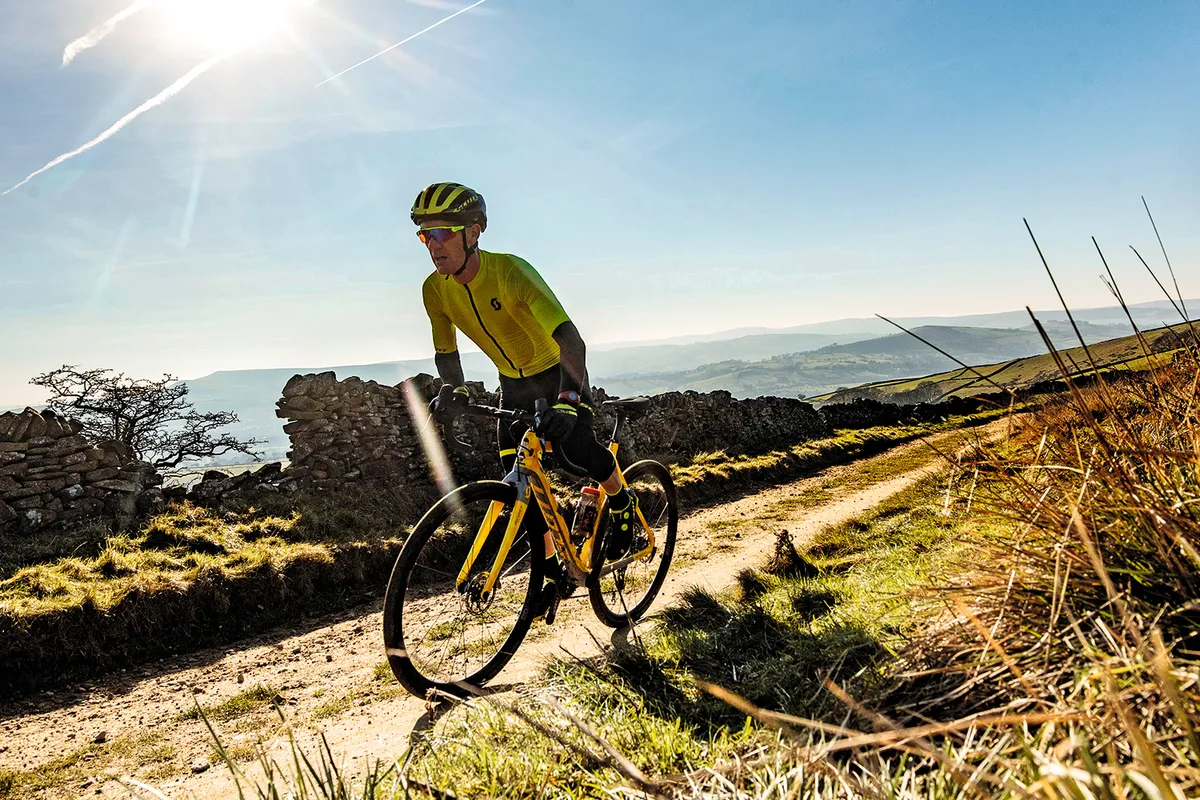
1. Cornering on gravel
With sharp turns on loose stone, your road technique – go in wide, clip the apex and exit wide – won’t always work, because the outer edges can be the roughest bits. “It is better to choose the smoothest line and keep a nice flowing motion around the bend,” says Nick.
Trim your speed before you reach the corner and try standing up. “Separating your body from your bike allows you to move a little to the side during the bend which will help your balance.”
Load up your outer pedal by driving your heel and foot downward to secure more grip from the tyre, but don’t try to lean the bike like a Moto GP rider on such an unstable surface.
“Try to stay relaxed,” he adds. “A tight grip just makes you fight the turn and you want to let the bike move in a smooth arc. And remember that gravel bikes come fitted with extra weapons, so make the most of them: my bike has wide handlebars which flare out at 12 degrees, giving me extra control when I’m gripping the drops on corners.”
2. Cleats and shoes for gravel
Once you’ve taken the plunge and bought your gravel bike, you might want to consider which cleat and shoe setup you use.
When riding gravel, you’re more likely to put your foot down and get your cleats caked in mud. You’re also more likely to have to get off and walk certain parts of the route.
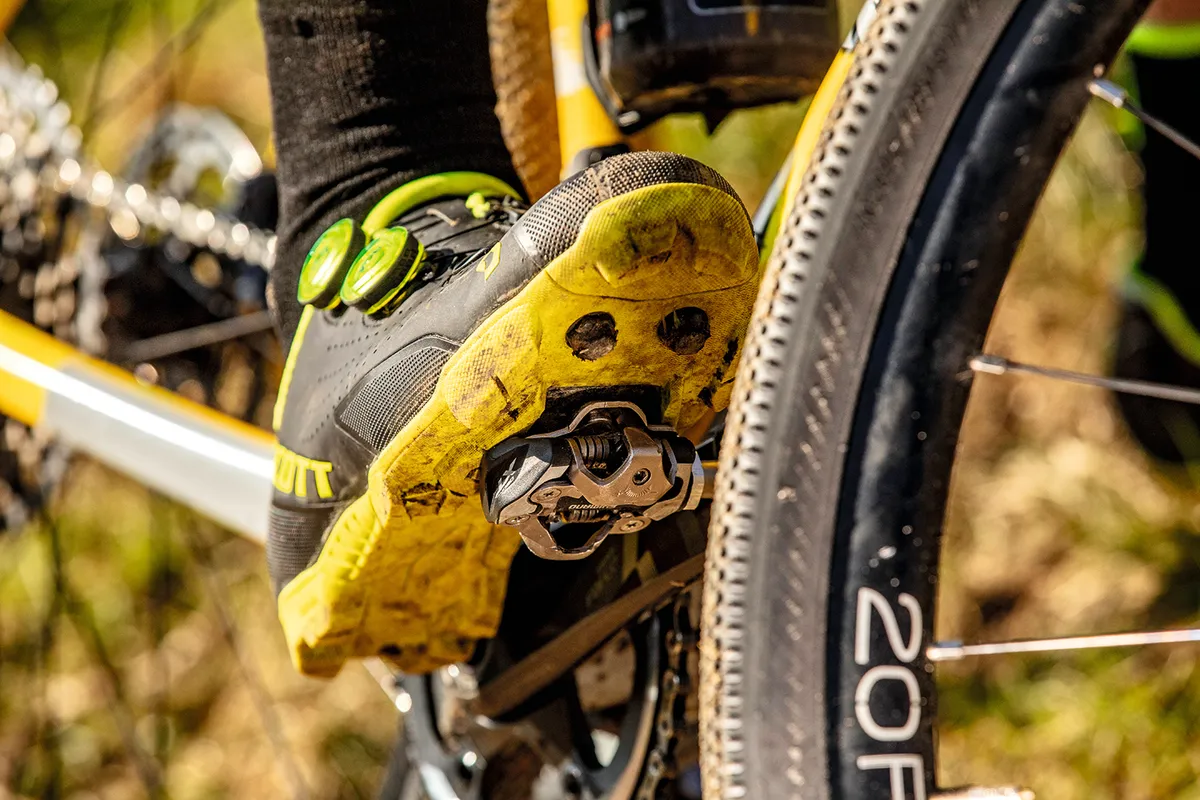
“Unlike road shoes which use bigger three-bolt (SPD-SL) cleats, mountain bike shoes use smaller two-bolt (SPD) cleats which are hidden in the sole of the shoe so mud isn’t a problem,” explains Nick. “You’ll also find it easier to clip in as the recessed gap guides your cleats into the pedals.”
Being able to walk around hazardous sections of trail is helpful on gravel adventures, but road shoes will leave you waddling like a penguin. “With their flat soles, mountain bike shoes allow you to walk normally,” says Nick.
You’ll need SPD pedals to match, but these also pack extra benefits: “Road pedals are single-sided but SPD pedals are double-sided which makes it easier to clip in.”
The next day Mark tried a pair of Scott MTB Comp Lace shoes and found walking, clipping in and standing hill starts much easier, as did strolling over to the bar in the hilltop pub.
3. Gravel tyre setup
There’s one other kit issue to get right: your tyre setup.
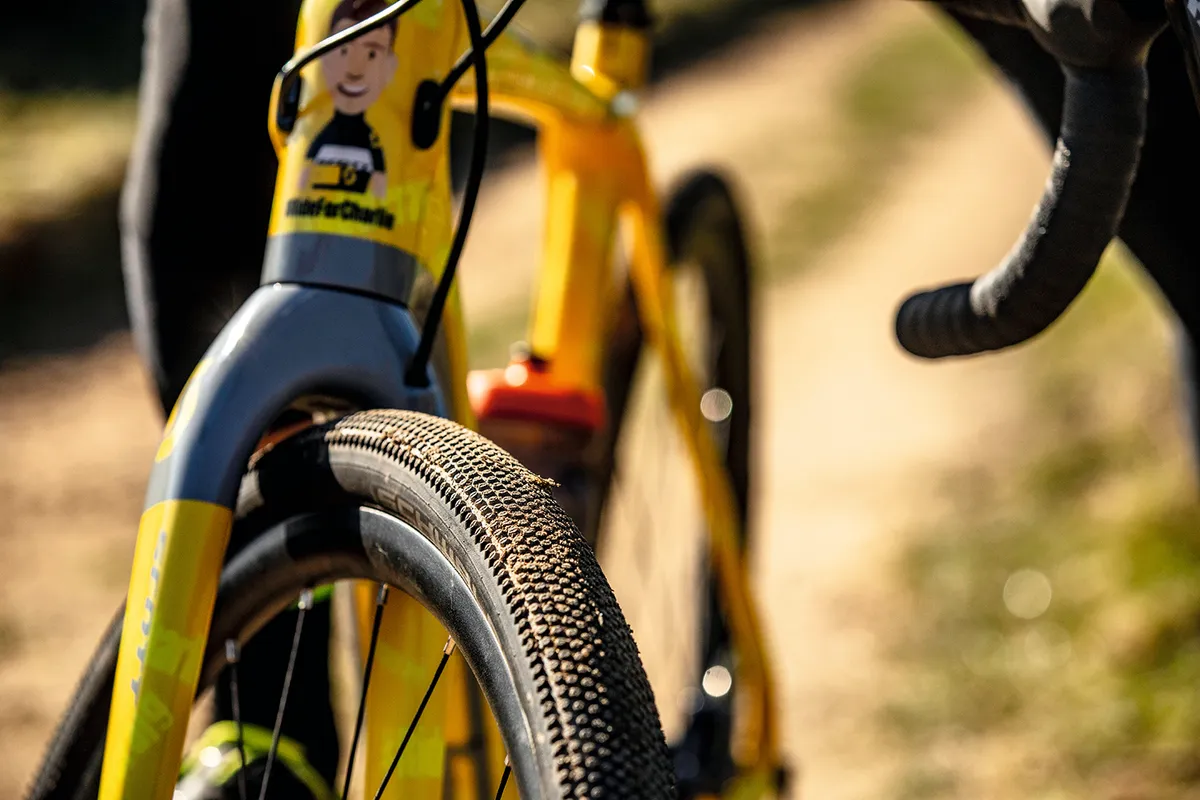
“Gravel bikes tend to run tyres from 32mm to 48mm in width so you have more traction,” explains Nick. The Scott Addict Gravel 30 comes with 35mm tyres, which work well for wet-behind-the-ears gravel riders.
Tyre tread is also worth thinking about: a smooth tyre will roll well on tarmac but lose grip on gravel, whereas a chunky tread will power along trails but slow you down on the road.
Your most effective upgrade, however, is to switch from inner tubes on your bike to a more puncture-resistant tubeless setup. With tubeless tyres, there’s less chance of getting a pinch flat because there’s no inner tube to bite against the rim of the wheel.
Plus, you can add liquid sealant into the tyre which will plug cuts from thorns and stones. “Tubeless tyres also offer better grip. A standard gravel tyre typically runs at 45–70psi — still much lower than the 90–120psi of road tyres — but a tubeless tyre can go as low as 30psi so it really hugs the ground.”
4. How to ride faster on gravel
Road cyclists moving onto trails for the first time should focus on analysing the path ahead. While years spent looking out for potholes will help you here, off-road it’s more about tracing your ideal line rather than simply spotting what is just in front of your wheel.
“Lift your head up, identify which lines appear safest, and follow the line you’ve drawn in your mind,” says Nick. The faster you’re moving, the further ahead you need to look. “Find the right speed for you.”
“Go too slow (common for first-time gravel riders) and you’ll be picking your way around stones which your new knobbly tyres can easily ride over, so you’re not making the most of your bike. Go too quickly and you’ll lose control. So find a healthy speed where you can look ahead while maintaining your control.”
Write ‘Head up’ on a sticker and tape it to your stem as a reminder.
5. Gravel climbing technique
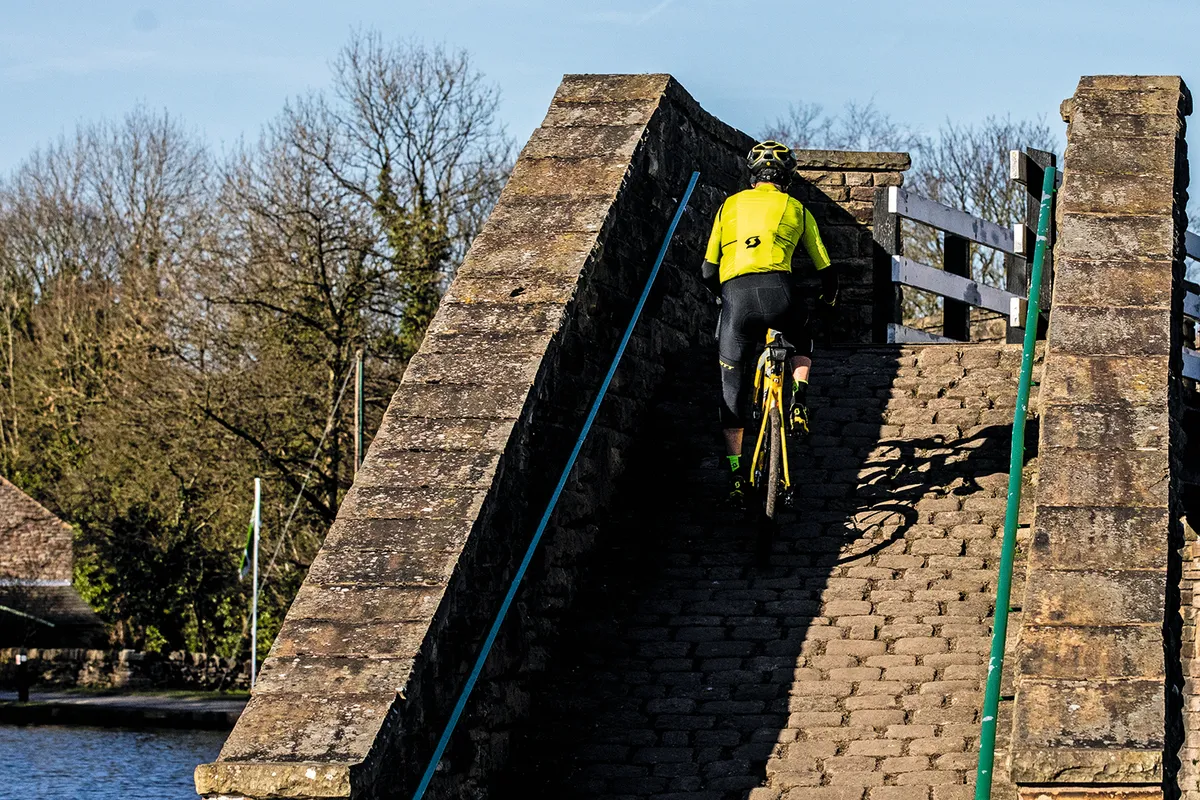
Sharp climbs — whether on slippery canal paths or unstable gravel tracks — can be daunting, but there are a few tricks to get you up there.
“Build good momentum so you carry that into the climb,” advises Nick. “As you climb, keep your body weight and hips over the back of the bike to stop your back wheel slipping.”
“This doesn’t feel natural for road cyclists, but sitting down on the climb will help you maintain traction, and that’s where your new 1:1 gear ratio will really help. If you can stay seated and still pedal smoothly, you’re in the right gear.”
6. Gravel descending technique
Descending on gravel or steep slopes requires many of the same skills as on tarmac, but there are subtle differences between the two disciplines.
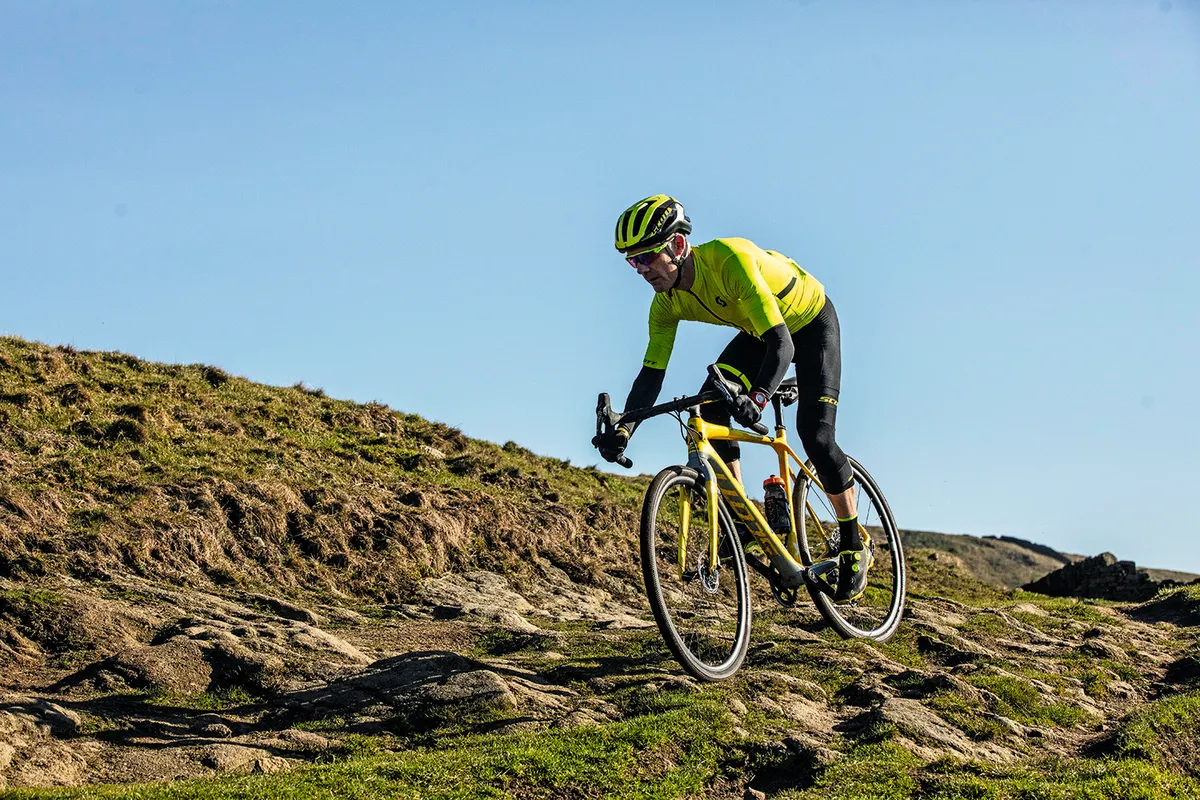
Getting out of the saddle can help you stay in control on gravel. “You want to keep further back on the bike to maintain stability, not lean too far forwards, but standing up allows you to make lots of tiny shifts in balance to stay in control,” says Nick.
Keep your knees and arms bent and your upper body and hips square for optimal balance. Your front brake should do the majority of the work but feather the back brake to stop your wheels sliding. “Keep your pedals level to avoid them scraping the ground and lift your head up to see what’s coming next,” adds Nick.
7. Bike-handling skills for gravel
Road cyclists are accustomed to sweeping bends and open roads but on narrow forest trails you need some slick bike-handling skills.
If you have to weave left and right in quick succession, focus on your body position. “This is when road cyclists will benefit from getting out of the saddle,” advises Nick. “Standing up helps you to distribute your weight so you can move around the bike and get better balance.”
For a series of tight turns, drop your heel on your outer leg and commit your weight onto your outer foot, so the pedal is slightly tilted to the ground. “That helps to expand your tyre slightly for extra grip and lets you lean into the turn,” says Nick. “On tight turns it is about using your body for balance. Move around the bike to counteract the changes of direction.”
8. Hopping obstacles on the bike
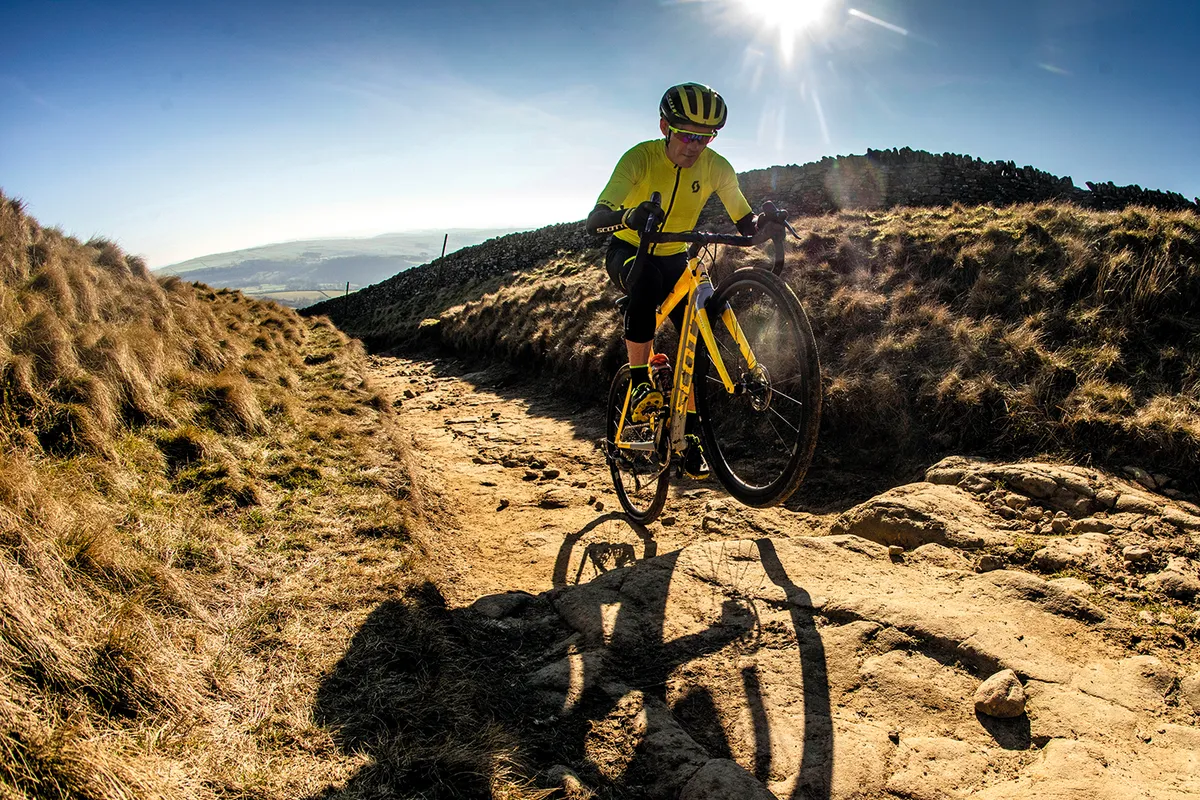
When you’ve perfected your new gravel skills, it’s time to progress onto a step-up, where you lift your bike over rocks and gullies.
This skill involves a mental leap, as well as a physical one, because road cyclists don’t like to leave planet Earth — even momentarily — but it’s a useful technique.
“The trick is to hover above or just behind your saddle, then, as you apply power to the pedals, lean your weight back and gently pull up with your arms to perform a small wheelie and lift your front wheel onto the rock,” says Nick.
“From there, just transfer your weight forwards and gently lift the rear wheel using your hips to allow the back wheel to follow.”
Armed with this skill, you’ll be less afraid of rocks, and you might even earn a nod of respect from mountain bikers.
9. The best gearing for gravel riding
On gravel rides, gears become even more crucial than they are on both the road and in cyclocross races.
“Gravel gearing is much higher than on a cyclocross bike, because the fastest you might race around a cross track is 25mph, whereas you want to race your gravel bike on tarmac too,” explains Nick.
“But the gears are also a bit lower than on a road bike: some pros push a big 53t chainring but you don’t really need that absolute top limit when you’re spending more time on mixed surfaces.”
Mark’s Scott Addict Gravel 30 has a 50/34t chainring and an 11-34 cassette, while Nick’s Scott Addict Gravel 10 has a single ring 40t with 10-42 at the back.
Such a spread of gears is “ideal”, says Nick, “because you can go fast on the roads but you also have a 1:1 gear ratio for when you need it.” A 1:1 gear ratio means that for every one revolution of your cranks, your back wheel will fully rotate once.
“With a 34 front chainring and a 34 rear cassette you have that perfect 1:1 ratio to keep you nice and balanced and in control when you have to slow down on steep slopes and unstable terrain.”
Armed with the right ratio, it’s then all about choosing the right gear and cadence. Nick recommends 70–100rpm, depending on the terrain.
“On gravel and stone trails, aim for a big gear and a slightly lower cadence which will give you momentum and control,” he suggests. “On slippery trails, sand or muddy climbs, you want a lower gear and a higher cadence.”
10. How to keep up momentum
The big new challenge for roadies is dealing with the instability of loose stones.
“Your instinct is to slow down, but your momentum is what will keep the bike driving forwards and prevent your tyres slipping,” says Nick.
“Think like Ian Stannard at Paris-Roubaix, riding at speed in a big gear and powering over the surface. Keep the pedals turning and try not to get bogged down.”
“You want a firm but loose grip on the top of the handlebars. Hold tight but allow enough flexibility so your hands go with the terrain and don’t try to fight it.” This will help prevent a “death grip” which will strain your hands and shoulders and leave you feeling fatigued.
“Centre your body over the bike and keep your arms and elbows flexed so you flow over the terrain and use your body as your natural suspension system.”
Road riders will find disc brakes more responsive than calipers and they also work better in the dirt. “On gravel, always brake really slowly — gently pulling your front brake, then feathering your back brake — to avoid wheel slips.”
Remember to bed in your disc brakes before you hit the trails. To do this, find a descent where you can hit around 10–20mph and pull hard on the brakes, without fully locking the wheels.
Doing this a few times will help to ‘marry’ the brake pads to the rotors so the grooves make a better connection and work more effectively.
