We’ve all heard that dreaded hiss and felt a tyre go squidgy with a puncture. It usually means 15 minutes at the side of the road and often happens at the worst possible moment when it’s about to rain, it’s cold, it’s getting dark – or all three.
It’s good to be prepared, carry a spare tube and know how to fix a puncture quickly. You’ve typically got two options: to repair the inner tube that’s punctured or swap in a new one.
There are plenty of things you can do to lessen your chances of getting a flat in the first place, though. After all, prevention is better than cure when it comes to punctures. Here are six steps to help stop punctures on your bike.
1. Choose the right tyres

First up, choose bike tyres that are designed for the conditions.
It’s great to ride the best road bike tyres – they’re lightweight, fast-rolling, responsive and comfortable. But punctures are a lot more common on wet winter roads often strewn with grit and debris, so as the summer wanes into autumn it’s a good idea to switch to winter tyres.
The best winter road bike tyres are more robust than a summer tyre, with more puncture protection, often including a bead-to-bead protection strip, and are made using thicker rubber. The best year-round training tyres will balance speed, durability, grip and puncture protection.
Wider tyres can give you more grip and better ride comfort as well and, if you have the clearance in your frame, a gravel bike tyre with a light tread could also be a good bet for cycling to work, winter cycling or mixed-terrain riding.
2. Get the pressure right

If the pressure in your tubed tyre is too low, you risk getting a pinch flat, where the inner tube gets trapped between the rim and the tyre casing as you roll over a road or trail imperfection. That leads to a puncture with two parallel slits in the tube, also called a snakebite flat.
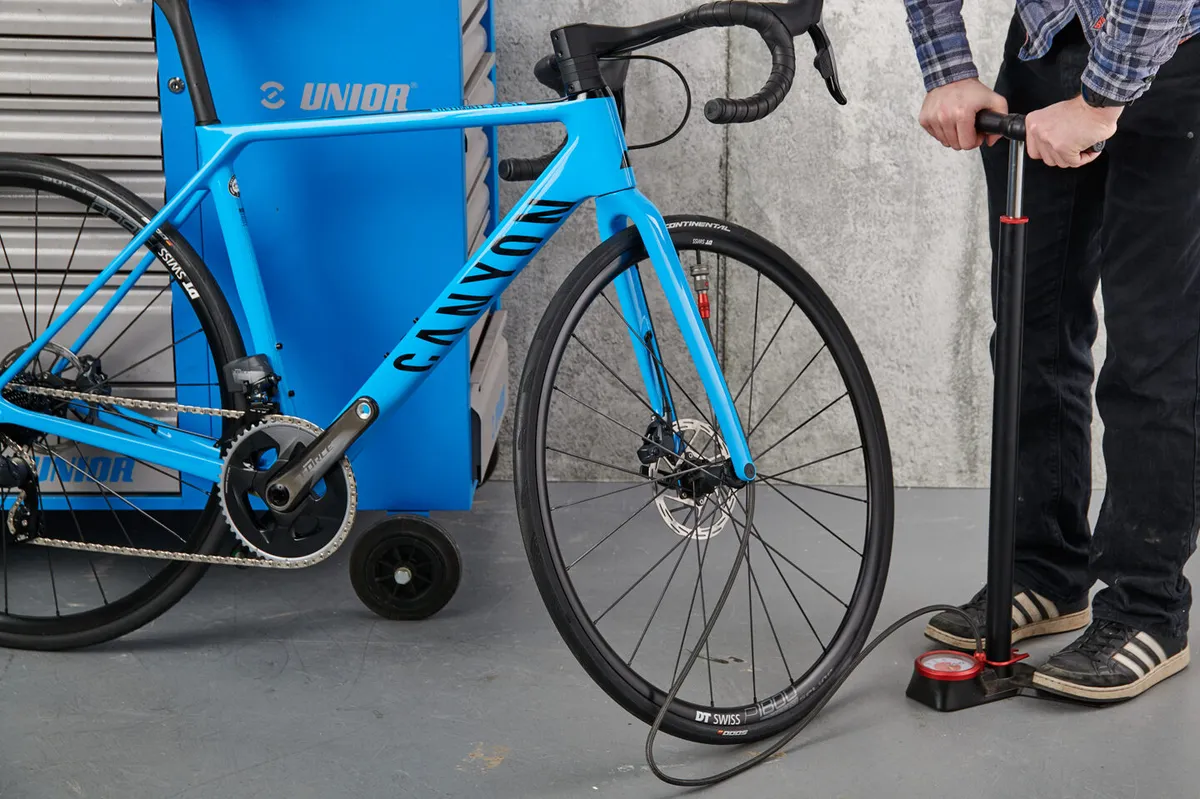
So it’s important to pump up your bike’s tyres to the right pressure. That will also lessen the chance of sidewall damage, reduce tyre wear, lessen the chance of damage to wheel rims and improve your bike’s handling, which can get squirmy if the pressure is too low.
Finding the right pressure for you takes a little trial and error, and depends on the terrain you’re riding, your weight and the conditions. We’ve got guides to mountain bike tyre pressure, gravel bike tyre pressure and road bike tyre pressure, to help you find the right number for your riding.
Tyres will have a recommended pressure range printed on their sidewalls, but you can normally go lower if you’re riding with tubeless tyres because you don’t have the risk of pinch flats (we'll come on to tubeless).
Wheel brands will also often have a recommended inflation range for their wheels on their websites.
3. Add sealant to your tubes

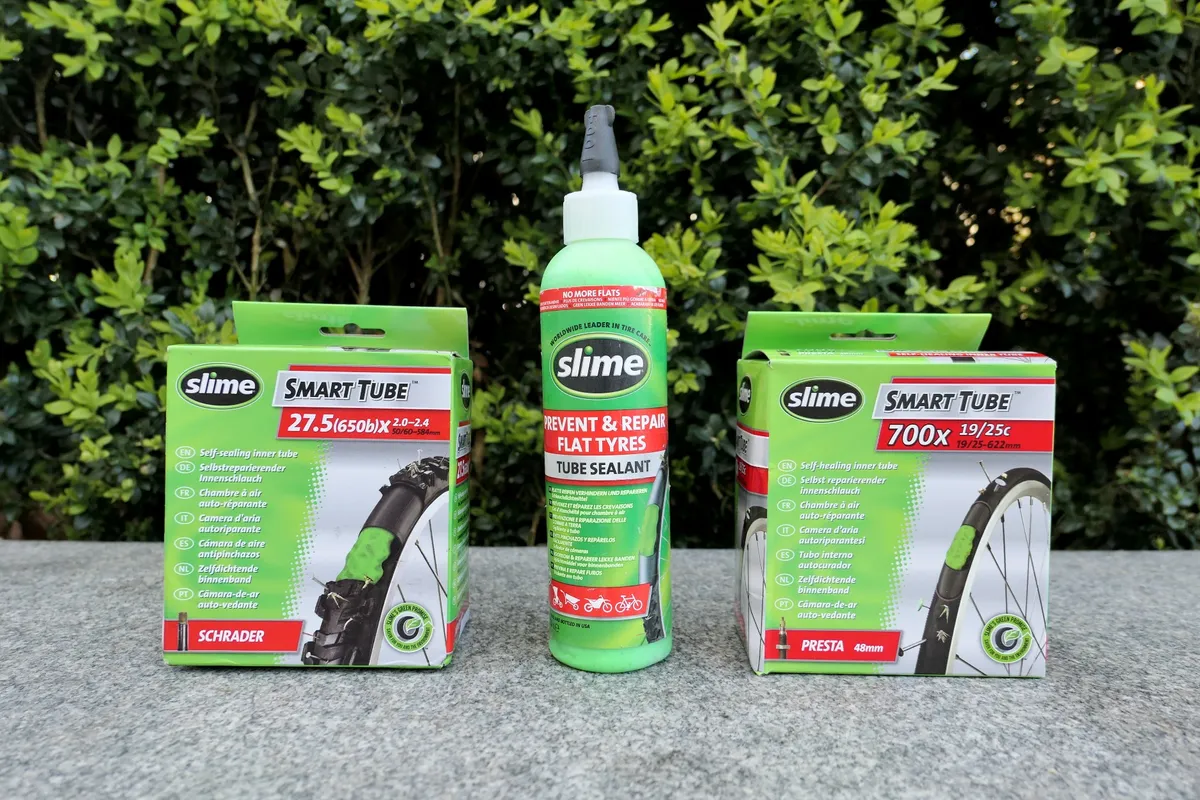
Another option is to add sealant to your inner tubes, giving you the benefits of added puncture protection without having to invest in tubeless tech, though it will add weight and rolling resistance to your setup.
Adding sealant is easier to do if your inner tube has a removable valve core, so you can pour sealant into the tube without the risk of gumming up the valve. Also check that the sealant is compatible with your inner tubes, particularly if you are using latex inner tubes.
Slime is among the brands that sell a sealant formulated for use in inner tubes. The other option is to use inner tubes that come ready-filled with sealant. Again, Slime offers these in a range of sizes to fit the majority of popular road and mountain bike tyre and wheel sizes.
Inner tube sealant works much in the same way as tubeless tyre sealant. The sealant coats the inside of your inner tube as the tyre spins and, if you ride over a puncture-causing object, such as a thorn or glass, the air escaping from the tube sucks the sealant toward the hole. Particles in the sealant should plug up the hole before it deflates the tyre.
4. Go tubeless

All the buzz at the moment is around tubeless tyres for road bikes. The benefits of tubeless can include lower rolling resistance and a more comfortable ride, as well as protection from flats, plus you can (probably) ditch those pesky inner tubes.
Without a tube you can’t get a pinch flat, so you’ll avoid this type of puncture. The sealant in the tyre also plugs smaller holes and prevents many of these from turning into a full-fledged puncture.
Like sealant-filled inner tubes, tubeless tyres aren’t infallible, though.
If you do get a puncture that the sealant can’t seal, you can use a tubeless repair kit to plug-up the hole. If that doesn’t work – or the hole is too big for a repair plug – you’ll need to fit a spare inner tube.
You’ll need tubeless-ready wheels and tyres to go tubeless. Most newer wheels come with tubeless-ready rims, but the best tubeless road tyres are usually a bit more expensive than tyres designed to be used with inner tubes.
Don’t try to convert non-tubeless components to tubeless because the tech requires close tolerances.
If you do switch to tubeless, you also need to keep an eye on your sealant level and make sure that it hasn’t dried out – topping it up if necessary – so there’s a bit of extra ongoing maintenance required.
5. Check your tyres regularly

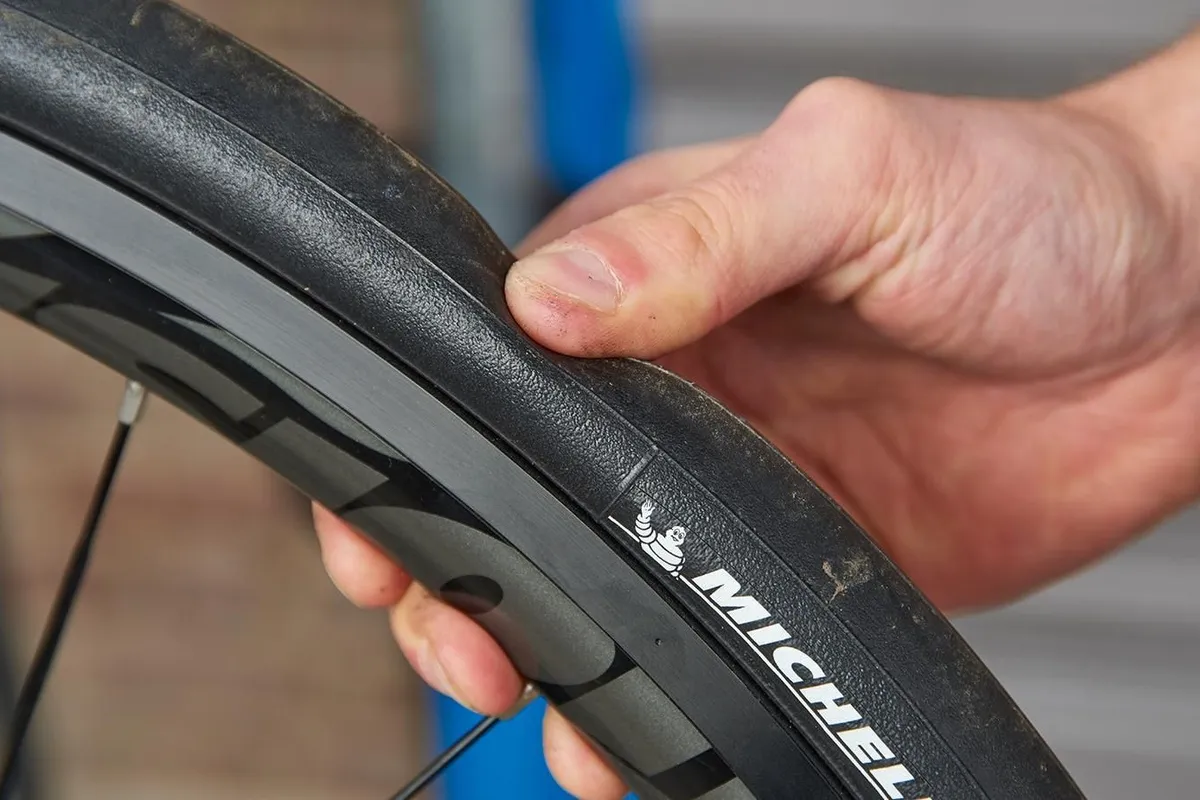
A worn tyre is much more likely to puncture, so it’s a good idea to check the state of your bike’s tyres regularly and change the tyre if necessary. A badly worn tyre will have a flattened or squared profile where the rubber thickness has been eaten away by the road or trail.
Some tyres will have wear indicators built into the tread, so you can see when they need to be replaced. If you’ve worn through the rubber to the puncture protection belt, or the threads of the tyre’s carcass can be seen – even if only in one spot – it’s definitely time to fit a new tyre.
Even if your tyres aren’t worn, it’s important to check them regularly. Tyres can pick up flints, glass, thorns or other debris, so inspect the tread as part of your regular, pre-ride bike safety check.
If you find anything embedded in your tyre, prise it out with a small screwdriver blade or the point of a sharp knife before it can work its way further into the tyre and cause a puncture.
Watch out for larger cuts in the tyre’s tread or sidewall that might make it unsafe to ride. If you do get a puncture while out riding, make sure you check the tyre thoroughly to remove whatever it was that caused the puncture in the first place.
6. Don’t ride in the gutter

If you’re riding on the road, there’s generally always more debris at the side of the road, compared to where other vehicles’ tyres have rolled, so don’t ride in the gutter or too close to the edge of the carriageway.
Choosing the optimum road position will also help you ride more safely around other road users.
Conversely, don’t ride too far out because that’s another area where motor vehicle tyres don’t normally pass. Debris can build up nearer the centre of the road as well, particularly on narrower single carriageway back roads.
If you need to cross the centre of a narrow road, look for gaps in the gravel or dirt and cross them at an angle that limits your exposure to sharp, puncture-causing objects.
Also, look out for potholes or other obstacles that might cause a sudden impact. These can cause pinch-flats or potentially damage the rims of your bike’s wheels.

