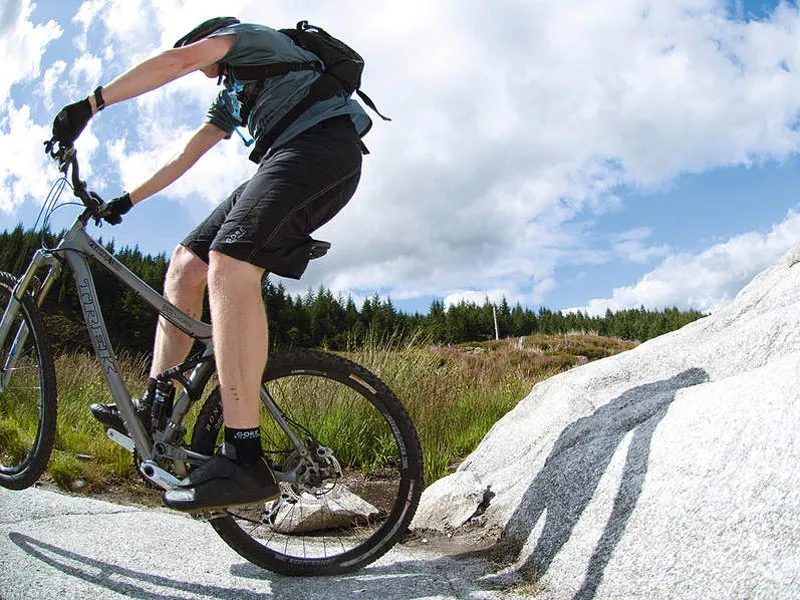
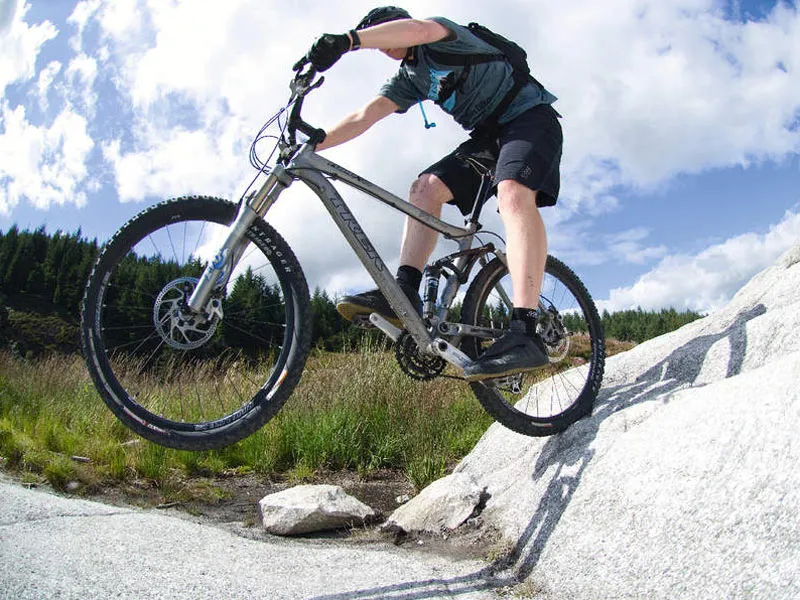
Learning how to pull off a manual can make your riding smoother, faster and more effortless. David Webster shows you how.
This skills series is designed to introduce and develop key trail riding skills that many find impossible to grasp or maybe have never even heard of. This is the stuff that good riders do without thinking, and what many of us do intermittently when we have that perfect day on our favourite trail.
Once you’re happy with performing the basic manual, ask yourself: “Can I deliver an effortless manual 100% of the time, on demand?”
The advanced technique, which builds on the basic steps described in previous articles [see related articles], involves holding a manual for longer, using your legs and hips to maintain balance. This will enable you to manual further, and to use your manual to take on more substantial/technical obstacles out on the trail.
1] Set your weight slightly back from centre, straightening out your arms as you do. You’re aiming to have the widest part of your saddle in contact with your inner thighs, thereby partially unweighting the front wheel.
2] Then with straight arms, rock your weight dynamically forward, with the aim of loading weight on to the front of the bike.
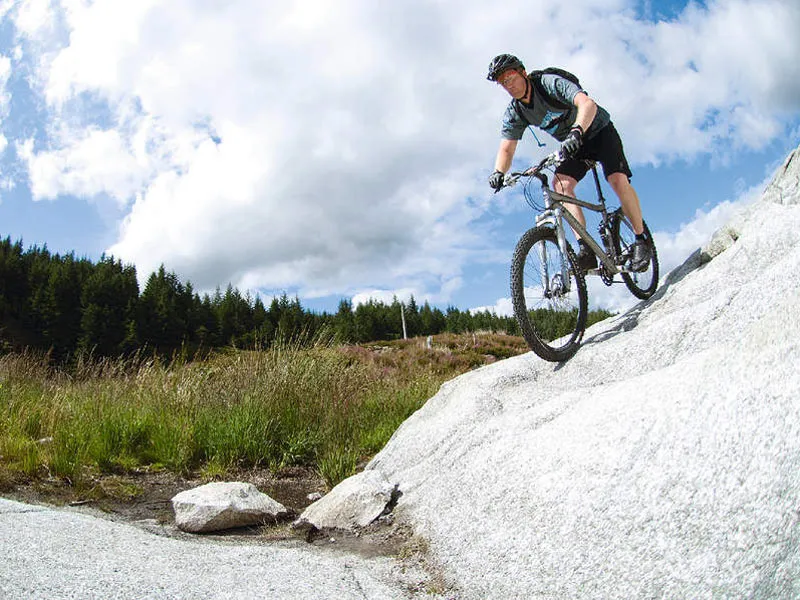
3] Seamlessly, and still with straight arms, dynamically rock your weight back. Aim to get the wheel a kerb’s height clear of the floor.
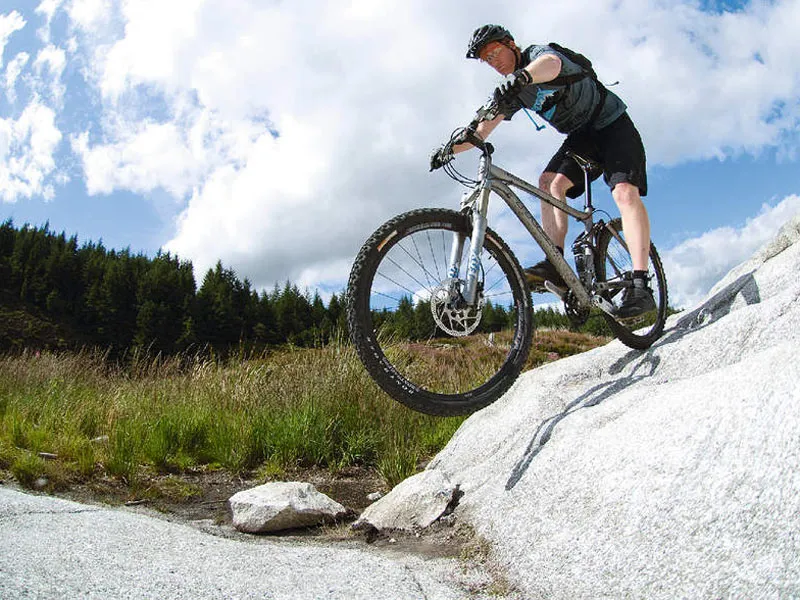
4] Once the front wheel comes up, use your legs to gently push the bike (and back wheel) from underneath you so you can lift the front wheel up to the balance point. This is the point at which you and the bike reach an equilibrium – it will feel almost effortless to hold the position. Use gentle braking if you go past the balance point (loop out backwards) to lower the front wheel, should you need.
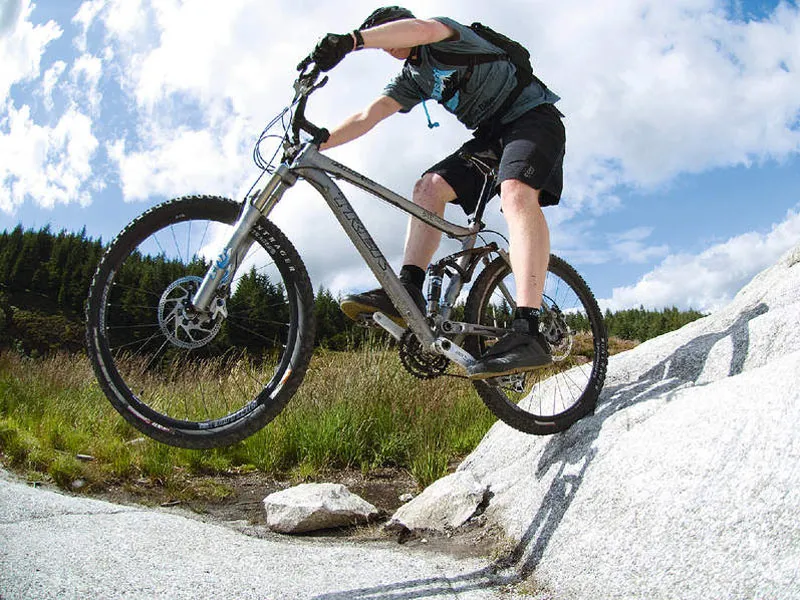
5] Once at the balance point, maintain this balance by either extending your legs if the front wheel begins to drop, or tuck in your hips to keep the bike steady if the balance point tips too far backwards. Getting this right takes time and a lot of patience.
