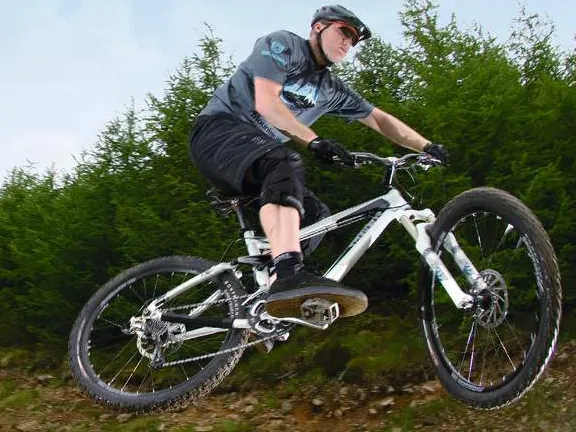
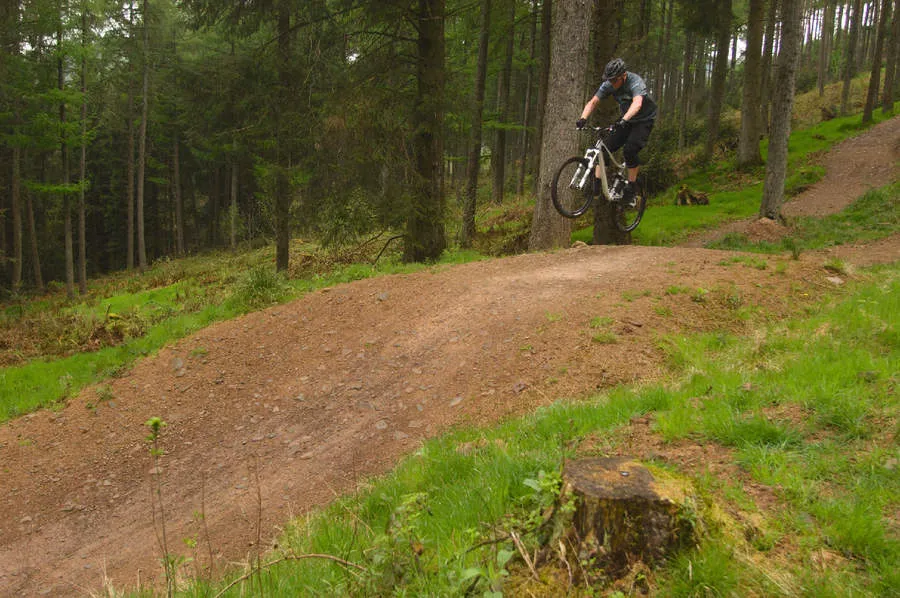
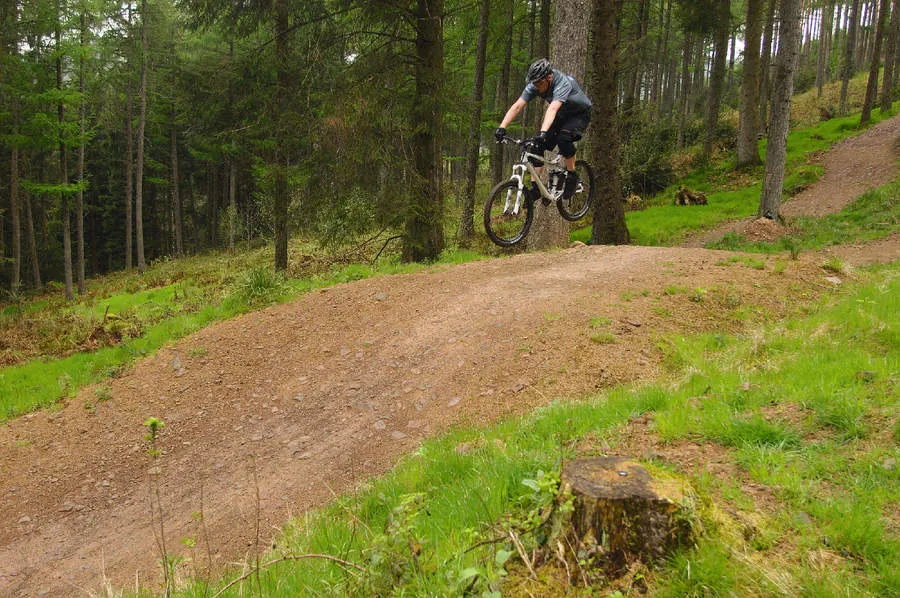
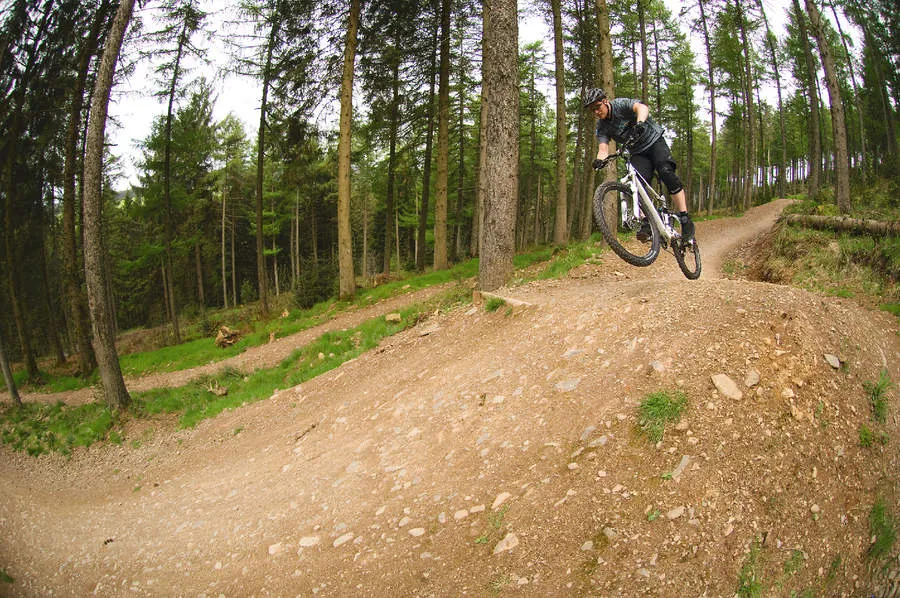
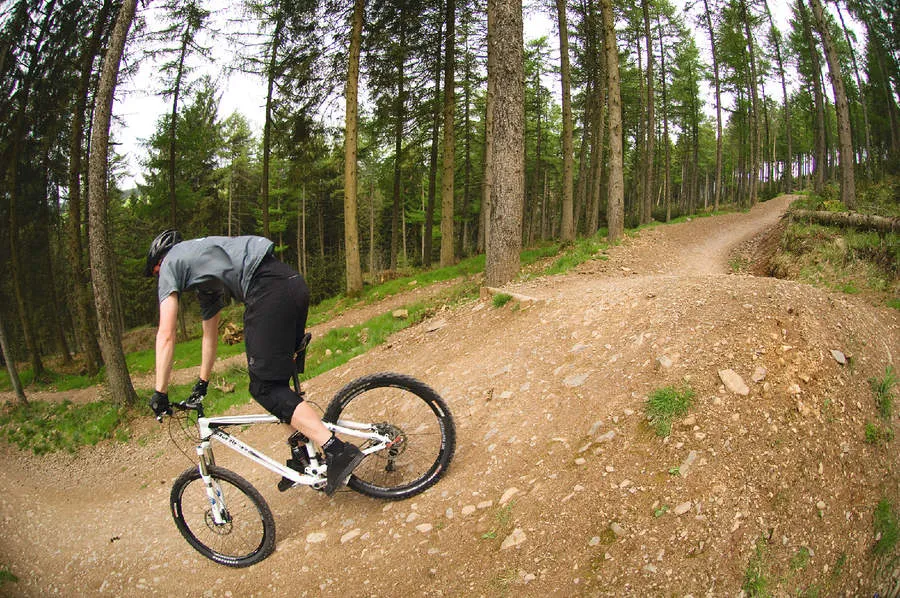
There’s nothing to beat the sensation of floating weightless through the air on your bike. While technique is important, the rider must also have supreme confidence in his/her ability for jumping success.
Step 1: Learning the basics
When jumping, good technique is crucial and confidence is also key. When learning the technique, it’s important to start small and work up only when you are sure of your ability.
It helps to put your saddle down to aid moving around on the bike, and to use flat pedals.
If the jump is going to go wrong, it will go wrong right from the start – so you must be absolutely certain that the jump is a goer for you. The only real way to ensure this is to practice like crazy on bite-size table-top jumps of no more than a bike’s length. Only move up progressively to bigger jumps when confident.
Remember to keep your upper body and hands loose and relaxed - don’t death grip the bars - and use your legs and hips to drive through the take off.
1] Keep your momentum at a brisk jog’s pace as you approach the jump, as this will aid your in-flight stability.
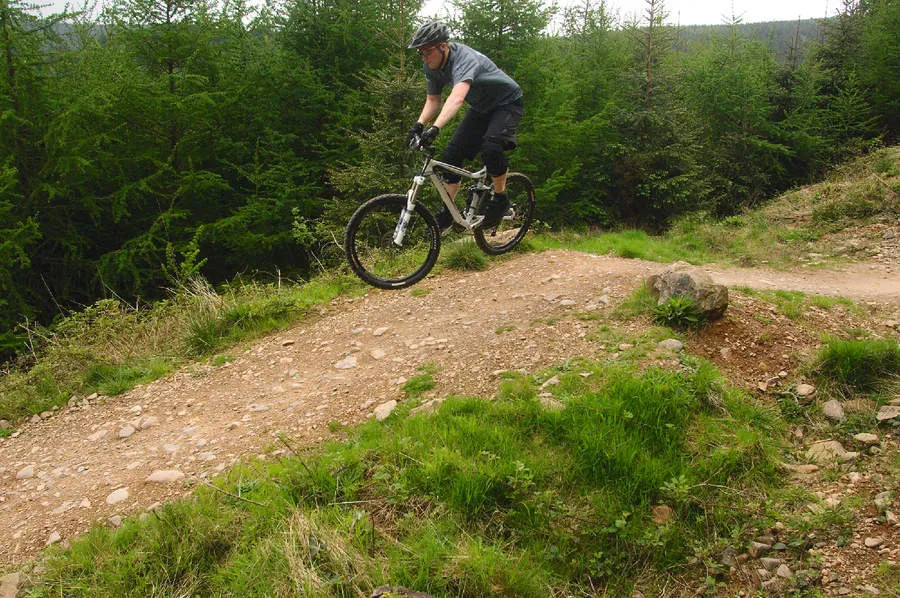
2] When you spot the jump, adopt ‘attack’ position at least four bike lengths out to keep yourself composed.
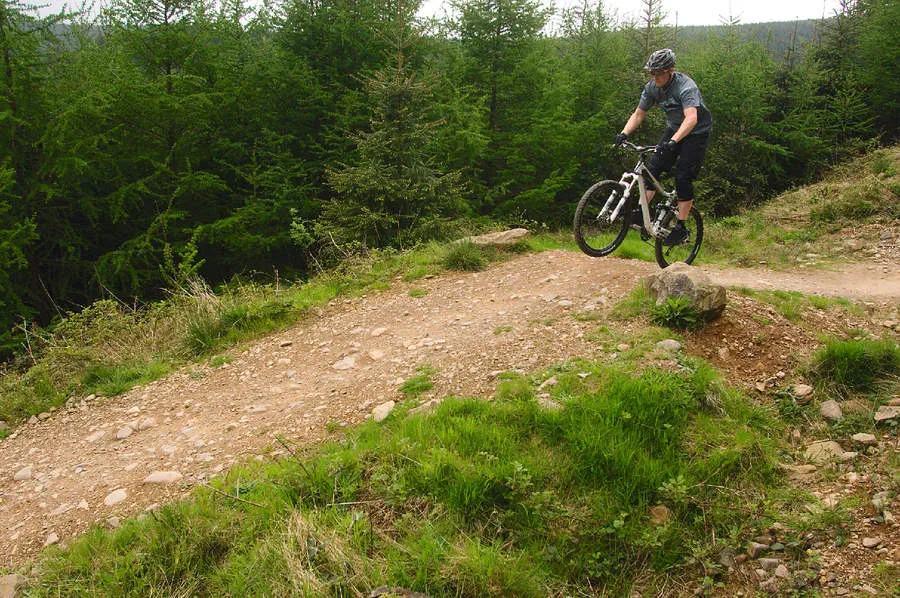
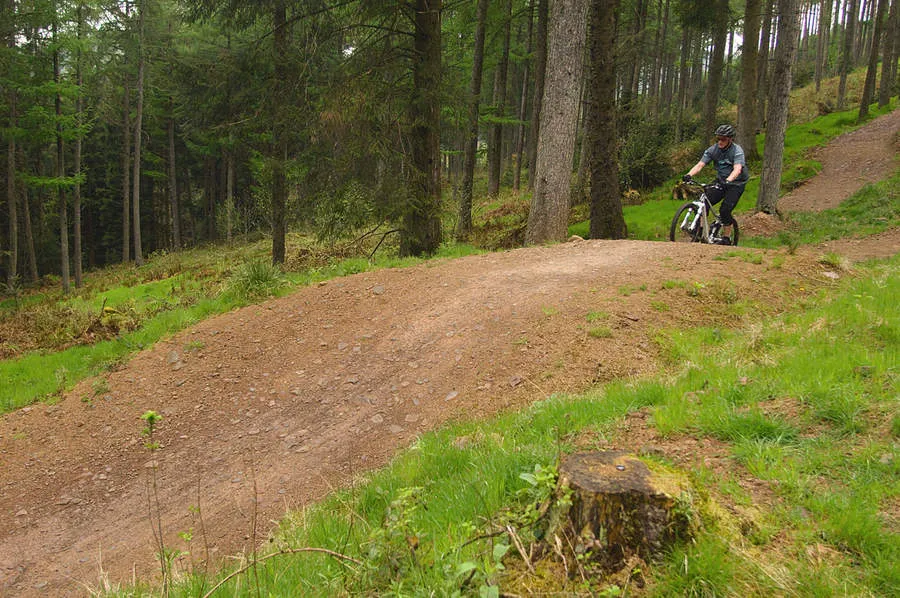
3] Spot the take-off and drive into the take-off by extending your arms and legs into the jump’s face.

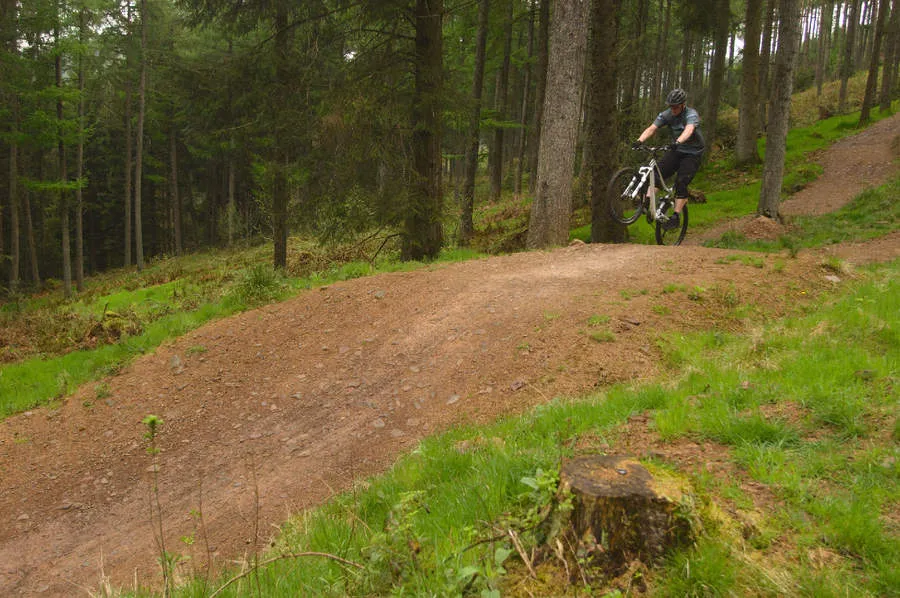
4] Allow the front wheel to come up, then gently push the bars forward to bring the back end level. The further you need to go, the higher the front needs to come up, and the faster you need to go.
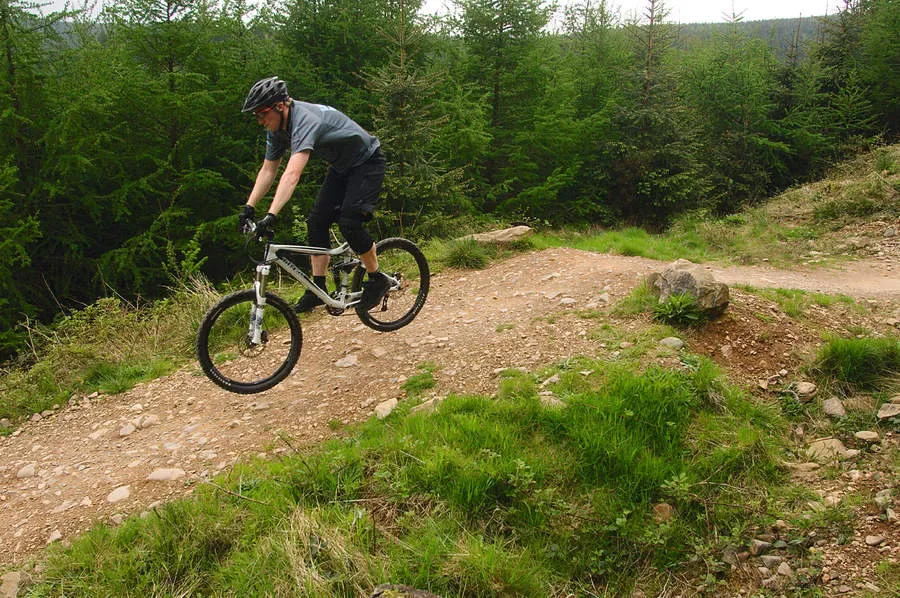
5] Spot the landing and guide the bike into transition, aiming to land both wheels together or with the back wheel landing slightly first, but mirroring the angle of the landing as closely as possible.
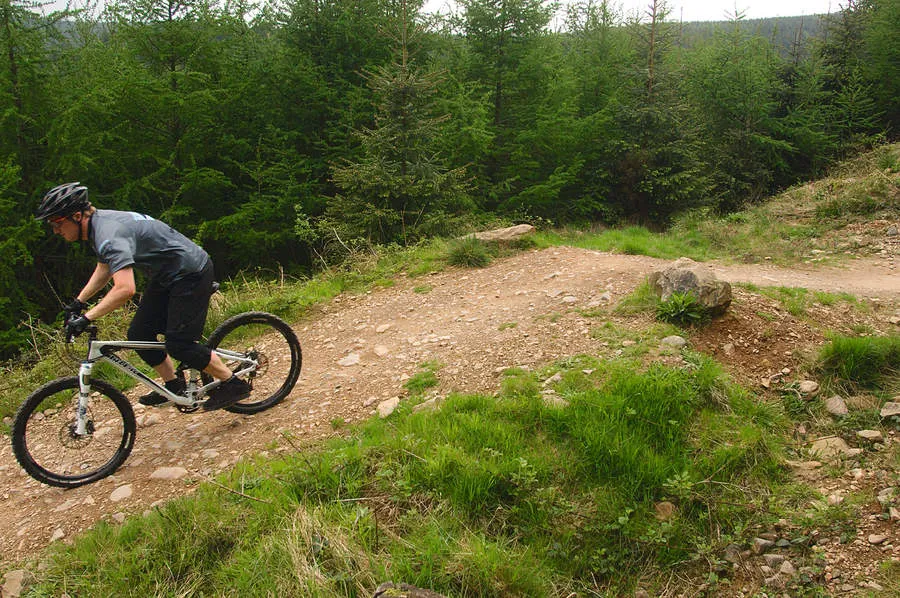
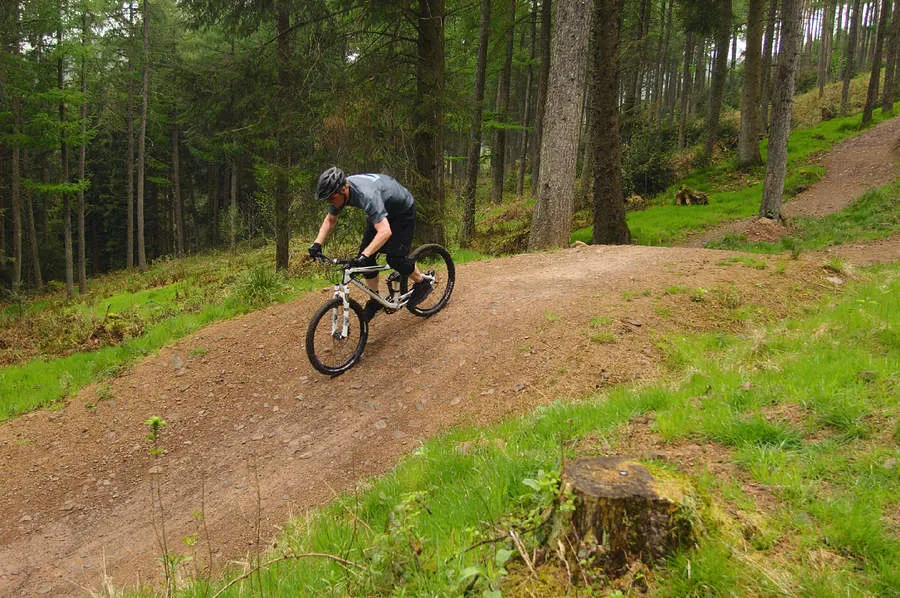
6] Keep loose on the bike and absorb the shock of the impact with your arms and legs as you pilot the bike back to terra firma. Ride away, looking ahead to the next obstacle with a justifiable grin on your face!
Top technique tips for confident jumping
- When sessioning a jump, always ensure you have checked your gear (give it a quick pedal to make sure it will not skip).
- Always start your run in at the same spot (if you control all the parameters you can, you’ll then be able to focus solely on the main event).
- Give yourself plenty of time to get composed in the ‘attack’ position well ahead of the jump (think five bike lengths minimum).
- Angle of attack - The fundamental building block of many mountain bike techniques is the ‘attack’ position. It helps you to be ready for anything the trail might throw at you, and is essential in all sorts of trail situations.
To adopt the ‘attack’ position, raise yourself slightly off the saddle, with your pedals level. Aim to have your weight centred on the bike and your arms and legs bent to absorb shock. Keep two fingers covering the brakes and look ahead as far as possible to pick your line and spot obstacles in good time.
Step 2: Taking it to the trails
Now let’s look at some of the jumps you will encounter in the real world of trails.
Technical jumps
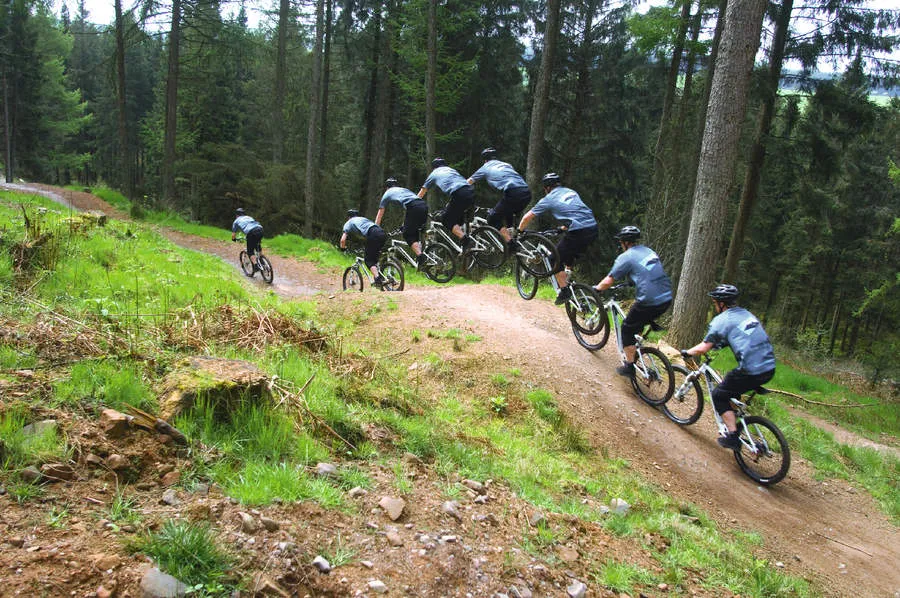
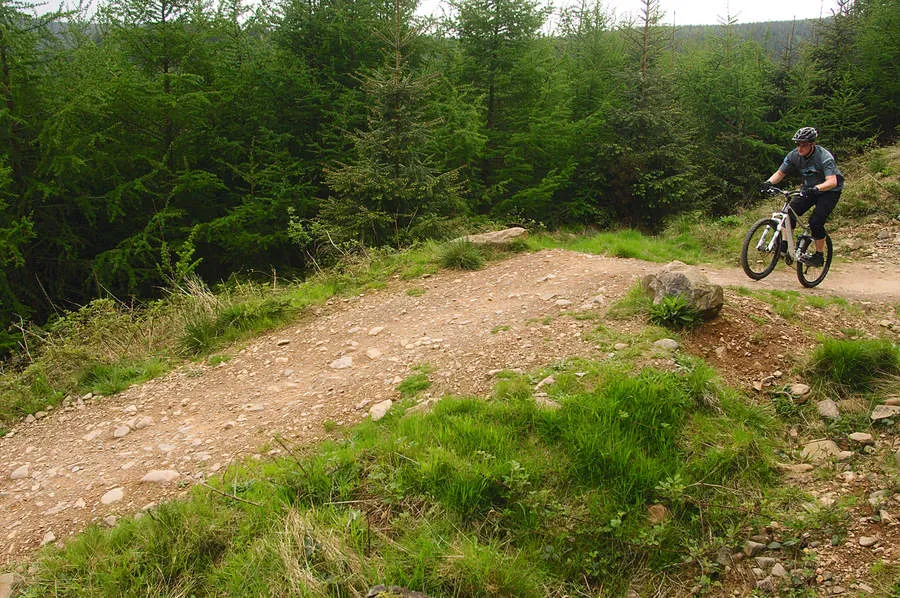
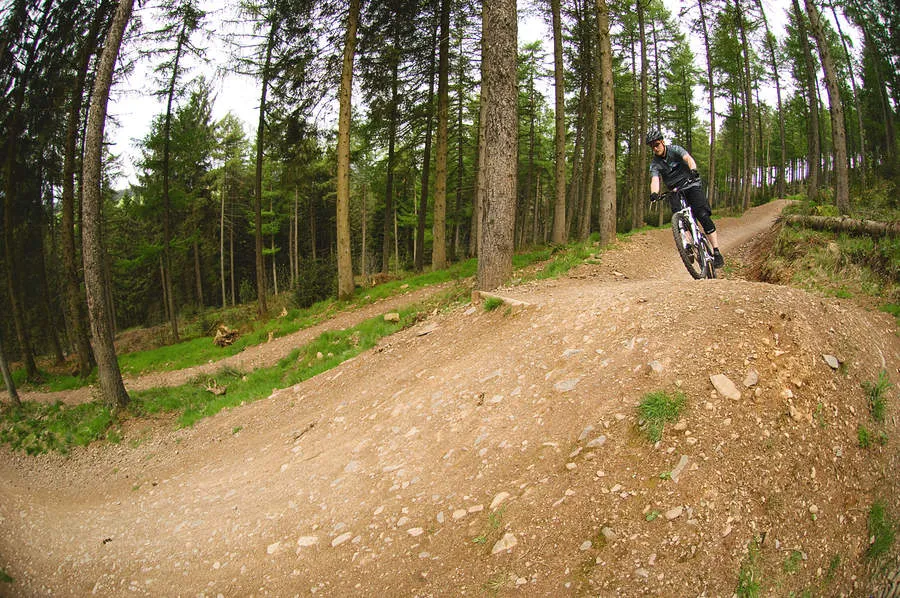
This jump is technical because of the speed you carry into it and the fact that it has such a short landing. The trick is to treat the jump almost like a Spine/Volcano ramp in a skate-park, where you need to go straight up and then immediately nose the bike straight back down again to maximise the free speed or ‘pump’ available.
Table-top sequences
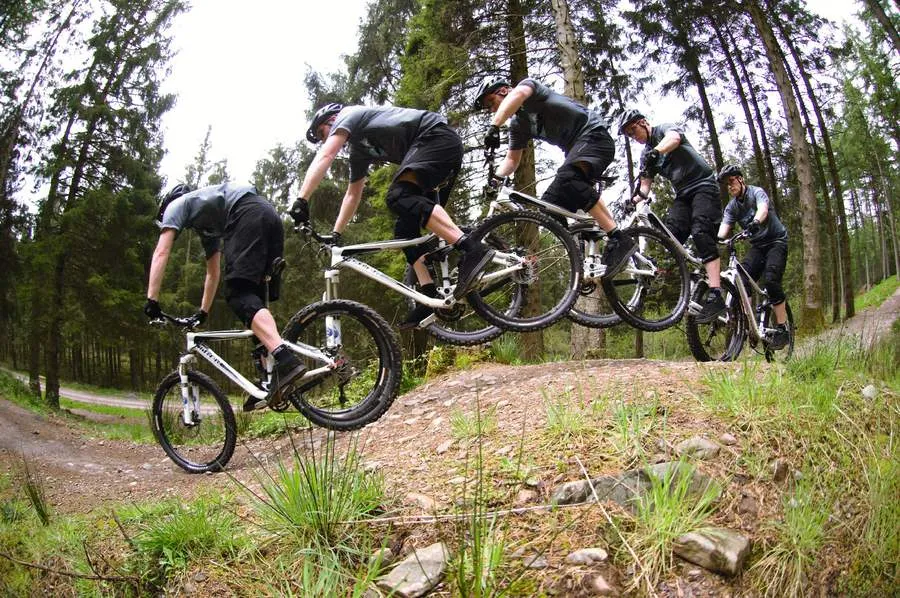
Once you have your jumps wired, a trail with a sequence of jumps will present numerous opportunities to gain air time and free speed. For example, this table-top comes immediately after another slightly larger one, and needs a perfect landing from the jump before to ensure you clear it. Hit it right and progress is smooth and effortless.
Set-up tips: How you can tackle jumps more easily

Flat pedals are a must: they promote good technique/ confidence (essential for jumping), and give you the option to bail out should the worst happen.
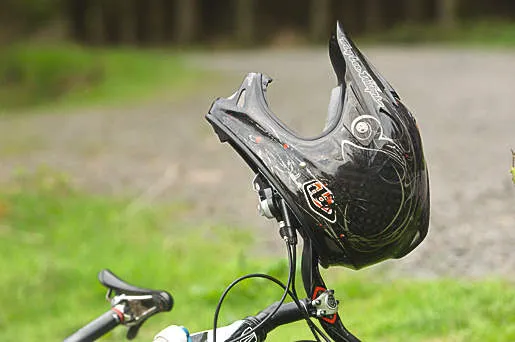
Helmets are also an essential when jumping, and if you are planning on jumping big then consider a full-face helmet. This is a Troy Lee D2 Carbon.
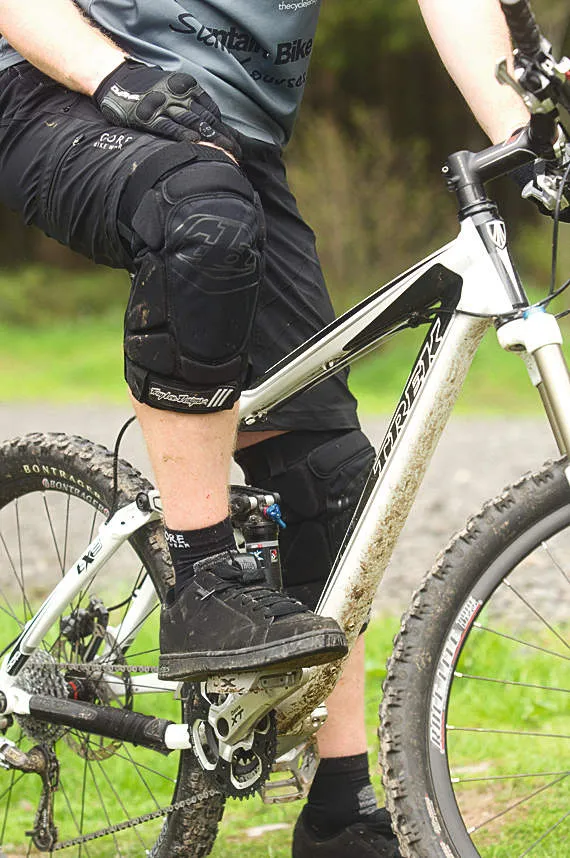
Knees are pretty fragile, and any protection you can give them is good. Try to remember you are not supposed to be crashing in the first place, though!
About the coach
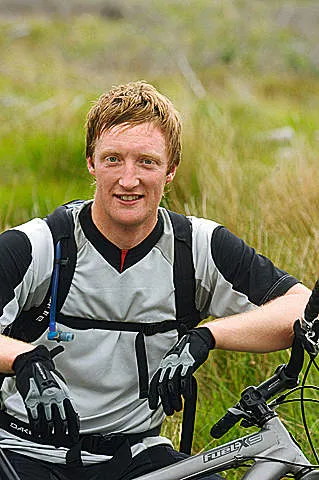
David Webster has used his wealth of riding experience in MTB, BMX, downhill, road and trials riding to identify core trail riding skills. He has developed an extremely effective way of teaching them at his sell-out Transcend MTB skills courses based mainly at Glentress Forest, the Scottish Borders, Sherwood Pines, Notts and Dalby Forest and North Yorkshire.
Calling upon some 20 years’ riding experience complemented by SMBLA and British Cycling level 2 training and qualifi cations, David has a proven record of helping riders develop a more skilful and smooth riding style. Both novice and experienced riders of all ages and riding backgrounds have benefited greatly. Visit www.transcendtrailacademy.com for more details. Transcend is proud to be supported by Trek, Gore Bike Wear and Dakine.
