Mountain bike bikepacking will get you as far off the beaten track as you can go on two wheels.
tWith burly components, traction-boosting tyres and terrain-taming suspension, mountain bikes are a great choice for off-road bikepacking. This is especially true when the route involves demanding, technical terrain and prolonged sections of rough singletrack.
But can they carry all the gear you need for multi-day bikepacking adventures?
We explain how to get the best mountain bike bikepacking setup, from bag choice and packing to how to tweak your bike’s suspension and more.
Which bikepacking bags are best for mountain bikes?
You don’t need MTB-specific bikepacking bags to take your trail bike on an adventure, but there are a few points to consider when choosing bags for mountain bikes.
Frame bags
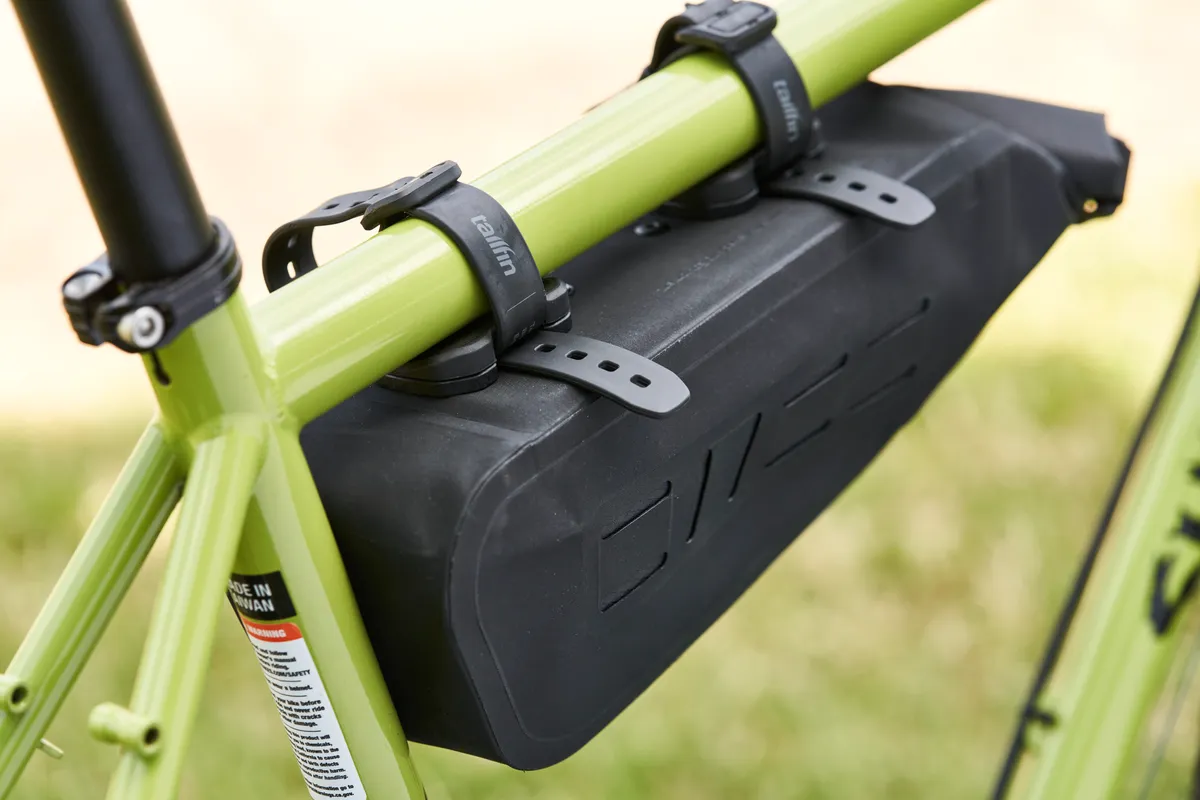
Some mountain bikes lend themselves to bikepacking bags better than others. Frames with particularly curvy tubes, or those with rear-suspension designs that take up a lot of space inside the front triangle, will struggle to accommodate larger frame bags.
In those cases, smaller frame bags are advisable. While they won’t give you as much storage space, they are a great place to stash tools, cookware or other heavier pieces of kit.
Handlebar bags
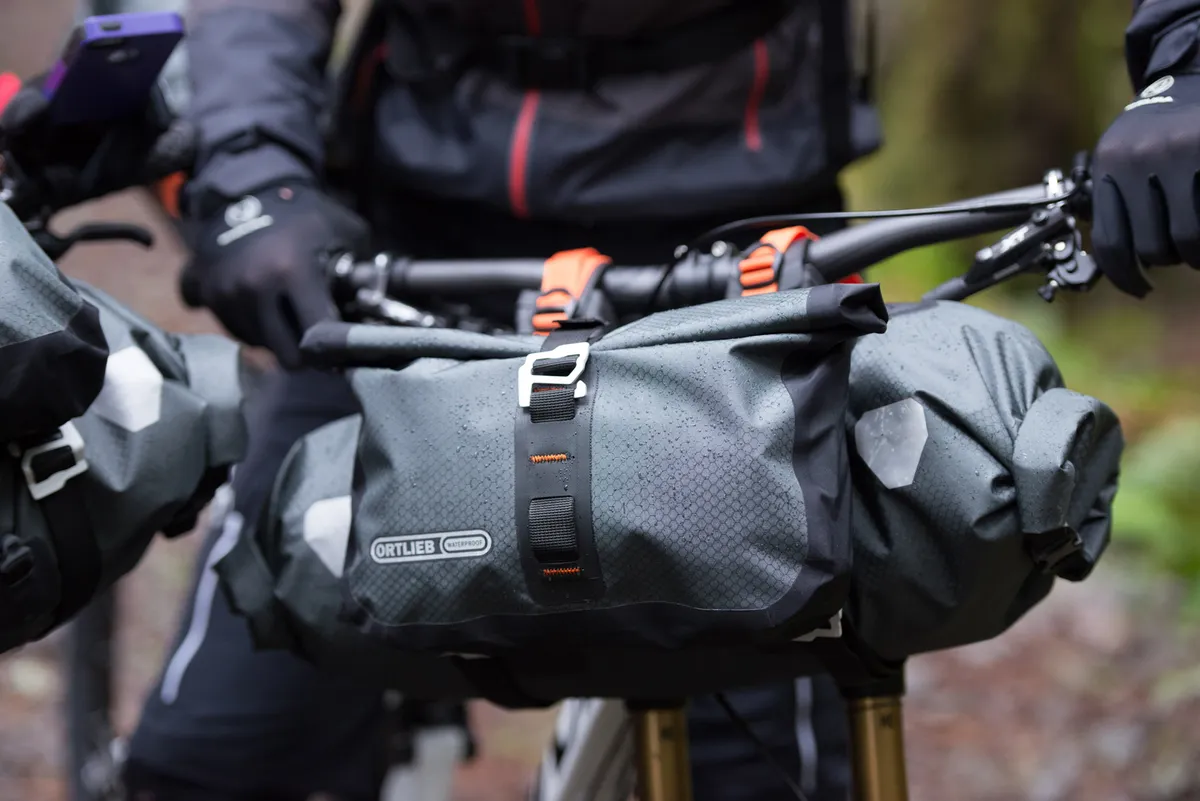
The best handlebar bags for mountain biking feature a harness and dry bag design. The harness attaches to the handlebars, staying securely in place for the duration of the trip. The separate dry bag can then be removed and reattached easily.
A key benefit of harness handlebar bags is they are often designed in a way that minimises contact between the dry bag and the handlebar. This is especially useful for mountain bike cockpits, providing a bit of extra clearance for brake and gear cables, which can otherwise become trapped between the bag and the bar.
Seat packs
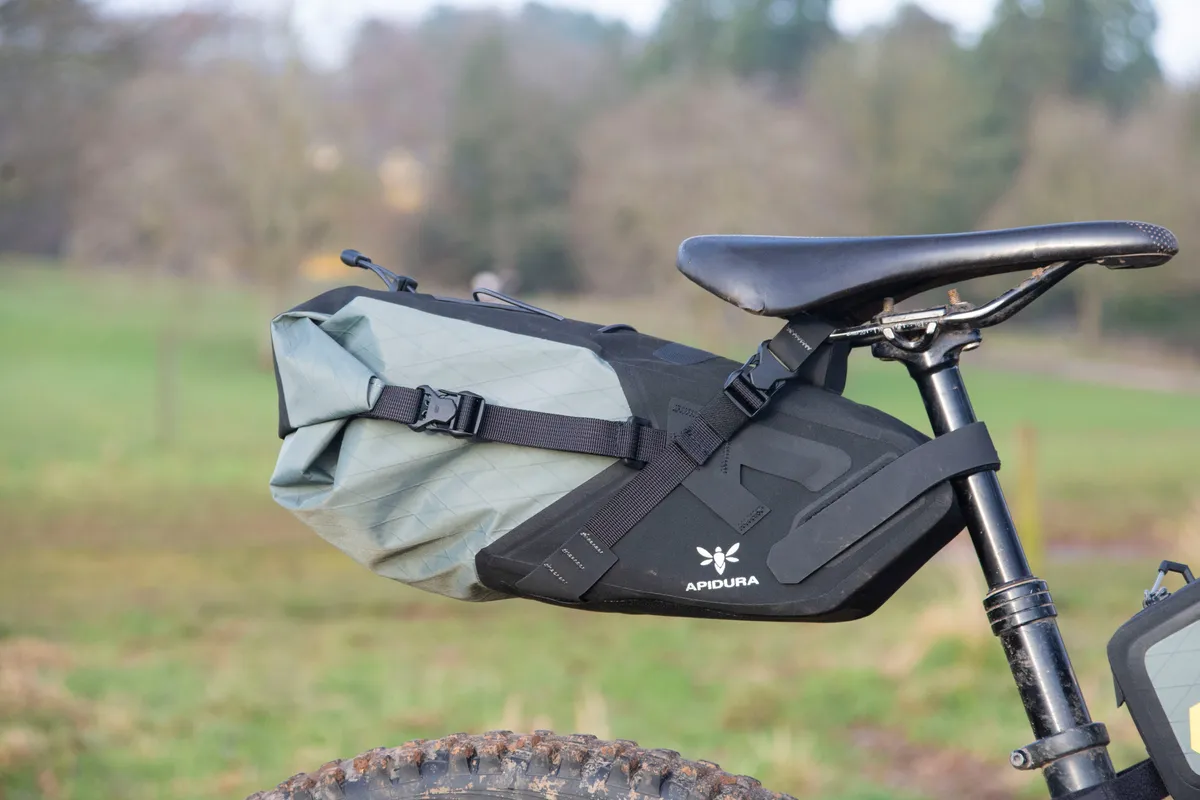
Seat packs (also known as saddle bags) are great for storing large, light items such as sleeping bags. However, they require a relatively substantial amount of seat-to-rear-wheel clearance. For this reason, they can be troublesome when paired with dropper posts, or on small frame sizes.
If a large seat pack is incompatible with your bike, a large riding backpack will offer a similar amount of storage volume.
Top tube and stem bags
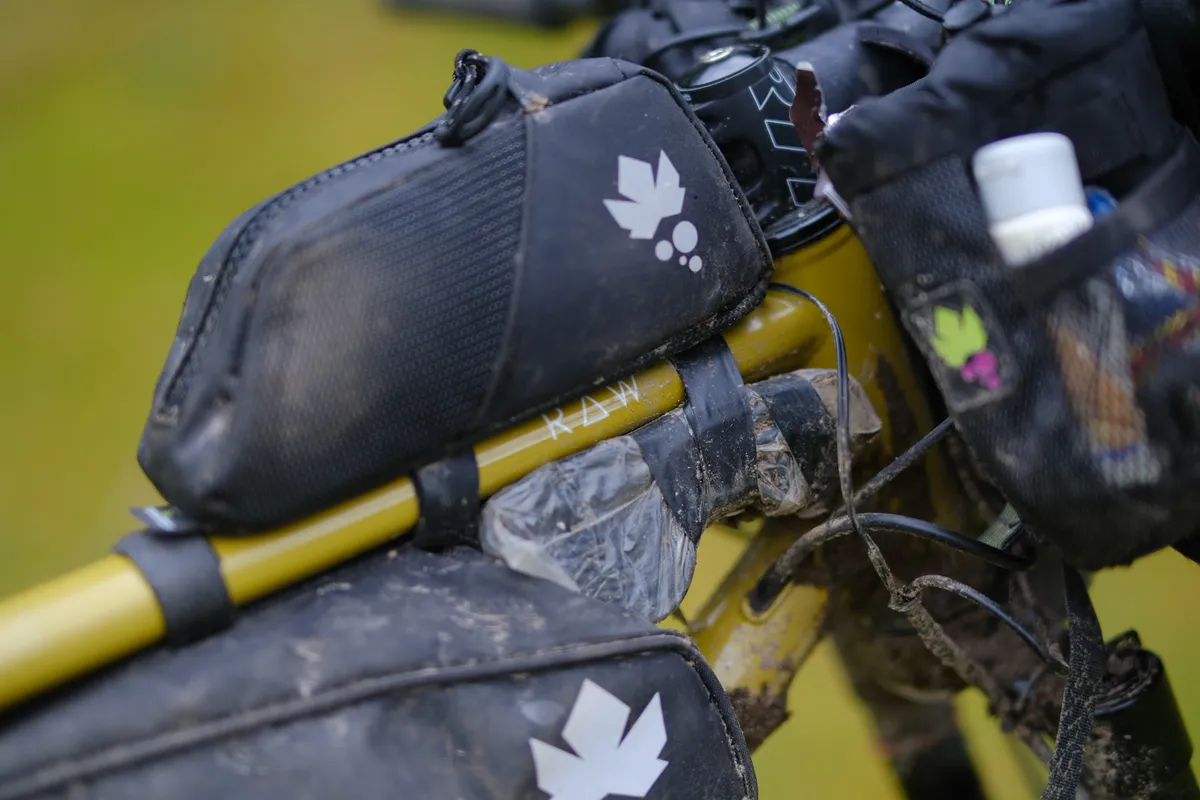
Best for stashing snacks, a camera or other small items, top tube bags share a relatively universal design that's compatible with most bikes.
It’s worth looking for good-quality waterproof options so you don’t need to worry about packing their contents in separate dry bags, which make on-the-fly access tricky.
How to pack your bikepacking bags
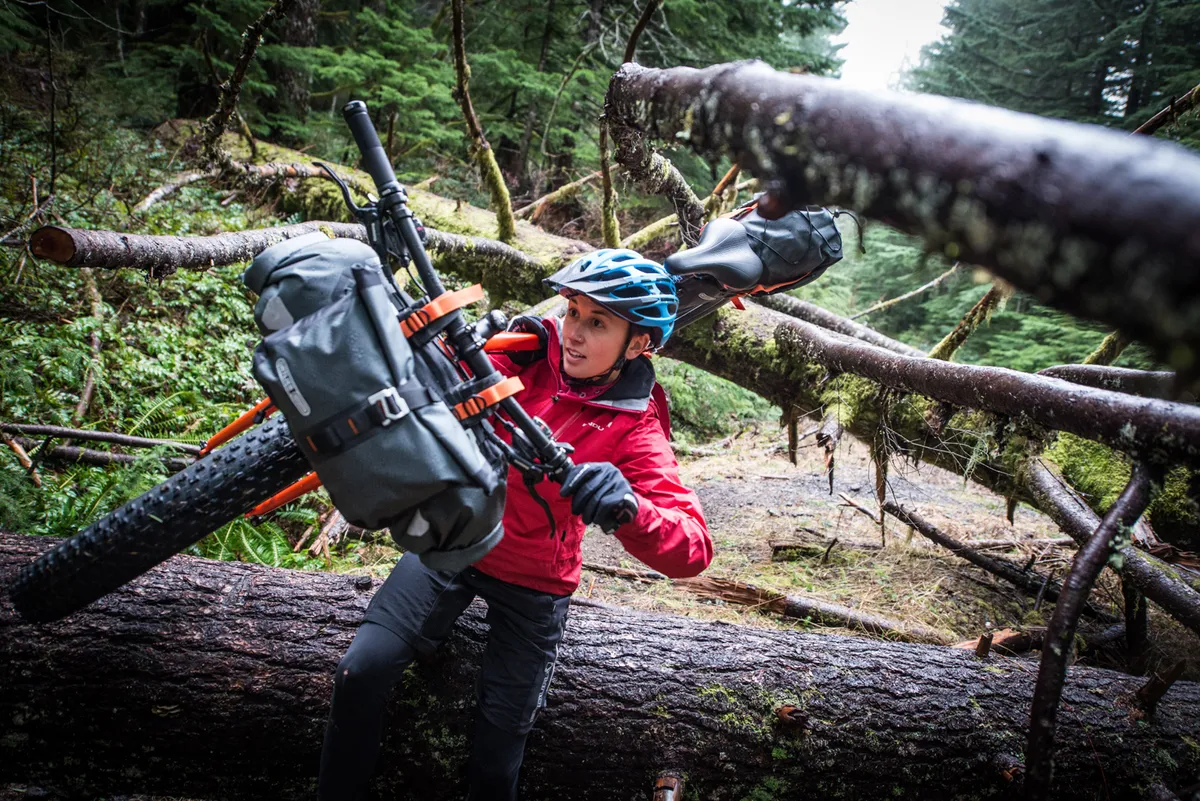
How you pack your bags makes a big difference to the way your bikepacking setup performs on the trail.
Correct weight distribution is essential for maintaining proper handling, which becomes all the more important when dealing with the extra weight of your bikepacking kit.
If possible, keep the heavier bits of kit (stoves, tools and water) inside your front triangle and close to the frame, via a frame bag.
The handlebar bag is a good place for bulkier items, such as a sleeping mat and tent, providing plenty of space and a secure attachment point.
If your setup allows one, the seat pack is a great place for large and light items such as sleeping bags or puffer jackets.
Snacks and other essential items are best housed in easy-to-access locations, such as top tube or stem bags.
Dropper post or no dropper post?
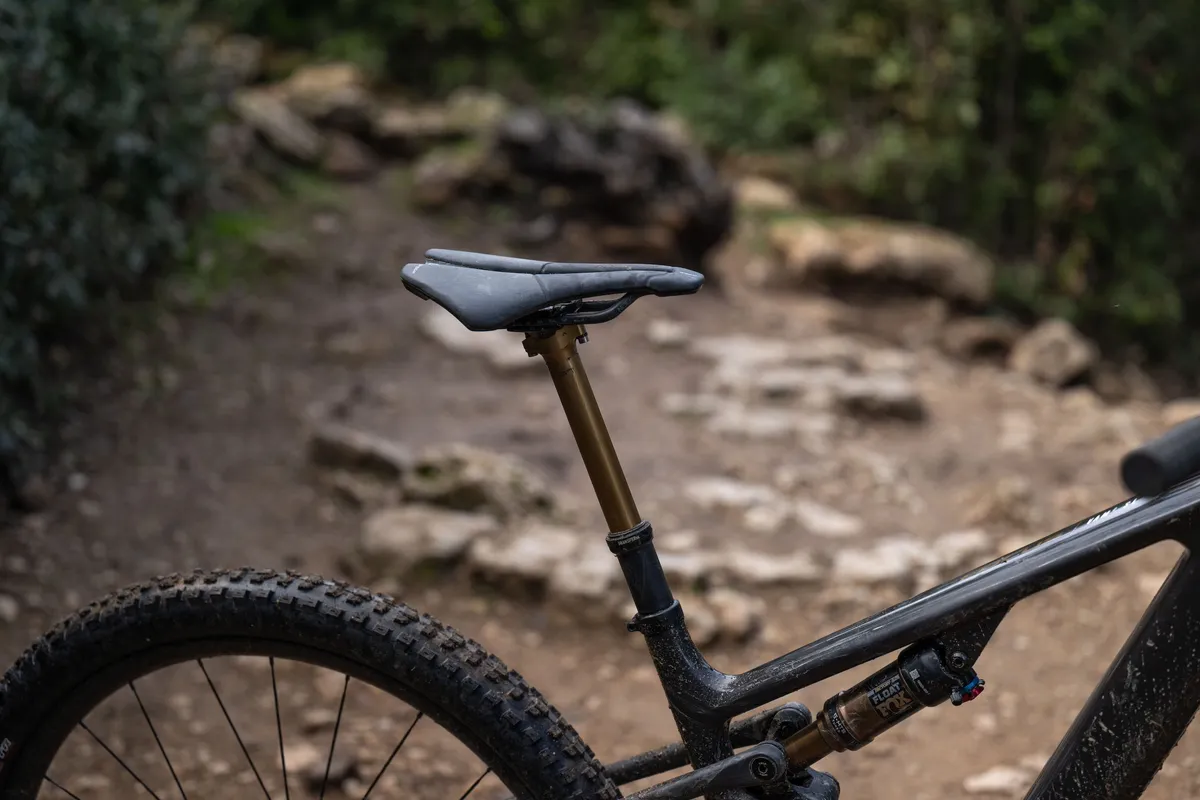
Dropper posts enable you to drop your saddle on the go, greatly improving the handling of your bike on technical descents.
However, as mentioned above, they can complicate bikepacking setups. With the post in its low position, you likely won’t have enough clearance between your seat pack and the rear wheel.
The second reason has to do with the attachment of the seat pack. Most seat packs attach to the saddle rails and then clamp onto the seatpost for extra security. This design limits the functionality of the dropper (regardless of clearance) and is liable to scratch the post’s stanchion.
Dropper-compatible seat packs are usually smaller (often less than 10l in volume) to increase clearance. They feature either a saddle-rail attachment mechanism, or require a special clamp that attaches to your dropper stanchion, protecting it from wear from the bag’s attachment point.
A handful of manufacturers have taken a different route to the seat pack dilemma. Brands such as Aeroe and Tailfin produce minimal rear racks, which attach to your seatstays (in the case of the Aeroe Spider) or your thru-axle (Tailfin).
These racks provide a secure attachment point and are designed to allow full rear-suspension and dropper functionality.
Hardtail vs full-suspension mountain bikes
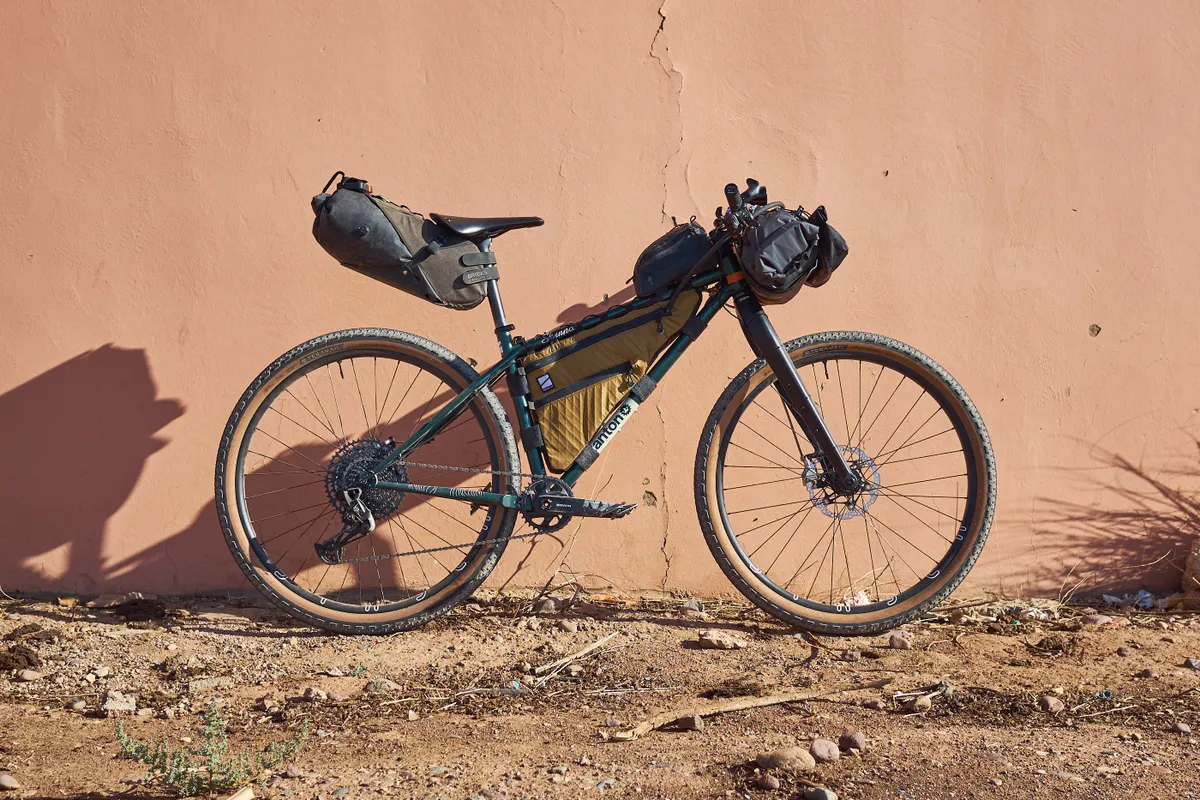
Full-suspension mountain bikes offer more grip and comfort than hardtails, but they’re not always the best suited to bikepacking.
Rear-suspension design often takes up a lot of space in the front triangle, limiting room for frame bags and water storage. The movement of the suspension as it compresses also reduces clearance for seat packs.
Full-suspension bikes are also often heavier than their hardtail counterparts, adding extra weight to your bikepacking setup.
However, with a couple of modifications or compromises (such as using a backpack instead of a seat pack), there’s no reason why you can’t enjoy a bikepacking adventure on your full-suspension bike.
How to set up your mountain bike for bikepacking
There are a few ways to get your bike ready for adventure. But here, we’ll run through the specifics of mountain bike bikepacking setups.
Adjust your suspension
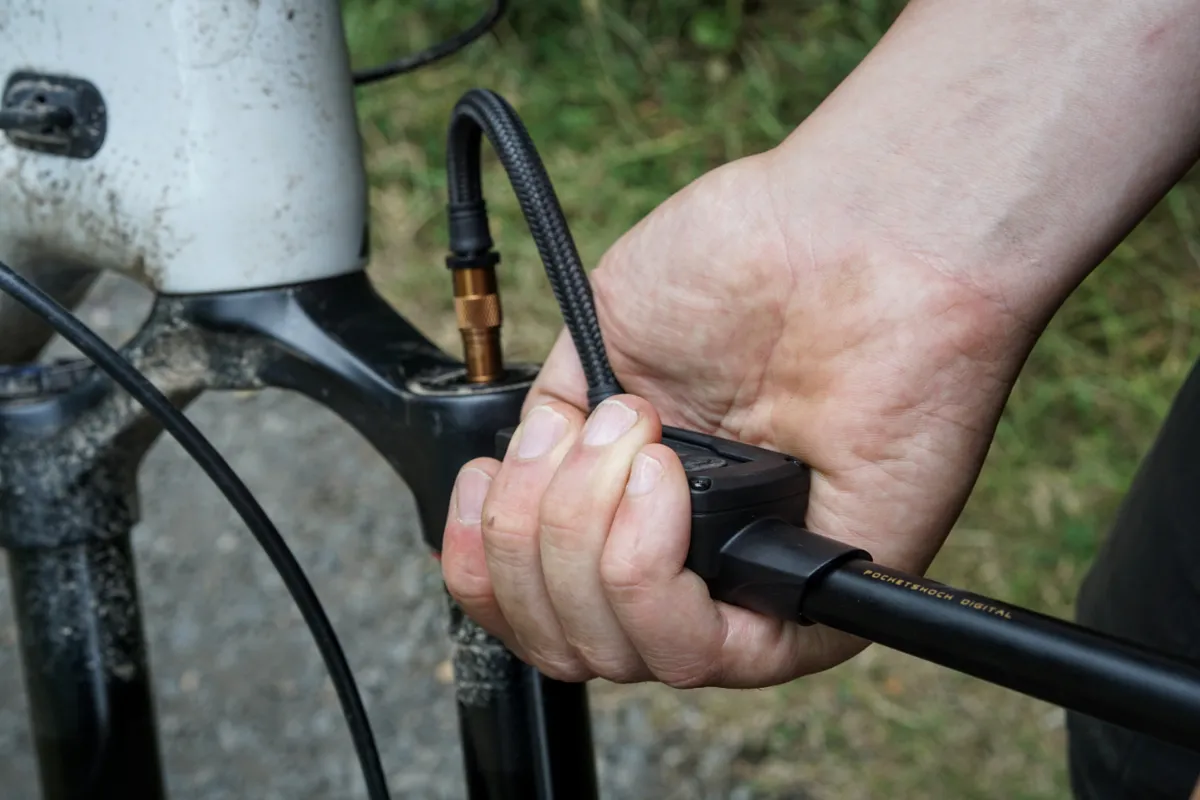
The extra weight of your bikepacking kit adds up to a substantial increase in the total system weight of your bike. Therefore, you will need to adjust your suspension setup to match.
If you can, check the manufacturer’s guidelines before increasing the spring rate of your suspension by adding air (in the case of air suspension) or preload (if you’re running coil).
It’s worth taking your laden bike for a quick shakedown ride before you set off on your adventure to make sure your suspension is working well.
Choose easier gearing
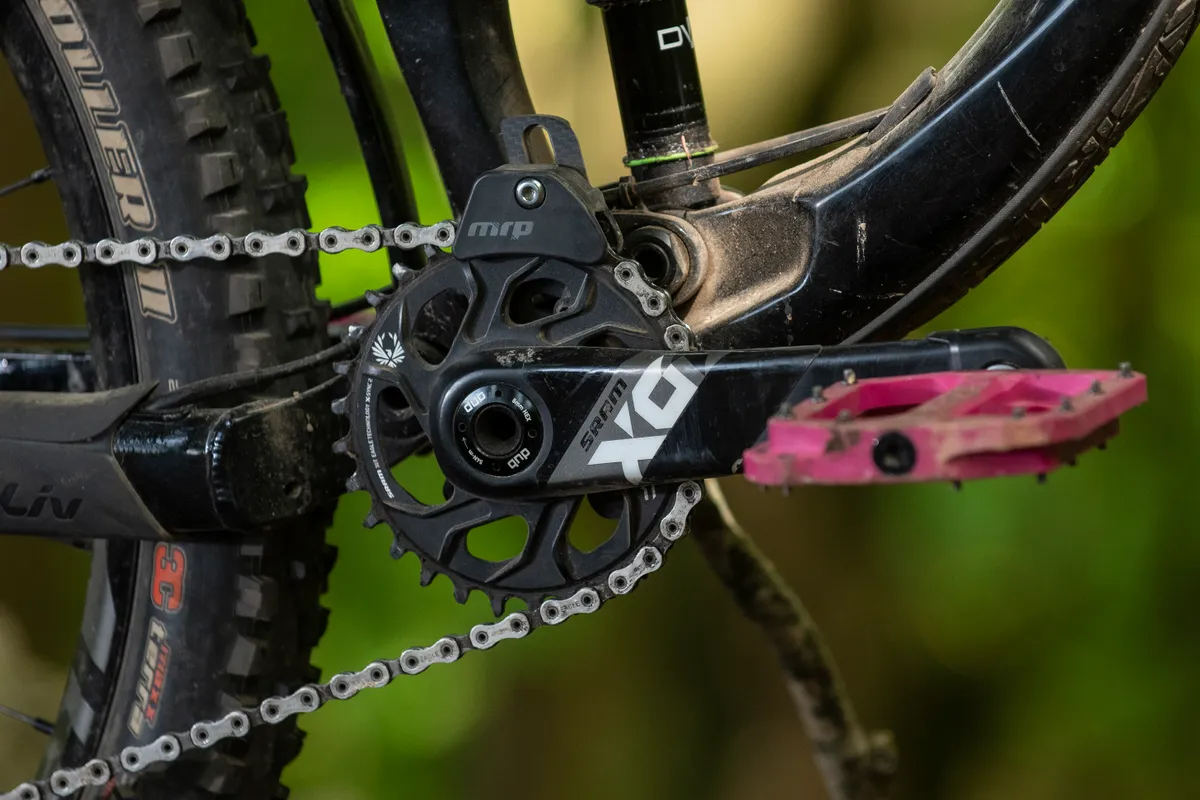
The extra weight of your bikepacking equipment will be noticeable on climbs.
If you can, set your bike up with easier gearing. This will make steep climbs easier, which is important for long, loaded days in the saddle.
An easy and relatively inexpensive way to do this is to fit a smaller chainring. Most modern mountain bikes will come with a 32t chainring as standard. Swapping down to a 30t or even a 28t chainring will make a noticeable difference and shouldn’t break the bank.
Use frame protection
Even the most secure bikepacking bag will move slightly as you ride, especially if your route takes you over rough terrain.
Frame protection will help protect your bike’s paintjob from any rubbing bags or straps.
At the very least, we recommend using heli tape to protect areas of the frame where bags are mounted, because these are hotspots for wear.
Add more bottle cages
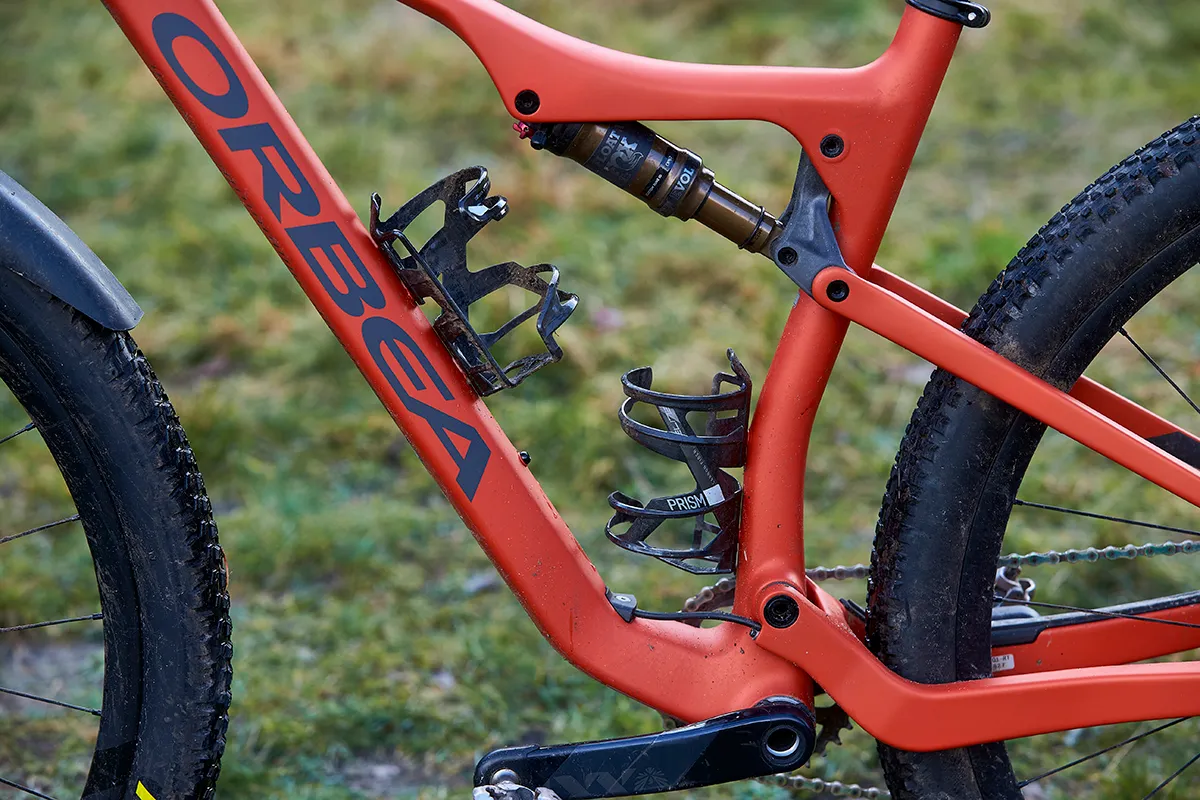
Most mountain bikes have space for a large, 500-750ml water bottle inside the front triangle. However, if you’re planning a multi-day journey, you will need to carry more water.
But how do you do that if your bike only has one set of bottle cage mounts? Luckily, there are multiple solutions that enable you to add mounts to your frame or fork lowers.
Rails, such as the Wolf Tooth B-RAD or BBB AdaptRail, mount to your existing frame bosses and offer attachment points for multiple bottle cages.
Adapters, such as the Topeak VersaMount clamps, enable you to mount bottle cages to round tubes such as fork lowers or seat tubes.
Kit to take with you
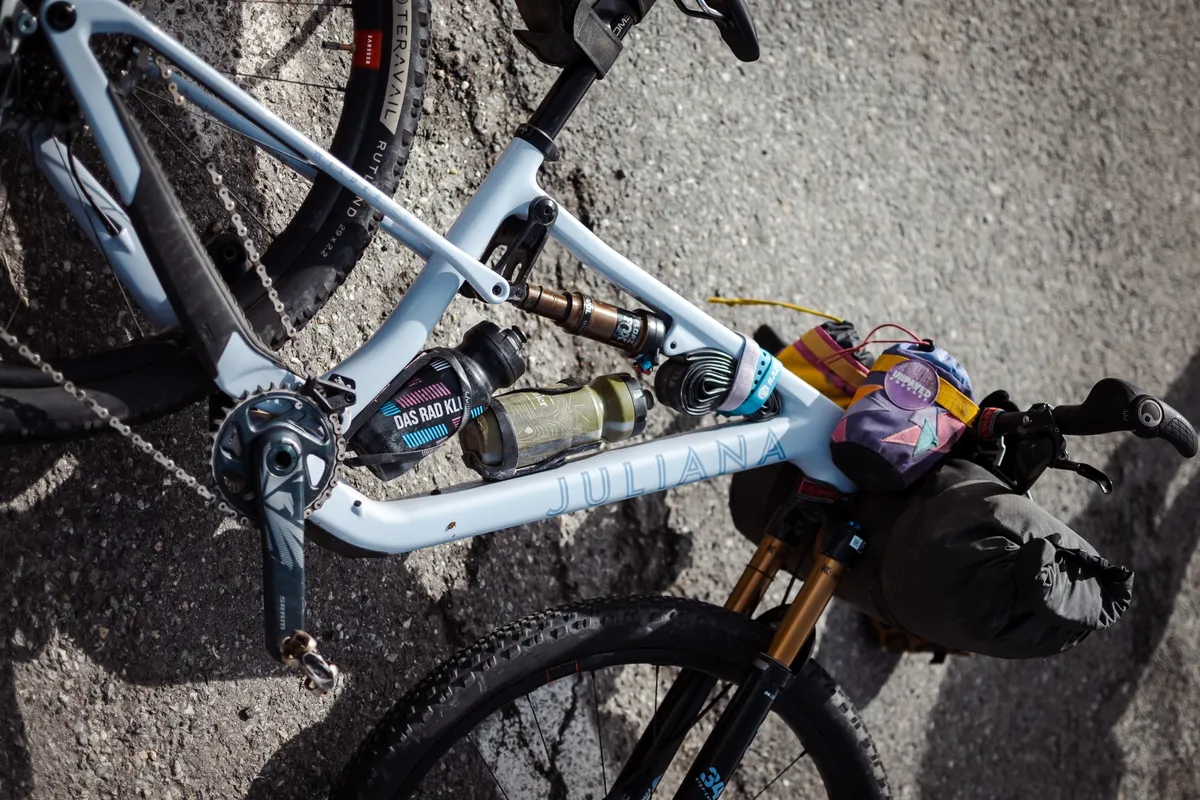
Your bikepacking adventure will likely take you far off the beaten track and into some remote places. Before heading off into the hills, it’s important to make sure you have packed all the essentials for back-country epics.
A puncture or mechanical becomes a lot more serious when you are relying on your bike to transport you and your kit, so bringing spares (and knowing how to use them) is crucial.
Our guide to bikepacking explains all the essential kit you need in detail, from camping equipment to clothing.
Choose your adventure
Now that your bags are packed and your bike is laden, there’s only one thing for it – it’s time to choose your adventure. Check out some of our favourite bikepacking routes to get your inspiration flowing.
