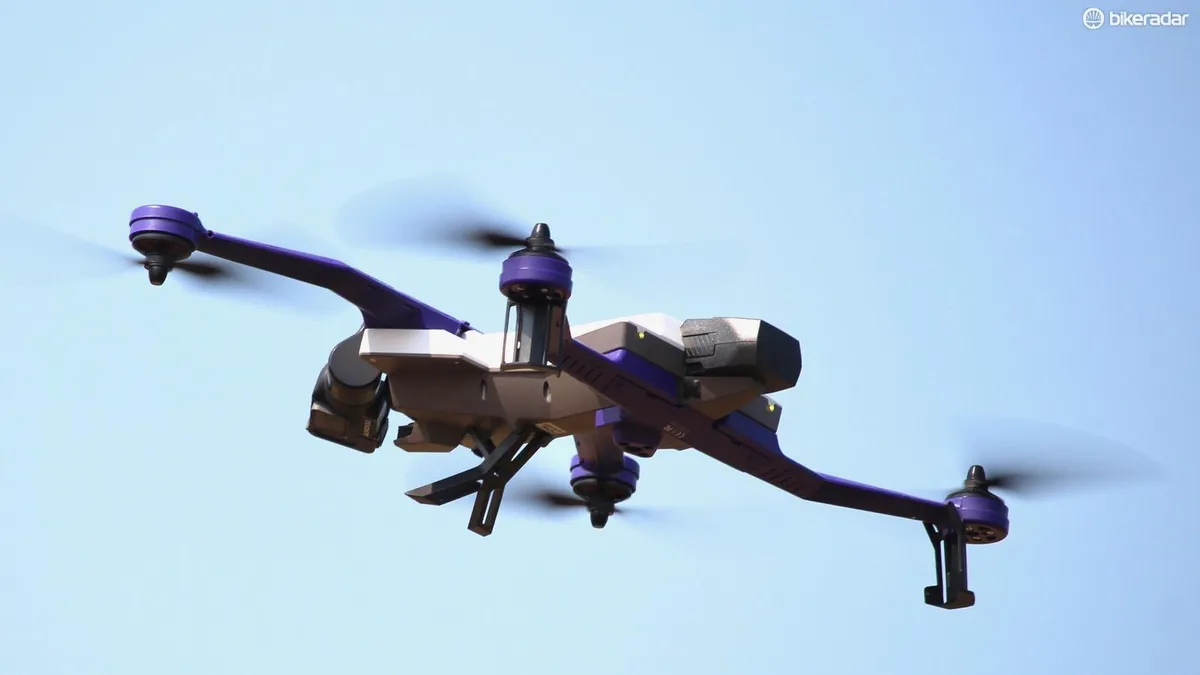
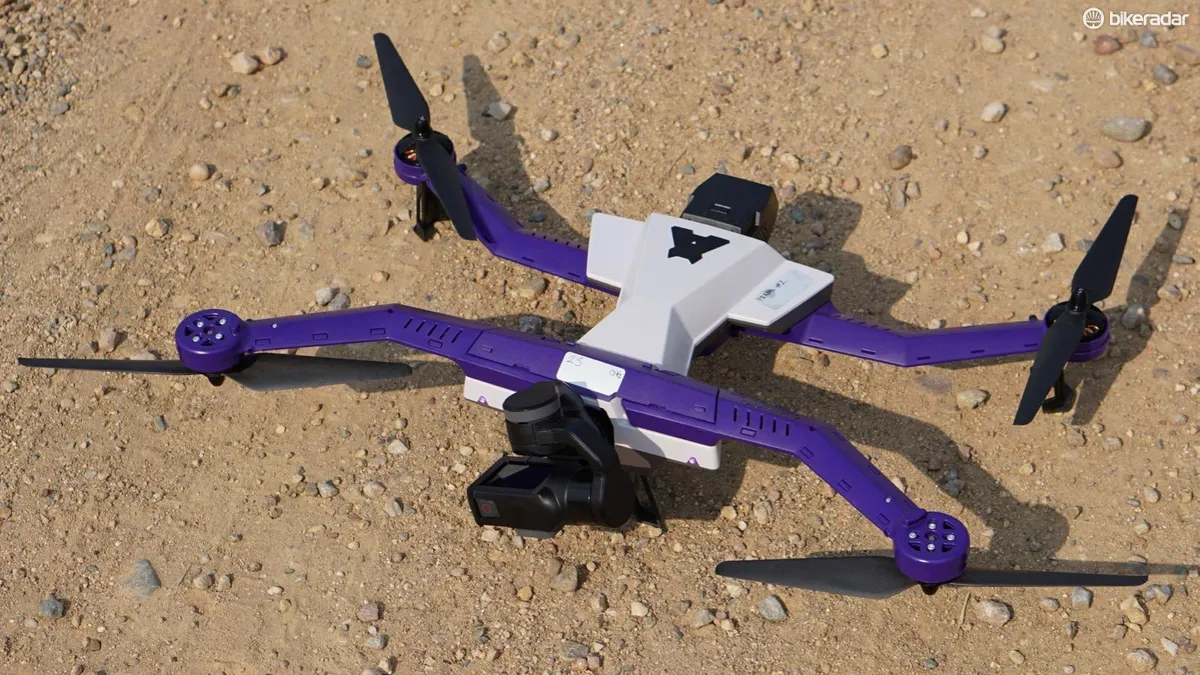
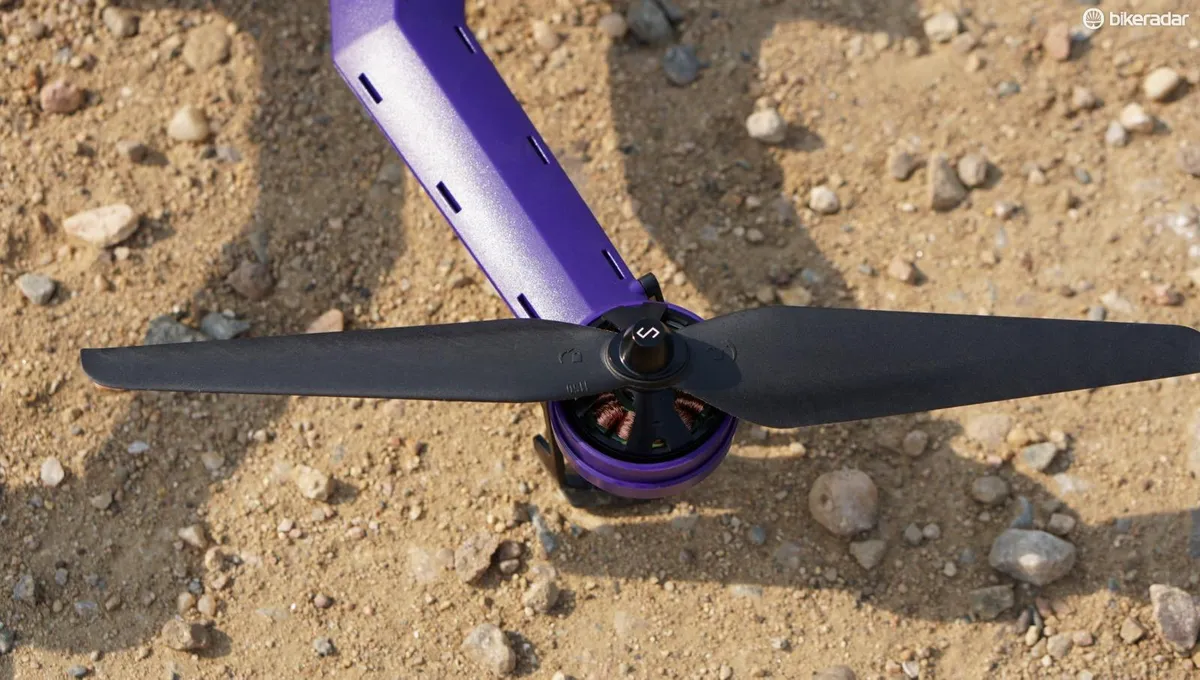
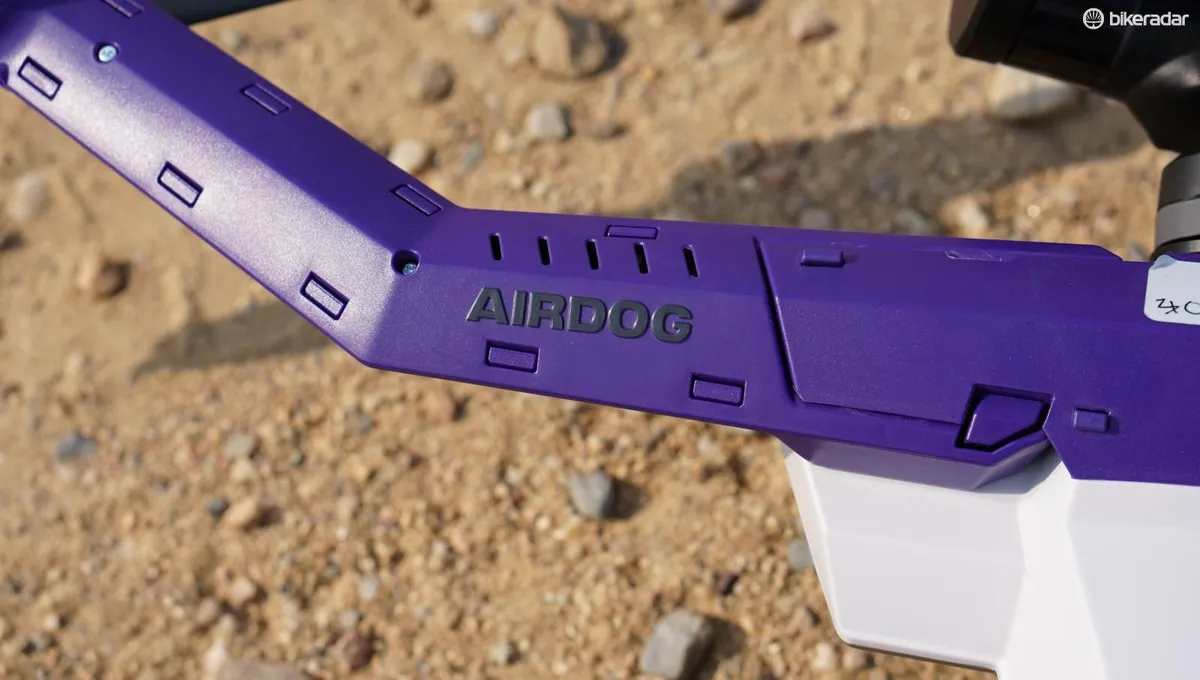
The Airdog ADII drone allows you to film yourself riding, capturing dynamic GoPro footage with just a few button presses of a compact remote.
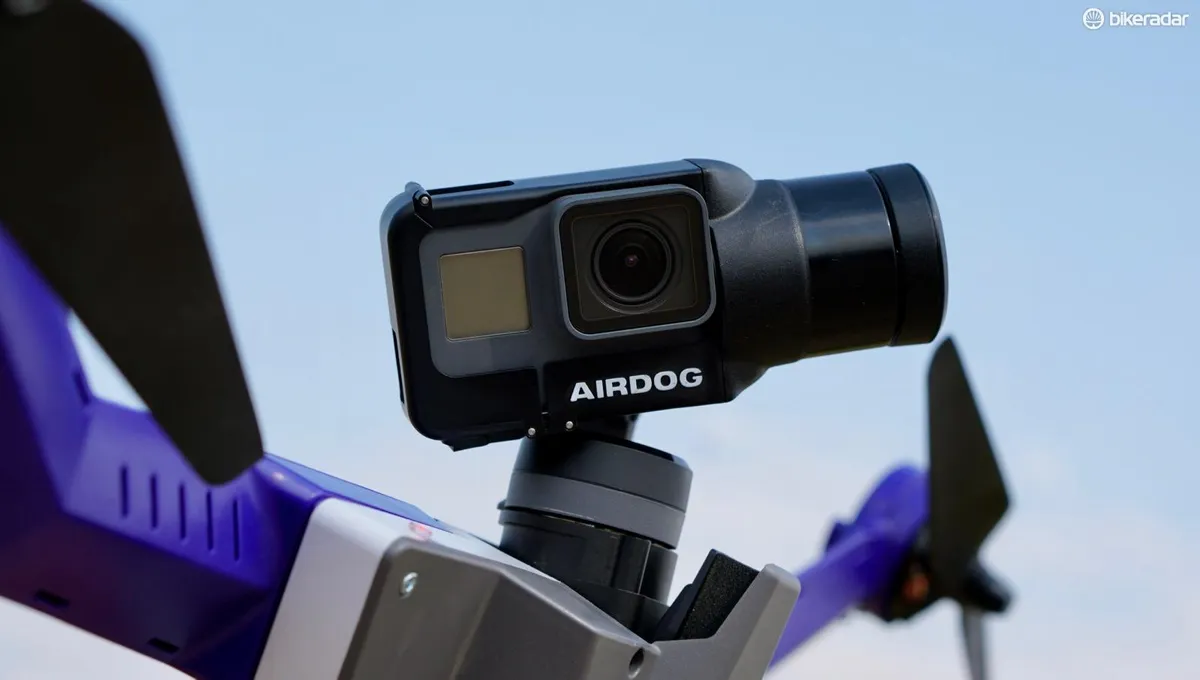
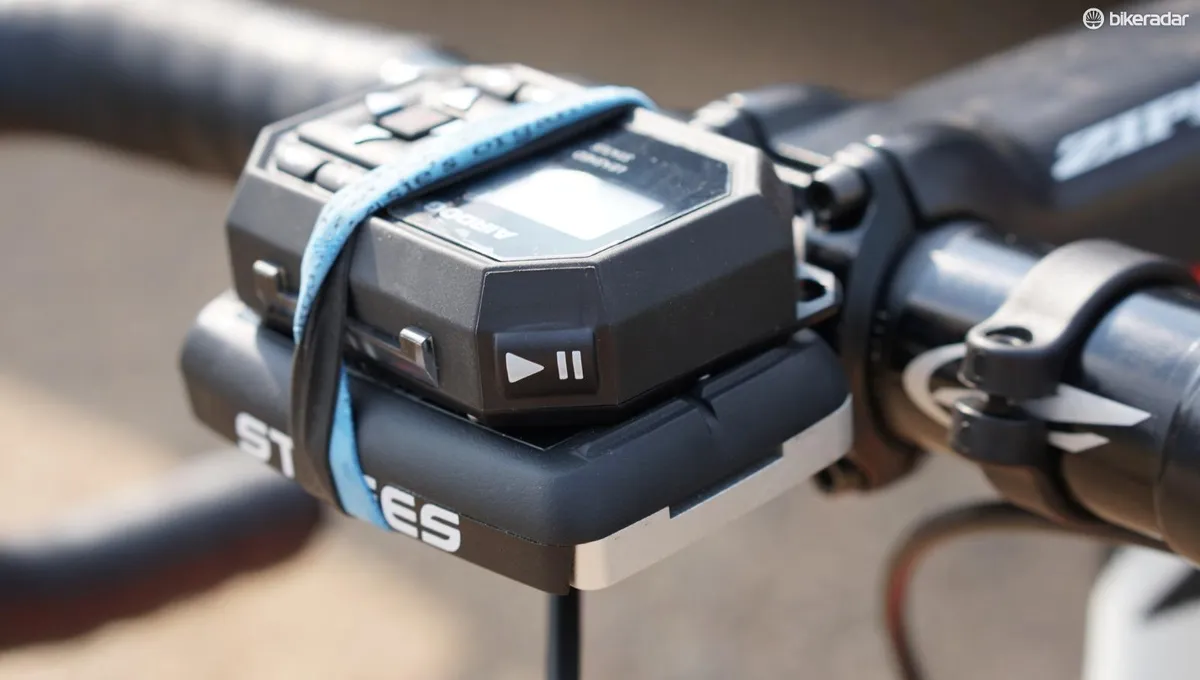
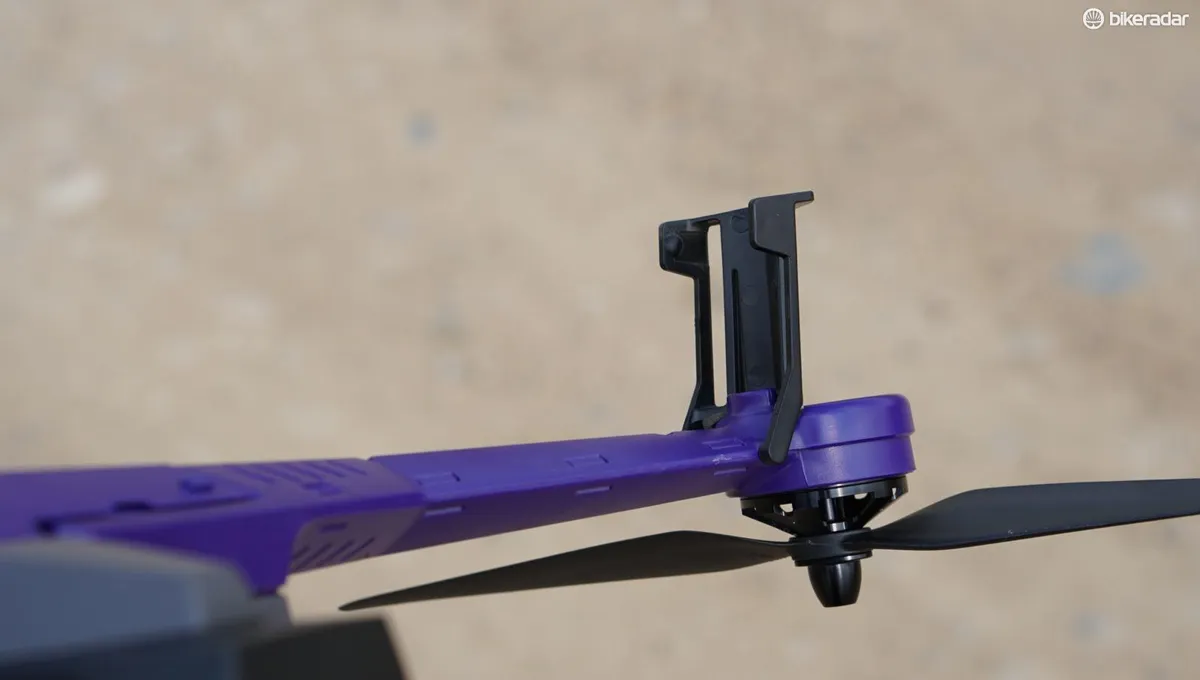
Unlike most drones that operate with dual-stick remote controls and visual monitors, the ADII locks in on a wrist- or bike-mounted Leash and follows it automatically, keeping your GoPro Hero 5 Black pointed at you all the while.
Solo operation — from the saddle
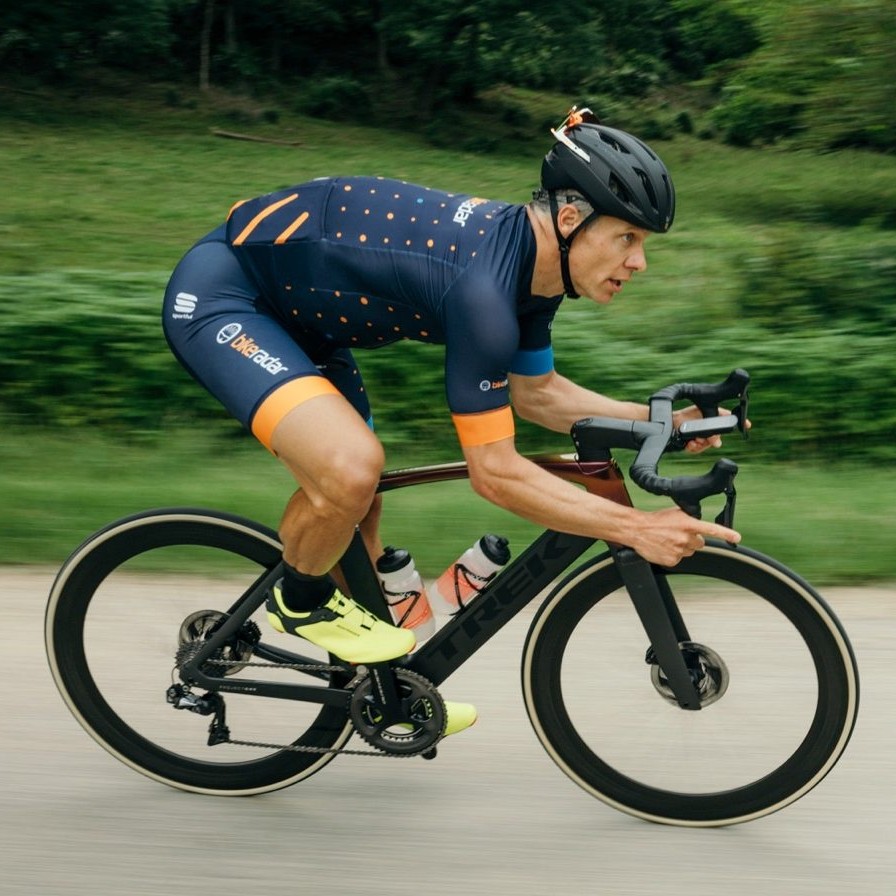
For the past few years, I definitely fell into the ‘interested in but intimidated by drones’ category. We do a fair amount of video reviews and features at BikeRadar, with ride footage done largely on seatpost- and handlebar-mounted GoPros.
We have hired videographers for drone footage, and the moving aerial vantage point certainly adds visual appeal. But when working alone, learning how to fly and then piloting a drone while riding a bike just didn’t seem feasible to me.
All that to say, I found the promise of the ADII appealing: a smart drone that flies itself.
Taking the Airdog ADII drone out for the first time
Two modes: hover and follow
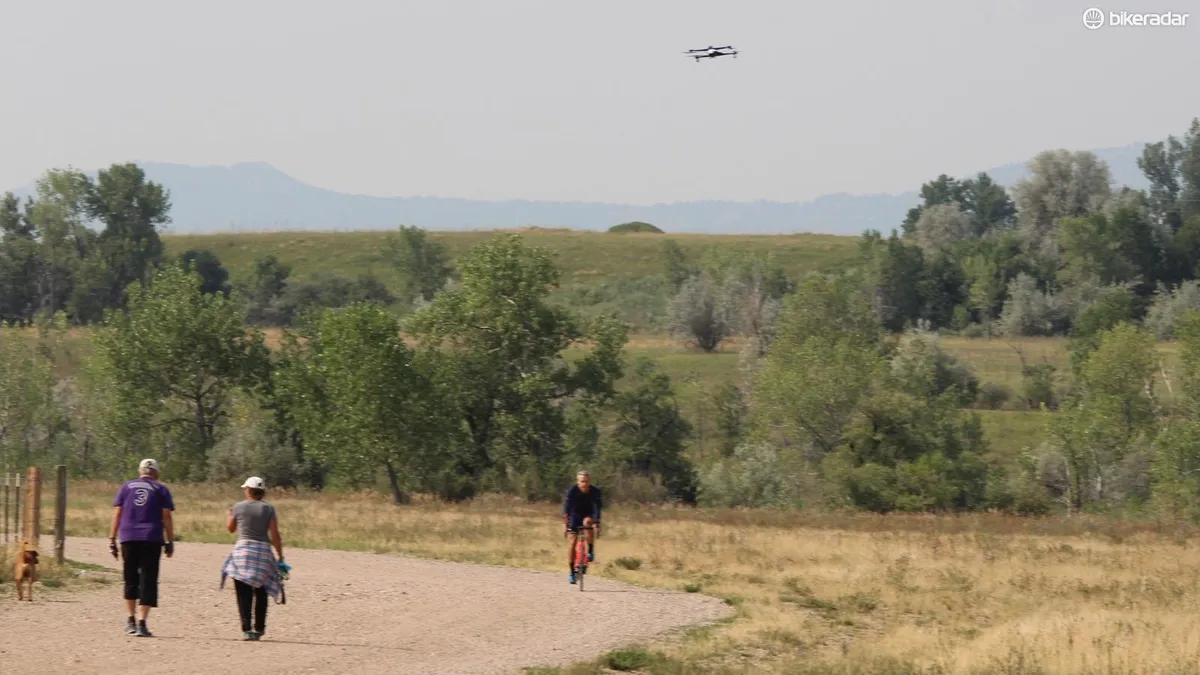
There are two main ways Airdog II tracks you: hover and follow. Pressing the play/pause button on the Leash toggles between the two.
In hover mode — which is the default upon takeoff — the camera tracks on you, while the drone hovers in place. No matter how far off you ride, the Airdog II remains parked in the air, only pivoting if need be to keep the GoPro pointed at you.
In follow mode — which is Airdog’s specialty — the drone does exactly that; chasing you down the trail or road, with the GoPro staying fixed on you.
In both modes you can set the elevation with up/down arrow buttons on the Leash, and its orientation to you with left/right buttons. You can also adjust these settings on the fly, as well as toggling to ‘joystick mode’ to use the up/down buttons to bring it closer or move it farther away from you.
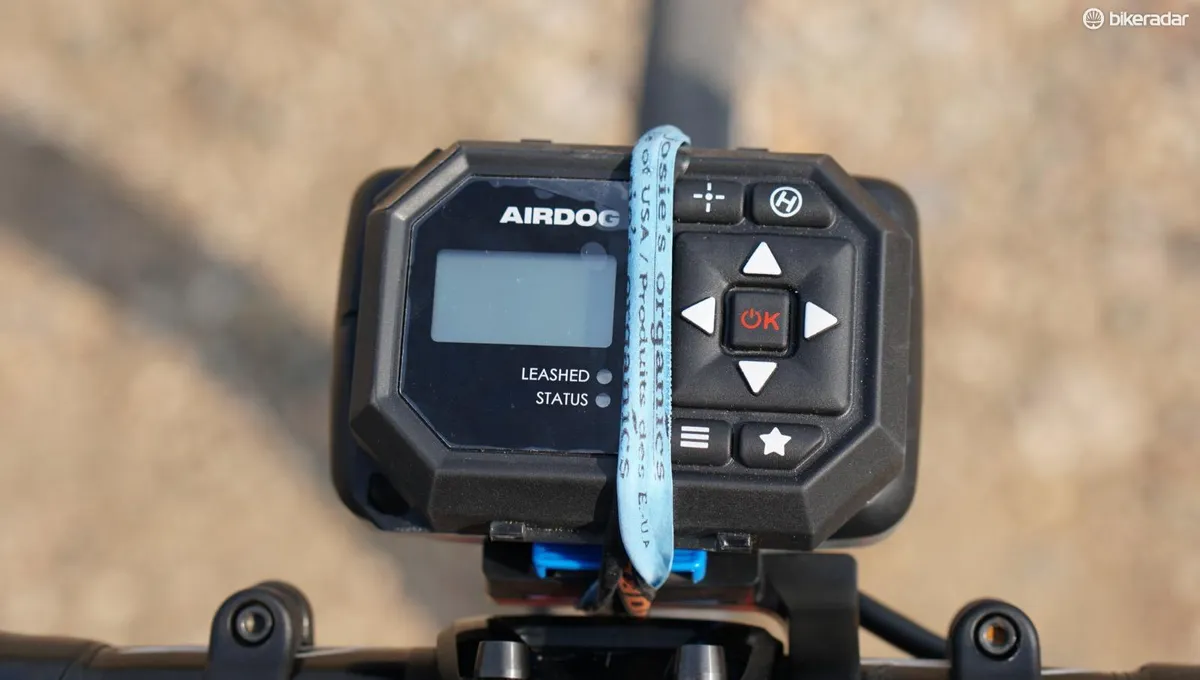
And then two follow modes: fixed and adaptive
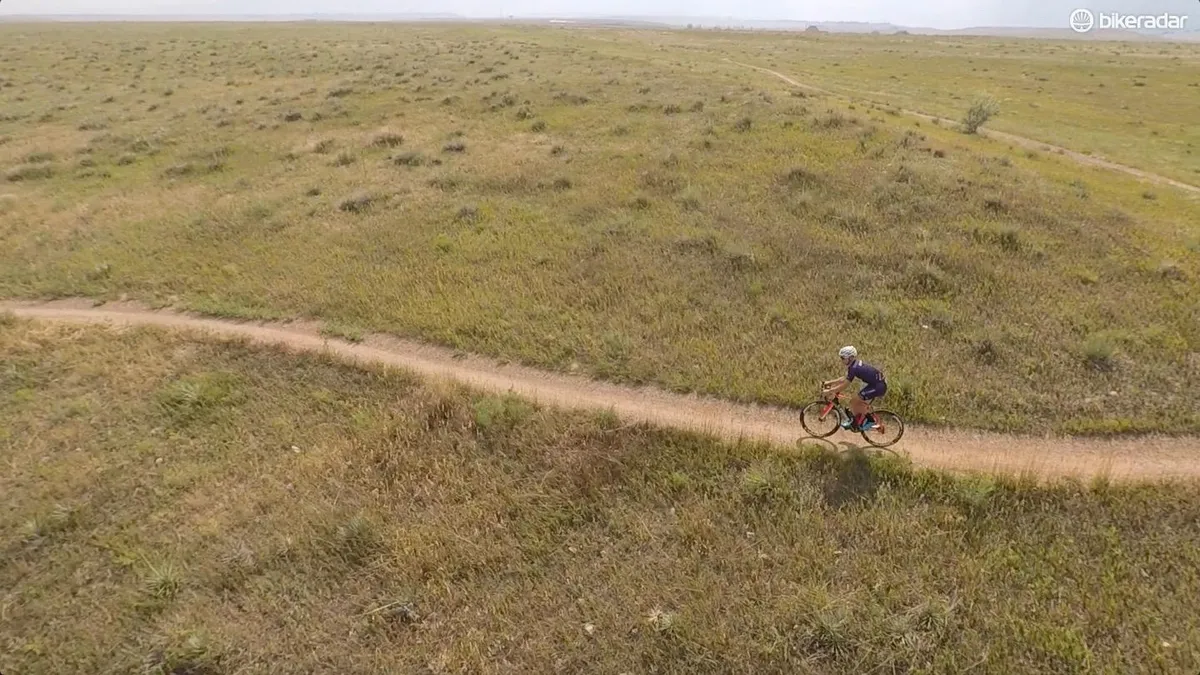
Adaptive means that the Airdog II follows in an interactive pattern. There are a few Adaptive presets you can use — I chose the Trail setting — and you can tweak those or create your own, fine-tuning the parameters of elevation and distance to the Leash.
What’s cool to me is how on Adaptive Follow mode the Airdog II swings around at random, giving you a variety of angles without the hassle of carefully programming all the sweeps and turns and bends.
Speaking of programming, you can use an app to set a course. That is a two-step process: you use a satellite map to prescribe the route by setting waypoints, then you go back and set the elevation for each way point.
I haven’t had time to play with that yet.
Curves in learning and landscape
Before hopping on the bike, I practiced a little bit on foot. There are two mini training sessions that last about five minutes each.
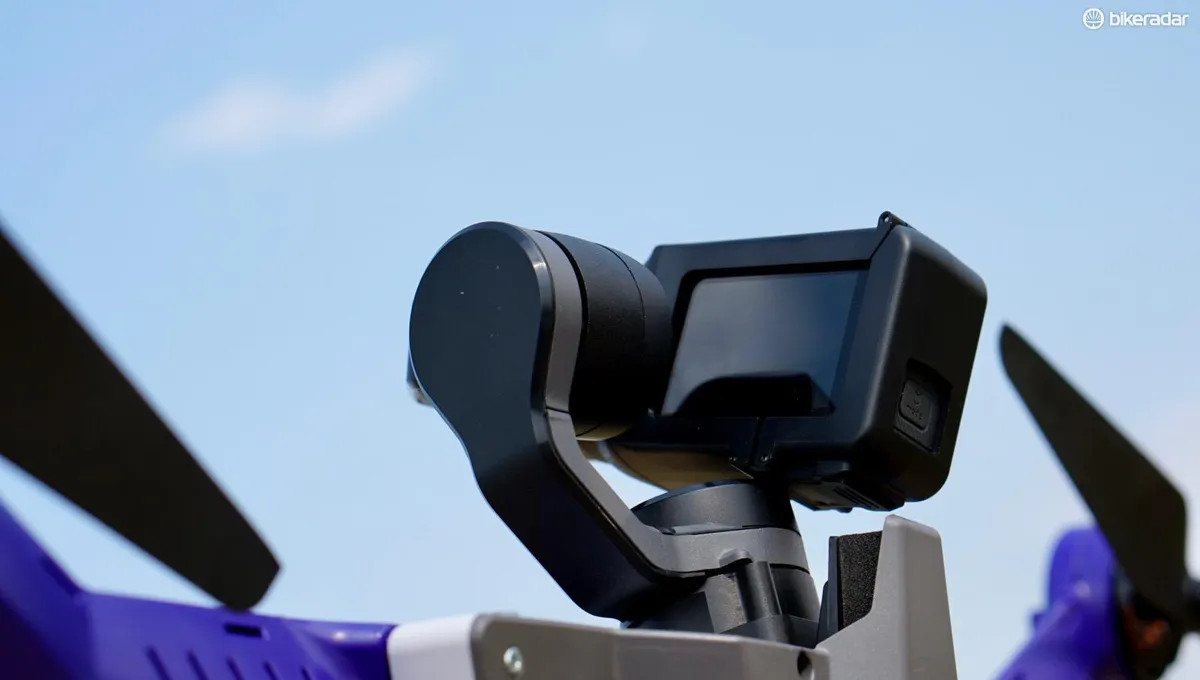
At one point, the gimble that holds the GoPro was locked out and I didn’t realize that until I got home and looked at the footage. Evidently you need to turn each of the three axis pivots before launch to unlock it from travel mode.
Aside from that, I found it easy to use.
There are five scene-setting shots, accessed by the star button. I tried the 360 Panorama function, which does what it says — spins in a slow circle while pointing at the horizon. My single test shot was slightly tilted.
There is also a Reveal Out, Reveal In — which zoom out and in, plus a pivot — and two fixed options: Look Down and Look Away for establishing set shots that aren’t centered on the Leash remote.
I found the Hover mode to be an effective scene-setter though — just park that sucker up high and ride off.
Maximum altitude from takeoff point is 400ft /120m. The high-elevation perspective is one of the cool things about drones.
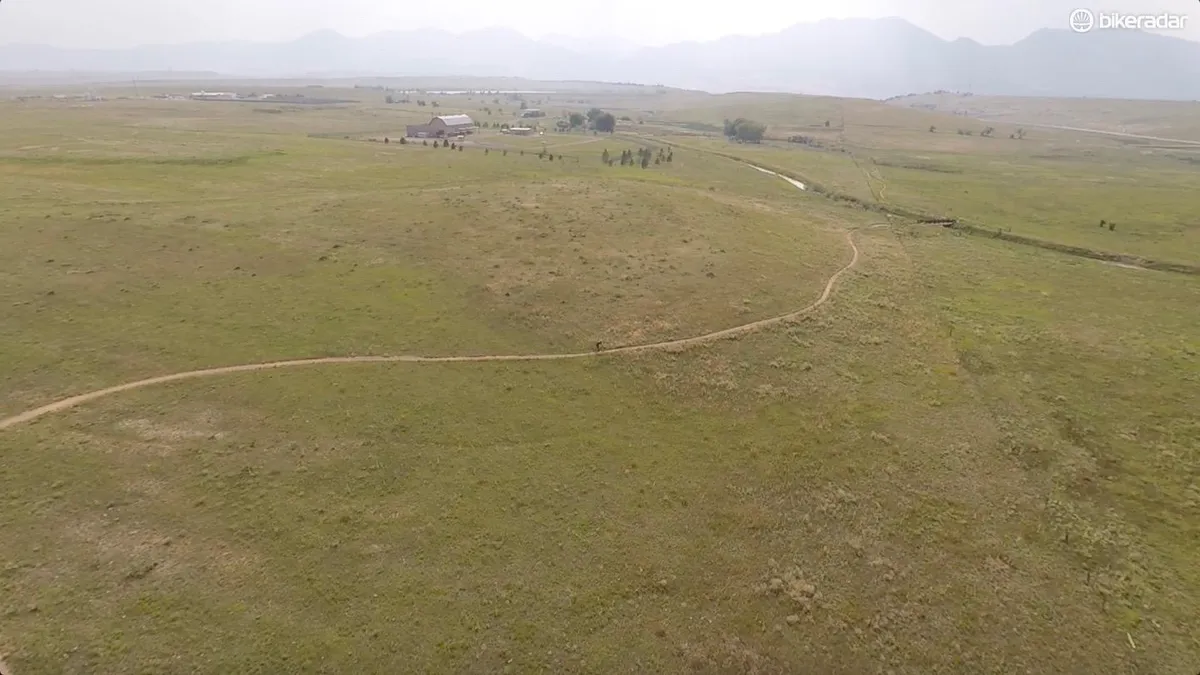
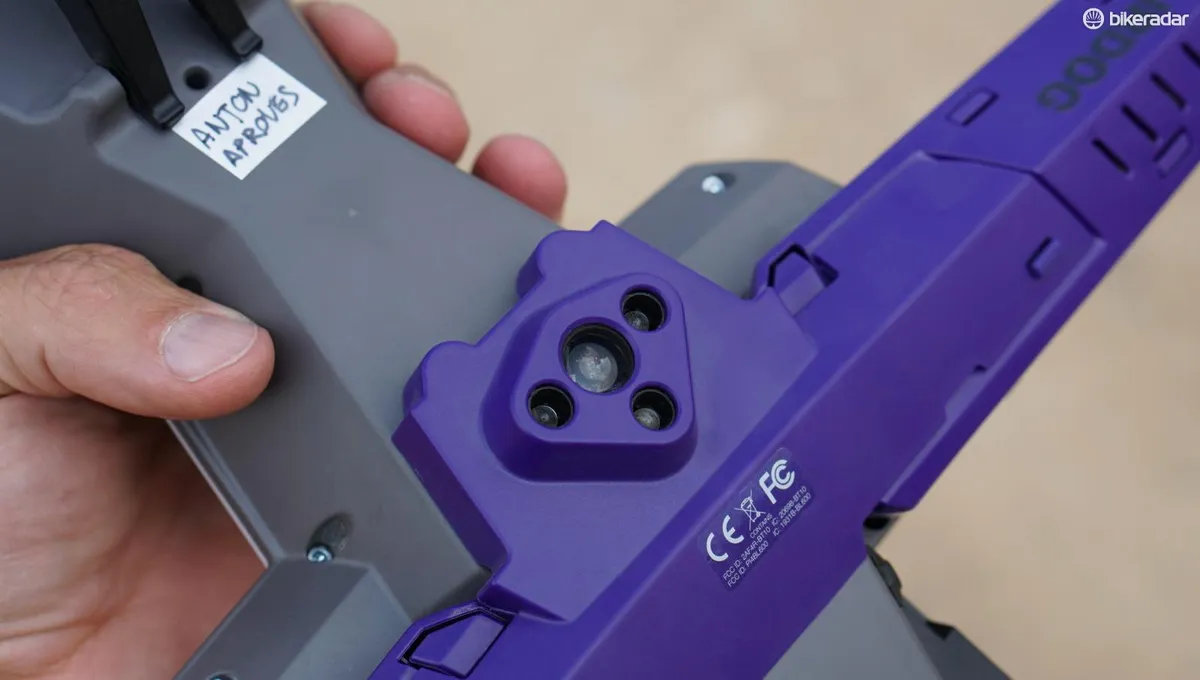
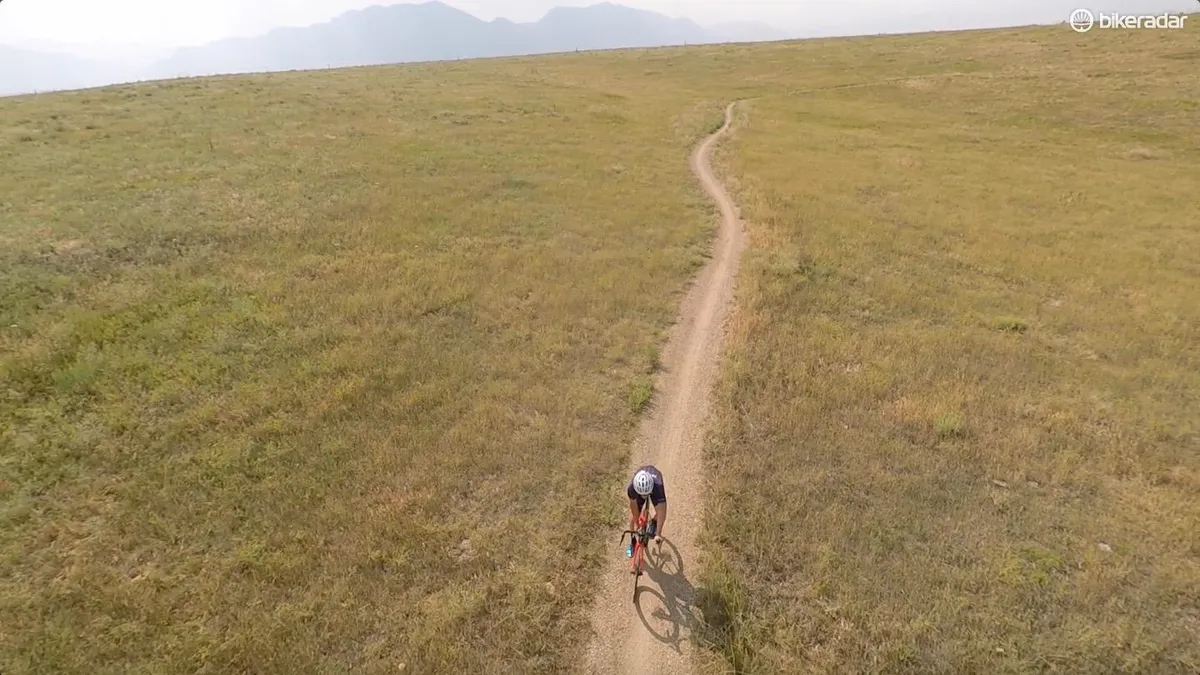
For my first test on the bike, I picked a wide open and thus somewhat visually boring area because I was afraid of crashing the thing into a tree and losing my GoPro. The Airdog II has crash avoidance sensors on the bottom for landing, but there is nothing to prevent it from plowing into a tree, a power line or a building.
But by riding in an area without trees, it was neat to see how the drone zips around like a playful pup.
Battery life and landing
I found the battery to be good for about 15 minutes.
After about 12 minutes of use while riding, the low-battery light began to flash, giving me time to find a safe place to land.
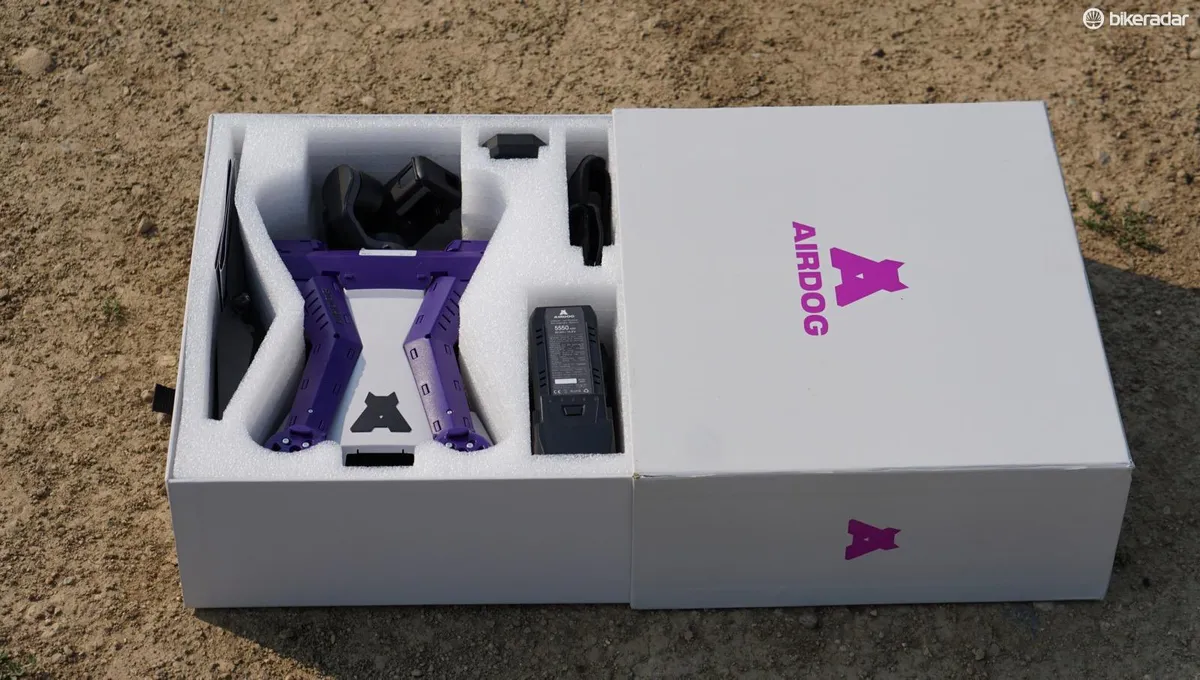
Given this short life, I’d advise two things. One, get multiple batteries. And two, have a specific plan of action about what you’re trying to accomplish and exactly where before you take off.
You can land the thing in two ways. The Home function sends it way up high to its top elevation, then back to its original takeoff location. I suppose the idea is that at such a height, the drone has greatly reduced chances of hitting something while returning home.
The Spot function lands it where you are. To use this option, you press the Come to Me button, which brings the Airdog directly overhead. Then you press Spot and it drops down.
Pricing and availability
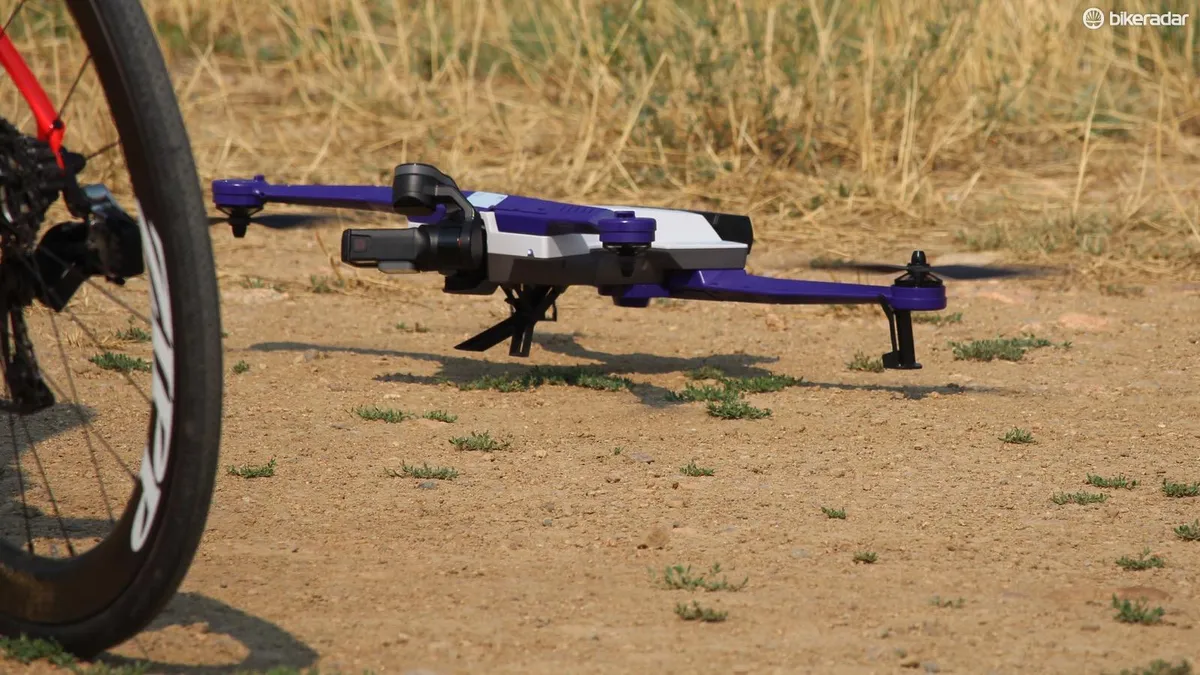
After a successful Kickstarter campaign, the Airdog II is now on sale at airdog.com for $1,299 / £1,369 with an October delivery. After October the ADII will be $1,499 (UK price TBD).
Note that the original Airdog ADI drone can be found online in a variety of places for less than its original $1,500 asking price.
Initial impressions
With just a couple of hours of playtime, I’m generally impressed with the Airdog II.
When flying in an area without trees, it is really quite simple to use on Adaptive mode. The drone dances around you for a variety of angles and sweeping shots, and it keeps you/the Leash in the GoPro frame the entire time. The Leash isn’t always perfectly centered in the frame, but the tracking works pretty well.
Some drones come with their own videocamera; this requires the use of your own GoPro Hero 5. The downside is the additional expense; the upside is the dependable video quality and, if you’ve been a GoPro user, the familiar interface.
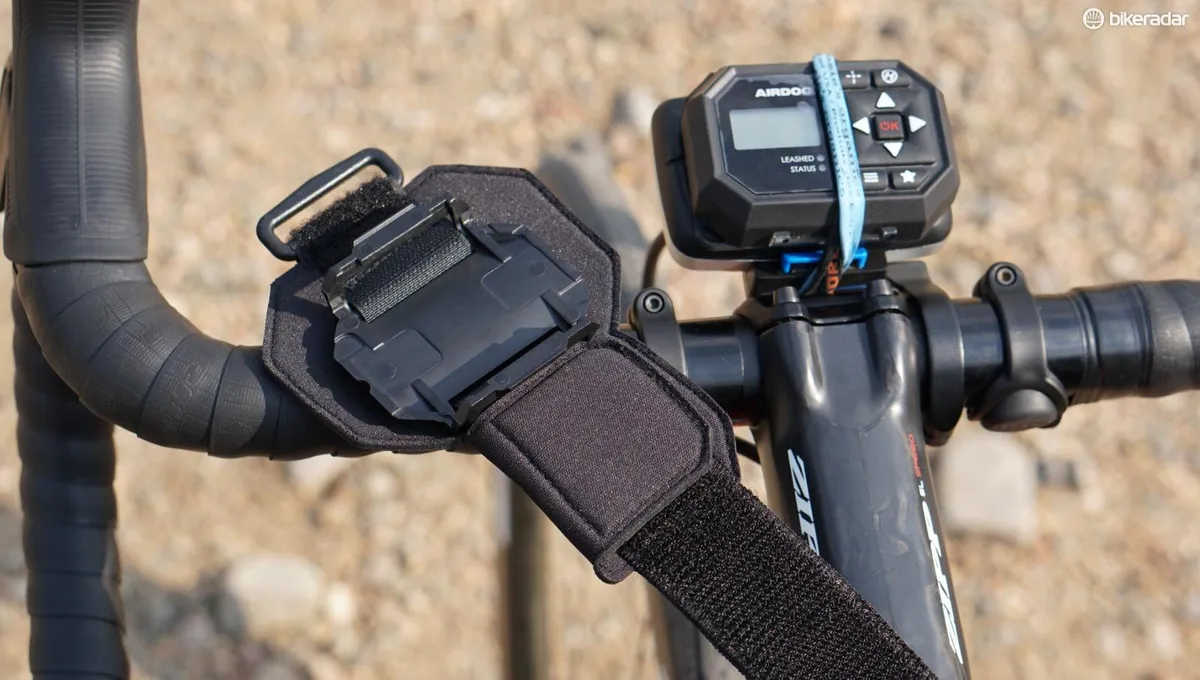
As a cyclist, I would like to see a dedicated bike mount for the Leash. As relatively simple as the remote is, pressing buttons on a watch-like device isn’t ideal when riding. I opted to rubber-band the Leash to my Stages Dash computer, which is mounted in front of the handlebars. This, like any bike computer, let me keep an eye on the Leash and operate it easily with one hand.
But the bottom line is this: as a bike rider who had never operated a drone of any type, I was able to film myself riding after about an hour of initial investigation and test flying.
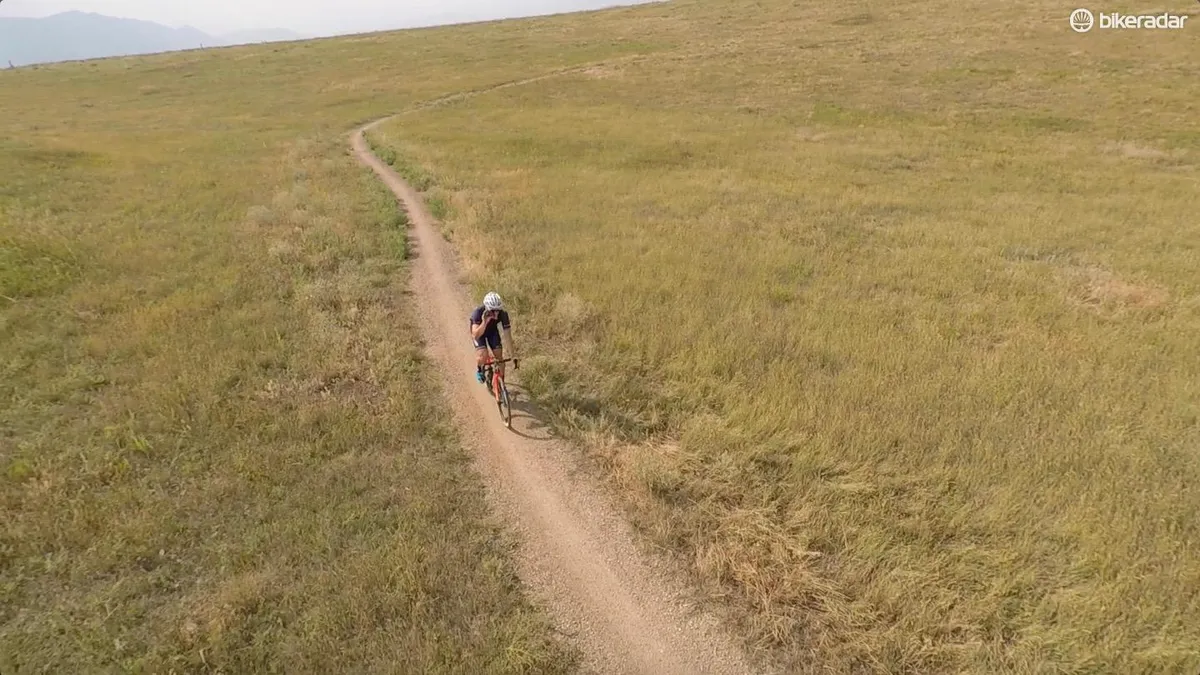
The end result was some swirling, climbing, swooping and fixed, pivoting GoPro footage, the likes of which I have never been able to achieve without paying an actual videographer a decent chunk of money.
The big caveat here is that my initial testing was done in a wide-open space. Filming in a forest will prove to be another challenge entirely, and one that will almost certainly require programming.
I’ll be testing the Airdog II more soon and posting a full review in a few weeks.

