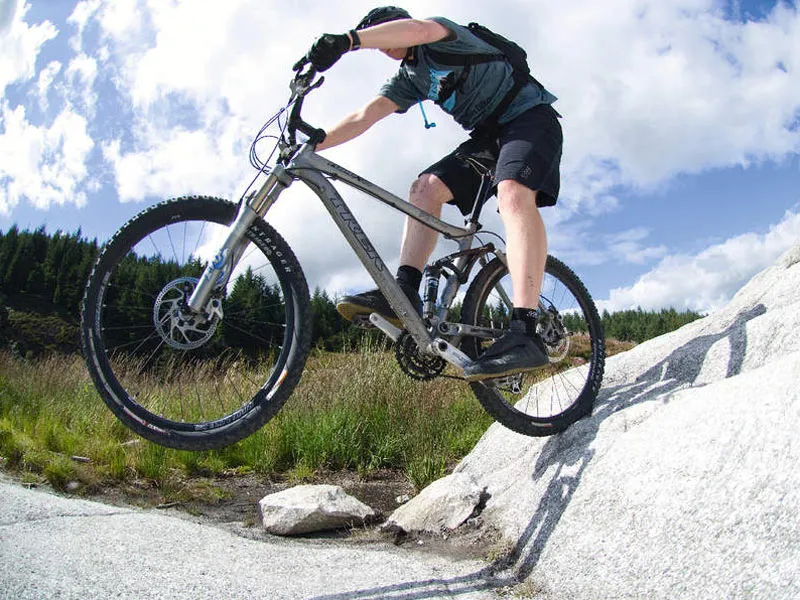
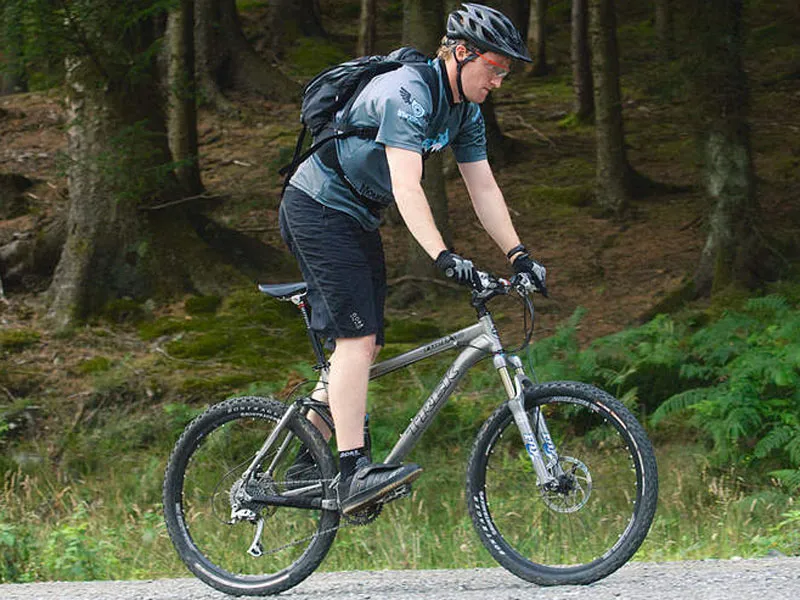
Learning how to pull off a manual can make your riding smoother, faster and more effortless. David Webster shows you how.
This skills series is designed to introduce and develop key trail riding skills that many find impossible to grasp or maybe have never even heard of. This is the stuff that good riders do without thinking, and what many of us do intermittently when we have that perfect day on our favourite trail.
Showcasing the best of Scotland’s 7Stanes trail centres and using relevant skills for each venue, the articles will give you the ultimate arsenal of skills to help maintain your speed and flow along the trail.
So, what’s a manual?
Manuals are most easily described as non-pedalled wheelies. To be more accurate, they involve manually raising the front end of the bike so that the front wheel can avoid obstacles, dips and other assorted trail hazards – rather than lifting the wheel through pedalling, or not lifting it through at all.
While Scotland’s Glentress tends to hog the 7Stanes trail network’s limelight, its sister Kirroughtree has quietly become the discerning rider’s choice. It has trails littered with compressions (small dips), drop-offs and other features that cut across the trail, all of which can conspire to slow you down – or at worst stop you dead. If you’re able to pull off a good manual, these challenging trail features give you a constant opportunity to both maintain and pick up momentum where others would slow down and lose speed. The best place to see the manual executed is to watch top-class 4X riders or BMX race footage.
The bottom line is that a correctly delivered manual will enable a rider to make seemingly effortless and flowing progress over the top of the terrain. That’s got to be preferable to getting sucked down and into every root, rut and ditch, bouncing along from one near-disaster to the next.
Learning the manual
As we’ve said, the manual is one of the most useful MTB techniques to master – so let’s cut to the chase and learn how you pull one.
First, find yourself a good car-free space with a decent surface and a flat to slightly uphill gradient (the uphill slope will naturally help you move your weight to the rear of the bike). Build up a brisk jog’s worth of pace on the bike.
Once you are rolling at this pace, adopt the ‘attack’ position: pedals level, weight centred on the bike, two fingers covering the brakes, and looking ahead.
1] Set your weight slightly back from centre, straightening out your arms as you do. You’re aiming to have the widest part of the saddle in contact with your inner thighs, thereby partially unweighting the front wheel.
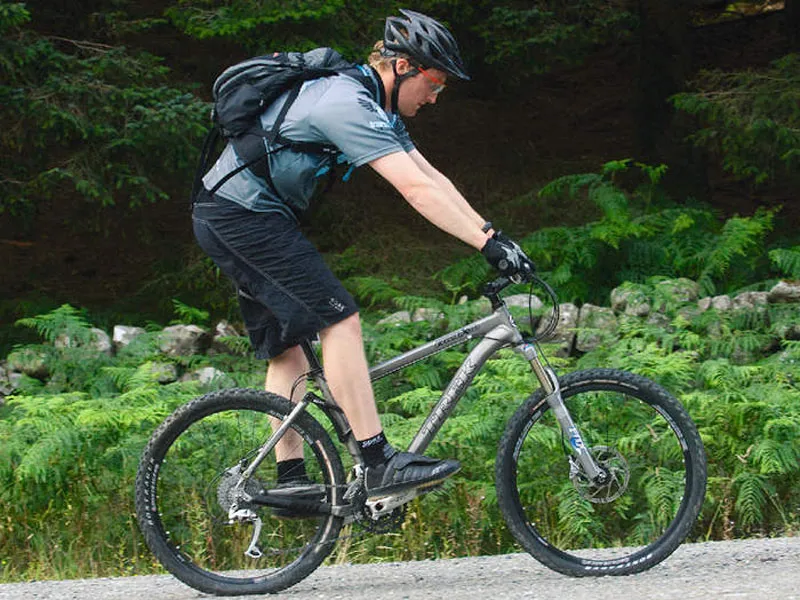
2] Then, with straight arms, rock your weight dynamically forward, with the aim of loading weight onto the front of the bike.
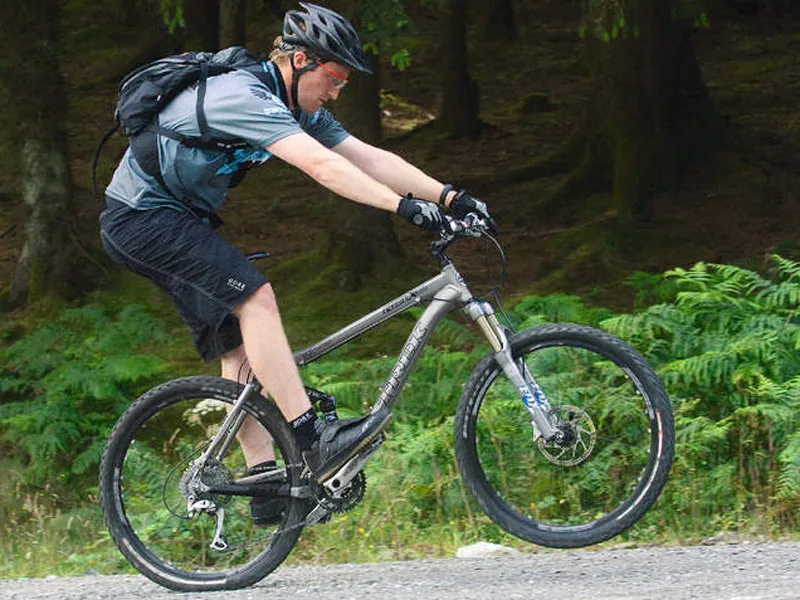
3] Seamlessly, and with straight arms, rock your weight back. Aim to get the wheel a kerb’s height clear of the floor.
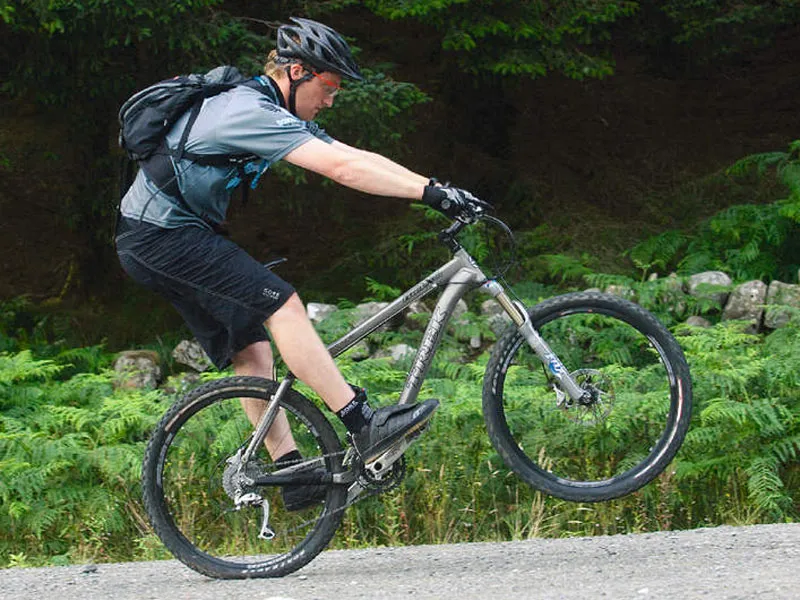
4] Gently dabbing the rear brake will bring the front of the wheel down again.
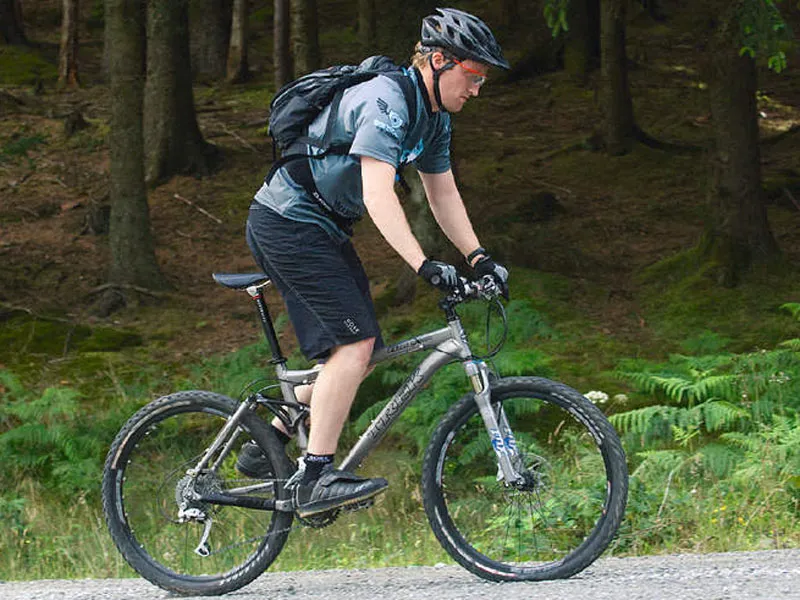
Always cover your back brake in case you feel the bike wanting to loop out backwards — gently dabbing the rear brake will bring the front of the bike down again. This manoeuvre should see you effortlessly bringing the front wheel up and off the floor; brute force and grunting tend to indicate poor technique. Remember, if it feels forced and ugly, then you’re doing something wrong.

