Tricks ain’t just for kicks. The sort of skills you learn while goofing around in a car park can have a massive benefit out on the trails. Doddy and Chris Smith explain how.
The next time you see a group of riders pulling tricks around a car park (US: parking lot), don’t just turn your nose up at them – the wheelies, skids, endos and all the other moves they do are fantastic ways of developing bike handling skills and learning where your balance points are. They’re also a great laugh.
If you spend time mastering technical riding, you’ll find you can reap rewards when you’re out on the trails. You’ll be able to go faster in areas where you would’ve felt uncomfortable before, you can get out of situations where you might previously have come a cropper, and you can approach intimidating terrain with confidence that you can handle it.
In part two of our Car Park Captain series (click here for part one), we’re looking at wheelies, manuals, stoppies and kick turns – all fantastically useful to learn, and lots of fun too. Find yourself some quiet and safe land to practise on – the back of a deserted car park or a park is perfect. Make sure someone knows where you are just in case of an accident and make sure you’re wearing a helmet. Don’t practise in a car park while it’s in use, and don’t practise in areas where you’re likely to incur a fine.
The Wheelie
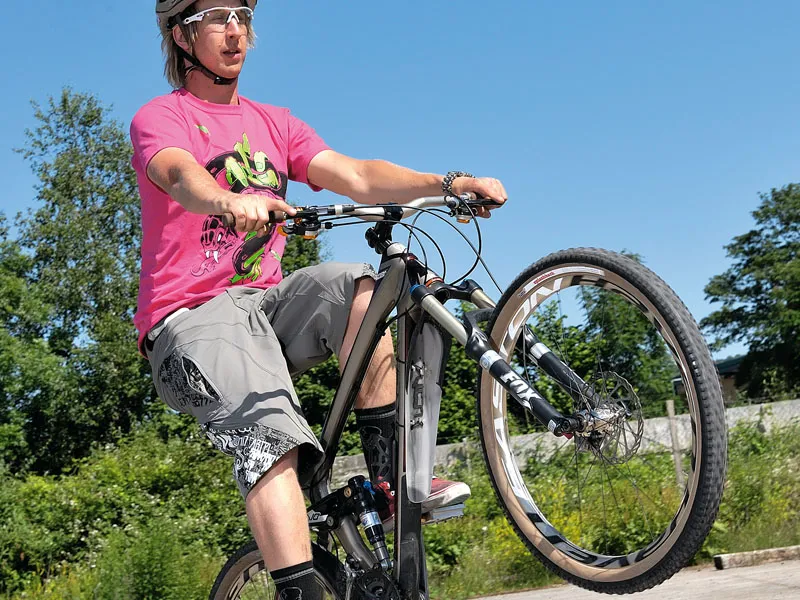
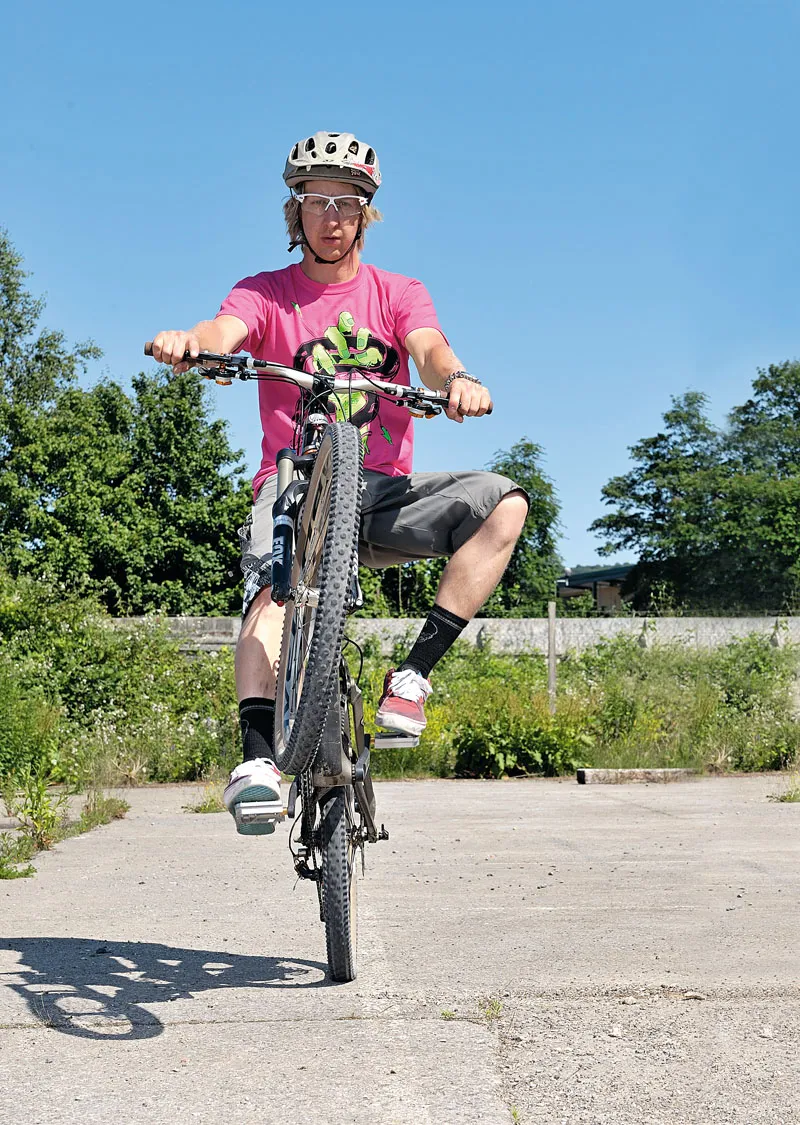
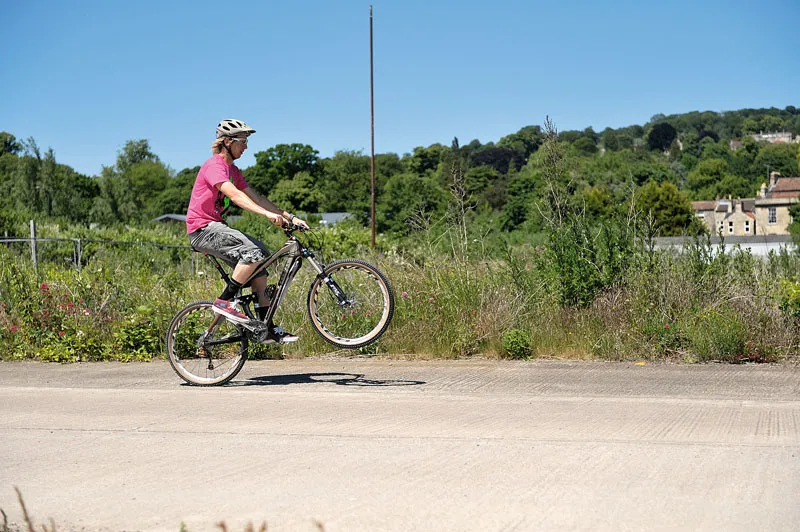
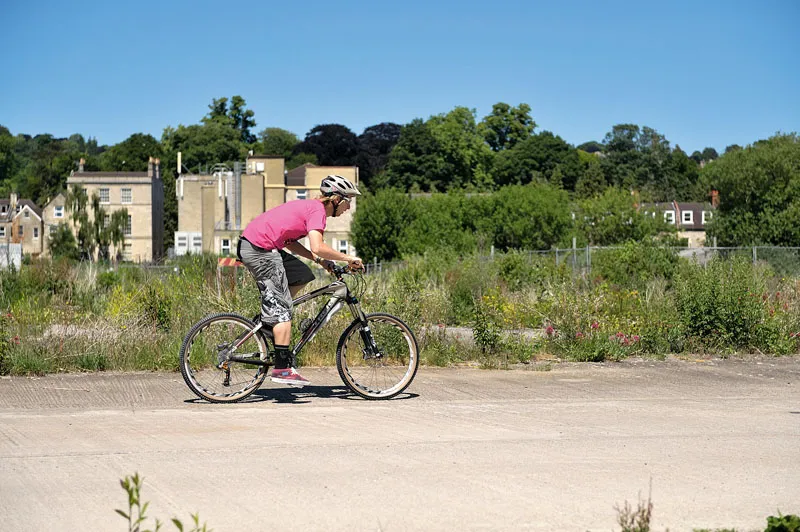
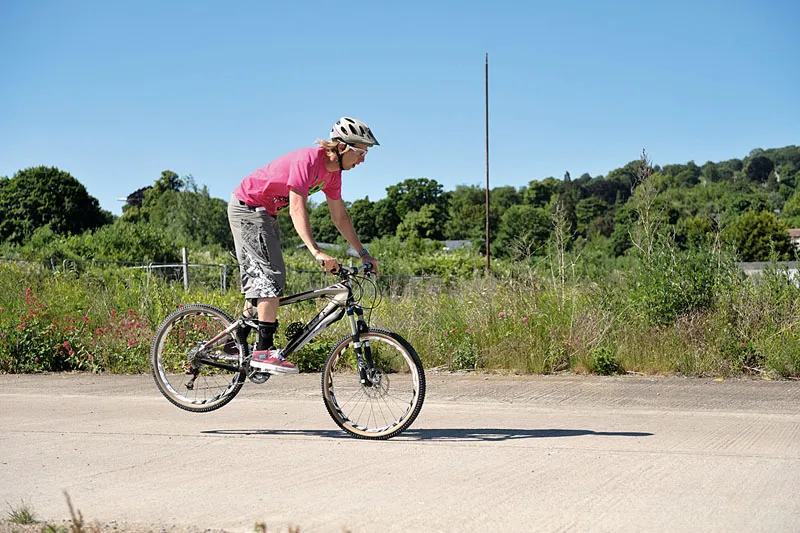
The wheelie is where you’re seated and pedalling while keeping the front wheel off of the ground. You should always cover the back brake to avoid looping out and to control speed. There are a few different types of wheelies, such as coaster wheelies, where you’re seated but not pedalling and usually going downhill, and the manual, which we’ll come to next.
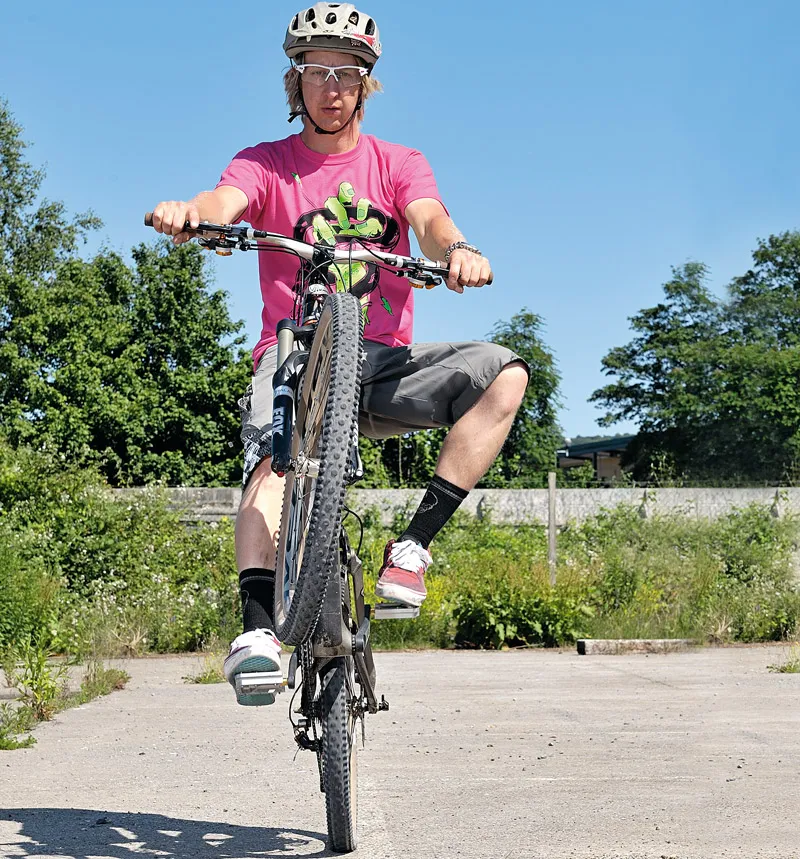
1 The setup: Find a nice gradual hill to ride up – nothing too steep but steep enough to resist your pedalling force as you up it. It’s much easier to learn a wheelie going uphill rather than down. If you go downhill you risk looping out if you haven’t got the hang of brake control.
2 Power: Getting the front wheel up is about the timing. Select a mid-range gear (middle chainring on the front and halfway up the block out back) and then pull up with the handlebars and put power into the cranks at the same time. Compressing the suspension a little just before you lift will help the front wheel come up too.
3 Balance point: To find your bike’s balance point, sit on the saddle and put your feet on the ground. Pull on the back brake and lift your bike on to its back wheel, keeping your feet on the ground. Stay seated and rock the bike back till you feel the front end go light . This is where you need to be when you pull a wheelie – it’s probably further back than you think.
Brake control: The rear brake is your safety net. If you lean too far back and lose your balance, you can pull the back brake on to bring the front of the bike down quickly. Learn to modulate the rear brake – drag it lightly as you feel your wheelie going too far backwards, rather than pulling it on quickly.
Speed control: You may have seen chavs pulling wheelies down the high street, pedalling like mad and not using their brakes – this is not the look we’re after! If you have to pedal to keep the wheel up, you’re not at the balance point. The only hard pedal strokes you’ll need to make are the initial ones that bring the front wheel up to the balance point. You may need a recovery pedal stroke to regain your balance point from time to time, but it’s not about pedalling hard – a nice wheelie should be controlled, not gaining speed.

The manual
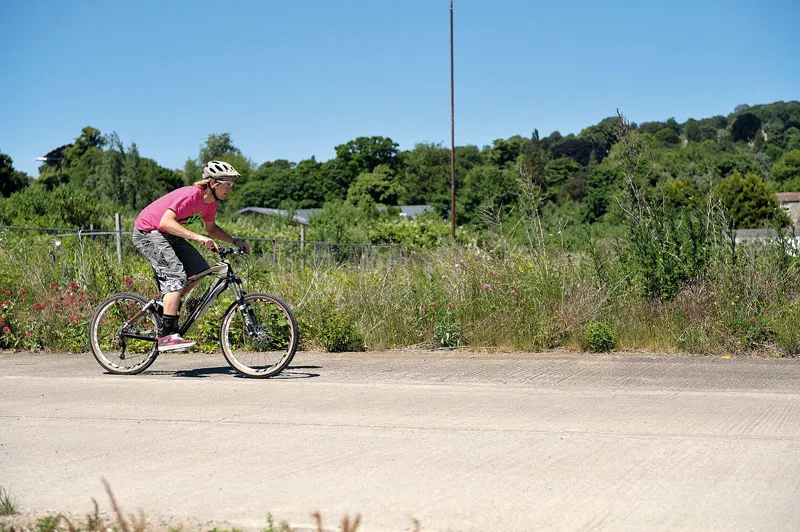
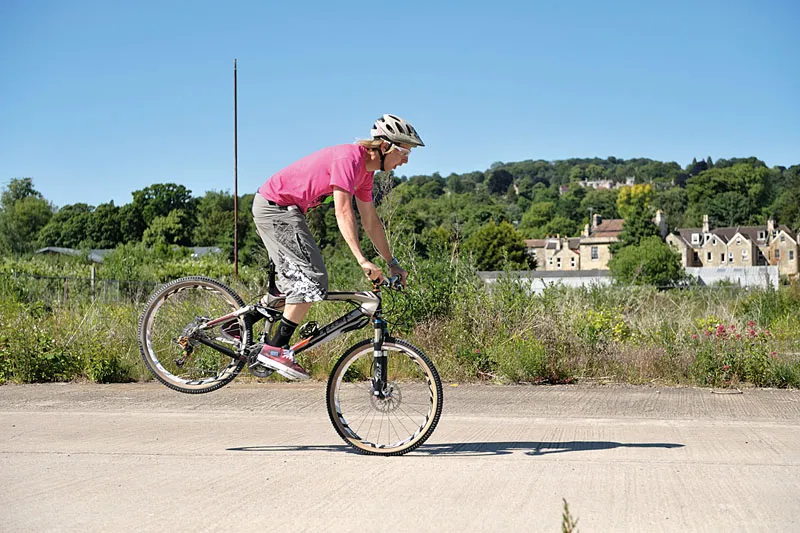
The manual is another type of wheelie. It’s done by standing and, instead of pedalling, you shift your weight back and forth and use the brake to reach and stay at the balance point. The manual is an essential trail skill to learn – you can use it to surf through deep puddles, glide over roots or through dips, or just to show off to your mates!
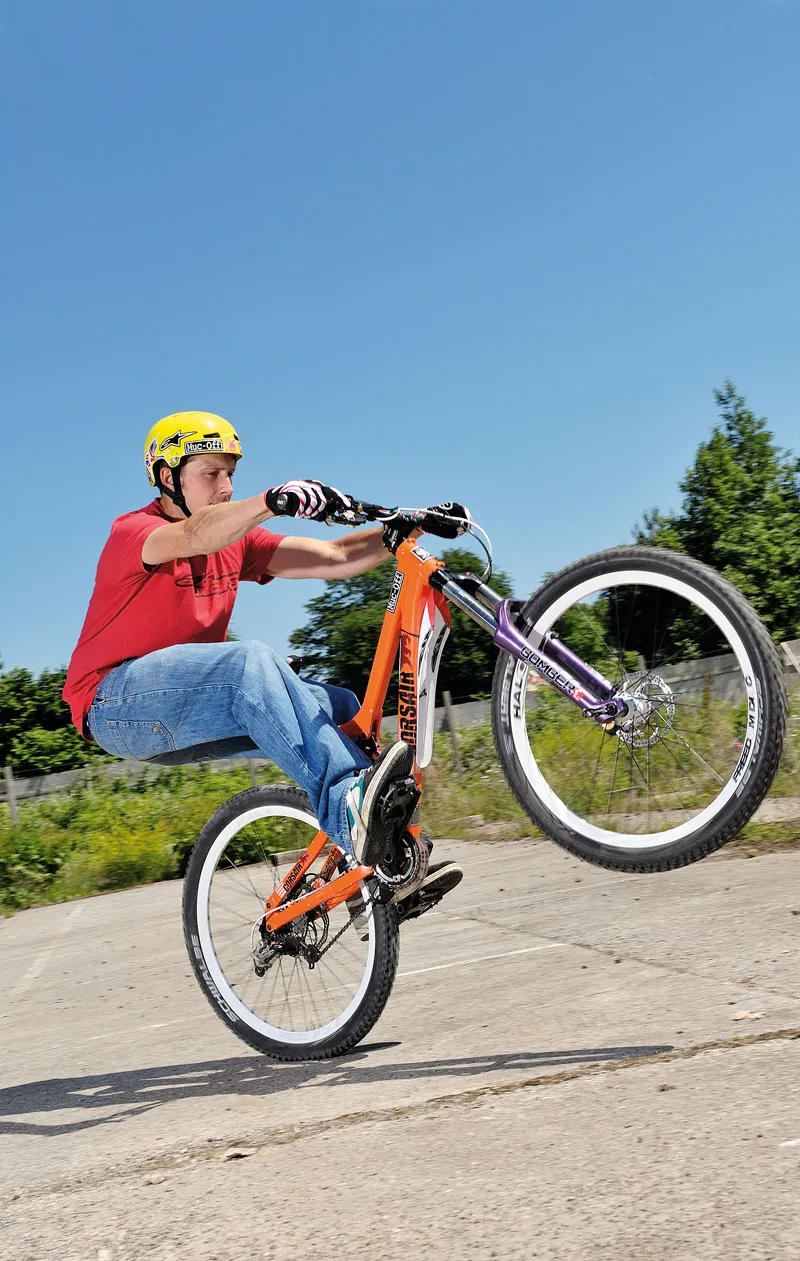
1 Pull up: Coast into the manual, freewheeling with your good foot forward. Give the fork a little squash and pull up hard with your arms to get the front wheel off the ground. Shift your weight backwards, lock your arms and keep the front end high. Aim to get your weight over the rear wheel axle. Sometimes using a small bump or kerb will help, and will also give you a marker that you can use to note your progress.
2 Foot position: An important part of the manual is foot position. As you lean back into the manual, drop your ankles and point your toes up. Pushing with your feet and pulling with your bars will keep you within the balance point – scrubbing the rear brake will help too.
3 Brake control: Learn to drag the brake, rather than grabbing handfuls of it – grabbing at it will only bring the front end down quickly. But be careful – if you don’t pull the brake hard enough, you’ll loop out.
4 Weight shifting: Take a mental note of where your handlebars need to be and what height they should be at during the manual. I sit right behind my saddle and put my ass nearly on the tyre, keeping it over the rear wheel axle at all times. If the front wheel drops I pull back with my arms and push with my feet while transferring my weight more over the rear wheel. If it’s too far back I ease up pulling with my arms and drag the brake a little. It’s all split-second weight shifts and brake control, which will come with practice.
5 Balance point: To find the balance point, sit on your bike with one foot on the pedal and one on the ground. Pull the back brake on, pull the bike on to its rear wheel, and pull the bars towards you until you fi nd the spot where the bike will almost sit unaided. Now is a good time to see how the back brake controls the manual too. Different bikes require different weighting – a hardtail is more sensitive, while a full sus will need more exaggerated movement because of the suspension compressing.
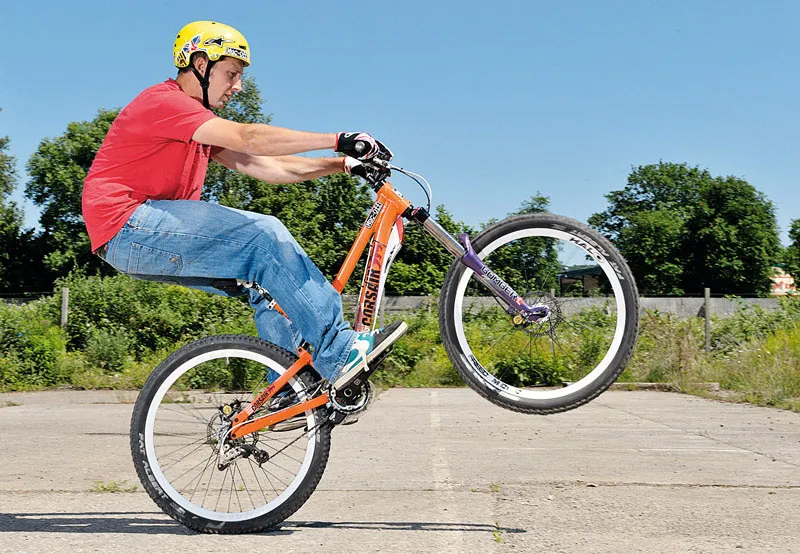
The manual is all about minute weight adjustments. Keep your arms straight and adjust your body back and forth. Move your bodyweight up and down to keep your bike at the balance point
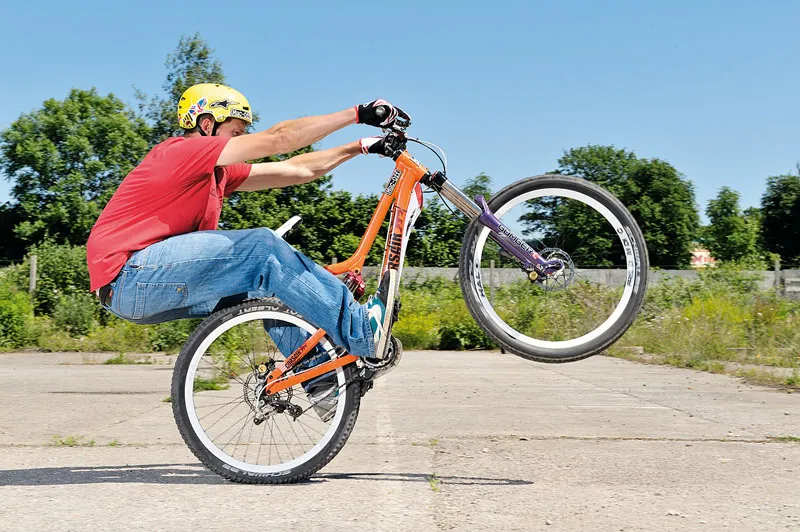
Lowering your weight and hanging it out back picks the front up; pushing forwards will lower it. Keep your arms straight and your brakes covered – feathering the rear brake can also lower your front end
The kick turn
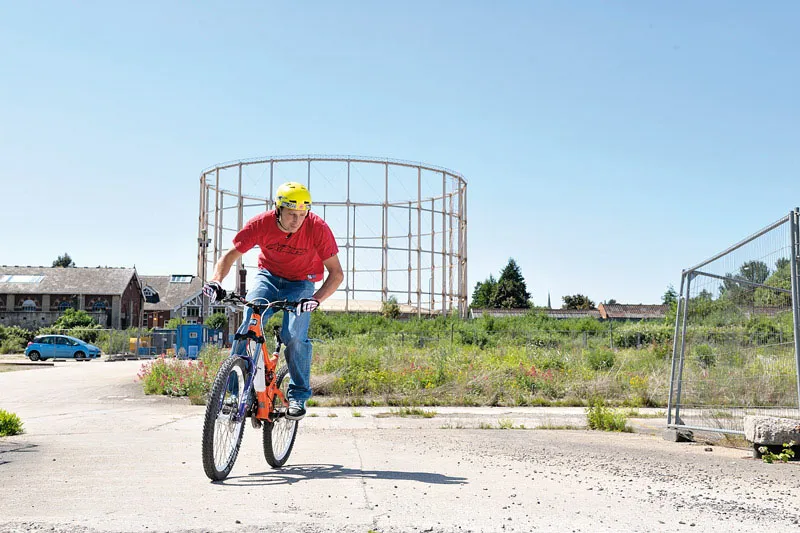
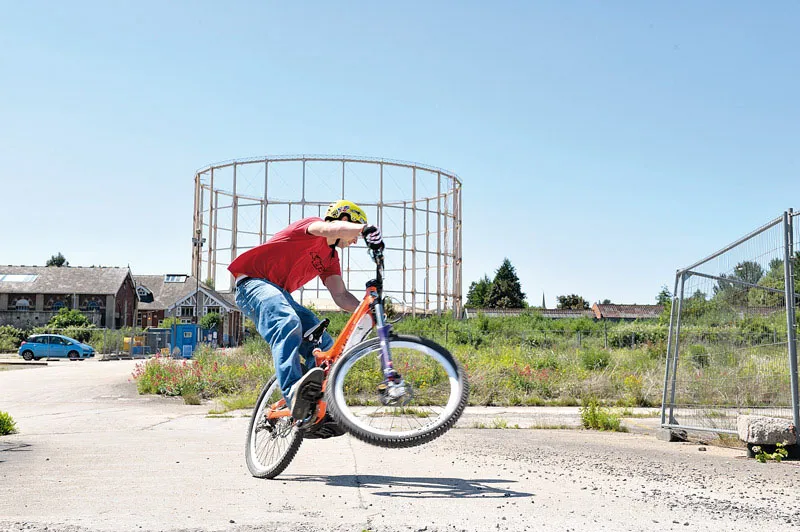
The kick turn is a great skill to have for changing direction quickly in tight spaces. It’s pretty similar to the manual wheelie – just add an explosive turn and a crank of the pedals and you’re pretty much there.
1 Approach: Learning this move is easier on a slight bank, approach at rolling speed with your good foot forward. Try approaching the bank at either a 10 or two o’clock angle.
2 Kick: As you approach the area you intend to spin around in, compress your bike’s suspension and give the pedals a quick jab to unweight the front wheel. Push the bike forward slightly as you put your weight over the rear wheel and lift the front wheel while pulling up and picking the front of the bike off the floor.
3 Look back: As the front wheel comes up, drop your inside shoulder and look at your back wheel. Flick your hips the way you want to turn and place the front wheel where the back wheel was. Cover your rear brake just in case you need to stop the bike if it wants to loop out.
4 The turn: Once the turn is initiated, go with the spin. Get ready for the front wheel to land and counteract the force as you land from the spin by applying a little bit of opposite lock, stand up on the pedals, focus on your exit and ride away.
The stoppie and stoppie turns
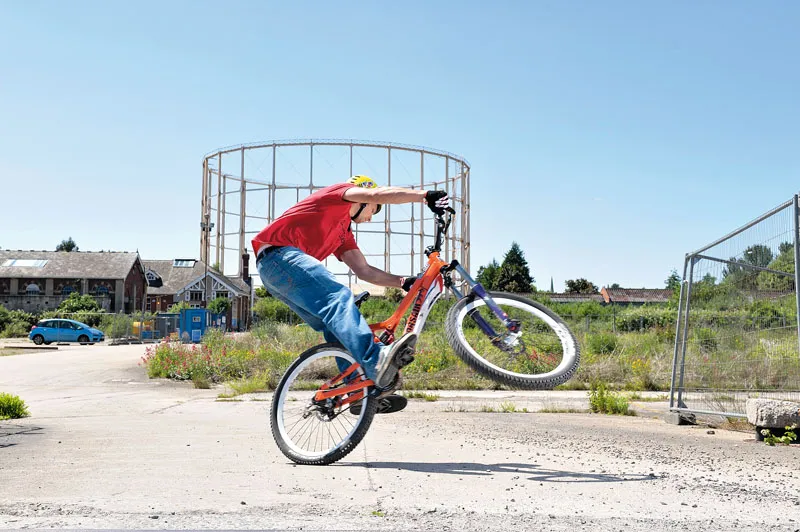
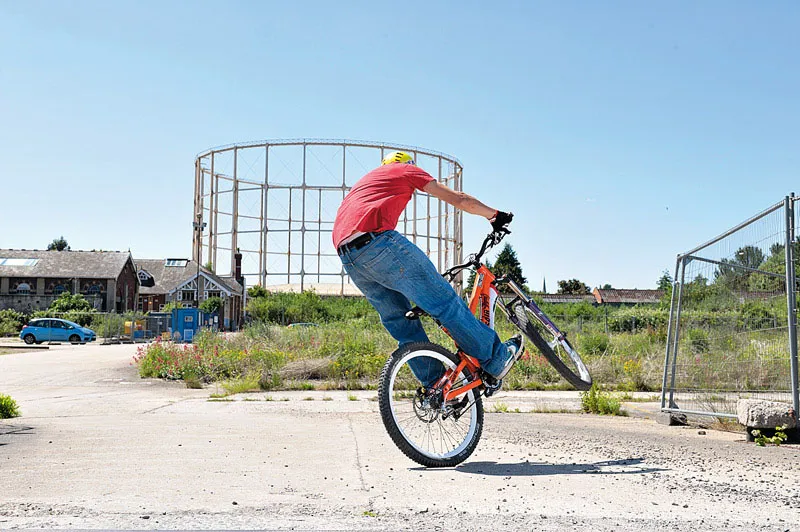
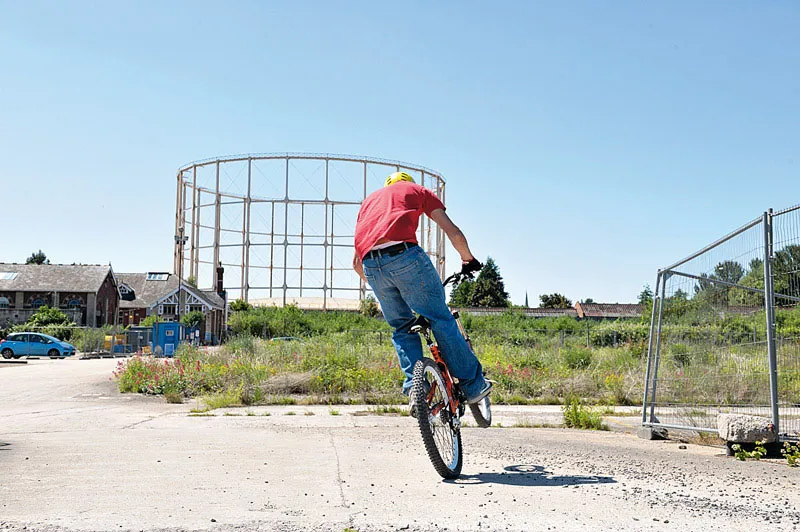
The stoppie – or stoppie turn – is where you roll along on the front wheel with the back wheel off the ground. It’s a great way of losing speed quickly or changing direction fast. A bike’s braking ability on a good surface is 80 percent front brake and 20 percent rear bias. As you brake, weight is transferred to the front wheel, giving it immense grip.
A good tip to remember when doing any front wheel trick is never to let go of the front brake if you go too far forward – keeping it on will send you over the bars slowly and controlled, whereas letting it go totally will dump you on your face.
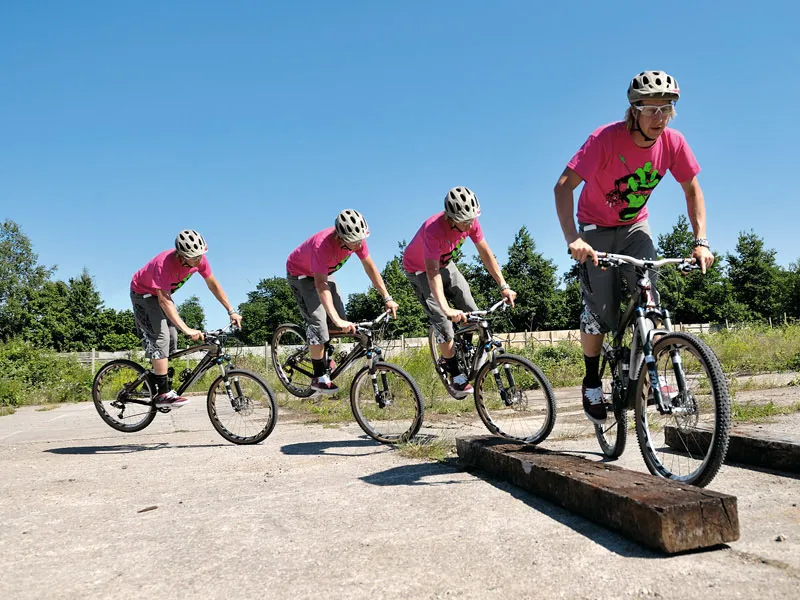
1 Approach: Approach the stoppie at running speed with your good foot forward. Picture a line on the floor at the spot where you intend to apply the brake hard and a ‘J’ or backwards ‘J’ on the ground around it that the front wheel will make – depending on your preference.
2 Braking: Keep your weight central and give the front brake a big pull to get the bike on its front wheel. Shift your weight over the stem as soon as the back wheel is up – you’ll feel the weight of the bike on your forearms – and then release the brake to more of a gentle squeeze. This is the main part of a stoppie and is best learned in a straight line, rather than trying the turn straight away. Keep the front wheel rolling and the back wheel off the ground for as long as possible – the higher the rear wheel is, the easier the move becomes.
3 Hips (for the turn): To get the back end of the bike moving in the turn, flick your hips the way you intend to turn and and turn your bars at the same time. Drop your inside shoulder slightly, look at where you’re going and keep your weight over the front of the bike. If it goes too steep, drop your weight towards the rear of the brake and release the brake.
4 Brake release: The most important part of this trick is your weight positioning and brake modulation in the turn. As you complete the stoppie turn and are on your intended line, release the brake and return your rear wheel to the ground, focus on your exit and keep your bike rolling.
Tools for the job
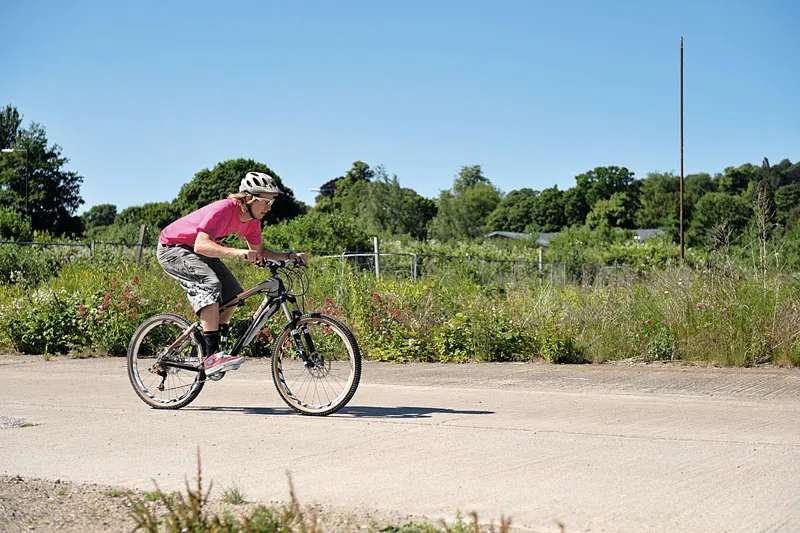
Any bike will be fine for practising, but lowering your saddle will help until you’ve mastered the techniques, and using flat pedals offers a bigger margin for error, as well as allowing you to learn the correct technique.
For this shoot Doddy used his Trek Remedy all-mountain bike, just lowering the saddle and using flat pedals. Chris Smith used his 5in-travel Corsair Konig slopestyle/freeride bike.
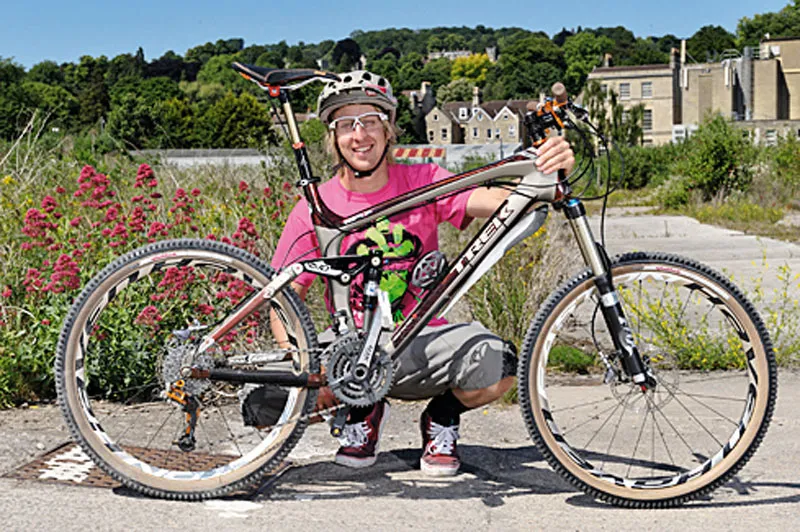
Doddy's Trek Remedy Carbon 9.9 long-term test rig
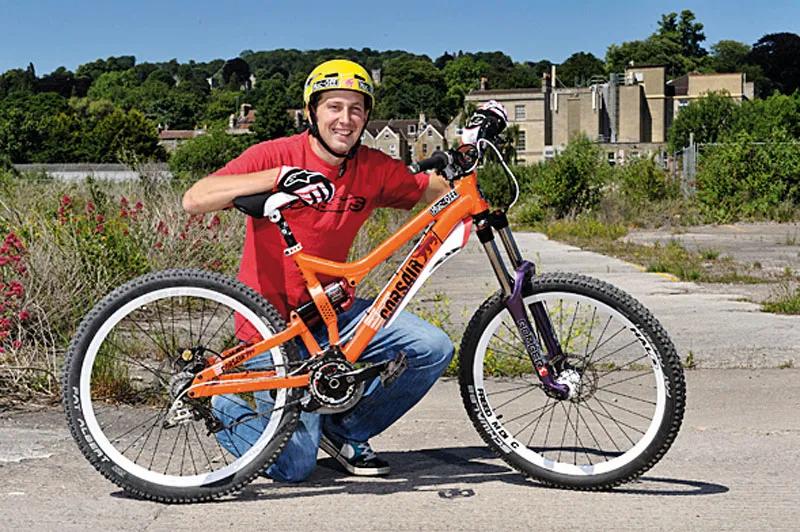
Pro freerider Chris Smith with his Corsair Konig

