If you’re looking to ride your bike faster, aerodynamic drag is typically the biggest thing holding you back.
Upgrading to a dedicated aero road bike can come at significant cost, though.
Fortunately, there are plenty of other bits of kit that don’t cost the earth but can dramatically decrease your overall aerodynamic drag.
To find out what the best-value aero upgrades are, we enlisted the help of Stephen Roche of The Bike Tailor (an expert in bike fitting, aero testing and custom builds based in London and Brighton), and the wind tunnel at the Silverstone Sports Engineering Hub.
With Roche’s help, we put a range of products and riding positions to the test to find out which offer the biggest aero gains for the least money.
Why aerodynamics are so important
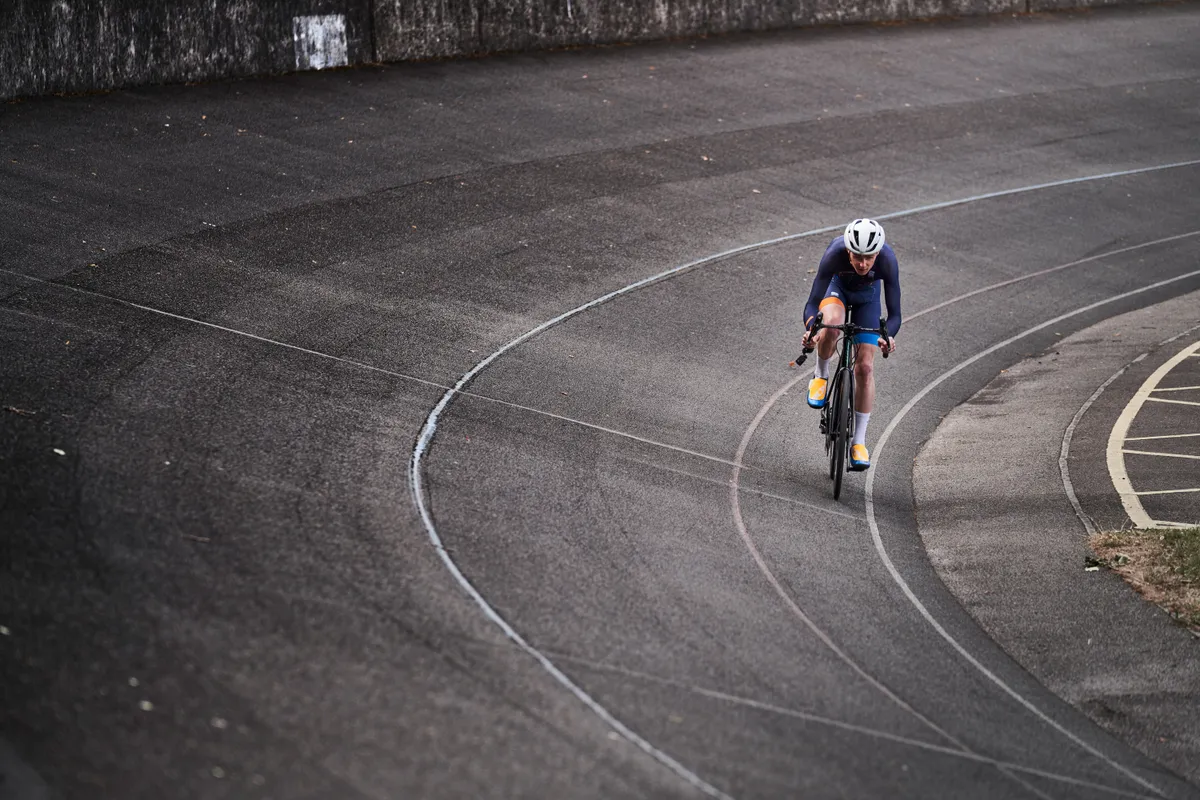
When you ride a bike, a number of forces are acting against you, such as rolling resistance, aerodynamic drag and gravity.
Though your power-to-weight ratio is a large determinant of performance on long, steep climbs, aerodynamic drag is the main problem almost everywhere else.
You can pedal harder and increase your power output, but at some point that becomes unsustainable, even for the strongest riders in the world.
This is because the power required to overcome aerodynamic drag increases at the cube of speed.
All else being equal, riding at 40kph requires you to output around eight times the power needed to ride at 20kph, and so on.
Yet while the focus of development tends to be on refining bikes and equipment, it’s worth remembering the rider accounts for around 70 to 80 per cent of the total aerodynamic drag in the rider plus bike system.
It’s for this reason time trial bikes, which enable riders to adopt more aerodynamic riding positions, can be so much faster than road bikes (rather than being innately faster themselves).
How we tested
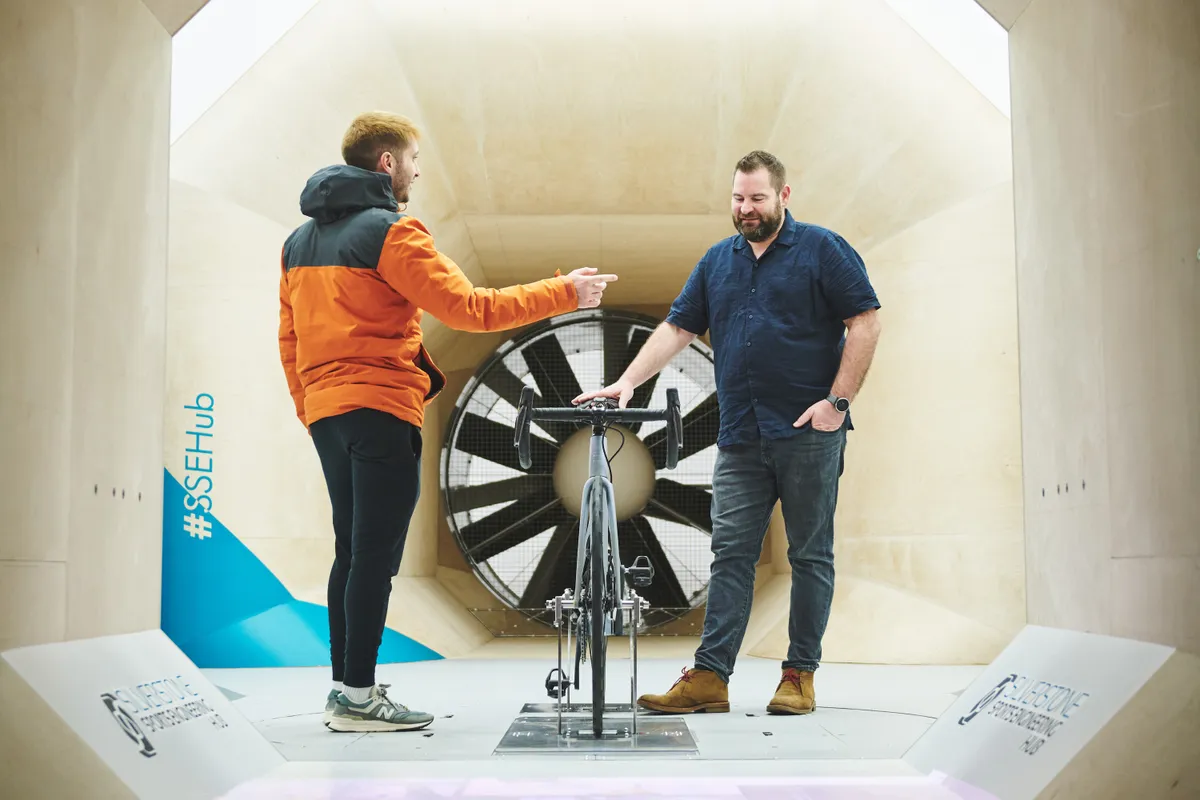
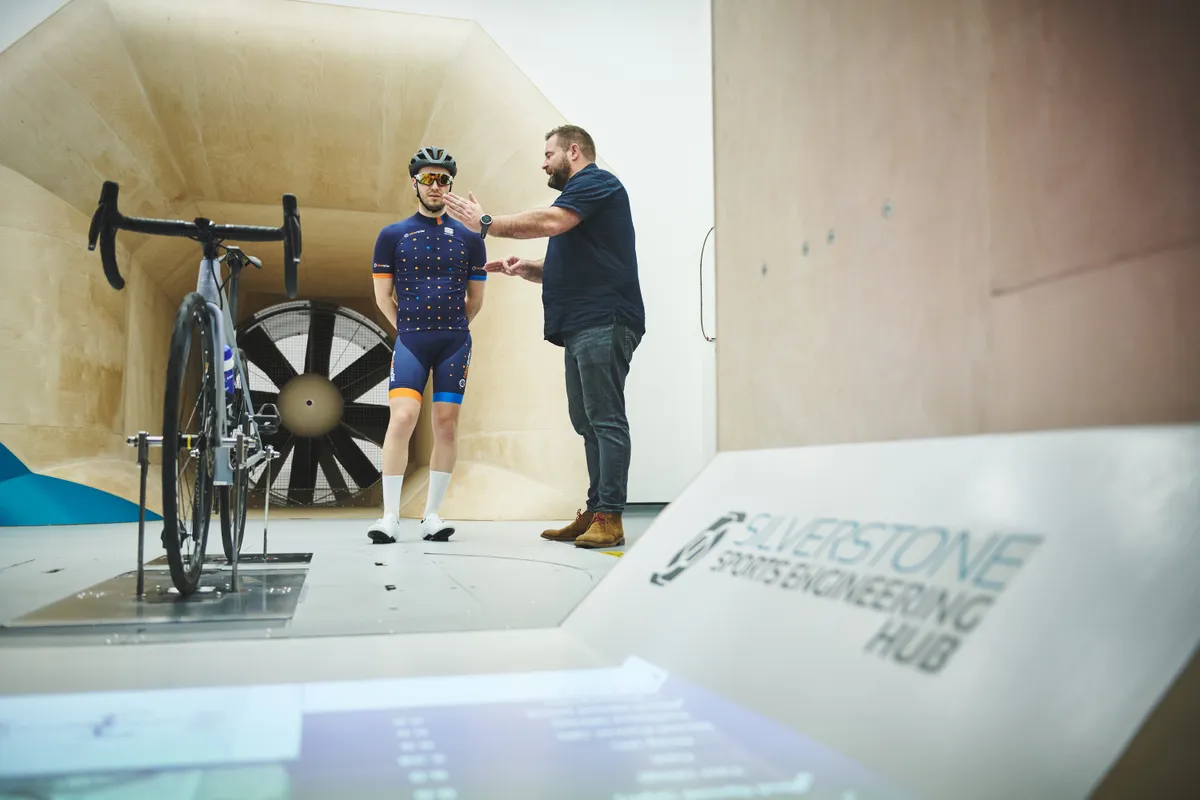
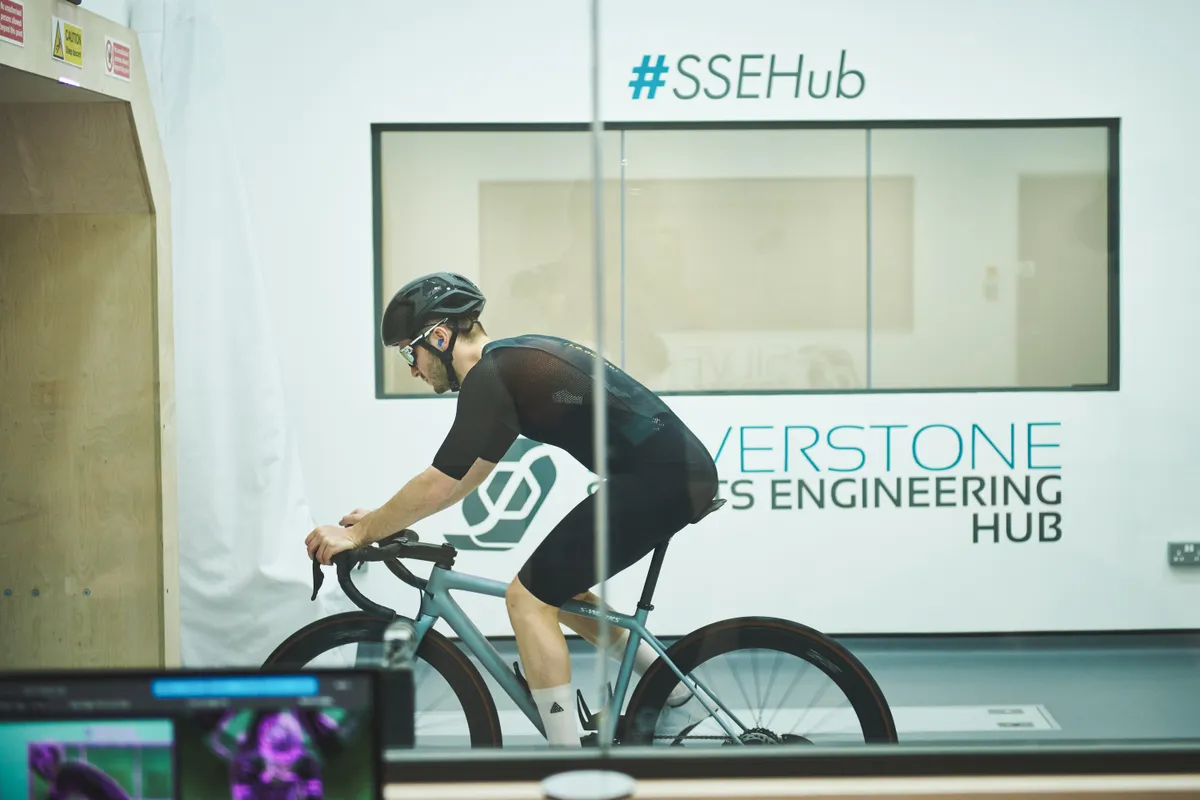
In order to get the most reliable data possible, we went to the wind tunnel at the Silverstone Sports Engineering Hub, a leading test facility for cycling in the UK.
As with other wind tunnels, air is sucked over a rider by a large fan, and the bike placed on a balance scale attached to a rolling road (which enables the rider to pedal during measurements).
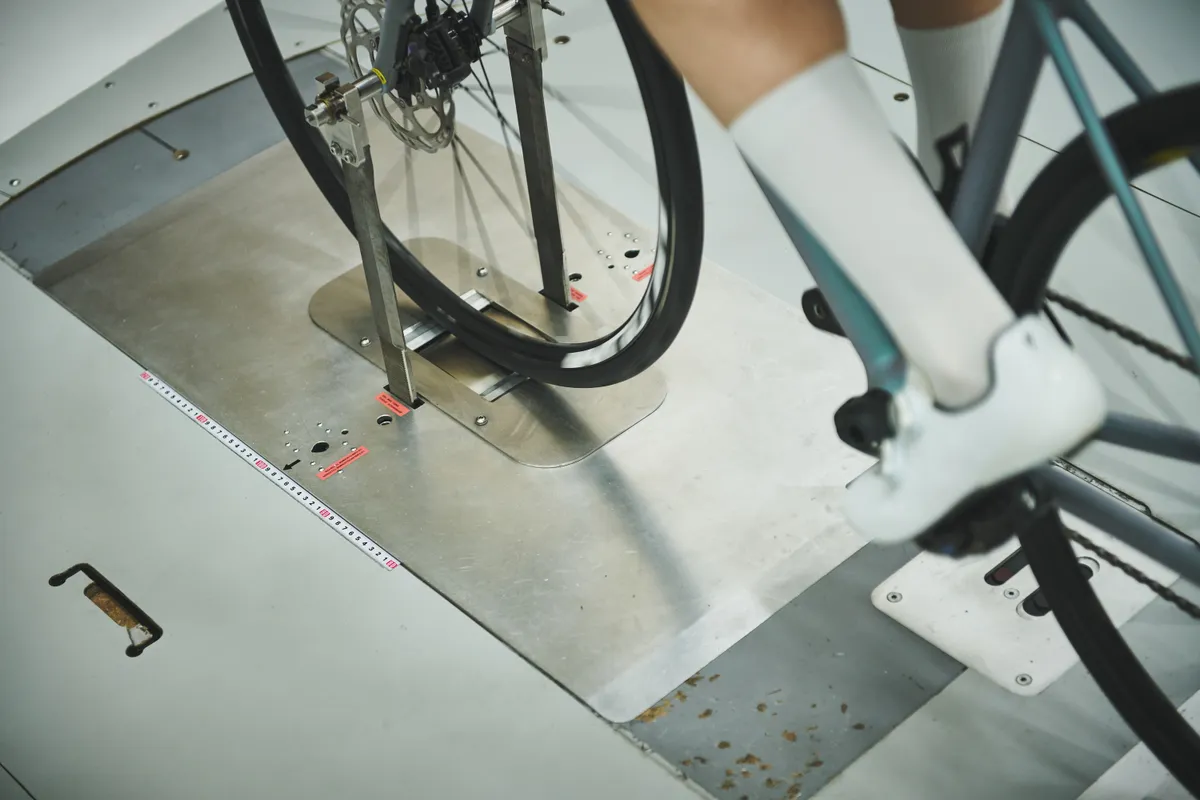
From this, the rider’s CdA (coefficient of aerodynamic drag) can be calculated, and translated by Stephen, our wind tunnel boffin, to power (measured in watts) saved at a given speed, or time saved over a course of a certain length.
In order to make our results more applicable to ‘normal’ cyclists, we tested at a wind speed of 35kph – a fast but attainable speed for many amateur riders.
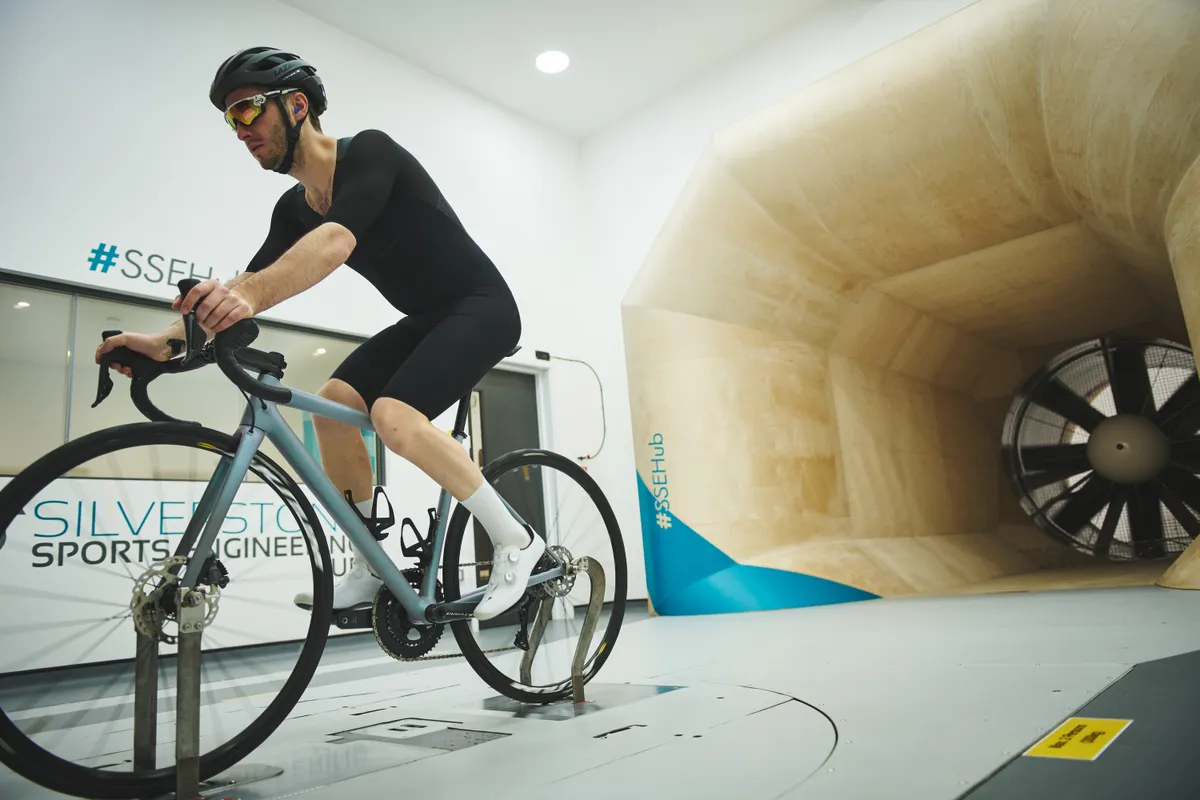
We also tested at a range of yaw angles (0, +5 and +10 degrees), to get a more realistic picture of how certain upgrades perform in the real world.
Yaw is the angle of attack of the wind. A straight-on headwind is a yaw angle of 0 degrees, and crosswinds have positive or negative values depending on which side the wind is coming from.
Is aero relevant only to fast riders?
Because the power savings seen from aerodynamic improvements are smaller at slower speeds, it’s often said that optimising your aerodynamic efficiency is therefore relevant only to faster riders.
Yet while faster riders may save more watts, the same decrease in aerodynamic drag will, all else being equal, see slower riders save more time over a given course.
Consider a scenario where two riders (one fast, one slow) both improve their aerodynamics by the same amount, then both ride the same course.
Because of the non-linear relationship between speed and the power required to overcome aerodynamic drag, the slower rider will see a larger percentage increase in their average speed than the faster one.
As we’ll see in the results, even gains as small as a third of a watt can save a handful of seconds over the course of a 60km ride.
On longer rides (such as sportives or centuries), seemingly insignificant gains can add up to tangible time savings.
The best bang for buck aero upgrades ranked
Our wind tunnel test dummy for the day was BikeRadar’s road and gravel presenter, Liam Cahill.
Starting from an un-optimised baseline, Stephen swapped pieces of kit, and prodded and poked Liam to get him into shape.
Liam’s baseline
- Bike: Specialized S-Works Aethos
- Wheels: Mavic Aksium Disc with 28c Continental GP5000 TL tyres
- Kit: Sportful jersey and bib shorts
- Helmet: Lazer Genesis
- Handlebars: 40cm, round
- Socks: Standard cycling socks
- Position: Hands on brake hoods
After numerous runs in the tunnel, Liam emerged feeling tired but theoretically a lot faster.
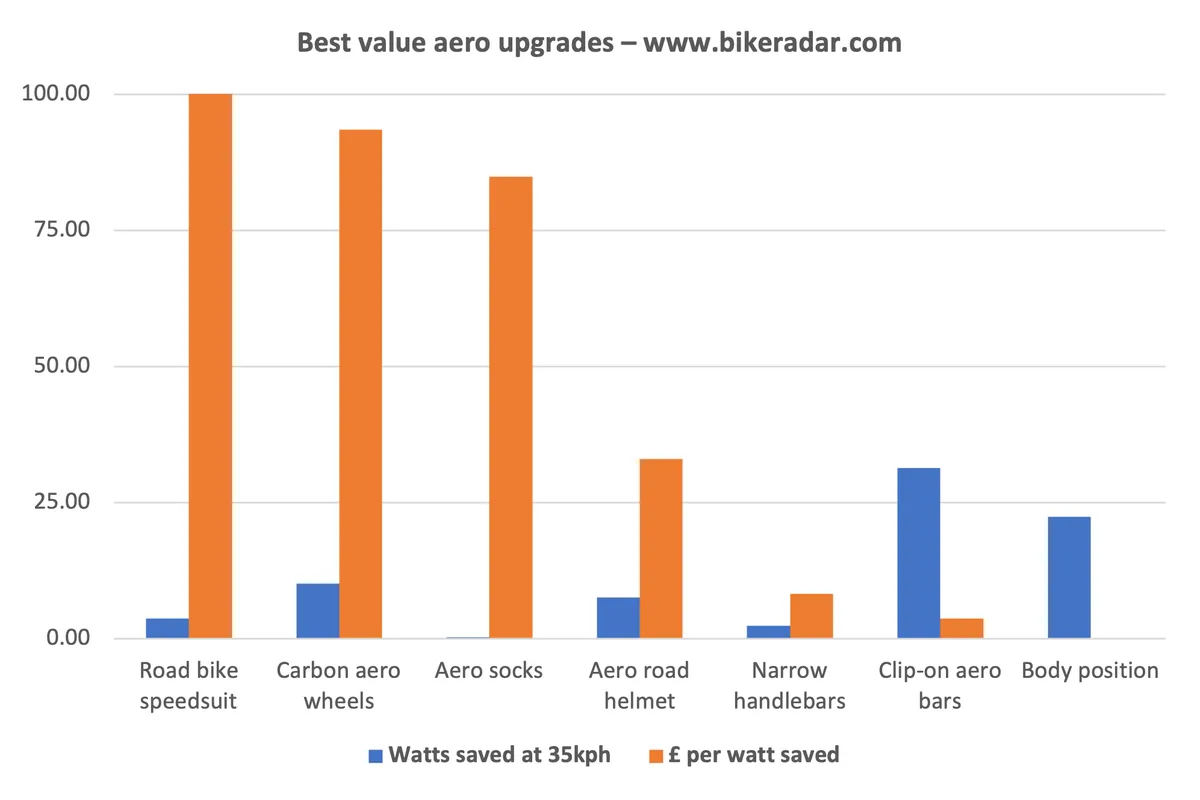
So, without further ado, here are seven of the best-value aero upgrades tested and ranked in reverse order of how much each watt saved (in £ / $).
| Upgrade | Price (£ / $) | Watts saved at 35kph | £ / $ per watt saved | Time saved over 60km (hr:min:secs) |
|---|---|---|---|---|
| Road bike speedsuit | 395 / 475 | 3.69 | 106.96 / 128.62 | 00:00:30 |
| Aero wheels | 950 / 1,199 | 10.17 | 93.44 / 117.94 | 00:01:36 |
| Aero socks | 28 / 34 | 0.33 | 84.9 / 103.09 | 00:00:06 |
| Aero road helmet | 250 / 300 | 7.56 | 33.06 / 39.67 | 00:01:30 |
| Narrow handlebars | 21 / 25 | 2.43 | 8.24 / 10.30 | 00:00:18 |
| Clip-on aero bars | 117 / 140 | 31.33 | 3.73 / 4.47 | 00:06:21 |
| Body position | 0 | 22.38 | 0 | 00:04:24 |
7. Road bike speedsuit
- Product: Le Col x McLaren Project Aero Speedsuit
- Price: £395 / $475
- Watts saved at 35kph: 3.69
- Time saved over 60km: 00:00:30
- Cost per watt: £106.96 / $128.62
Because your body is the biggest object in the rider plus bike system, it causes the majority of the drag. What you put on it can therefore make a significant difference.
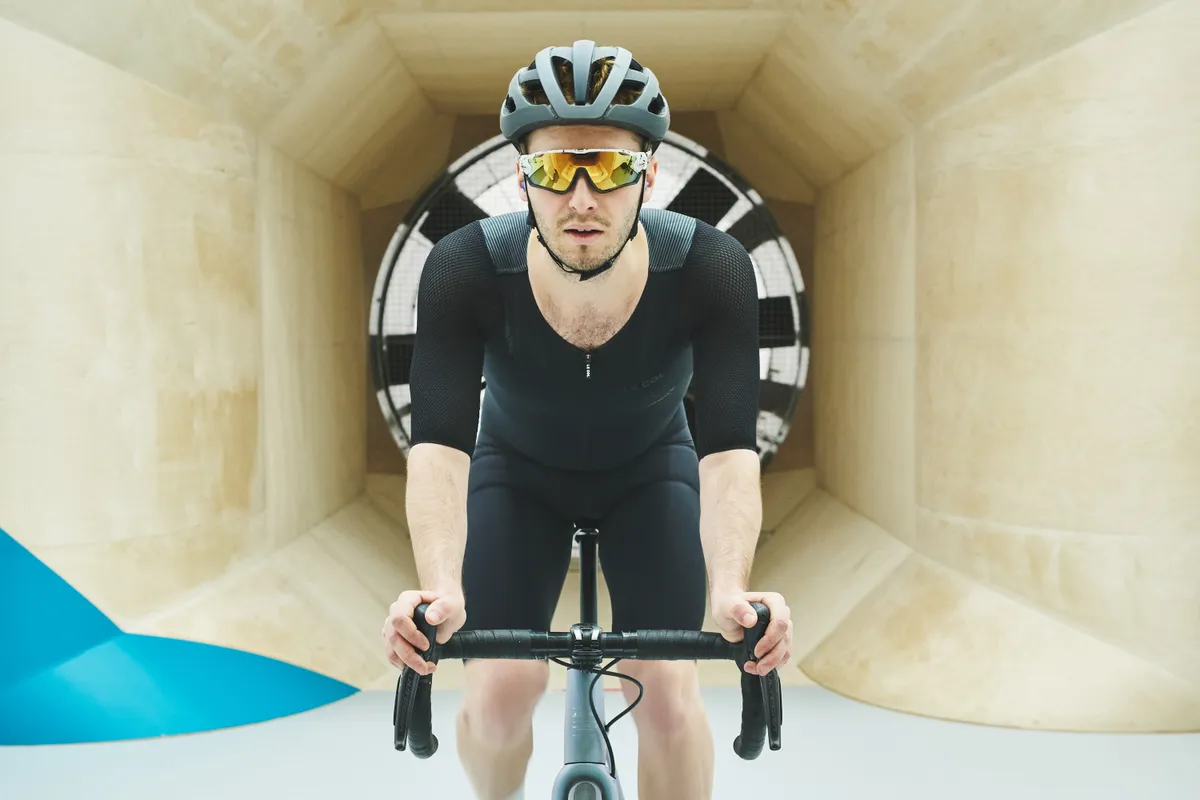
According to our tests, though, the difference between BikeRadar’s team-issue Sportful cycling jersey and bib shorts, and a Le Col x McLaren Project Aero Speedsuit was just 3.69 watts.
Though a relatively small saving on paper, that equates to 30 seconds saved over 60km.
Not an enormous difference, but equally not entirely insignificant.
Given the relatively high price of the particular speedsuit we tested, that makes the cost per watt £106.96 – the highest of everything we tested on the day.
There are cheaper options available from other brands, though, such as the Sportful Bomber suit (£270), NoPinz Pro-1 Road skinsuit (£159.99) and Castelli Sanremo 4.1 speed suit (€260).
Assuming those offer similar gains, that would shift the value equation significantly.
It’s also fair to say that had our baseline cycling kit been less well fitted, the performance difference may have been more substantial.
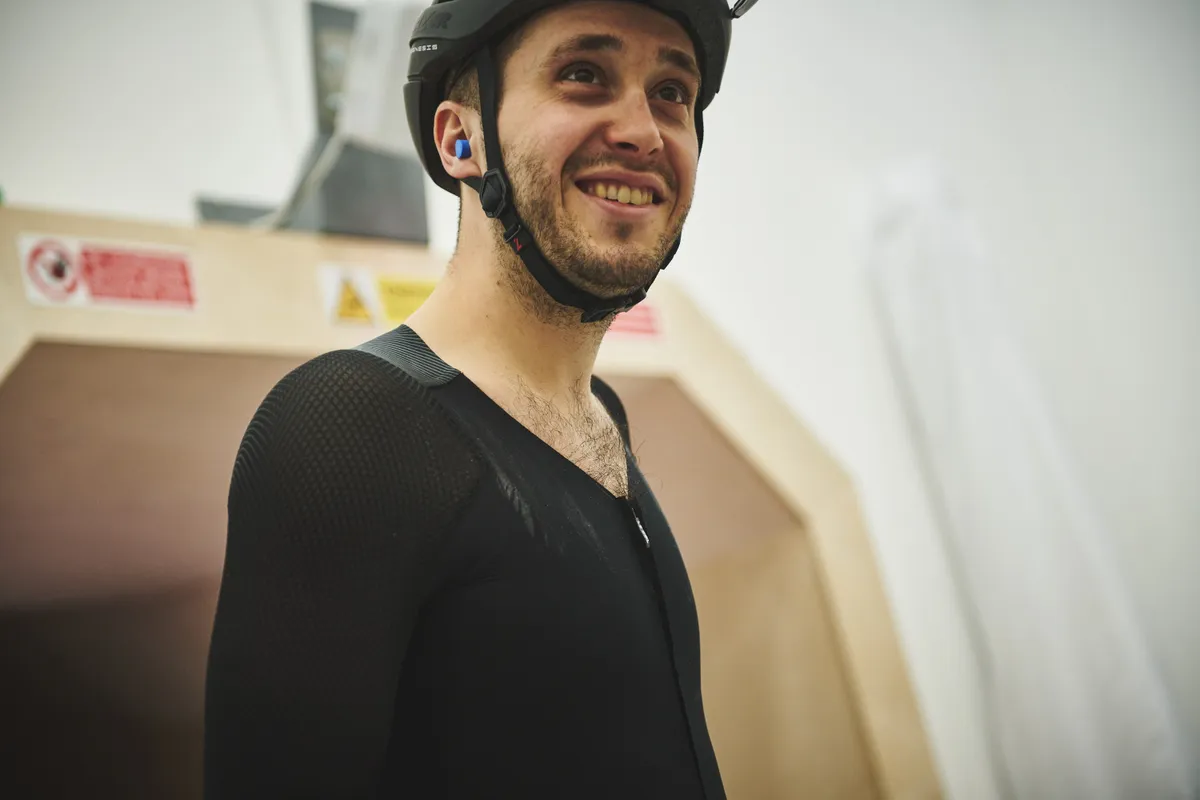
Still, given our wind tunnel dummy noted the speedsuit was hard to get on and uncomfortable to stand up in, it would seem there’s probably no need to rush out to buy one for your local club run.
6. Aero wheels
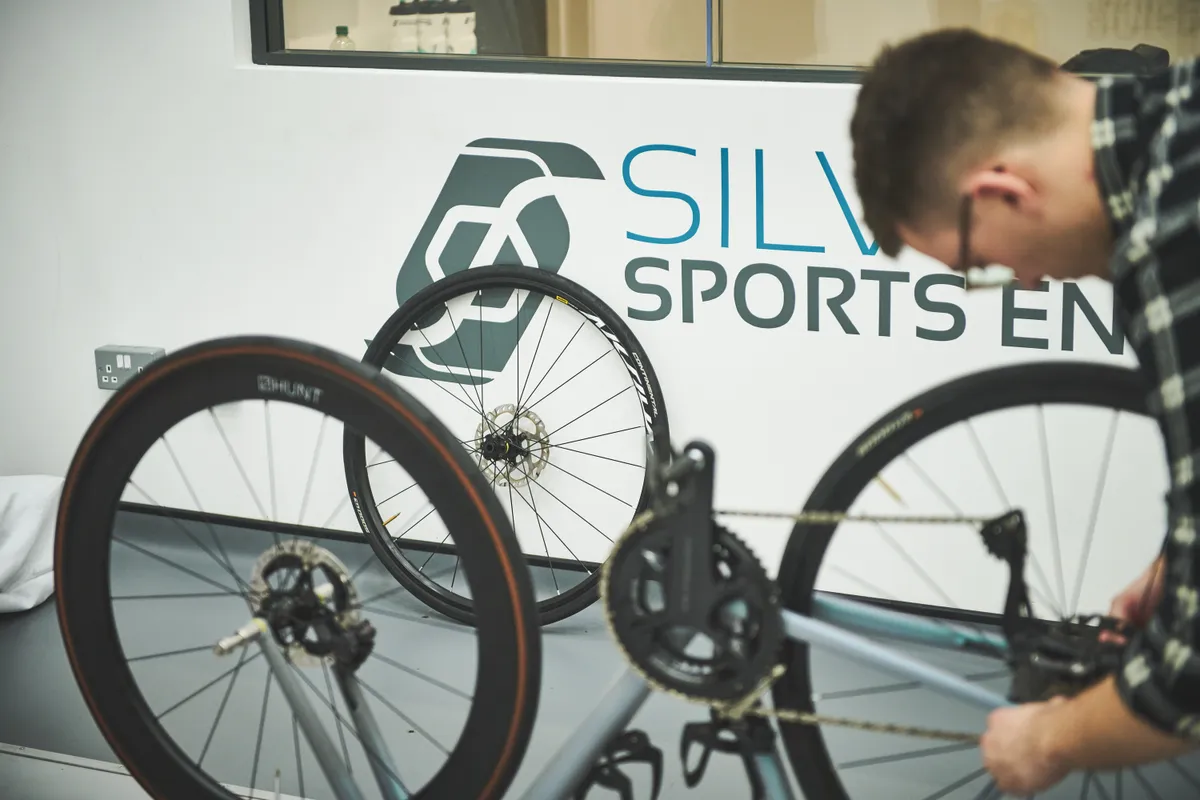
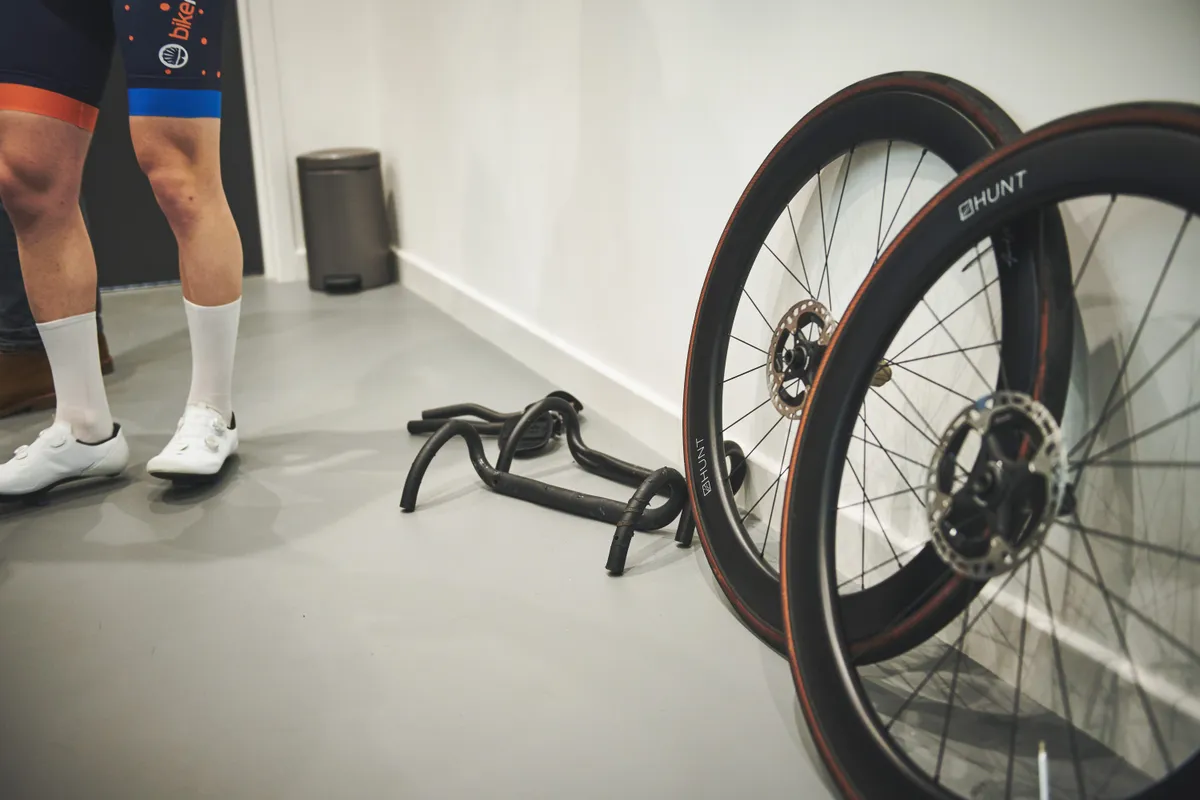
- Product: Hunt 54 Aerodynamicist Carbon Disc wheelset
- Price: £949 / $1,199
- Watts saved at 35kph: 10.17
- Time saved over 60km: 00:01:36
- Cost per watt: £93.44 / $117.94
Though many mid- to high-end bikes now come with them as standard, a set of wheels with deep-section carbon rims is something most road cyclists lust over.
In this case, our testing showed Hunt’s 54 Aerodynamicist Carbon Disc wheelset offers an impressive 10.17-watt improvement versus a Mavic Aksium Disc wheelset.
That’s worth one minute and 36 seconds over 60km.
As well as being more aerodynamic, the Hunt wheels are more than 300g lighter than the Mavic wheels.
Despite being more towards the budget end of the spectrum as far as carbon wheelsets are concerned, with an RRP of £949 / $1,199, cost still represents a significant barrier.
So while the aero wheels do offer a clear improvement over the basic alloy wheelset, they also come at a relatively high price.
At a cost per watt of £93.44, they arguably don't represent fantastic value for money either, in the context of our other upgrades.
It’s also worth remembering that wheels can have a big influence on how your bike handles.
A lighter, stiffer wheelset can make your bike feel more reactive and handle more directly, for example, which can arguably improve how it feels and responds during accelerations, hard efforts and while cornering.
On the other hand, rims that are overly deep or poorly optimised for crosswinds can feel sluggish or be difficult to handle on blustery days.
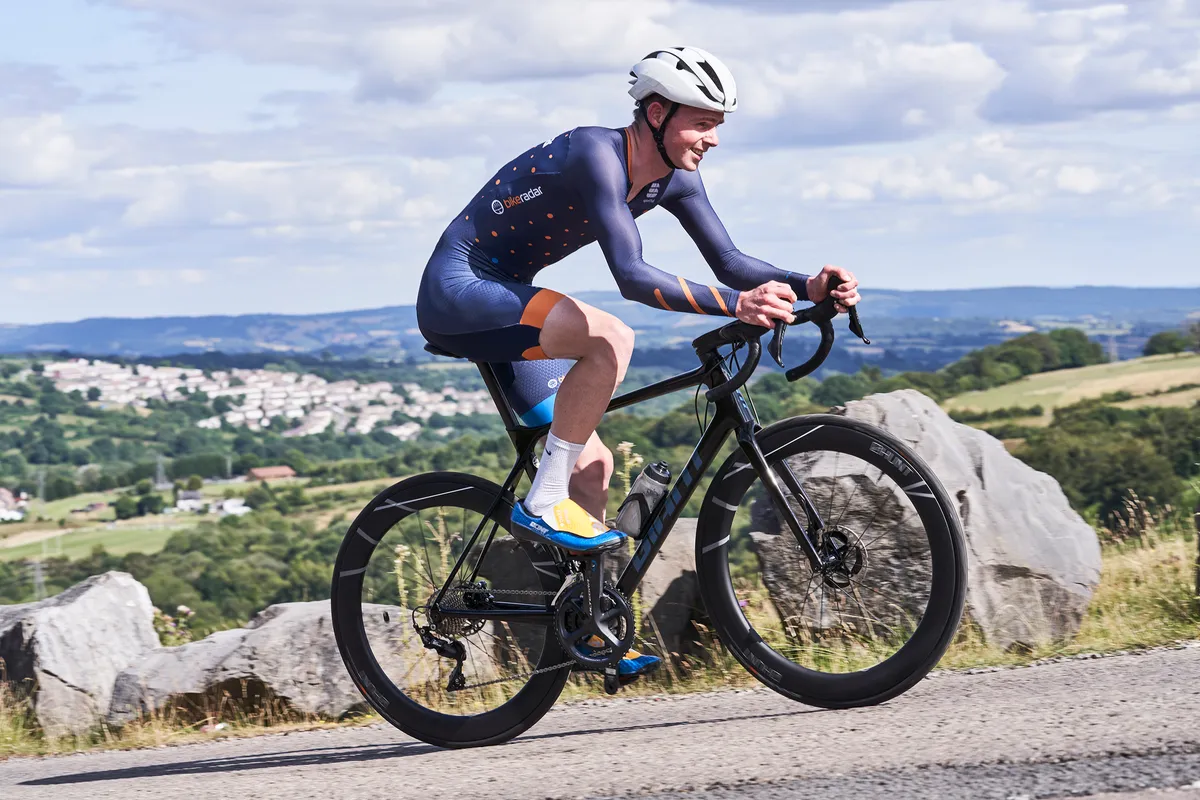
In our experience, wheelsets with carbon rims around 40 to 60mm deep usually offer the best balance of aerodynamic efficiency, weight and manageable handling.
A wheelset that’s easier to use in crosswinds can also potentially translate into more speed over the course of a ride, due to the lack of hesitation and correction a rider may have to endure.
Our guide to the best road bike wheels will help you find something that suits your needs and riding style.
What you put on your wheels will also have a big impact on performance, handling and ride feel, so make sure to budget for a set of the best road bike tyres, too.
5. Aero socks
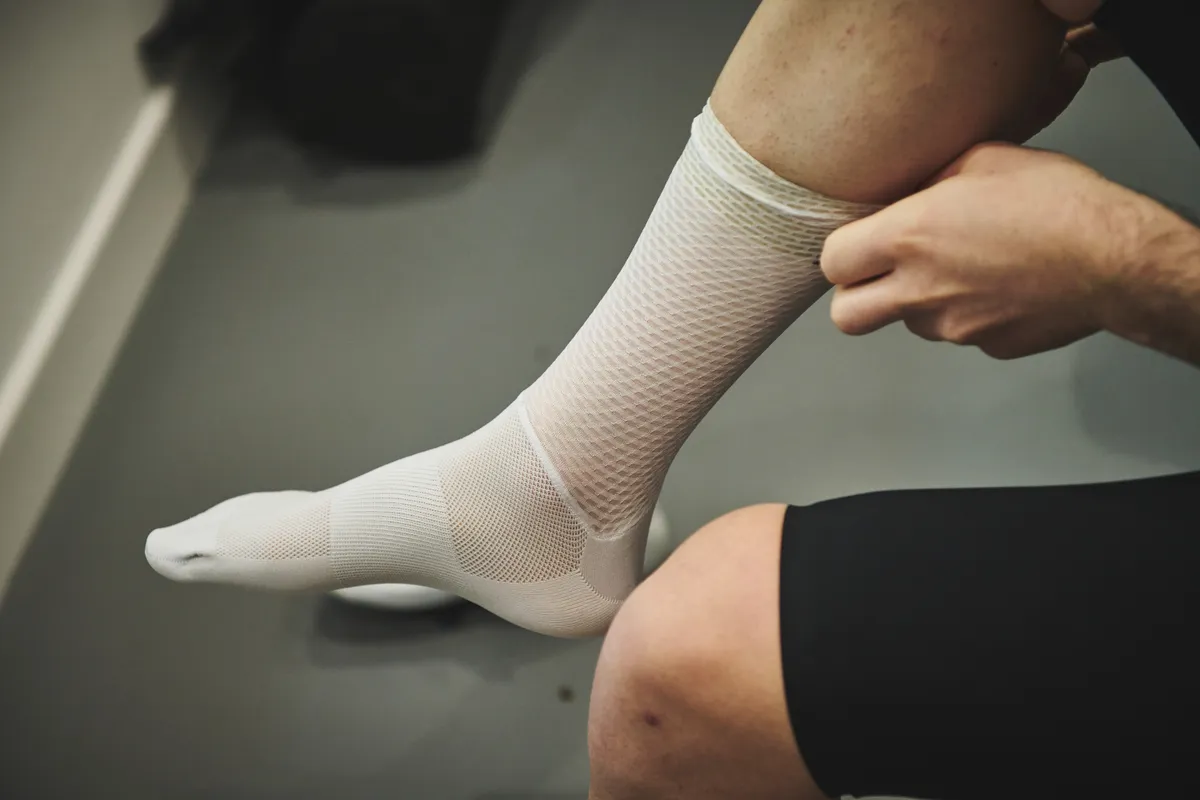
- Product: Rule 28 aero socks
- Price: £28 / $34
- Watts saved at 35kph: 0.33
- Time saved over 60km: 00:00:06
- Cost per watt: £84.90 / $103.09
Aero socks are just that – socks that use aerodynamically optimised fabrics to reduce the aerodynamic drag over your lower leg.
At £28, Rule 28’s UCI-legal aero socks (that’s right, the UCI regulates socks – specifically, sock height) are a very accessible upgrade, but according to the wind tunnel saved Liam just 0.33 watts at 35kph, compared to a set of standard cycling socks.
That might sound like nothing, but it’s actually enough to save 6 seconds over 60km, and plenty of races have been won or lost by gaps smaller than 6 seconds.
This shows that even tiny aerodynamic improvements can still result in tangible gains against the clock.
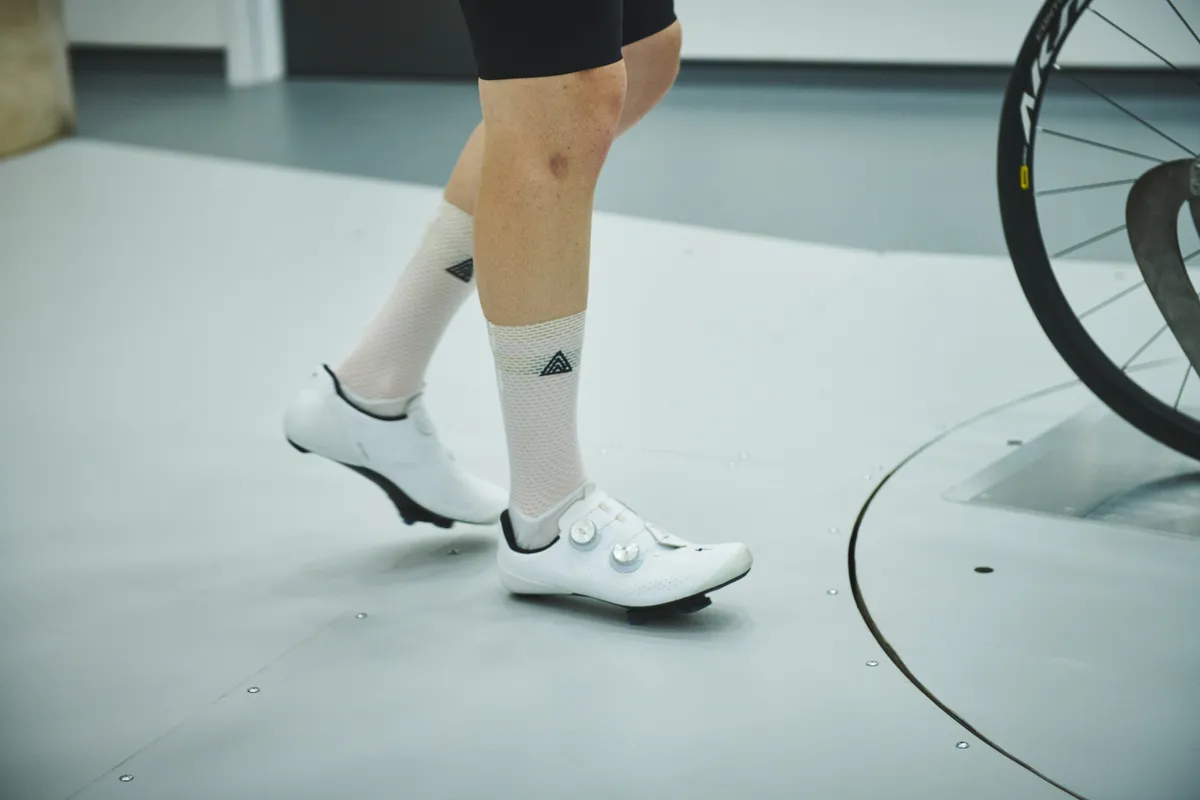
If you don’t participate in UCI-governed events, you can take advantage of covering the full length of your calves in aerodynamic fabrics.
Both Rule 28 and NoPinz make full-length aerodynamic calf guards, for example, which are perfectly legal in CTT events (Cycling Time Trials is the UK’s independent national governing body for time trials and hill climbs).
Alternatively, you could opt for a set of time trial overshoes, which should be even more slippery.
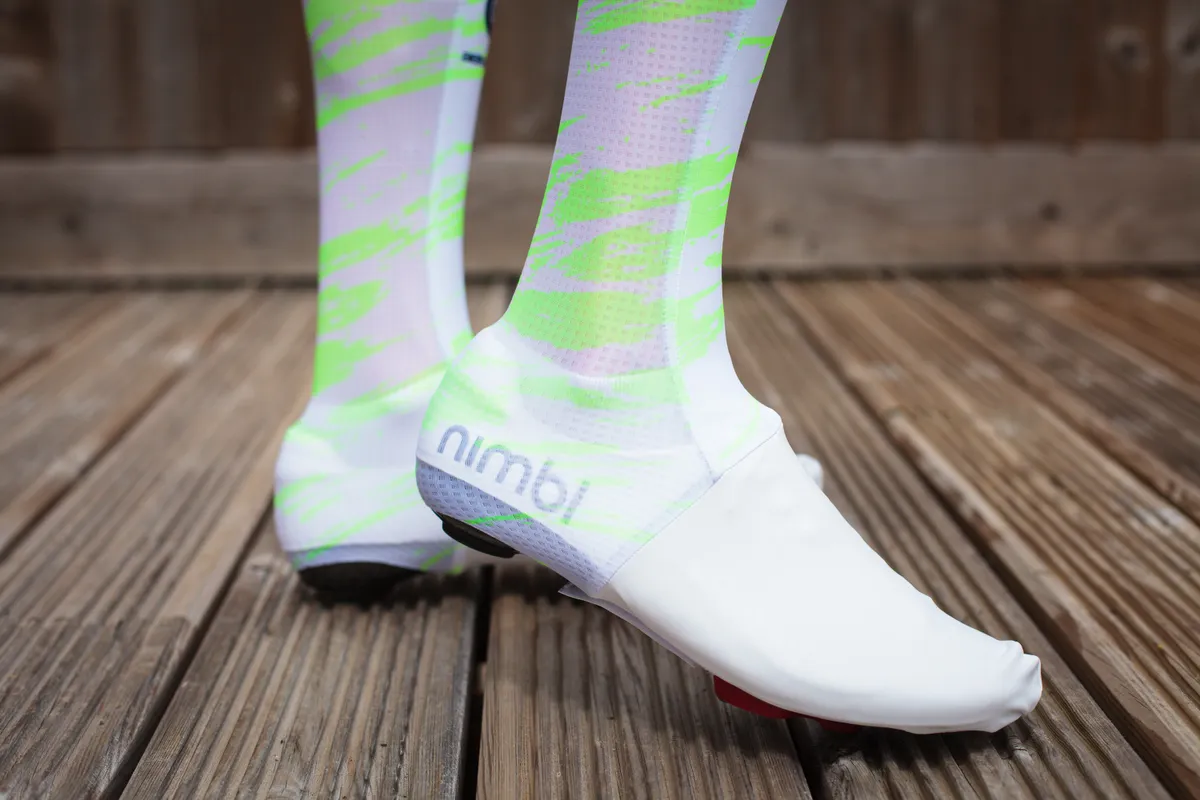
In our experience, aero socks are best saved for race day, though.
Firstly, because the gain is so small that it’s essentially unnoticeable unless you’re racing; but also because the silicone grippers that hold the aero fabric up on your calves tend to lose their stickiness after a few washes.
This usually leads to them falling down while riding, and ultimately being even less aero than normal socks.
4. Aero road helmet
- Product: Lazer Vento KinetiCore
- Price: £250 / $300
- Watts saved at 35kph: 7.56
- Time saved over 60km: 00:01:30
- Cost per watt: £33.06 / $39.67
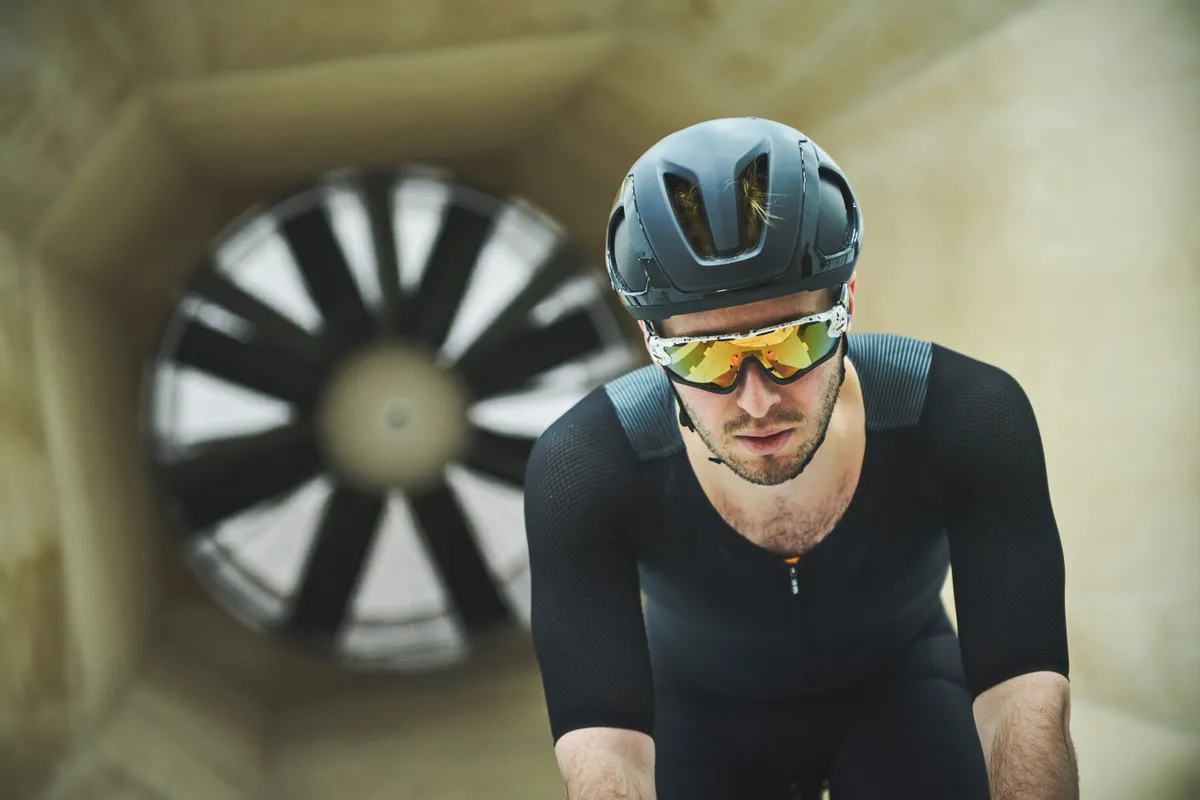
Most road cyclists have become familiar with aero road helmets since Giro released its Air Attack, but even we were surprised to learn just how much of a difference they can make.
In our test, swapping a Lazer Genesis for the brand’s Vento KinetiCore aero road helmet saved 7.56 watts at 35kph, or one minute and 30 seconds over 60km.
Though the aero road helmet in question costs £250, it nevertheless sees us make a considerable jump in value, with a cost per watt of £33.06.
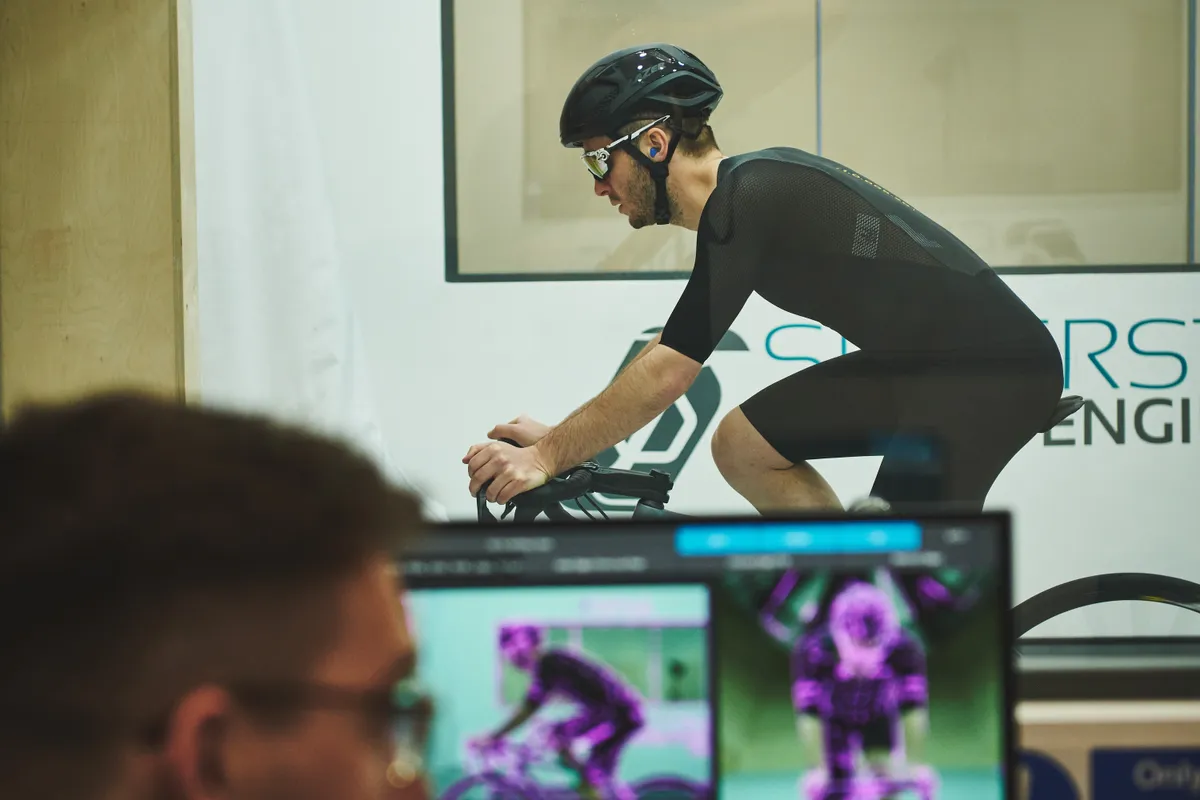
In the UK (where the weather is generally rubbish for much of the year), aero helmets don’t present much of a compromise, but it’s worth being careful when riding in hot or hilly environments.
Most modern aero road helmets typically offer good cooling while riding fast, because air is forced through the vents and internal ventilation channels at high speed.
They often aren’t as effective at slower speeds, however. Because of this, aero helmets can feel distinctly stuffier when you’re not riding quickly.
On hot days with lots of climbing or riding at slow speeds, a more vented helmet could be a worthwhile trade-off to achieve fully optimised performance, even if it’s less aerodynamic.
3. Narrow handlebars
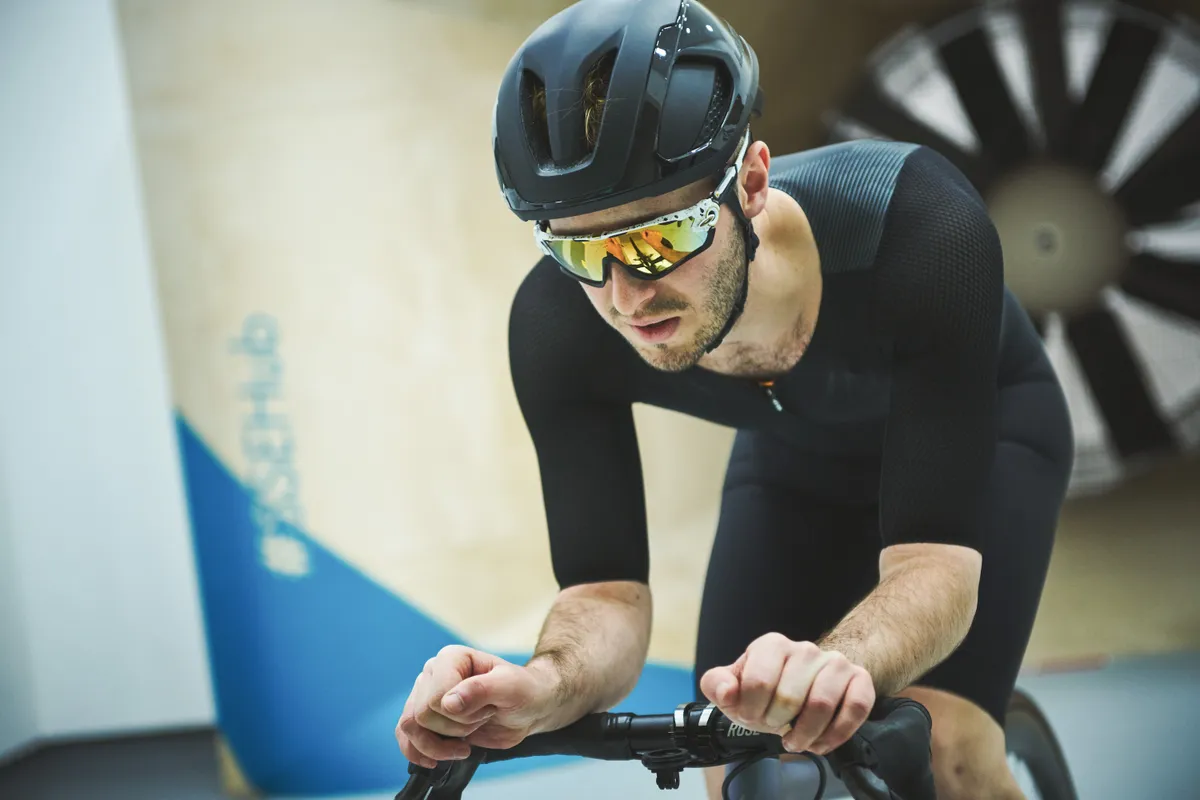
- Product: Rose Attack GF handlebar, 36cm
- Price: £21 / $25
- Watts saved at 35kph: 2.43
- Time saved over 60km: 00:00:18
- Cost per watt: £8.65 / $10.30
Handlebar width is often overlooked by bike manufacturers, but because it affects your body position, it also affects how aerodynamic you are.
In this case, we tested swapping from the baseline 40cm-wide handlebar (centre to centre at the brake hoods) to a 36cm Rose Attack GF handlebar (€23.95 / around £21, although it's worth noting Rose Bikes currently doesn’t ship to the UK) with the brake hoods turned in slightly.
This saved 2.43 watts at 35kph – which is worth 18 seconds over 60km.
That’s not a night-and-day difference, but at just £8.65 per watt it’s certainly good value.
If you have a bike with a complicated or integrated front end, then you might need to splash out a bit more for something compatible. However, a basic alloy handlebar does the job just fine if it fits your bike.
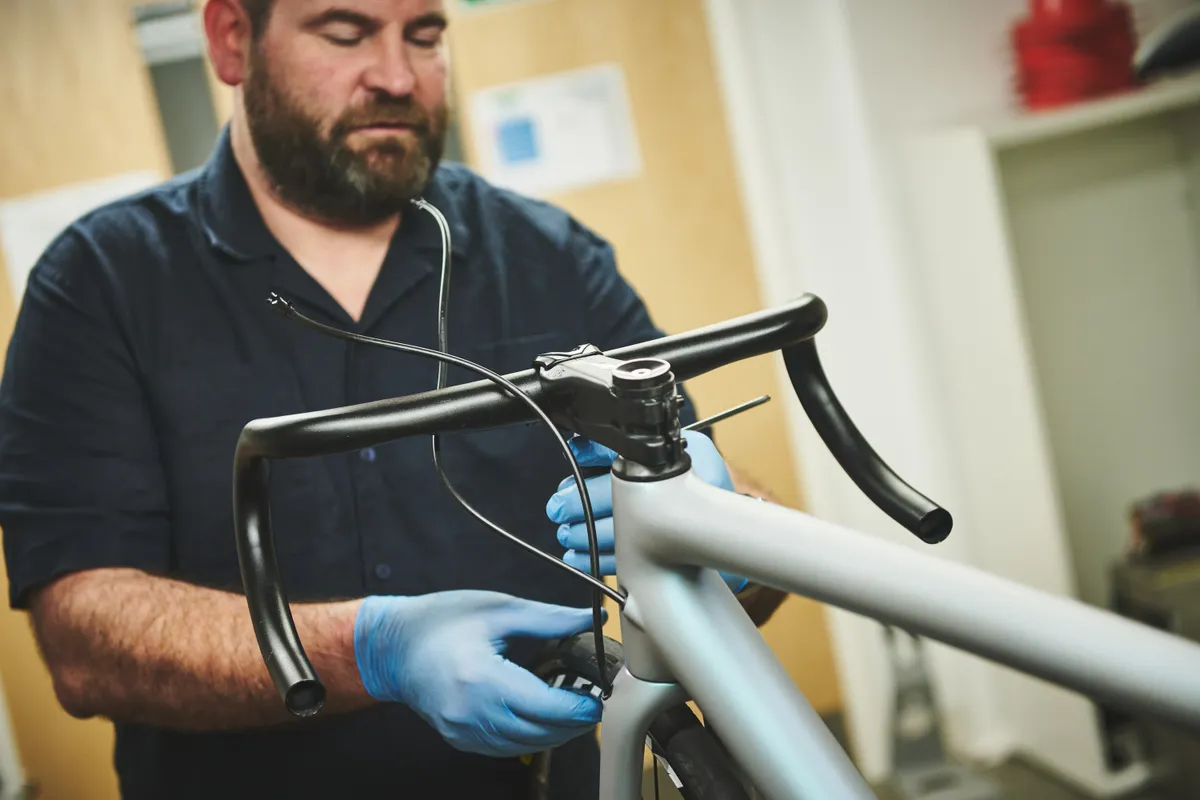
The lesson here isn’t simply that everyone should switch to 36cm handlebars.
For bigger riders or those with broad shoulders, that might be too narrow to be comfortable over long distances. Likewise, smaller riders might find they want something even narrower for an optimal bike fit.
Instead, it’s worth considering whether you could swap to a handlebar width a couple of sizes narrower than what you’re currently riding.
In our experience, the effects of a change such as this on how a road bike handles are relatively small unless you take it to the extreme (off-road riding is a different kettle of fish).
If you are concerned about handling, though, a flared bar – with a narrow hood position and wider drops – can offer the best of both worlds.
2. Clip-on aero bars
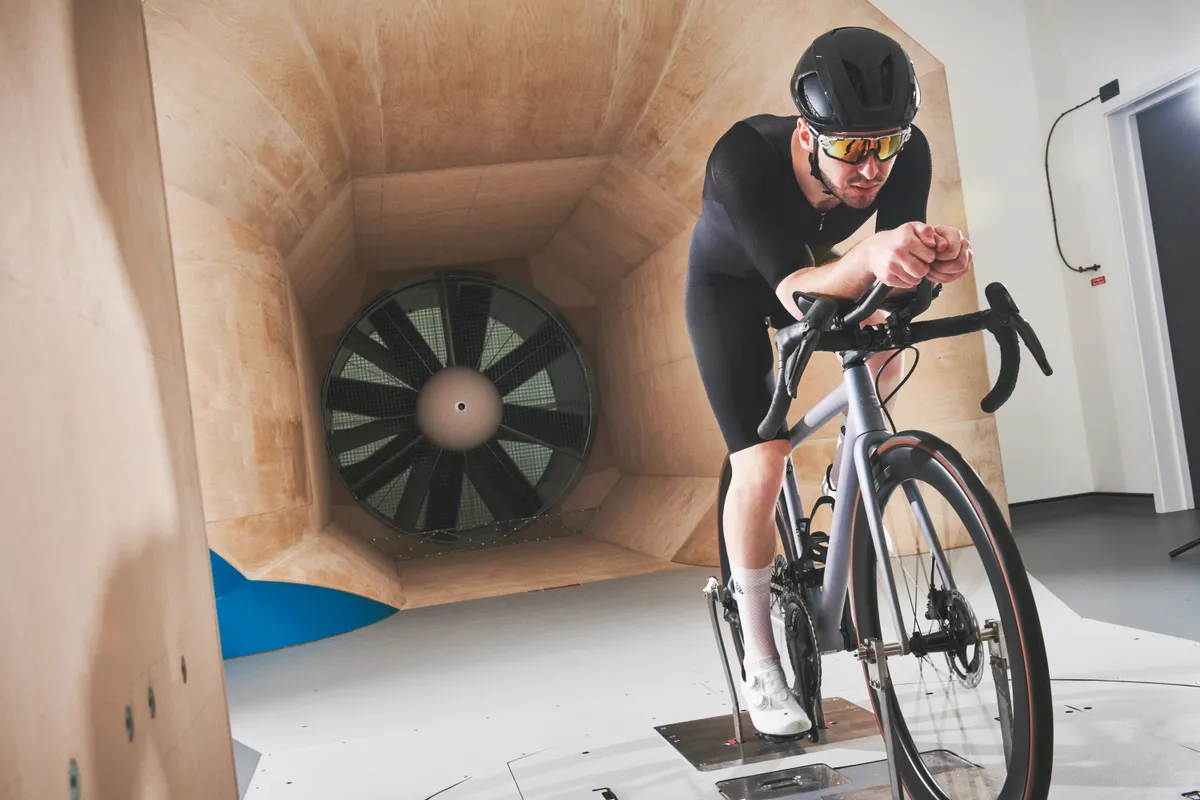
- Product: Deda Parabolica Uno
- Price: £117 / $140
- Watts saved at 35kph: 31.33
- Time saved over 60km: 00:06:21
- Cost per watt: £3.73 / $4.47
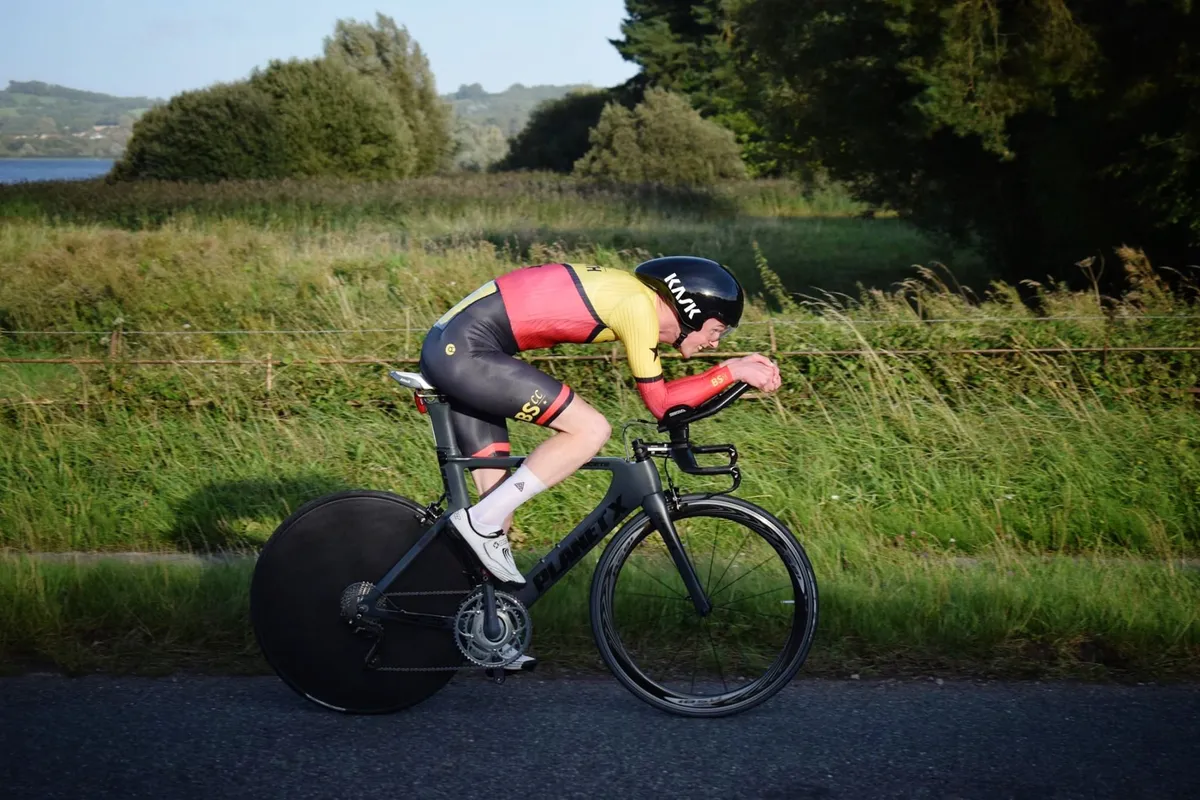
The humble clip-on aero bar. If it wasn’t for these, Laurent Fignon might have been a three-, not two-time, Tour de France winner.
According to the wind tunnel data, a set of basic alloy clip-on aero bars saved our rider an enormous 29.2 watts at 35kph, compared to riding on the brake hoods.
That was the largest improvement of the test by some margin, and equates to a time saving of nearly six minutes over 60km.
Amazingly, even considering the Deda Parabolica Uno aero bars (with J-bend extensions) we tested are fairly pricey at £117, that still translates to a cost per watt of just £4.01.
Better still, there are plenty of cheaper options available that offer even more bang for your buck.
So big gains and big value – what’s not to like?
Well, for valid safety reasons, aero bars usually aren’t allowed to be used in mass start races.
This is because they can reduce your control of the bike somewhat, plus you don’t have access to your brakes while using them.
For time trials, triathlons, or gravel or audax events where they are permitted, though, aero bars are a no-brainer if your goal is speed or reduced effort.
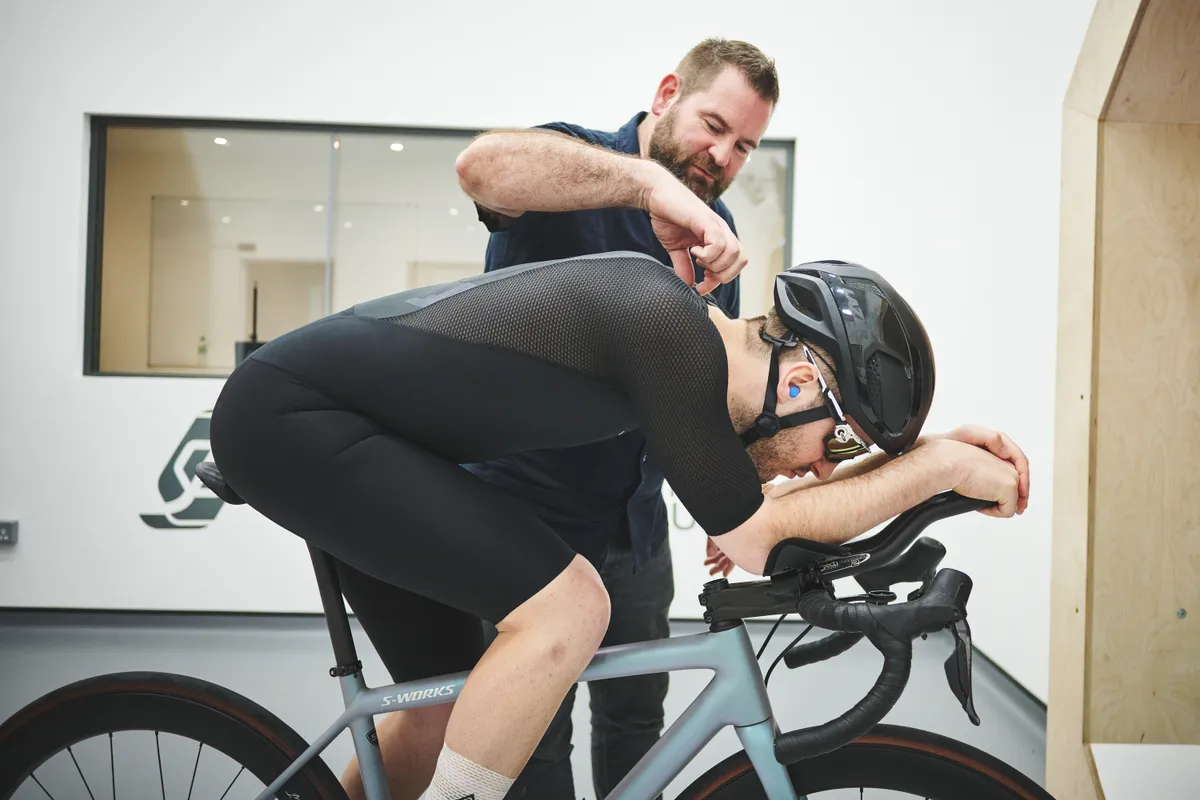
What makes them so good is that they offer a huge gain in aerodynamic efficiency and, because your weight is supported through your elbows, rather than by muscular effort, they needn’t come at a huge hit to comfort (provided you’ve set them up correctly).
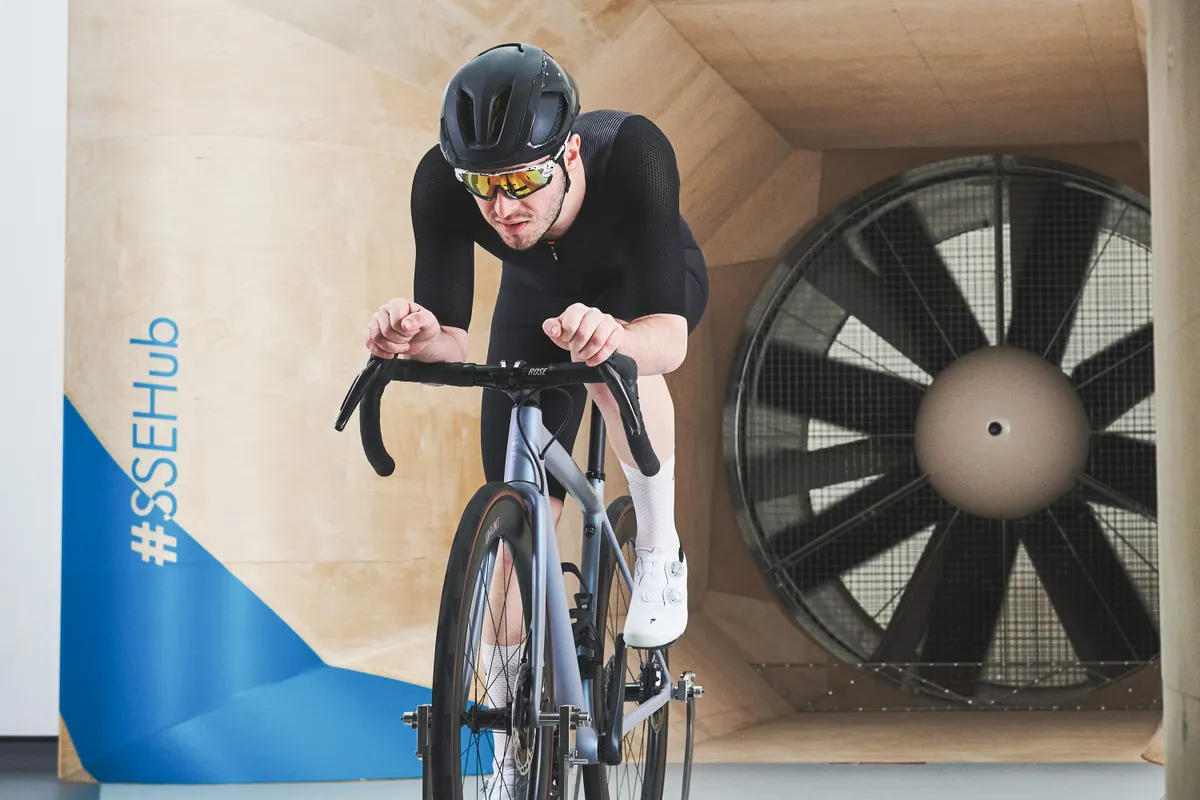
In our experience, tilting the aerobars and arm rests up by 15 to 20 degrees is an easy way to improve comfort.
The wind tunnel testing also showed doing so is a little more aerodynamic, saving an additional 2.12 watts at 35kph compared to using them in a flat position.
A note of caution with aero bars, though.
Don’t set your bike up in such an aggressive position that looking forward becomes difficult or taxing.
Though WorldTour pros can often be seen dropping their heads down for further aero gains, it’s crucial to remember they race on closed roads, and being able to see where you’re going at all times is vital.
1. Body position
- Product: N/A
- Price: Free
- Watts saved at 35kph: up to 22.38
- Time saved over 60km: up to 00:04:24
- Cost per watt: £0 / $0
That’s right, the best-value aero upgrade is how you position yourself on the bike.
If you read the introduction to this article (where we revealed that 70 to 80 per cent of the system drag is caused by the rider), that ought to come as no surprise.
Notably, we found that simply adopting an aerodynamic riding position – in this case, the famed ‘aero hoods’ position so often seen in WorldTour racing – can save 22.38 watts at 35kph, compared to riding with your hands on the brake hoods.
Although not quite as aero as clip-on aero bars, the cost per watt is £0, or in other words, totally free.
It’s also more than twice as many watts saved than our sample carbon wheels, which cost nearly £1,000.
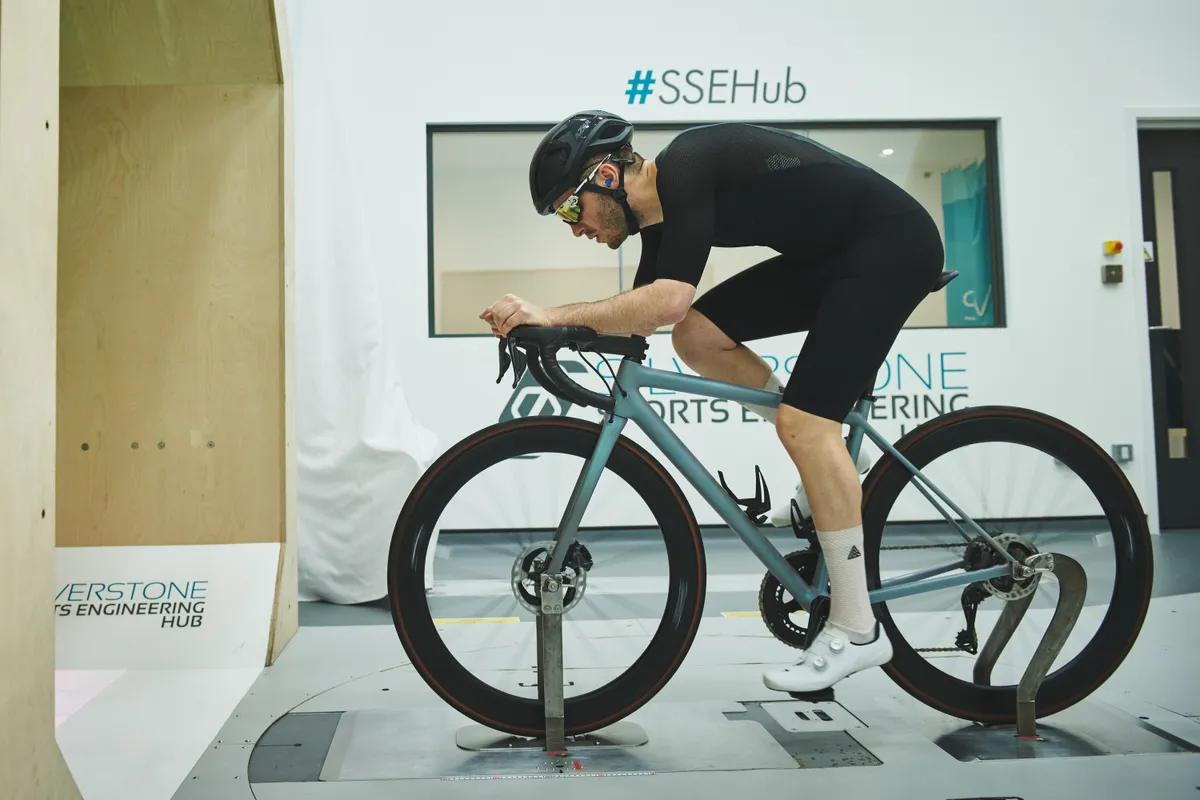
The trick to an aerodynamic riding position is usually to get stretched out, low and narrow.
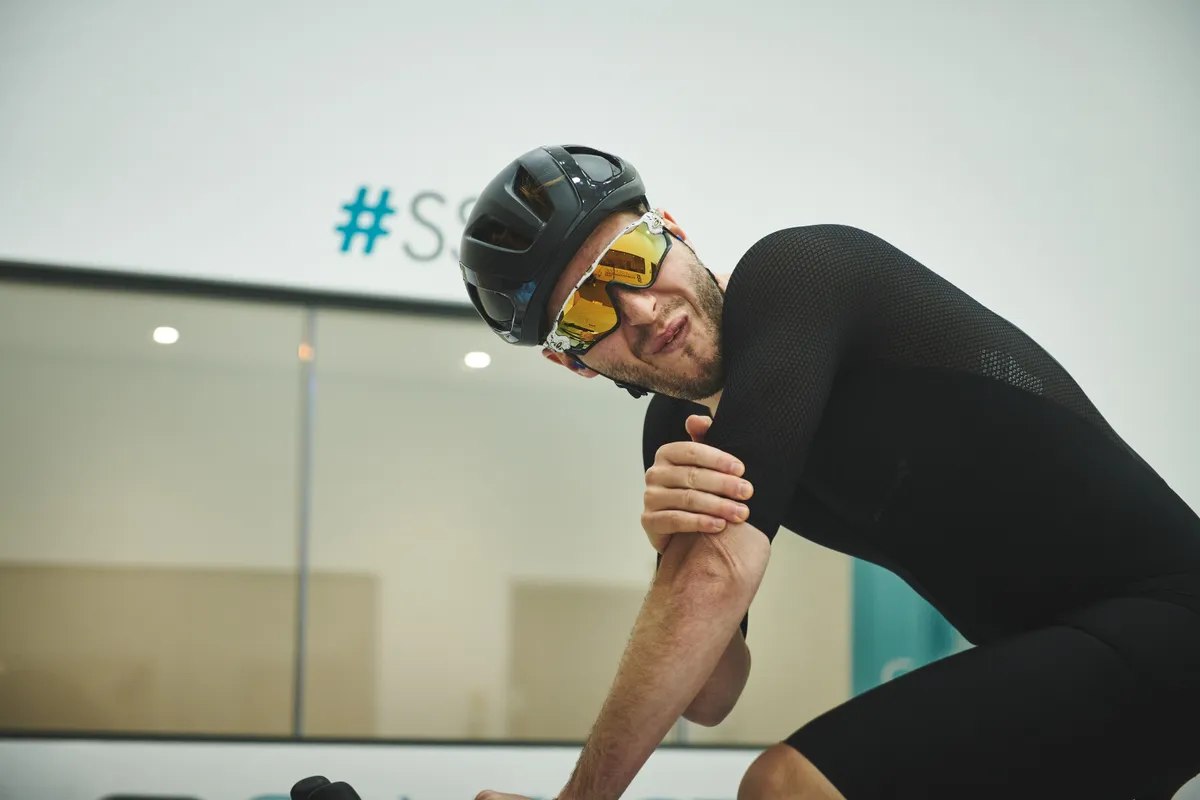
That said, as anyone who’s tried a position like this will know, it might be free in terms of money spent, but there is a significant cost in terms of comfort.
Liam said holding the position for a few minutes in the wind tunnel was very taxing, and would be difficult to maintain for long distances out in the real world.
You can, of course, train your body to adapt to the position, but it’s also true that you don’t need to adopt the theoretically fastest position at all times to get a benefit.
Our wind tunnel test also showed that riding with your hands on the brake hoods was 19.26 watts more efficient at 35kph than putting your hands on the tops of the handlebars, which saves three minutes over 60km.
As we’ve shown before, riding in the drops can also save big chunks of power and time, so it’s important to make sure you have a handlebar shape and bike setup that enables you to utilise them effectively.
So unless you’re intentionally trying to slow down to enjoy the ride, learning to stay more aero, more of the time, has the potential to make a huge difference to how fast you can ride.
Bottom line – how many watts did we save and how much did it cost?
Having adopted every upgrade, including the clip-on aero bars, Liam saved a total of 55.51 watts compared to his baseline, for a cost of £1,761 / $2,173. That translates to a time saving of 10 minutes, 30 seconds over 60km.
Excluding the two most expensive items (the speedsuit and wheels), brings the cost down to a far more palatable £416 / $499, and still sees Liam saving 41.65 watts at 35kph, and 8 minutes, 5 seconds over 60km.
That’s still a considerable sum of money. But it’s also a lot cheaper than a new aero road bike.
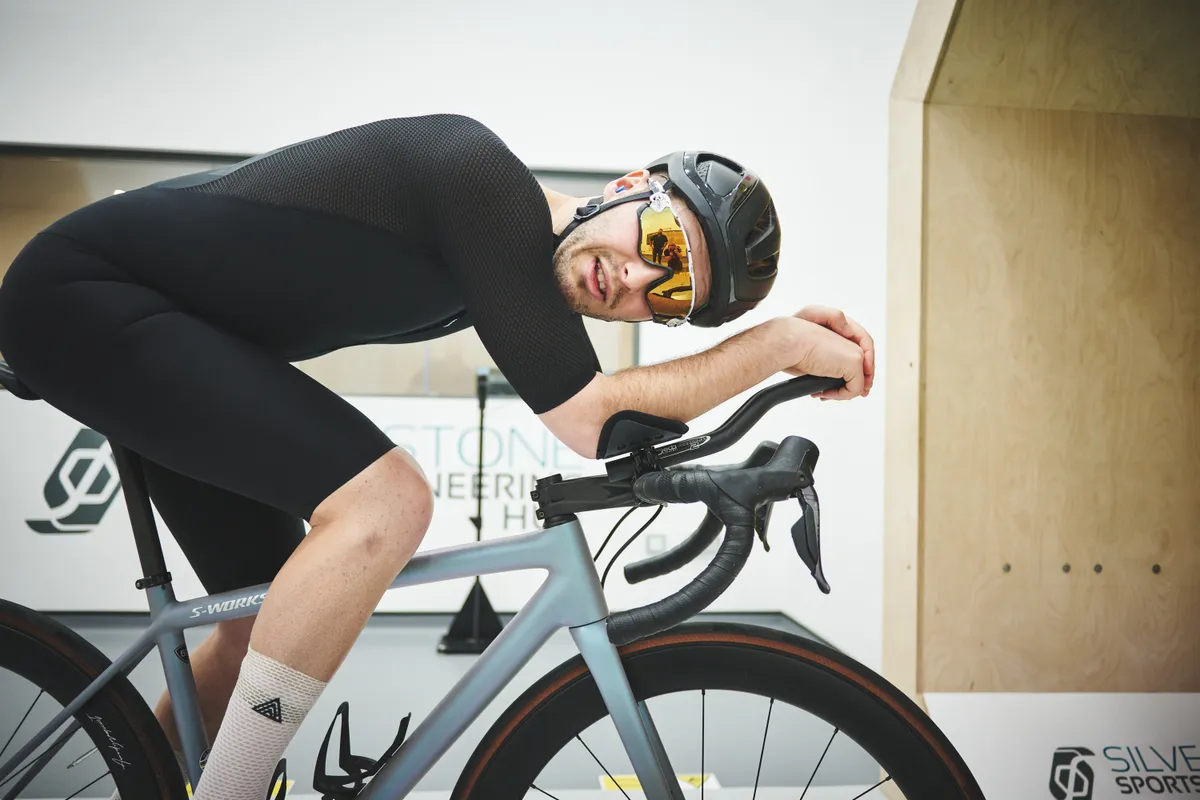
Happily, the biggest gains we found came simply from adopting a more aerodynamic body position on the bike, and that can be done for free (or for relatively little money in the case of clip-on aero bars).
If your budget allows for a new bike as well, then great – building out your dream garage can be plenty of fun in its own right.
As with anything, though, the best thing to do is to consider the type of riding you do, and mix and match upgrades to suit your goals, riding style and budget.
More ways to go faster on a budget
If you’ve exhausted all of the aero upgrades, but still haven’t satisfied your need for speed, don't worry – there are even more ways to improve your average speed.
