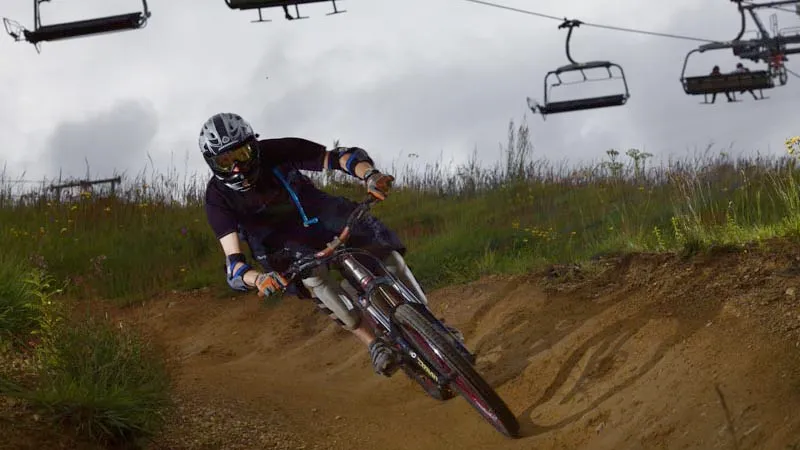
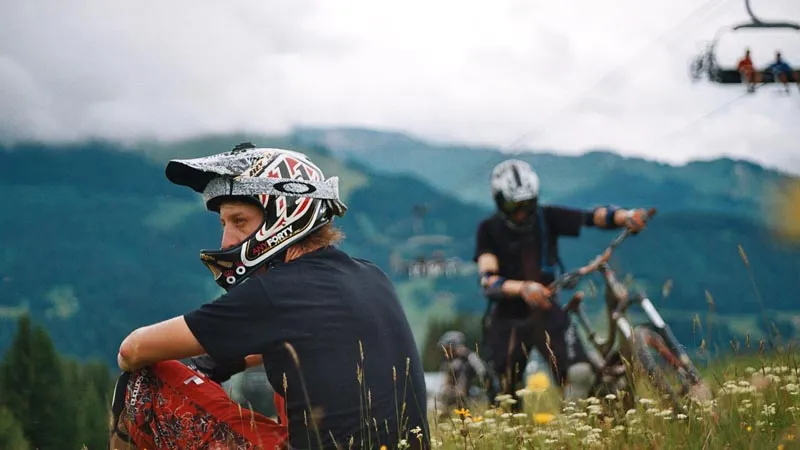
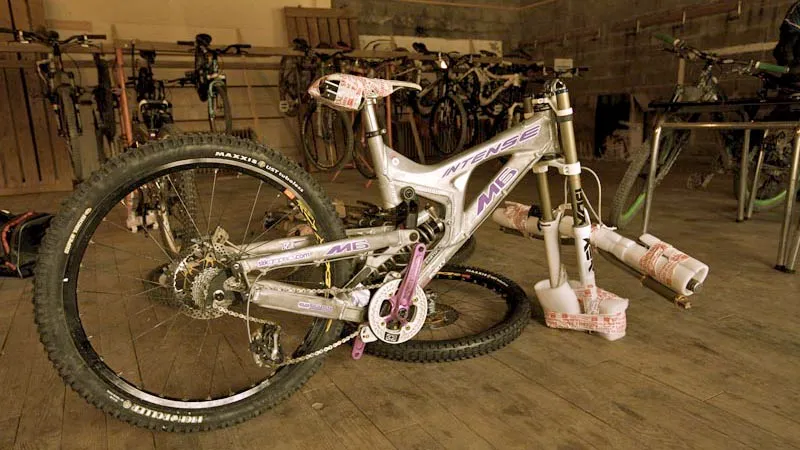
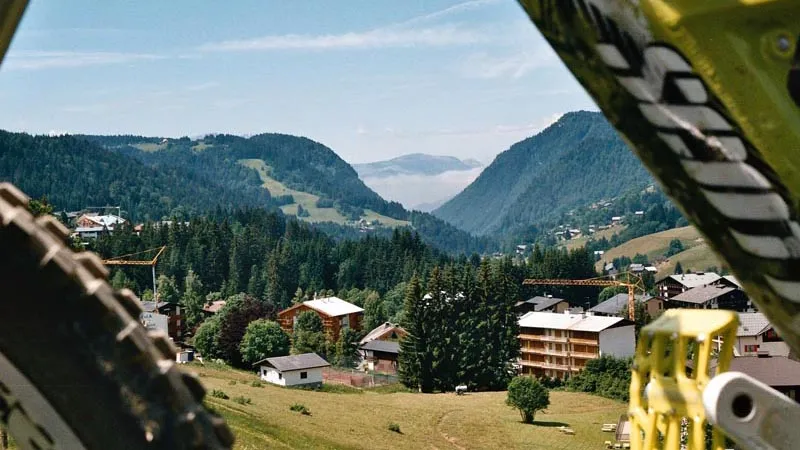
The Alps are a popular destination for European mountain bikers looking to get some chairlift accessed riding done, and booking a biking holiday is a simple affair these days, because airlines have woken up to the idea that cycling is a popular alternative to winter mountain sports.
Read on for a guide to everything you need to know about shredding alpine terrain, getting there safely and making sure your bike is in tip-top condition for its alpine holiday…
Taking your own bike
Taking a bike on a plane sounds like a nightmare for many people, but it’s a fairly easy affair – as long as you do it right.
First off you need to check what the airline guidelines are for bikes. Some companies class them as sports equipment and will carry them for free, while others have a fixed fee for bikes.
Be aware that weight limits often still apply though, and airlines can refuse to let overweight items on board or charge huge excess baggage fees.
However, as long you’re courteous, polite and play the ‘oh, it’s just a bike’ card, as opposed to ‘yeah, it’s a really heavy 10in travel bike for smashing down mountains on’, you can normally push the limit a little.
Next, you need something to transport your bike in, You can buy a variety of sturdy bike bags and boxes that offer great protection, but they do weigh a lot and cost a fair bit - the cheapest and lightest option is to visit your local bike shop and ask if they have any cardboard bike boxes going spare.
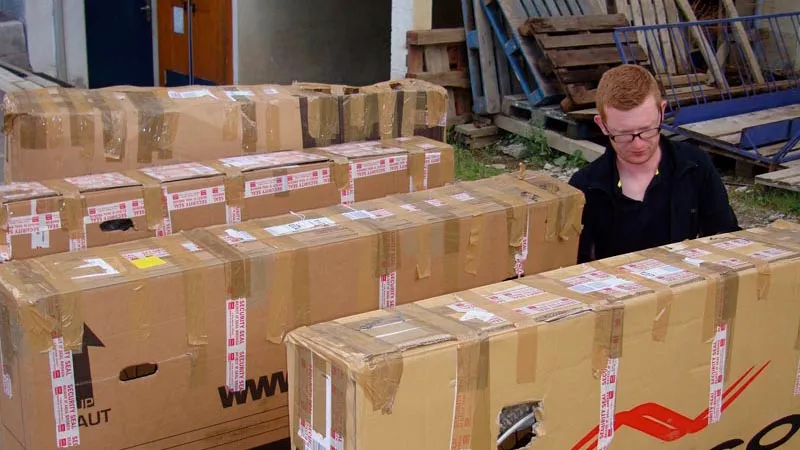
Save some money by asking your local bike shop if they have any spare bike boxes
You may have to pay a few quid or buy the workshop guys some cakes, but they’re cheap, sturdy and work. Just make sure your box is inside the size limits specified by the airline.
Packing the bike is important to avoid any damage from Chuckle Brothers-style baggage handlers, so make sure you eead our full guide on how to pack a bike for a trip abroad. Here's a few tips in the meantime:
- Remove the disc rotors from both wheels and use caliper spacers (or some cardboard) to stop the pistons popping out in transit.
- Unscrew the rear mech from its hanger and allow it to swing – that way there’s far less chance of your mech and hanger being damaged.
- Remove your handlebars, pad them (using an old T-shirt or bubble wrap) and then tape them to the bike to stop them rattling and removing paint.
- Unscrew your pedals and tape them together underneath your saddle.
- Remove the front wheel.
- If you have a double-crown (also known as triple-clamp) downhill fork you may need to slide the crowns down the stanchion (upper leg) tubes to get the bike in the box.
- Although it’s not necessary with pressurised baggage holds, letting most of the air out of your tyres could avoid hassle at the airport. It's also a good idea to lower pressures in air forks and shocks.
- Use sufficient padding to stop paint being rubbed off or tubes being dinged – we use body armour and gloves to avoid adding extra weight to the box.
- We also throw our cycling shoes in the box and often our helmets – but remember that airport staff aren’t keen on anything else being in the box, although they should be fine with helmets.
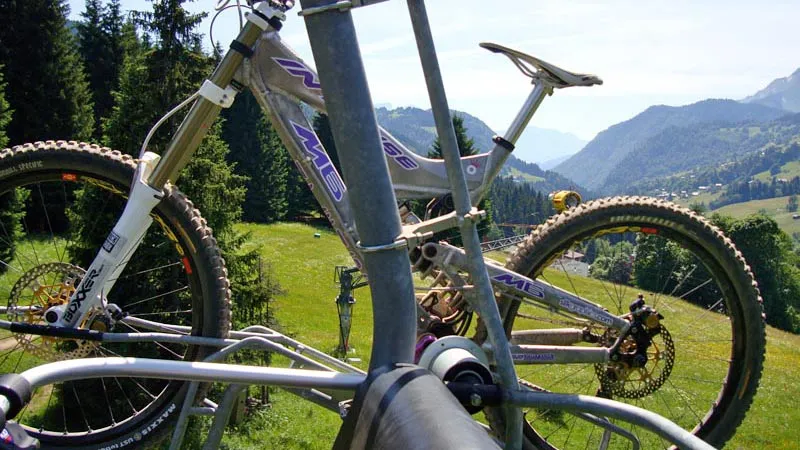
Alternatively, you can hire a bike from most alpine resorts.
Alpine bike set-up
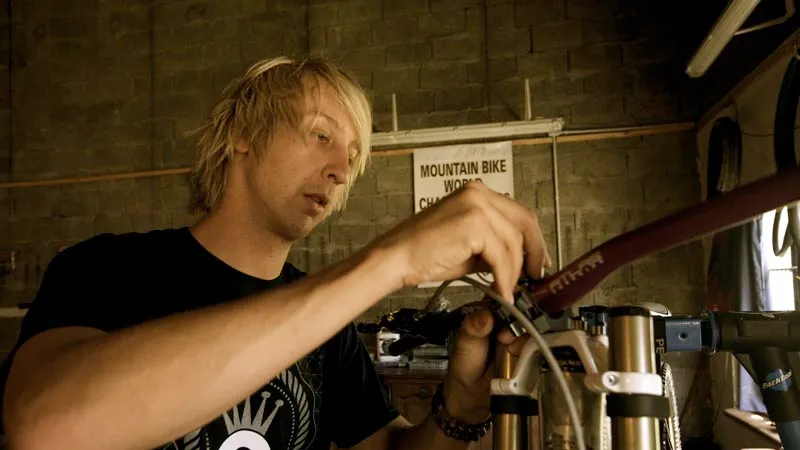
Riding your bike down a mountain all day can be quite tough on your bike. There are a few key things you can do to make it more easier on both the bike and yourself.
- Raise your brake levers – even 10 degrees will make a huge difference – and move them inboard so you’re using the very end of the lever blade. You’ll be dragging your brakes a lot more than you imagine; this way you won't have to reach for them and you'll have more leverage. It's also a good idea to move your shifter(s) inboard so you can change gear without moving your hand on the grip – the less your hands have to do, the better.
- Especially for faster terrain, running your saddle an inch or two higher on your downhill bike will give more stability as it’s easier to pinch it between your knees.
- Braking bumps and rough terrain will make your bike rattle and clatter. Wrap your chain- and seatstays in old inner tube to minimise noise and damage to paint.
- Get yourself some thick, clear vinyl and cover your down tube in the stuff to protect the paint against damage from flying rocks. You may want to cover seatstays and fork lowers as well, as some chairlifts will have the bike swinging around.
- Ensure the sag on your front and rear suspension is dialled for the way you ride. Take into account the weight of a laden riding pack, armour and a full-face helmet.
- Damping on your shock and fork makes a huge difference. An extra click or two of rebound will control the bike better over fast rough terrain, and a little low-speed compression up front will stop the fork diving too much.
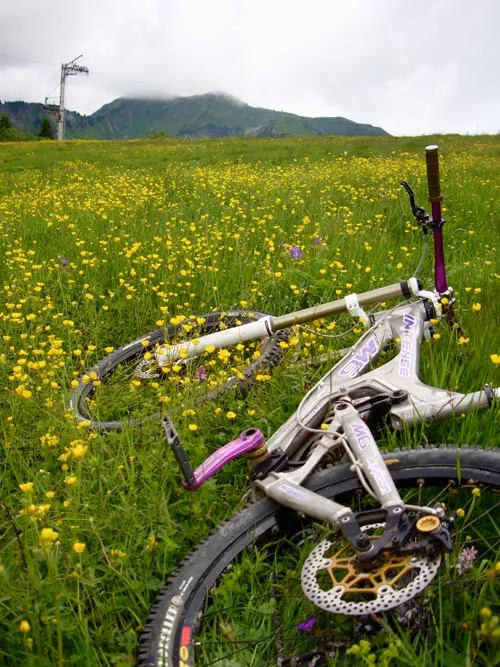
- Take fresh tyres, with a soft compound rubber if possible and a thicker downhill casing. This will allow you to run lower pressures for comfort and grip. Be prepared to shred a pair of tyres on your trip.
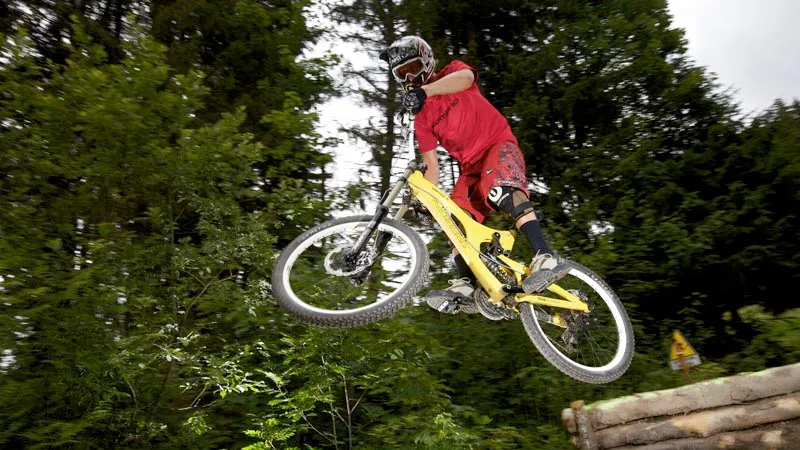
Fit tyres with soft compound rubber and thicker downhill casing
What to pack for an alpine trip
This is what we stick in our alpine kitbags:
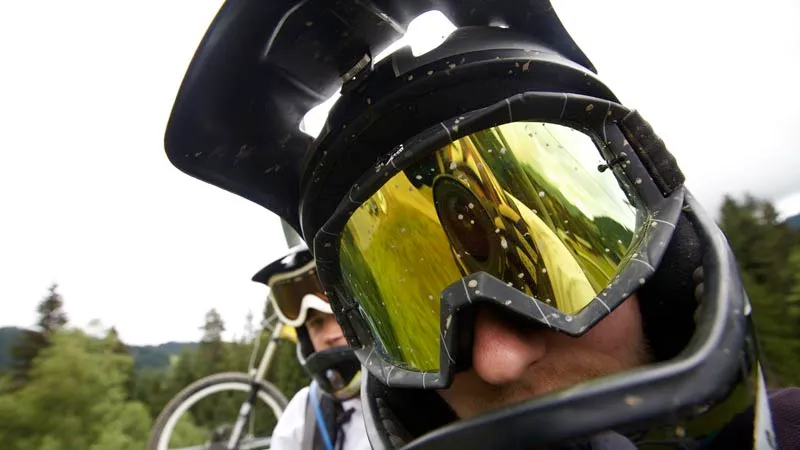
- Full-face helmet
- Goggles
- Regular helmet for cross-country missions
- Riding glasses
- Gloves
- Body armour – knee pads are the bare minimum, and a spine guard is a good idea
- Medical kit and painkillers
- Riding kit, including wet weather gear
- Cable ties
- Duct tape
- Hydration pack
- Tools
- Any spare odd-size bolts your bike could lose that you won’t be able to replace in Europe
- Helmet camera
- Digital/compact camera
Slumming it or styling it
The cheapest night’s sleep you can get will be in a tent, the back of a van or a youth hostel with dormitory beds, but if you want more of a holiday then hiring a chalet is a good option if there's a few of you to split the cost.
We chose to go with a half-board deal with Alpine Elements in Les Gets, which included flights, airport transfers, accommodation, breakfast and dinner. This meant we could spend more time riding and less time wandering around deciding where to eat!
Lift passes and chairlifts
You can pre-book summer lift passes, or simply show up and buy a daily or multi-trip ticket. Ensure your pass covers all the lifts you want to access.
Once you have your pass, keep it somewhere safe but accessible – some riding shorts have pockets designed for lift passes but failing that, cable tying yours to your riding pack will suffice.
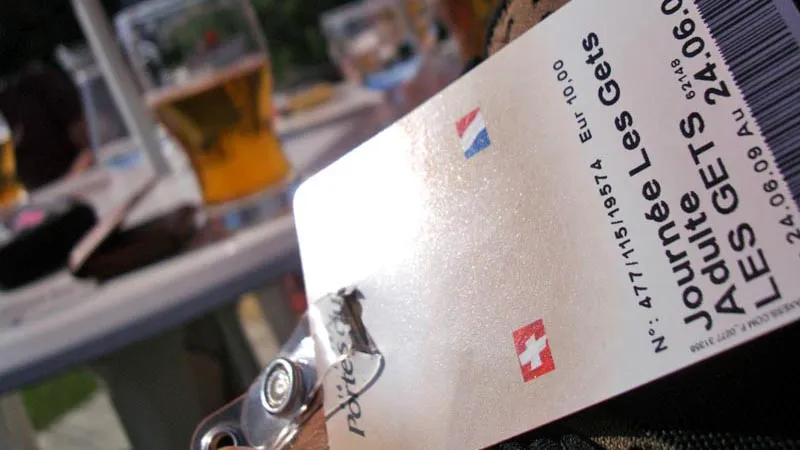
You won't get far without a lift pass
Chairlifts in France have been designed to carry skis rather than bikes so they aren’t as advanced as those at places like Whistler Mountain Bike Park in Canada, where they take up to four bikes.
Attendants are often on hand to load and unload for you. Take note of how they do it – for some runs you'll need to do it yourself.
On many lifts your bike is hung by the front wheel – take care not to bend your disc rotor or rip off your inner tube valve.
Finally, use your time in the lift queue to give your bike a once-over with a multi-tool. Long and punishing downhill runs can rattle things loose that never came loose before.
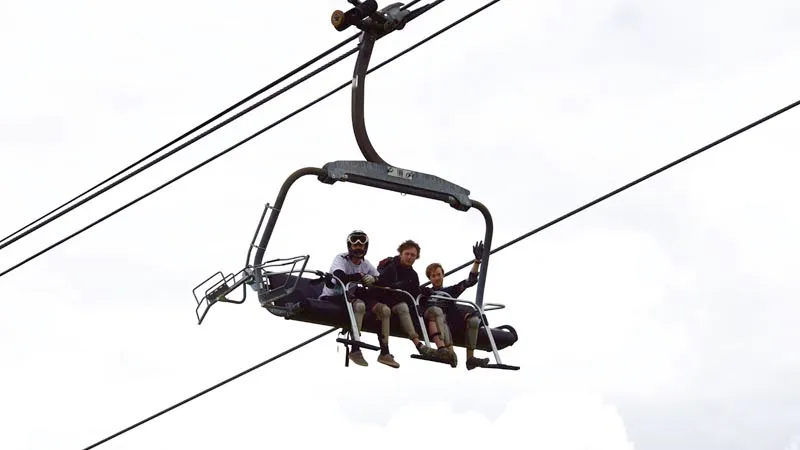
You can book lift passes in advance or just buy one when you arrive
Trail etiquette
Taking it easy for the first couple of days is essential if you want to last the duration on alpine trails. Use your first day wisely to get the feel of your bike and the long descents.
Four or five runs should do the trick, ideally on just one or two courses. Confusing your brain with all-new terrain each run won’t help when you’re not up to speed.
On your second day, have a few mellow runs before venturing onto the network of trails. Take advantage of the many stopping points, but make sure you stop out of the way and give way to other riders.
For a helmet cam video of some of the riding action, click play below:
helmet cam
Like ski runs, mountain bike trails are graded. Green and blue runs make up the basic and beginner trails, red is intermediate and black is advanced.
Unlike heavily patrolled bike parks, many alpine destinations see beginner riders venturing on to the steeper and more technical black runs. Be aware of this when flying down a black run as they’ll often be in the worst place on the trail and won’t know where is best to pull over.
Do your best to get past them in a safe way, and let them know where you’re going. Likewise, if you find yourself on a trail that’s a bit out of your depth, be cautious of faster riders approaching and always give way to them. Trail etiquette is important.
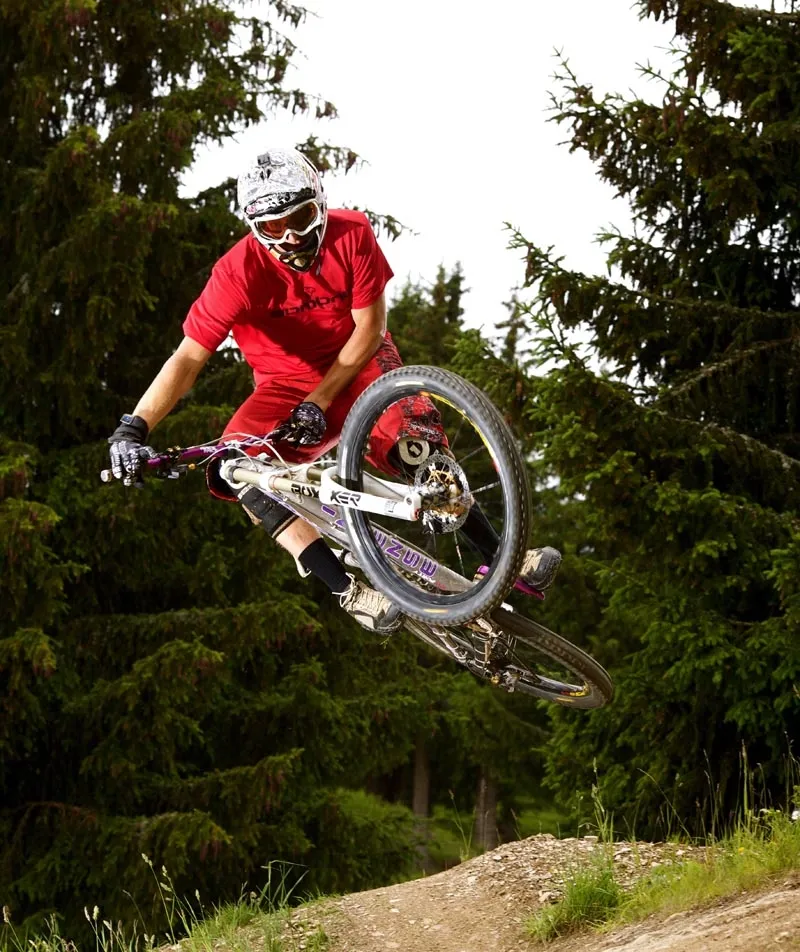
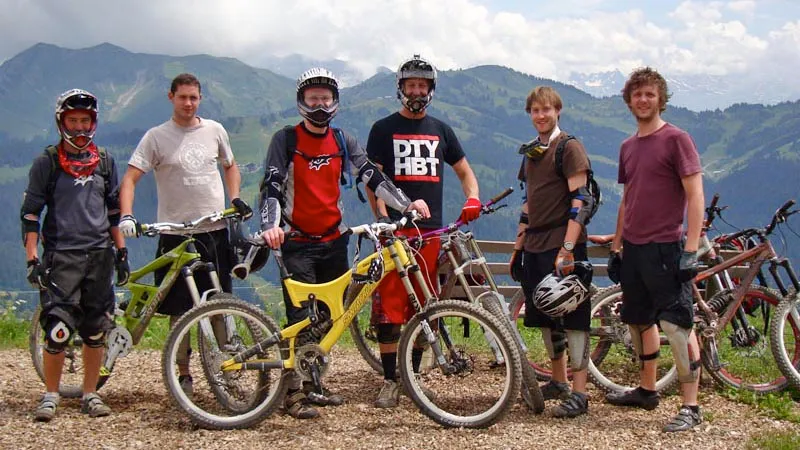
Alpine trails are graded according to difficulty
Cruising for a bruising
So you’ve been up on the mountains for a few days now and you’re really starting to let rip. What’s important now is not getting cocky. The longer you’re riding, the more blasé you’ll get about line choice and the speed you hit things.
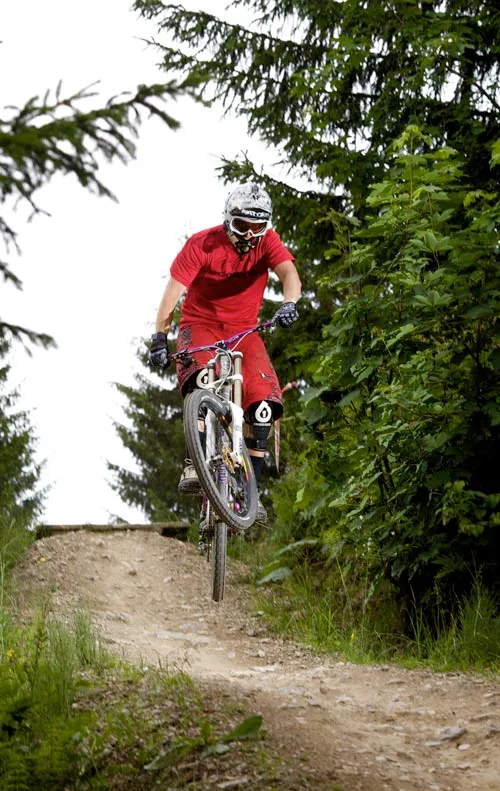
Typically, four days into a trip most riders will find their speed. Hands will hurt less as you relax your grip and you won’t be braking half as much. You’ll be drifting and taking risks on jumps and through the gnarly stuff without thinking twice.
Just don’t push things too far. Remember it’s not a race run and you want to be riding every day until you go home. And whatever you do, never have a last run of the day or last run of the trip. Quit while you’re ahead and celebrate with an ice-cold pint and a view over a mountain lake. Après mountain biking is a beautiful thing.
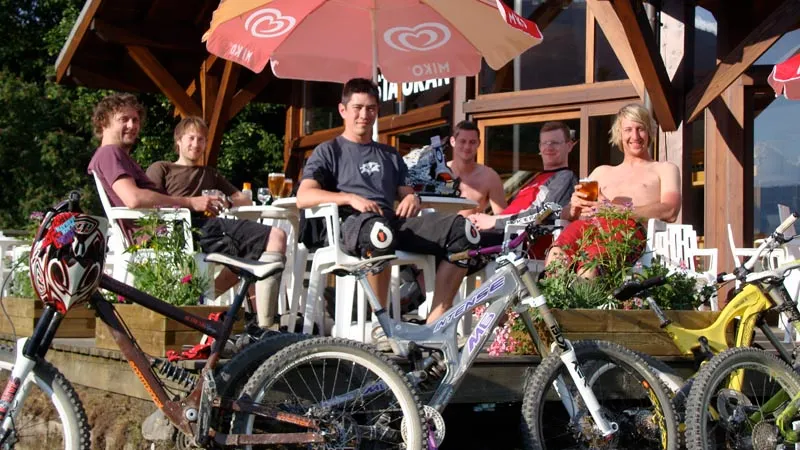
Don't push yourself too hard. You want to end the day in a bar, not a hospital
Find mountain biking holidays in the Alps with MuchBetterAdventures.
