While I stare enviously at the Instagram accounts of riders who live in sunnier climes, it’s been time to get down to the wet and cold job of testing winter bib tights here in the northern hemisphere.
As someone who has tested dozens of bib tights in recent years, I’ve learned what I like and what I don’t. Yet, every year, I’m reminded of what makes a good pair of bib tights, what doesn’t, and the pros and cons of some common design choices.
There’s some crossover with what my colleague Oscar learned when testing bib shorts last summer, but bib tights are still very different because of the demands of winter riding.
Having tested six new sets of bib tights this season, here’s what I learned. Hopefully, it can help steer your decision with so much choice.
1. Buy for the conditions you ride in
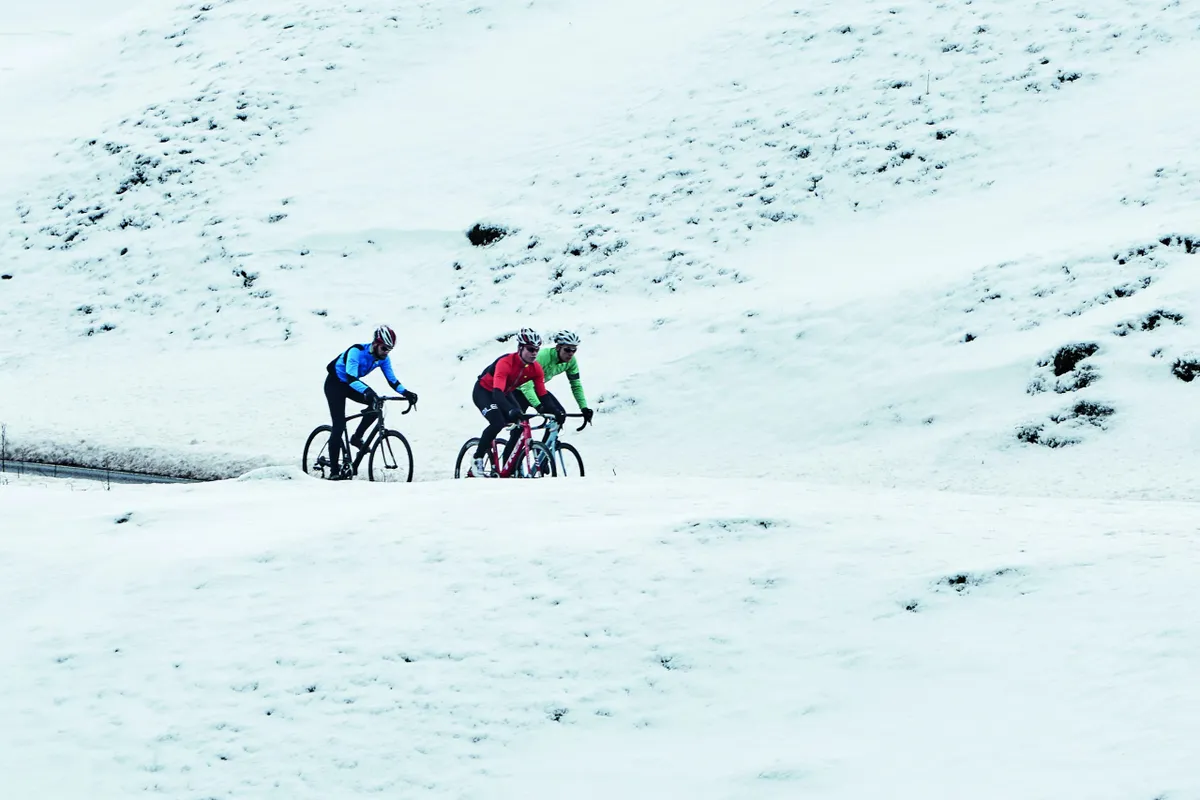
You could say this for any piece of cycling kit, but with bib tights, it’s crucial to get the right model to suit the conditions you’ll be riding in.
It can be appealing to opt for bib tights that claim to keep you warm and dry in the very worst weather.
It’s my job to actively seek these conditions out when I can in the name of testing, but it’s worth asking yourself whether you’ll go riding in sub-zero temperatures, rain or snow.
No matter how good your kit is, it can still be miserable (not to mention dangerous) grinding out the miles in these conditions. With the rise of smart trainers and interactive indoor cycling apps, it’s little surprise many chose to ride indoors and avoid the worst of the winter weather altogether.
Bib tights designed for such conditions can easily be too warm when you venture out on less extreme days and may prove less comfortable thanks to a thicker, heavier construction and a more restrictive fit.
Things to look out for include bib sections that fully cover the back – leading to too much heat retention – or that cover the stomach too much – causing unwanted pressure and stomach upsets.
Of course, your mileage may vary and if you struggle with even mild winter temperatures, that’s something to consider.
However, there’s no one-size-fits-all solution with bib tights, and a sober assessment of your riding style and needs is required to find the right tights for you.
2. How far will you be riding?
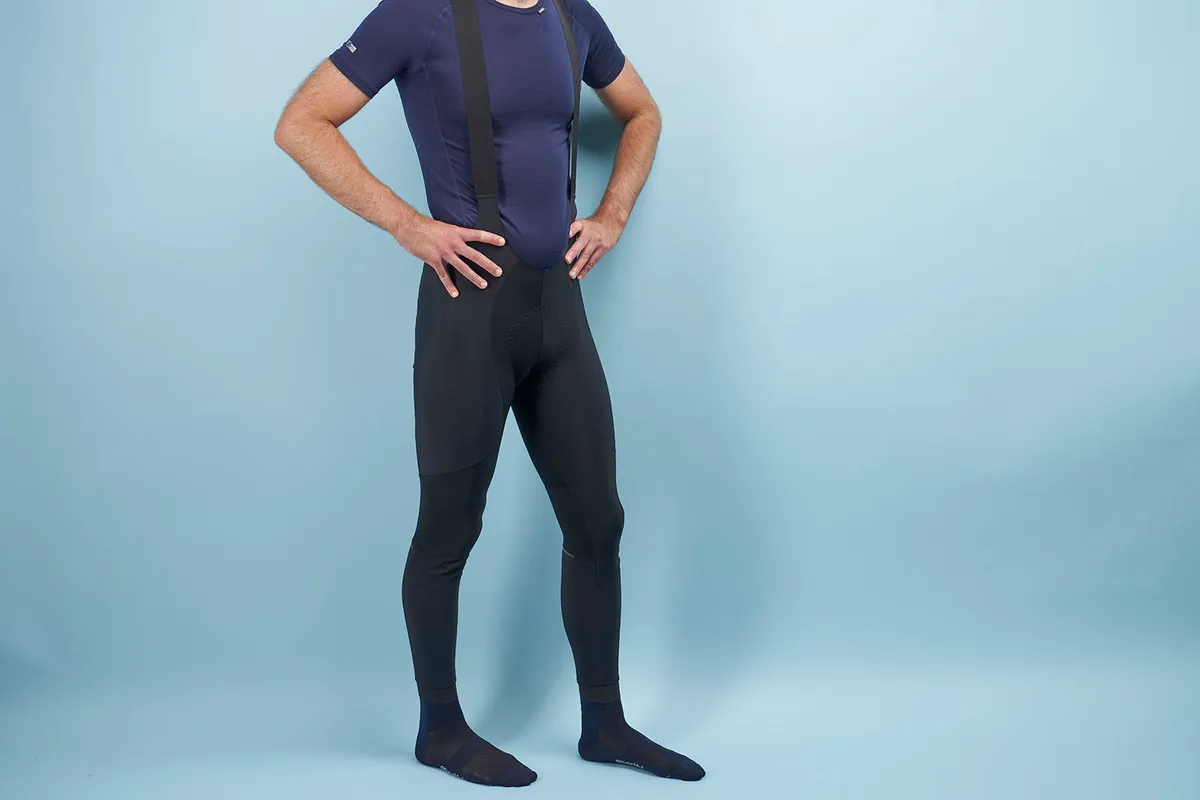
Bib tights are often seen as a one-fit wonder on the bike for those long winter rides.
In part, this is true. They’re far easier to don than leg warmers and bib shorts, the lack of garment overlap is often more comfortable and the insulation you get tends to be better balanced They avoid the over-insulated double layer on the thighs, or, conversely, the cold gaps leg warmers don’t cover.
But, just as with assessing the conditions you’ll ride in, also consider the distances you’ll be covering.
Some riders like to pump out century rides in the depths of winter, but it’s perhaps fair to say many will make their winter rides shorter. After all, few of us have the time for proper winter base training.
So, instead of spending top dollar on a set of bib tights with the plushest chamois pad in the world, a more cost-efficient, mid-range model, such as the dhb Aeron Lab Winter Tights, may be a wiser investment.
3. Fit is vital for comfort
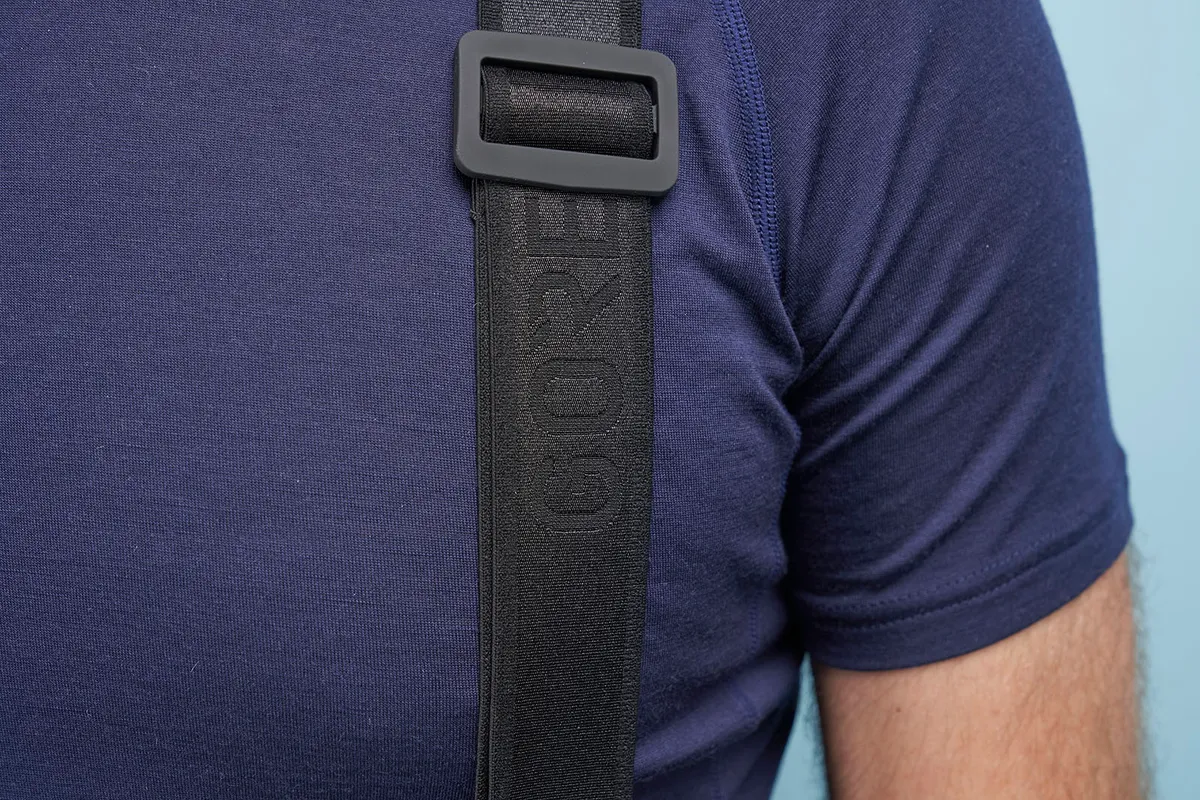
The fit of bib tights is the most important factor contributing to comfort.
Bib tights reach from the top of your shoulders down to your ankles, so any fit issues can have knock-on effects.
For example, bib straps that are too short for your body can not only dig into your shoulders, but can also pull the chamois pad into your crotch uncomfortably.
Bib tights with a looser mid-section cut might feel more relaxed, but can also cause unwanted draughts, and – for men, at least – result in excess genital movement while pedalling for comfort.
Women may also prefer a design that enables easier toilet breaks, but if that feature isn’t well implemented, BikeRadar contributor Katherine Moore says it can cause more discomfort than it’s worth.
It’s also worth recognising the usual rules of chamois suitability – offering padding where needed for the individual – remain important.
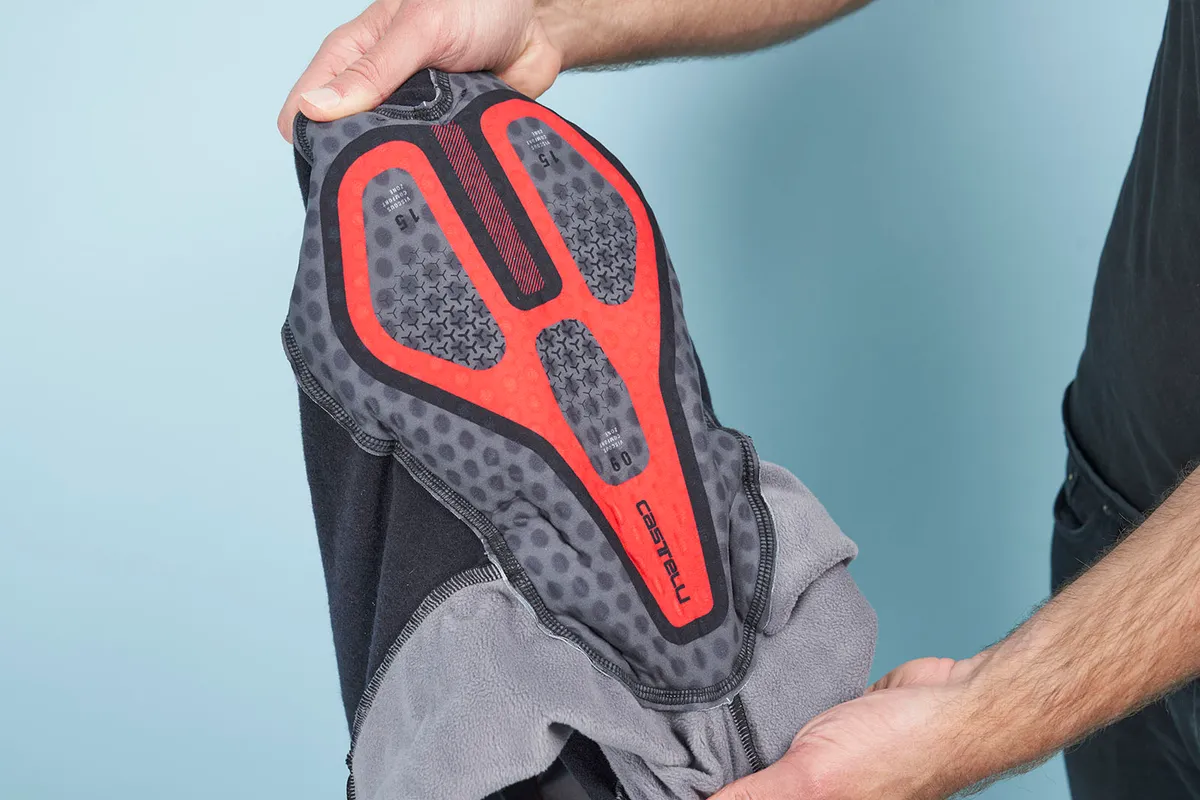
Sticking with a brand you know and like is a good start here. However, some brands will use different chamois pads in their bib tights compared to their bib shorts, so it’s always worth double-checking exactly what’s on offer.
As it is, though, fit can be something of a minefield. If you have the means and opportunity to try bib tights on in a local bike shop, or through ordering online with a good returns policy, you should.
4. Beware weather-resistant fabrics
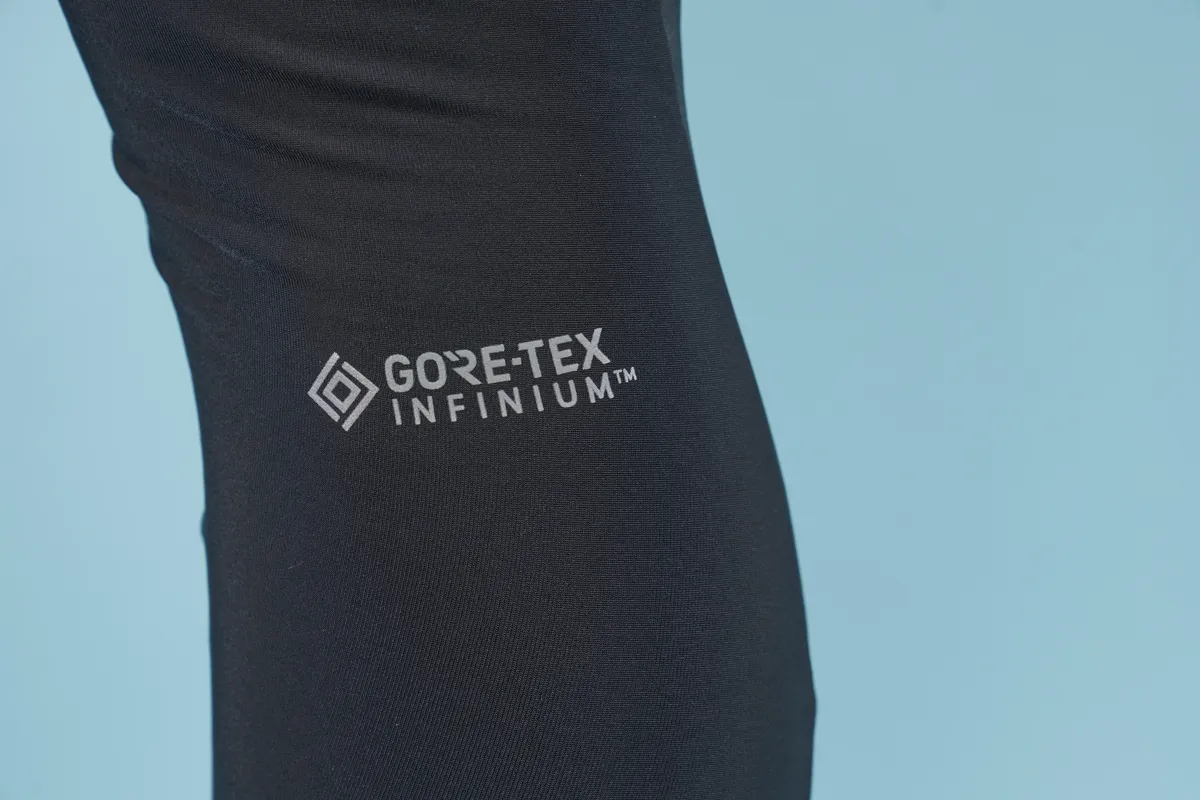
I’ve learned to treat extra-protective fabrics, such as Gore-Tex Infinium, with a dose of healthy scepticism.
These kinds of fabrics can offer greater protection from the wind and rain, but while usually effective, they also have their drawbacks.
Such fabrics are often thicker, thanks to the inner membrane and surrounding layers, which can cause compromised articulation around the knee. In turn, I’ve found this results in fabric uncomfortably bunching behind the knee, which has often caused chafing.
I prefer bib tights that prioritise easy articulation around the knee, often with thinner fabrics that are generally less protective.
That said, if you know that you want or need protection in this area and others, such a construction may be worth the compromise in flexibility.
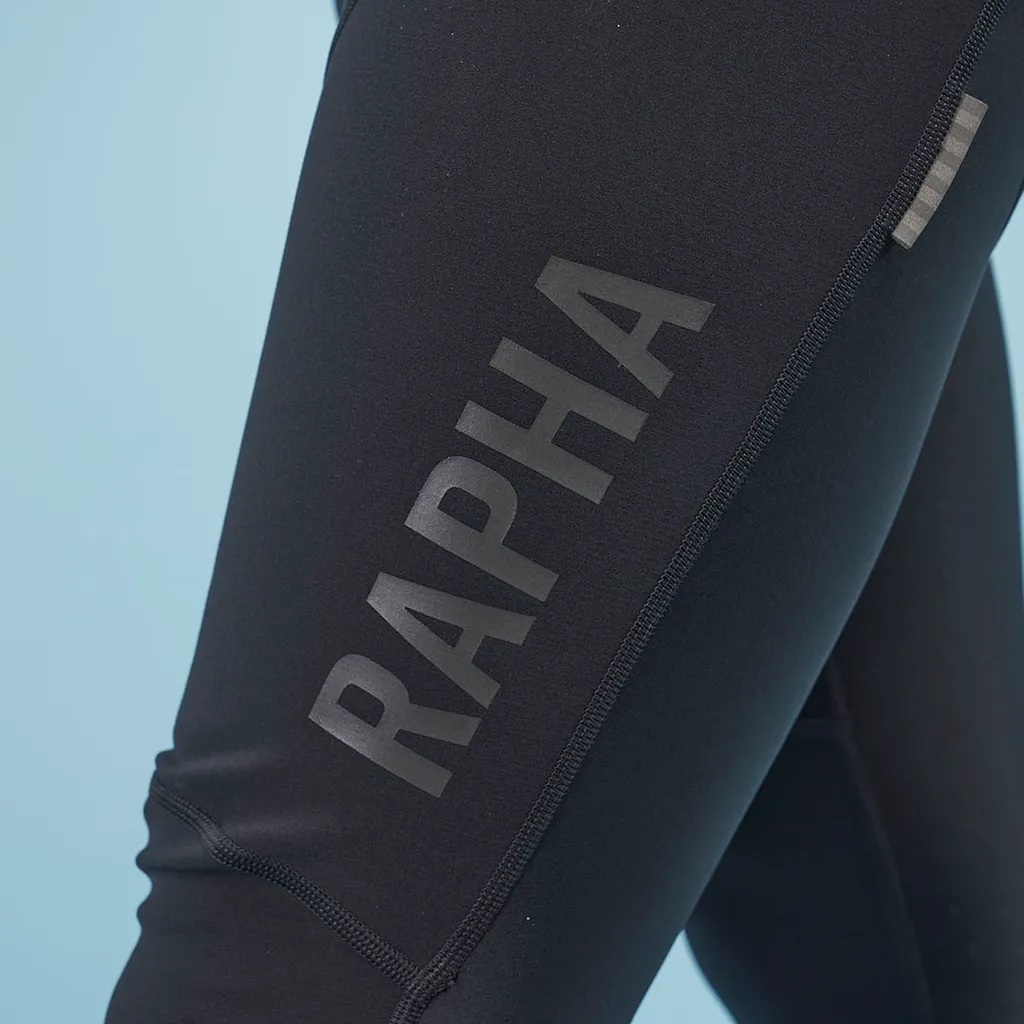
Those who tend to ‘run hot’ will likely also find such fabrics less breathable than their thinner counterparts.
Despite the lofty claims that accompany so-called technical fabrics, the best path to better temperature regulation is often to remove a layer, rather than simply opting for the most expensive and technical-sounding construction.
Hence, while you might be tempted to opt for the Rapha Pro Team Bib Tights with Pad II, some riders might find the lighter and cheaper Rapha Pro Team Lightweight Tights with Pad a better bet.
5. DWR treatments are a potentially expensive maintenance job
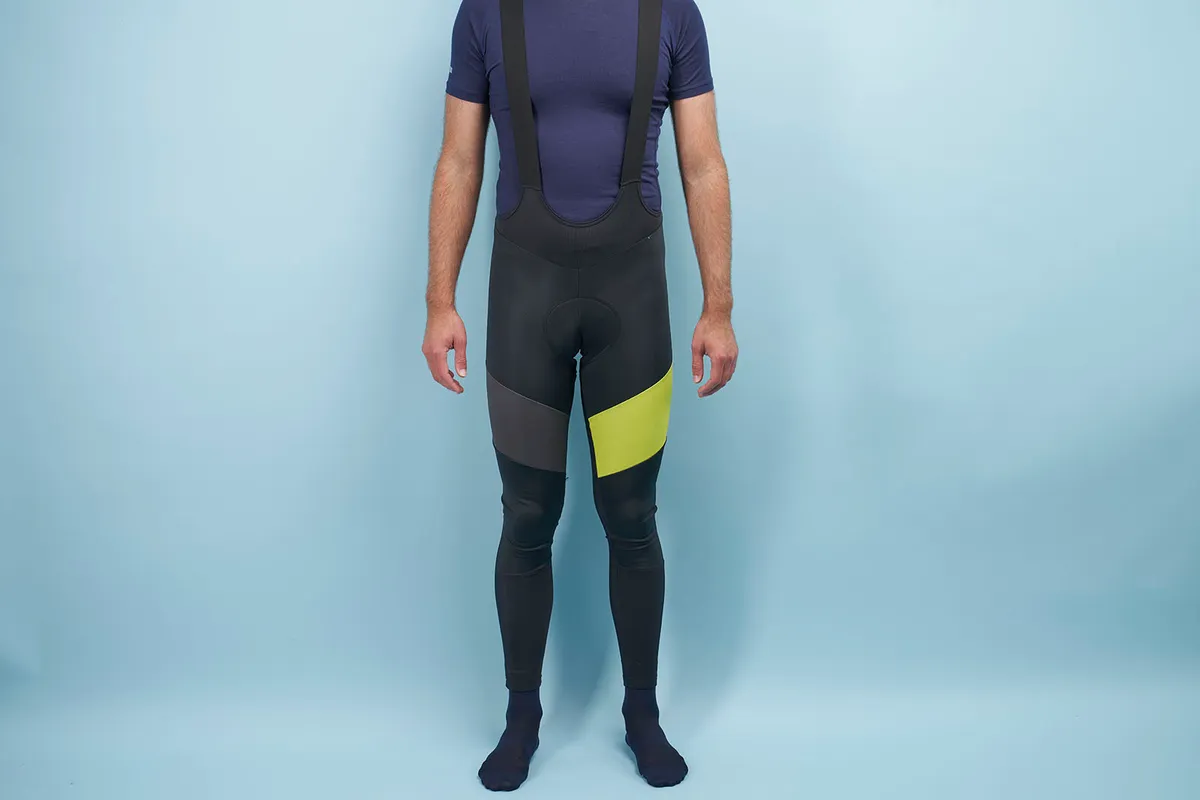
Bib tights at all levels use durable water-repellent (DWR) treatments, which help water to bead off the fabric more effectively when splashed.
Generally, it’s best to treat such fabrics and treatments carefully, washing with a technical wash product, but as little as often.
That said, while waterproof jackets can be worn several times and remain clean – assuming you’re using decent mudguards – bib tights are right in the line of fire of road spray and detritus.
But given the expense and hassle of washing your bib tights separately, it’s far easier to just throw them in with your other cycling kit – other than your waterproof jacket.
The problem with this is ‘normal’ detergents will typically wear out a DWR treatment more quickly, reducing its effectiveness.
I prefer the easier, cheaper path, and I simply accept the DWR treatment won’t remain as good as when brand new.
Unless you absolutely must have the best protection from the rain for as long as possible, I wager it’ll be the same for you too.
6. Don’t shove your feet through the ankle cuffs
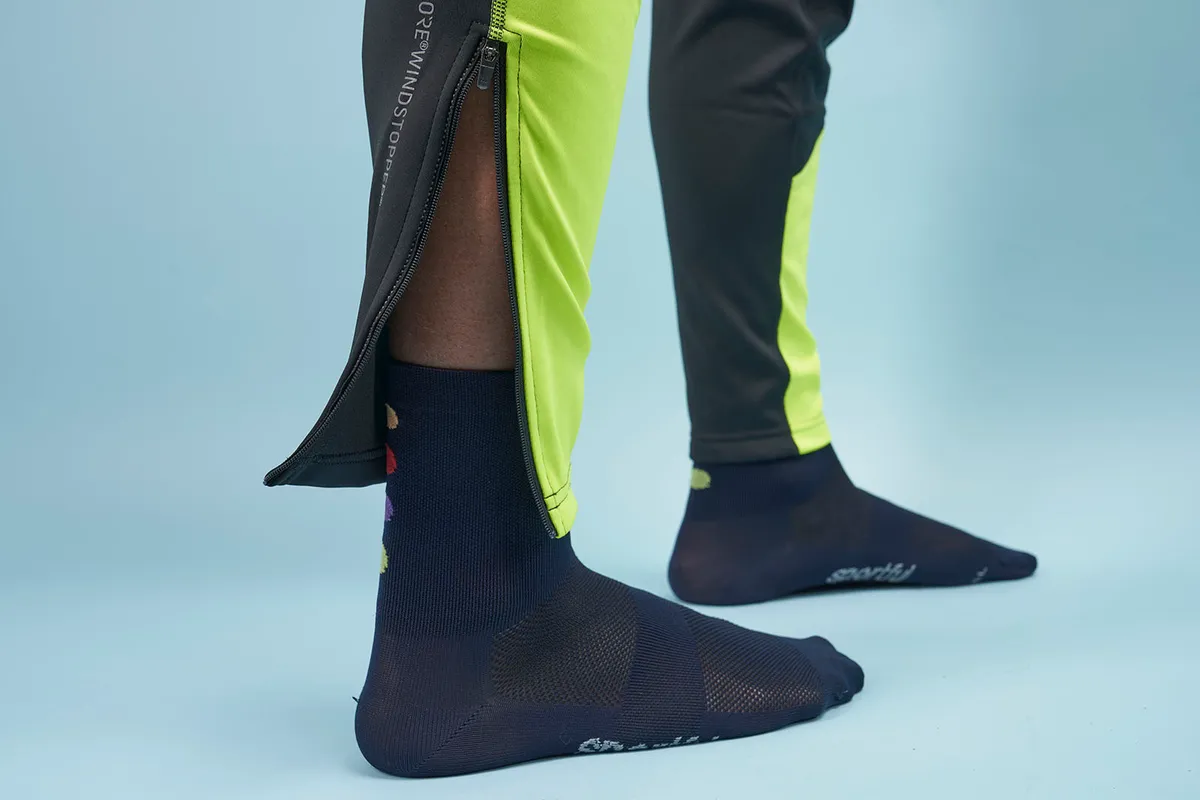
Some ankle cuffs come with zips to aid fit, some don’t. If they don’t, take care when squeezing your feet through the inevitably tight ankle cuff.
On all the bib tights I tested this winter that didn't feature ankle cuff zips, I caused the stitching to audibly crack and pull as I pushed my feet through the cuffs.
While none have resulted in a seam failure, it’s likely only because I’ve teased my feet through the gap with care to keep the stress on the stitches to a minimum.
A zip feels like an obvious solution, but even well-designed zips can cause discomfort, especially when overlapped and pressed down on by overshoes. At best, I’m almost always left with pressure marks on my skin from where the zip has been.
So, if you opt for bib tights with zipless ankles, be sure to ease your foot through carefully, to prevent damaging the stitching before you’ve even turned a pedal.
In particular, make sure you cinch the leg up from close to the ankle. I’ve found this significantly reduces the stretching forces placed on the seams, and, happily, makes getting your foot through easier than when pulling the fabric from higher up the leg.
