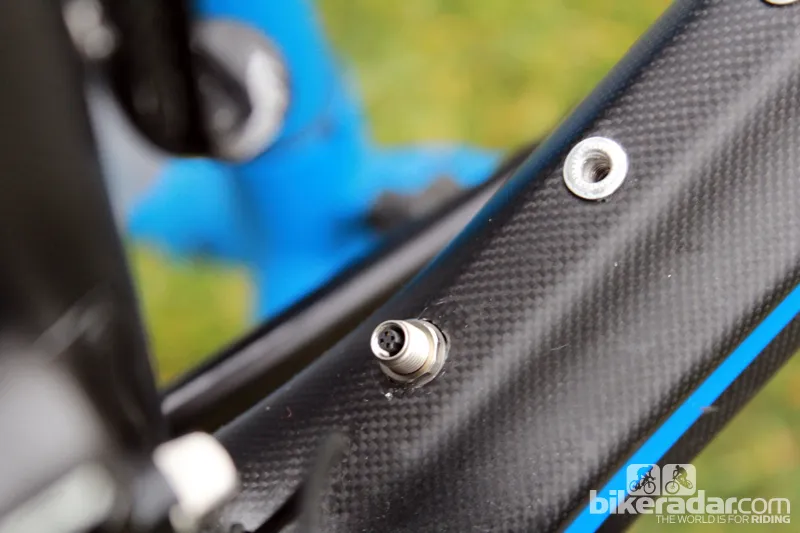
As Shimano Di2 and Campagnolo EPS electronic transmissions continue to mature and gain in popularity, so too have options for hiding away their unsightly batteries. Besides getting them out of view, tucking the battery in the frame can help protect it from the elements. Here are some solutions for tidying up your electrified ride.
Batteries
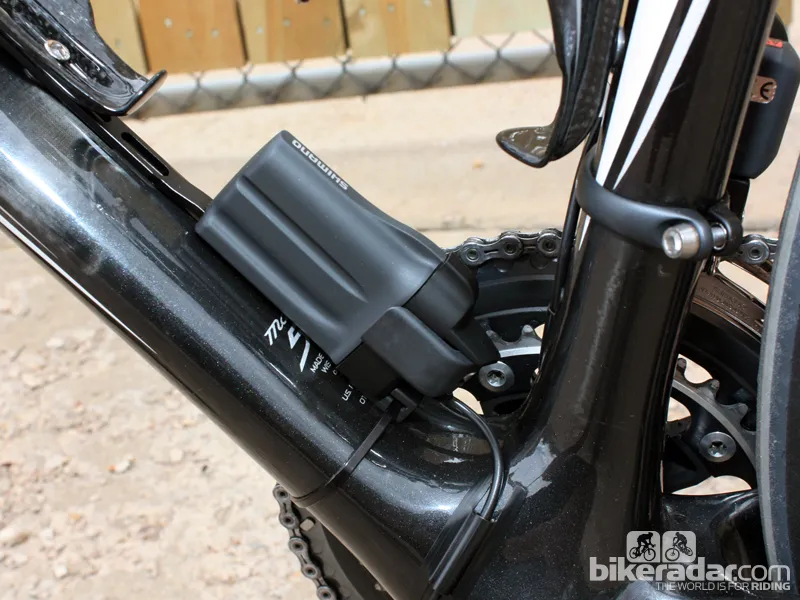
Shimano and Campagnolo have only recently developed their own internal battery options. Before then, Di2 and EPS users who wanted a clean look had to resort to a custom installation such as from Calfee (whose PowerPost is still one of the only choices for the original Dura-Ace Di2 7970 group with the added bonus of greater battery capacity).
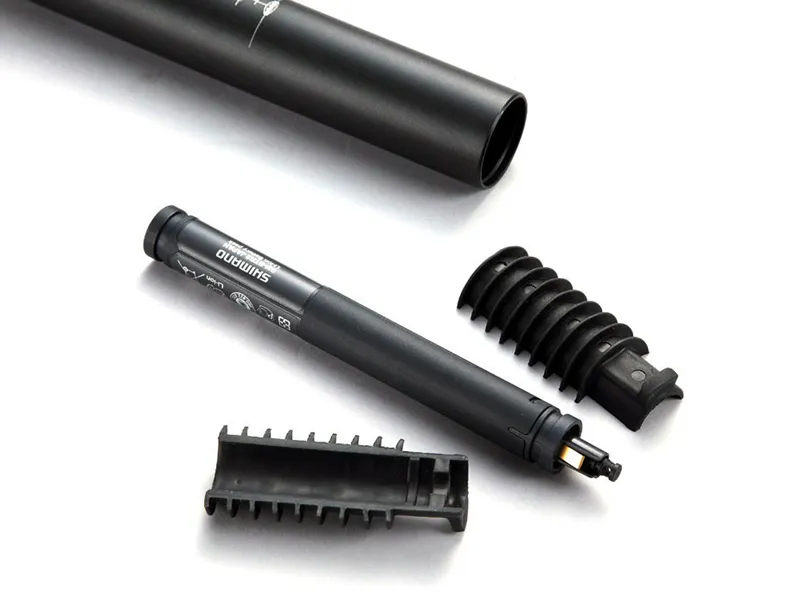
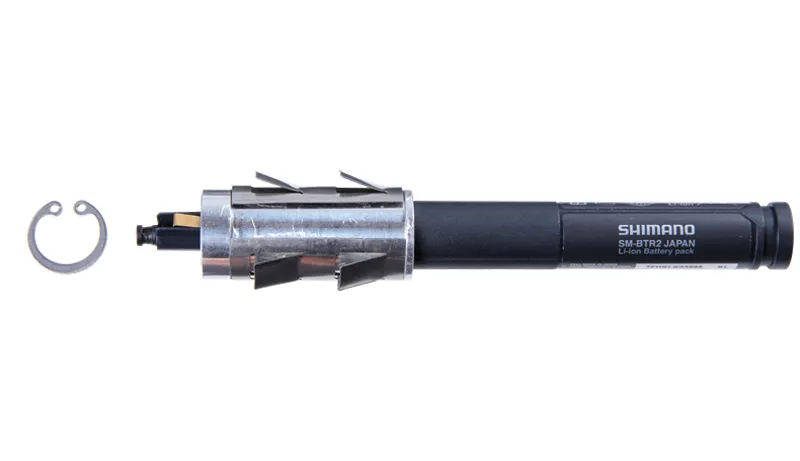
Shimano's SM-BTR2 internal battery (US$159.95/£129.99) will work with the Dura-Ace Di2 9070, Ultegra Di2 6770, or Ultegra Di2 6870 groups and connects via the company's now-standard E-tube wiring system. Battery capacity is the same as with the original SM-BTR1 pack but the tubular shape measures in at a much tidier 155mm length and slim 16mm diameter. At just 58g, the SM-BTR2 is also about 15g lighter than the standard battery – and that doesn't take into account any of the BTR1's bulky mounting brackets, either.
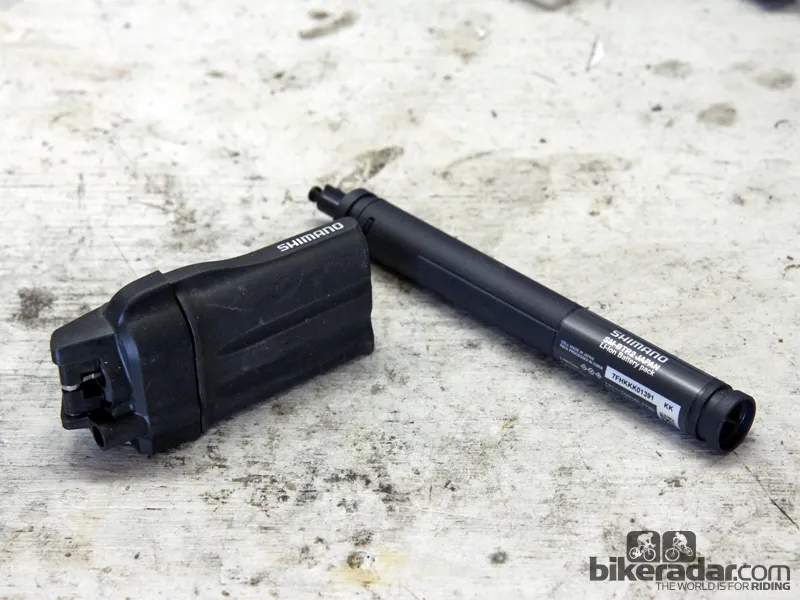
Out(side) with the old, in(side) with the new
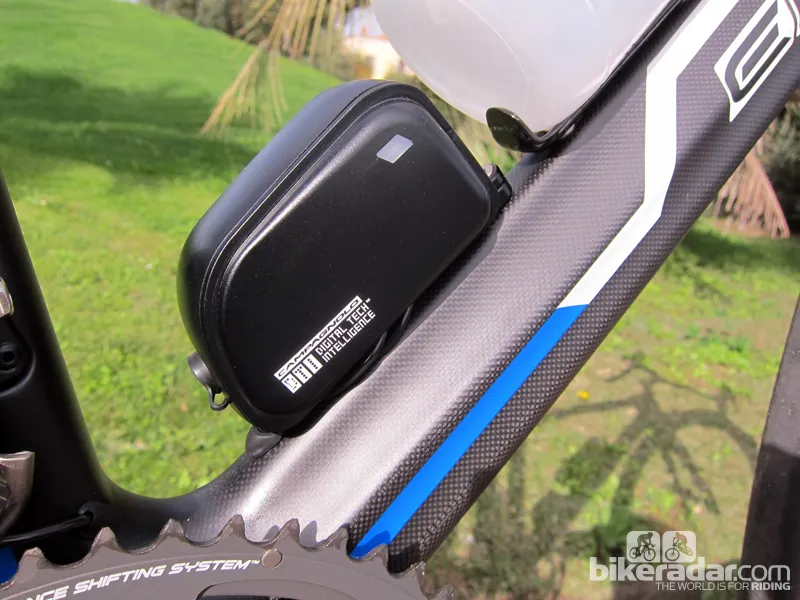
The Campagnolo Version 2 battery uses a similarly long-and-skinny shape. However, given that EPS pairs the power and some of the 'brains' of the system together, it's a noticeably bigger and heavier unit than the SM-BTR2 at 132g, but it still saves 50g over the standard external Campagnolo setup (albeit with a modest 5 percent claimed reduction in battery capacity). Locking the two together also makes it much more expensive, especially when you consider that switching to the Version 2 battery also requires a new, dedicated DTI unit (the bit that's directly connected to the shifters) and – somewhat shockingly – its own dedicated charger, too.
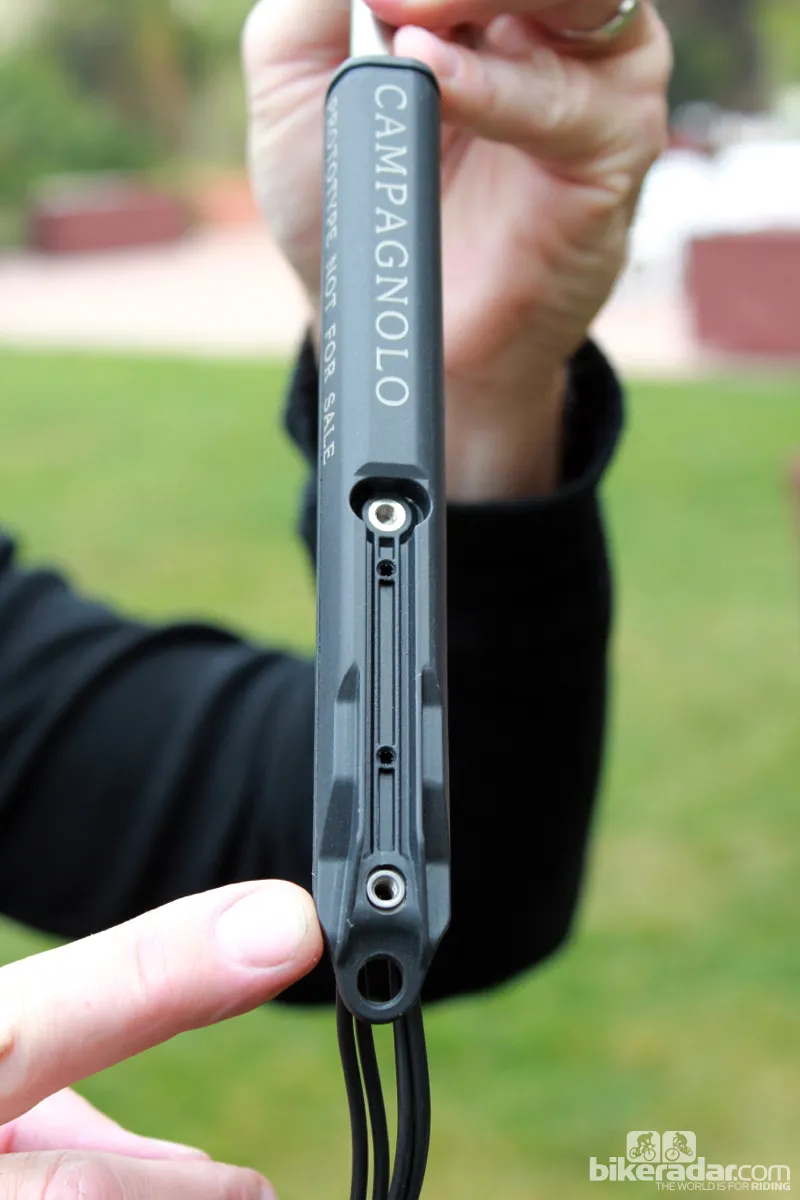
The Version 2 battery and brain combination alone already costs US$585/£400.99 for the Super Record EPS and Record EPS groups and US$480/£326.99 for Athena EPS. Adding in the respective wiring harnesses and charger can nearly double that cost depending on which version is needed.
Aside from Calfee, proven third-party options are few and far between. We've stumbled upon several DIY solutions but given the volatility of inadequately designed lithium-ion rechargeable battery packs – not to mention the potentially disastrous outcome of a battery that bites the bullet inside of your frame – we can't recommend any of them here.
How to mount them
Buying one of the internal battery packs is one thing but installing them is another entirely.
Campagnolo's mounting solution for the Version 2 is convoluted, which perhaps isn't surprising given that it's intended more as an OEM option, not an aftermarket one for people who already have EPS on their bikes.
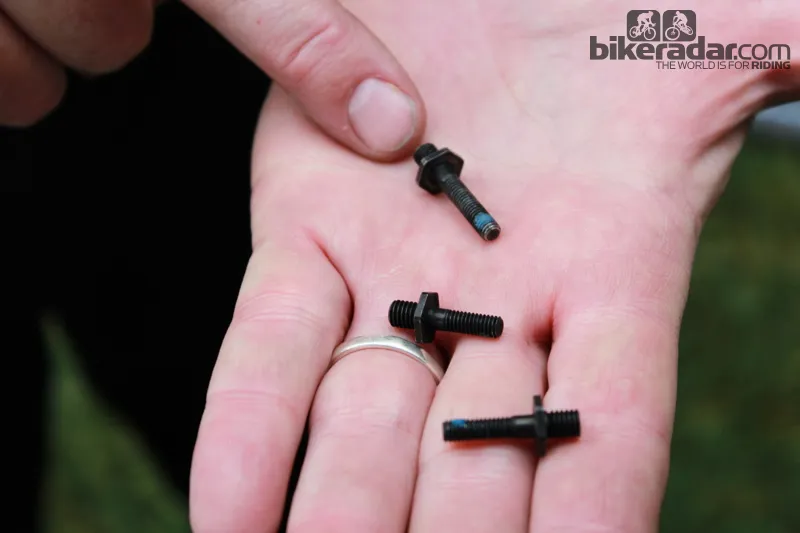
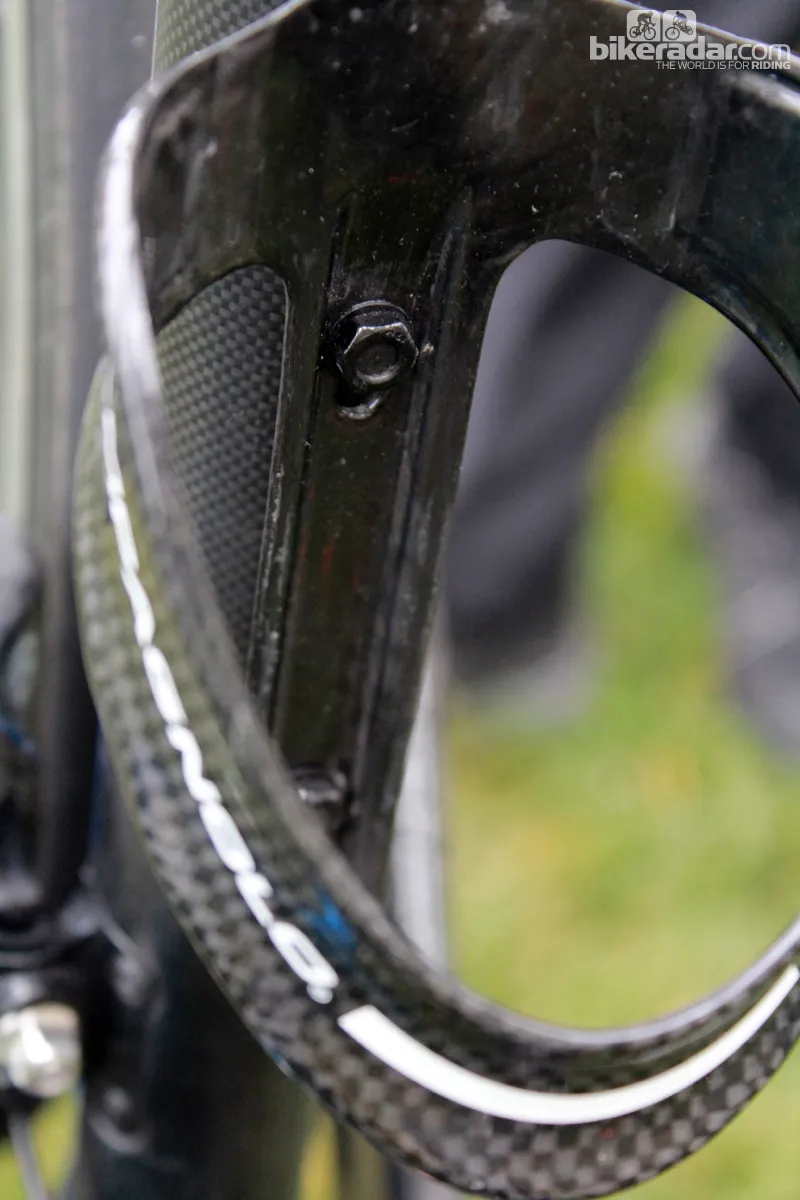
Two threaded holes on the battery housing are designed to line up with custom threaded posts that are inserted through your water bottle bosses. While it will take some wrestling to get everything lined up, once installed the Version 2 should be rock-solid with no rattling provided you've an internal seat tube diameter of at least 26.6mm (and that's not including any space occupied by the water bottle rivnuts).
To feed the wires through the frame, Campagnolo has a magnet-tipped lead wire to reduce the fishing required. Version 2 also requires users to drill a hole in their frame to mount the now-separate charging port – not something for the faint of heart.
Options for mounting the Shimano battery are much more plentiful and given the simpler wiring harness layout, easier to execute as well. Even better, internal setups using Shimano's current E-tube wiring harness can be charged without removing the battery. Instead, you just plug in the E-tube harness to the charger.
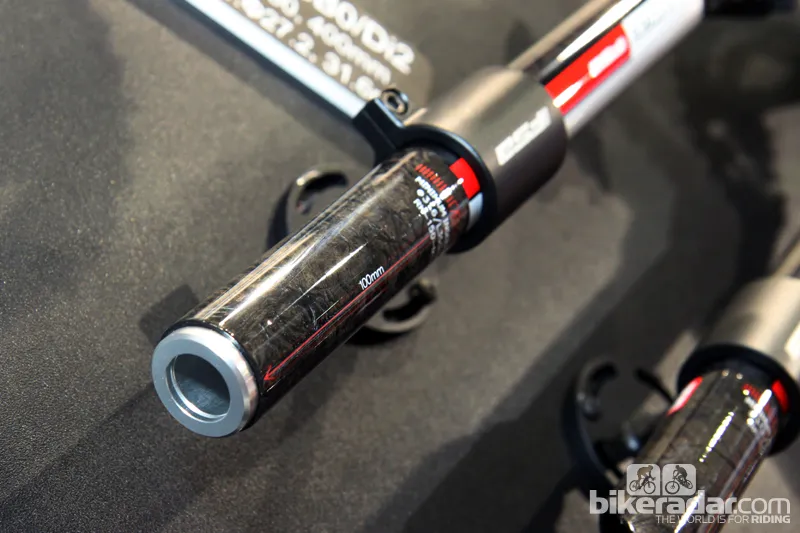
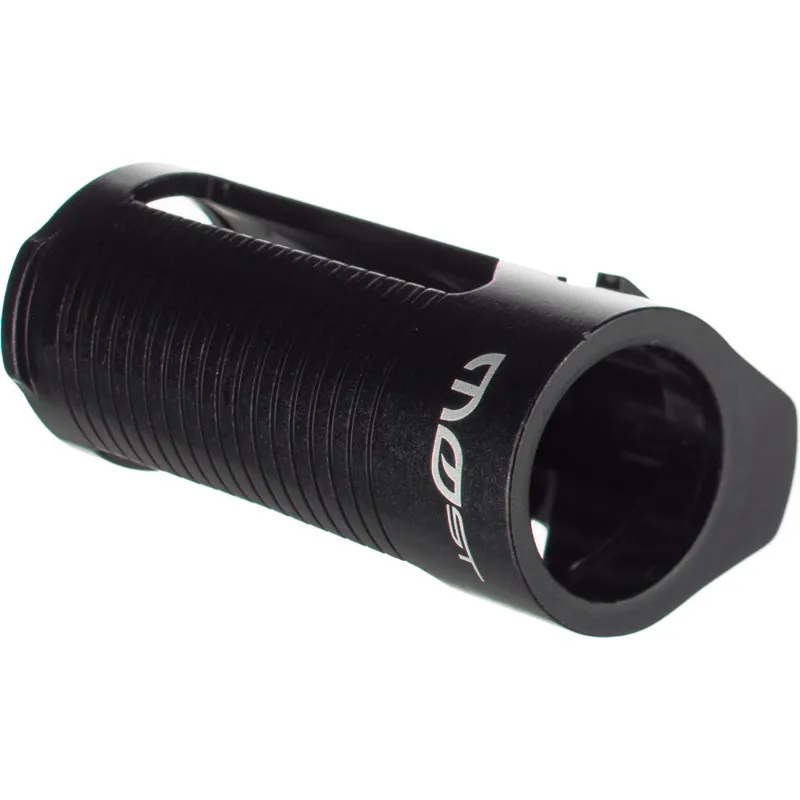
Seatpost mounting choices include factory-ready setups from PRO, FSA, and others that incorporate a precise internal diameter and channels for the locking circlips.
Clever aftermarket add-ons from companies like Ritchey and 3T essentially turn the battery into the seatpost equivalent of a handlebar plug – just sandwich the battery in the plug, then jam into the bottom of the post. While this option isn't quite as tidy as the factory-ready ones, they're also fantastically inexpensive at just US$10-15/£10 and allow a wider range of seatpost options.
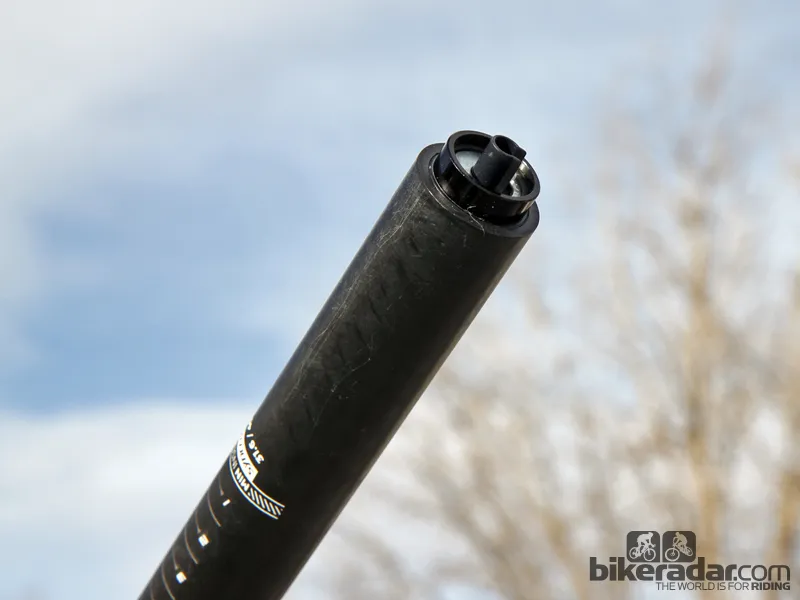
Calfee offers seatpost solutions for hiding your battery
Several bike companies have their own dedicated SM-BTR2 mounts, too, such as Trek for its integrated seatmast-equipped Madones and Domanes, Specialized for its Venge aero road bike, and Pinarello for its Dogma 65.1 Think2. If you're considering going the internal route, check with your bike company first to see if there's a solution already in place.
Finally, there's the good ol' DIY method. Most solutions we've seen involve some degree of foam overwraps and zip-ties in order to wedge the battery in place – somewhere. While these will work, they're not necessarily pretty or elegant. However, seeing as how the battery will be inside the frame, neither of those criticisms will really matter provided everything is safe and secure.
For any of these options, keep in mind that you'll possibly need some new wires given the new battery location, or even an entirely new harness depending on your setup.
Either way, a little bit of work can yield that clean look you've always wanted with a touch less weight as an added bonus. While none of these options are cheap, neither was the electronic transmission-equipped bike you already own. You've come this far so you may as well see things through to the end, right?
