Taking a photograph of a bike is easy, but taking one to be proud of is something else altogether.
Here at BikeRadar we've photographed more bikes than we'd like to think of and we've learned a thing or two along the way. With that in mind, here are several pointers that should help you to get a shot you can't wait to share.
Before you start, it's probably time you cleaned your bike, our guide to bike cleaning shows you how to do a good job and quickly too.
1. Location, location, location
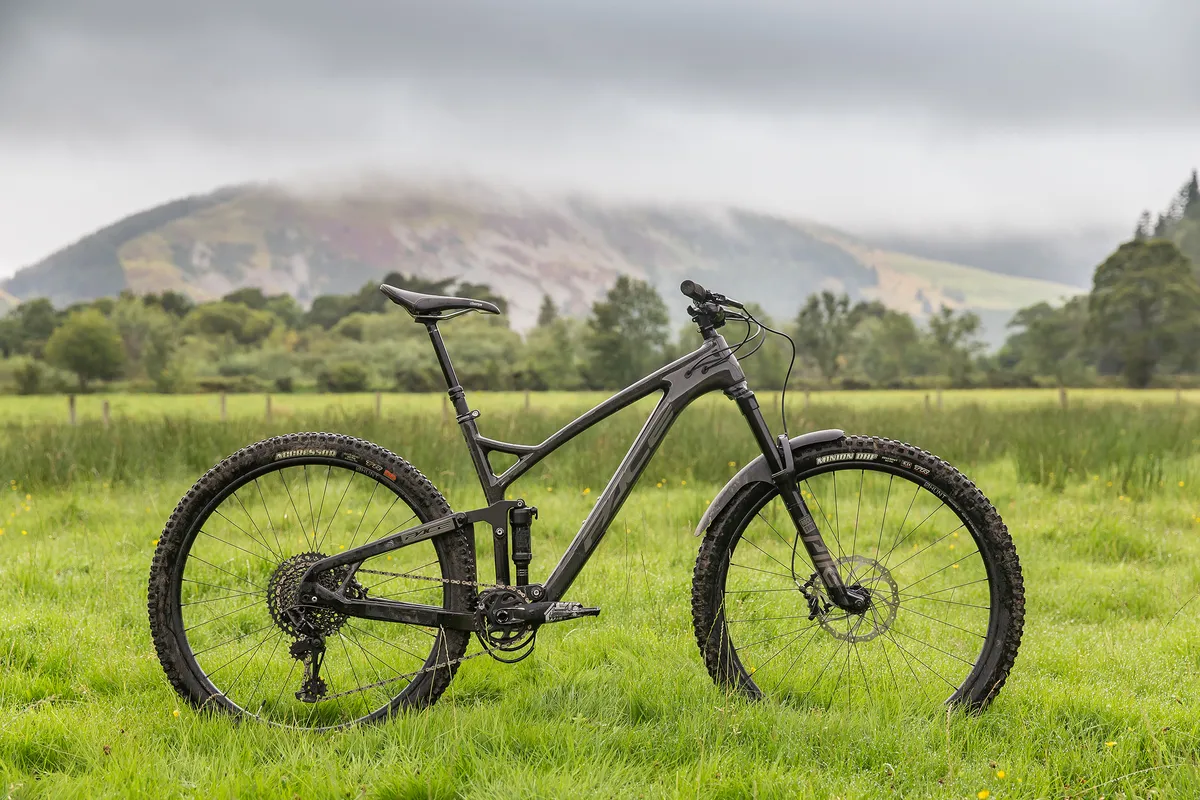
It doesn’t matter how crisp or well framed your shot is, if the location isn’t right then you’ll struggle to get anything other than an average shot. Consider colours, lines and any objects that may detract from the important part – your bike.
Think also about lighting conditions. Harsh light is difficult to manage, can cast hideous shadows and will leave you with a lot of unwanted reflections – for that reason it can often be better to shoot bikes on an overcast day than in blazing sunshine.
Getting up early or staying out later could pay off too. This is down to what photographers refer to as the ‘golden hour’ – a period shortly after sunrise or prior to sunset where daylight is softer and redder.
2. Play with aperture
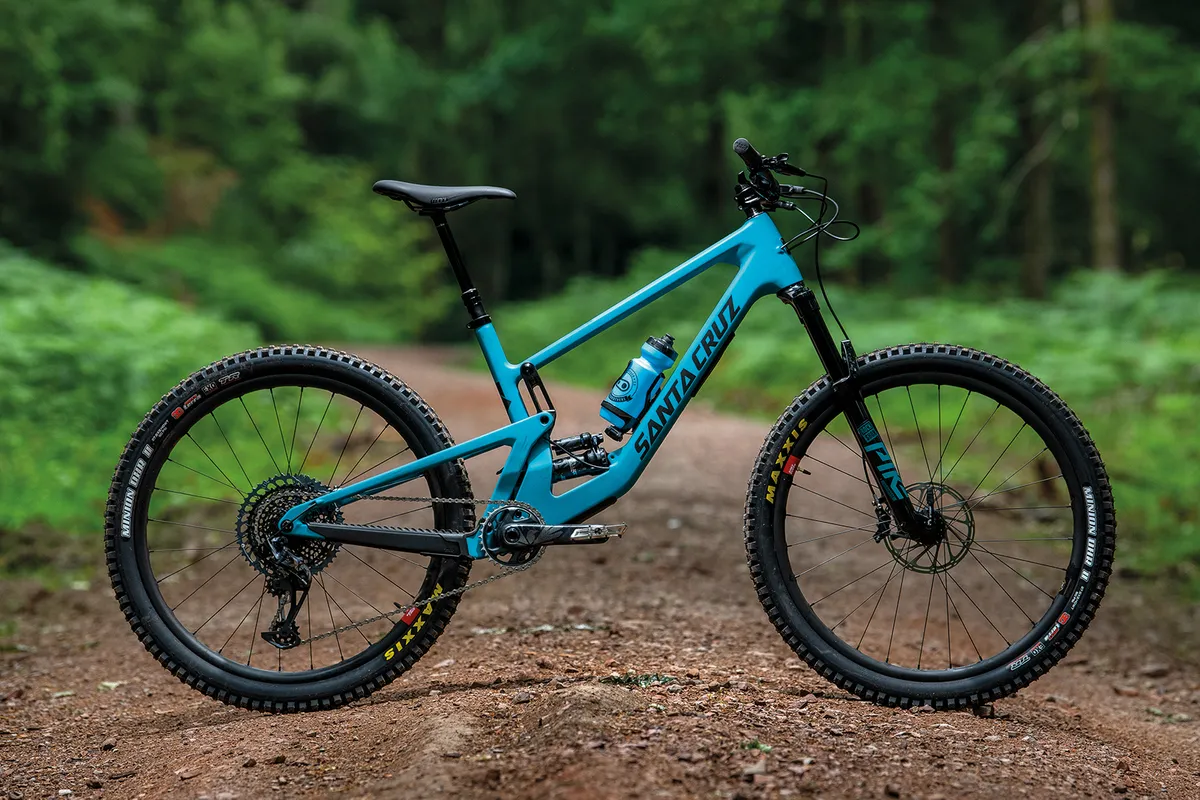
Reducing your depth of field can give your images a more professional look and will allow your bike to really pop from the image.
For those who aren’t geeky with cameras, that’s when the subject (your bike, or part of your bike) is in focus, and the rest of the image is blurred out. The amount you are able to blur out the background in your pic will depend on the hardware you are using.
Traditionally, to get this sort of look you needed an SLR camera and a fast lens, but today's mobile phones use clever technology to replicate such images with modes like Apple's portrait mode.
Although various factors affect the depth of field on your shot, the most easily controlled is the aperture value of your camera's lens.
Most digital cameras will have an aperture priority mode, often abbreviated to A or Av. Once in this setting you'll be able to control the aperture of your shot; the size of the aperture is measured in 'f-stops'.
Simply put, the the higher the f number the more the image will remain in focus outside of its focus point, the flipside being that the lower the f number the more any areas outside of the focus point will appear blurry. Therefore a lower f number equates to a shallower depth of field.
The principle remains the same for a mobile phone. Depending on which phone you have you'll need to either adjust settings within your in-built camera app or perhaps use a different version that gives you manual control over the camera's aperture.
To fully understand aperture and depth of field in photographs head on over to this article from Nikon.
3. Props
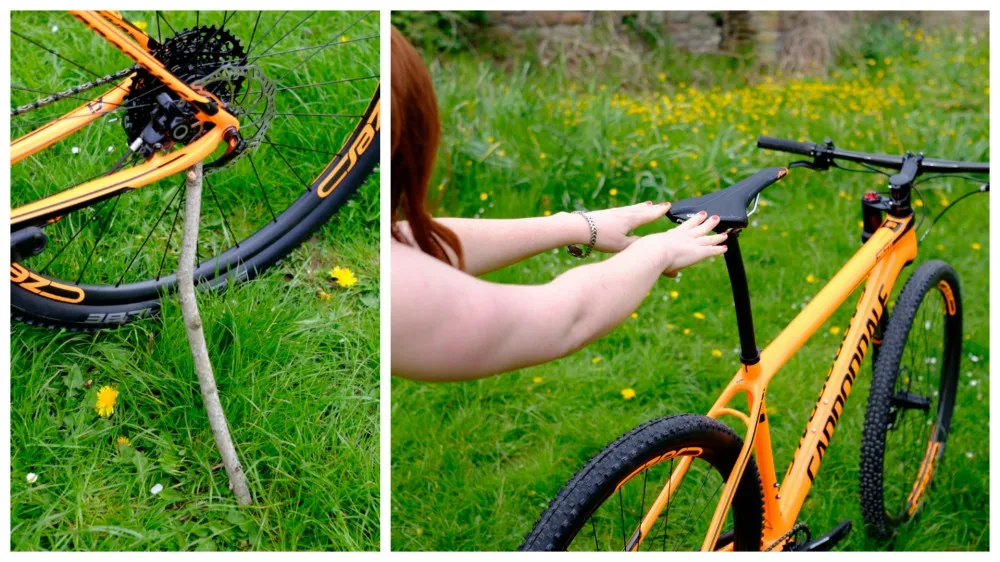
When it comes to propping your bike for a shot, there are a few different methods.
The first is what we call the 1.2.3 – and for this you’ll need a friend.
Said friend reaches in and settles the bike with one hand, usually from behind using the saddle. When the shot is framed and the photographer is ready to fire, the friend then releases their hand from the saddle and pulls back momentarily out of shot.
If said friend is talented in the fine art of balancing bikes, the bike will then free stand – as if by magic – while the snapper gets their shots.
The bike balancer then jumps back into the shot before the subject falls to the ground. Easy! Except it really isn’t.
An alternative is using a prop, and we’ve seen photographers use everything from twigs to clear acrylic rods, and even pedal spanners, to balance bikes for pictures.
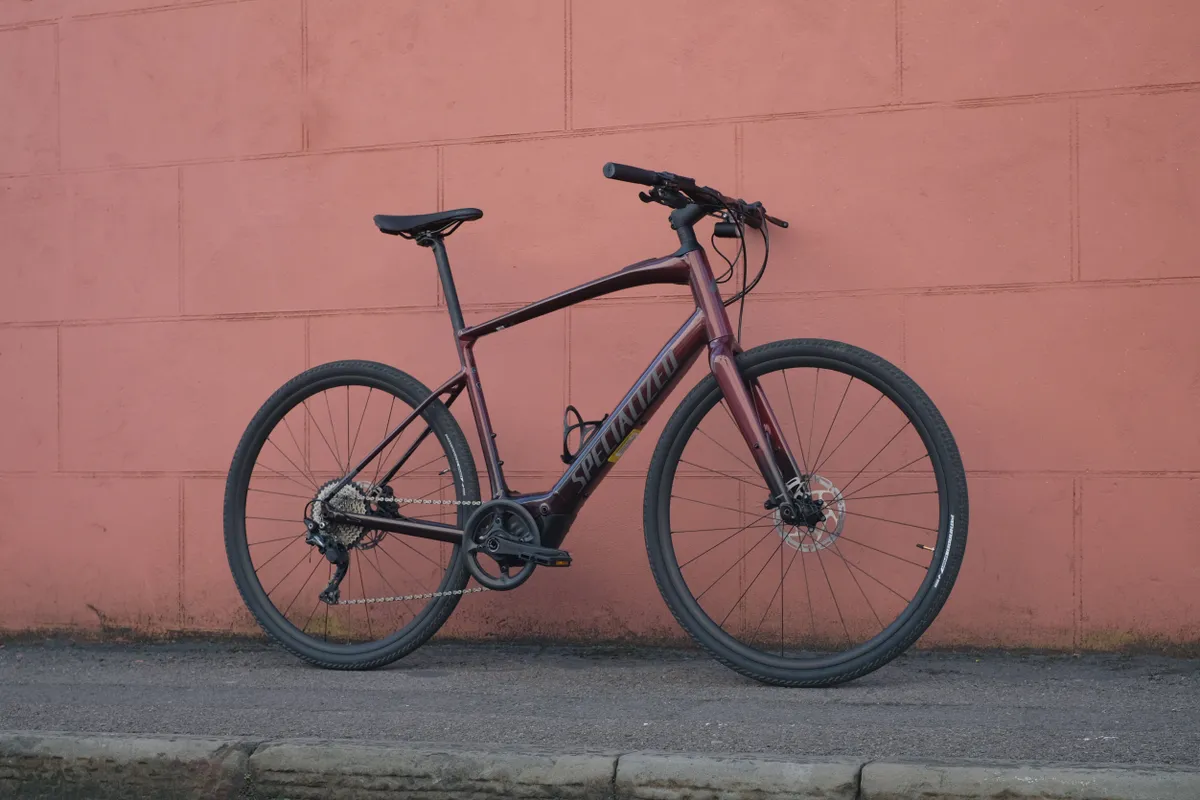
If all of the above sounds like too much hassle, it is possible to take decent pictures of a bike against a wall. The advantages of this method are that your bike will be at minimal risk of falling over and you will not need to dial down your aperture settings as explained in the paragraphs above.
It's essential that you choose a decent wall though. Look for one that doesn't take too much attention from the bike and is generally free of clutter or distractions.
4. Move around
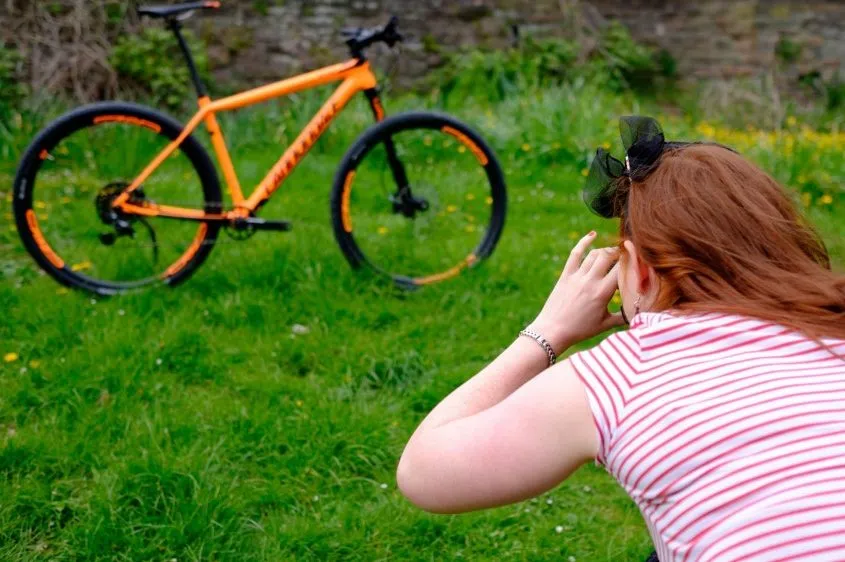
When it comes to snapping bikes, most people simply do not move around enough.
Instead of taking that side-on shot you’ve seen a million times before, why don’t you get low, experiment with different angles, take close-ups of parts that particularly interest you. Experiment, it’s what it's all about.
5. Editing
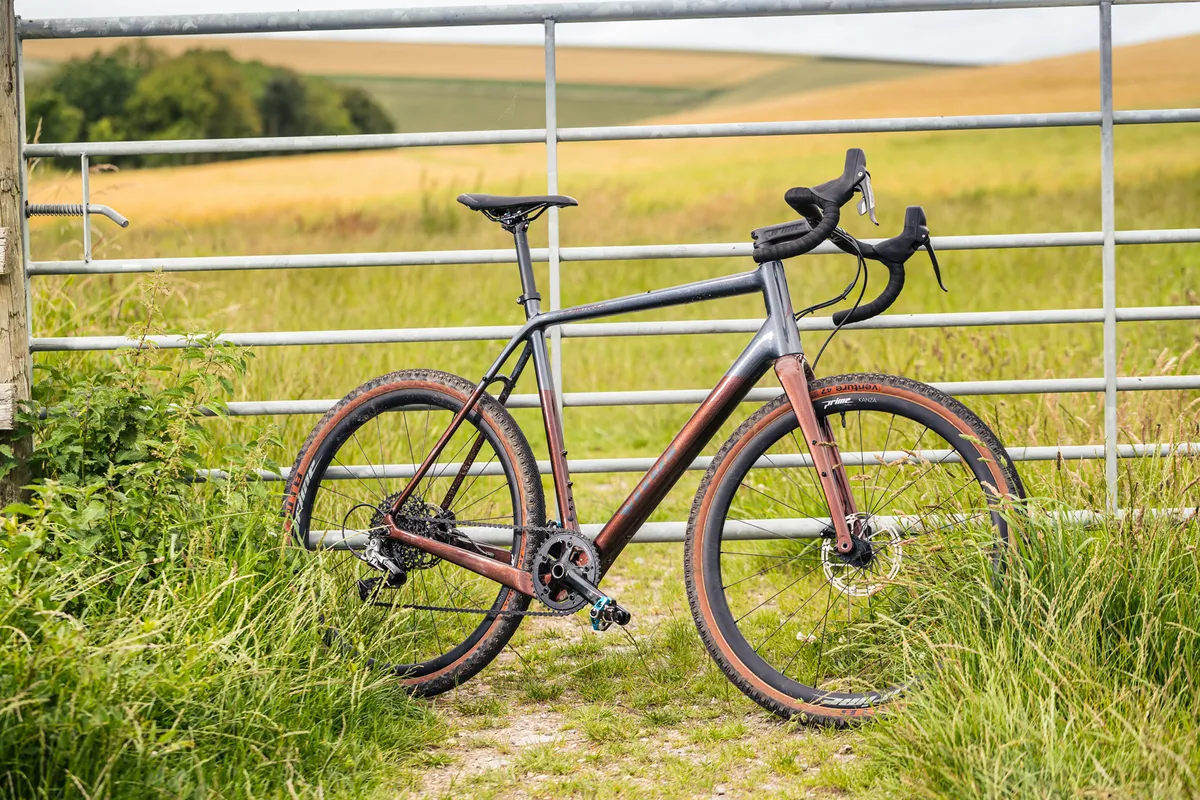
If you want to take your images to the next level, processing them within image editing software can work wonders.
You don't necessarily have to go to the extent of teaching yourself skills on expensive software such as Adobe Photoshop either.
Most mobile phones now include powerful image editing tools within their camera apps, or there's a huge range of free software out there that will be able to process your pictures for you.
Instagram itself allows a user to dramatically change an image that's been uploaded, with options to crop, change colour, tone, saturation and sharpness to name just a few.
The golden rule here is to try and not overdo things. Be subtle with your tweaks
6. Stylistic pointers
Certain things tend to just look a bit odd in a picture – here are a few tips we’ve picked up from years of snapping bikes:
- Shoot from the driveside – bikes look strangely incomplete when shot from the non-driveside, meaning the drivetrain is largely hidden from view.
- Crank position – some photographers swear by level cranks on a bike, but we tend to keep the driveside crank arm so that it runs parallel with the bike’s chainstays.
- Gear choice – if you’ve got a big ring at the crank then make sure the chain is on it, and we tend to place bikes about halfway through their cassette in pictures.
- Handlebars – and therefore wheels – should be straight.
- Clean or dirty – mountain bikes can look great with a bit of mud on them, but there’s a fine line between looking cool and looking cack. Road bikes rarely look good when unclean.
- Look out for the position of any quick-release levers – you’d be amazed at how messy it can look if there's one sticking out from the fork at a jaunty angle.
- Saddle height – if you've got a dropper post then don't forget to raise it from a slammed position or perhaps drop it a little from full extension.
- Bike needs to stand level – if it's leaning to one side you’ll end up with odd-looking geometry.
- Valve stems – some people do go as far as to position their tyre valves in a particular position.
