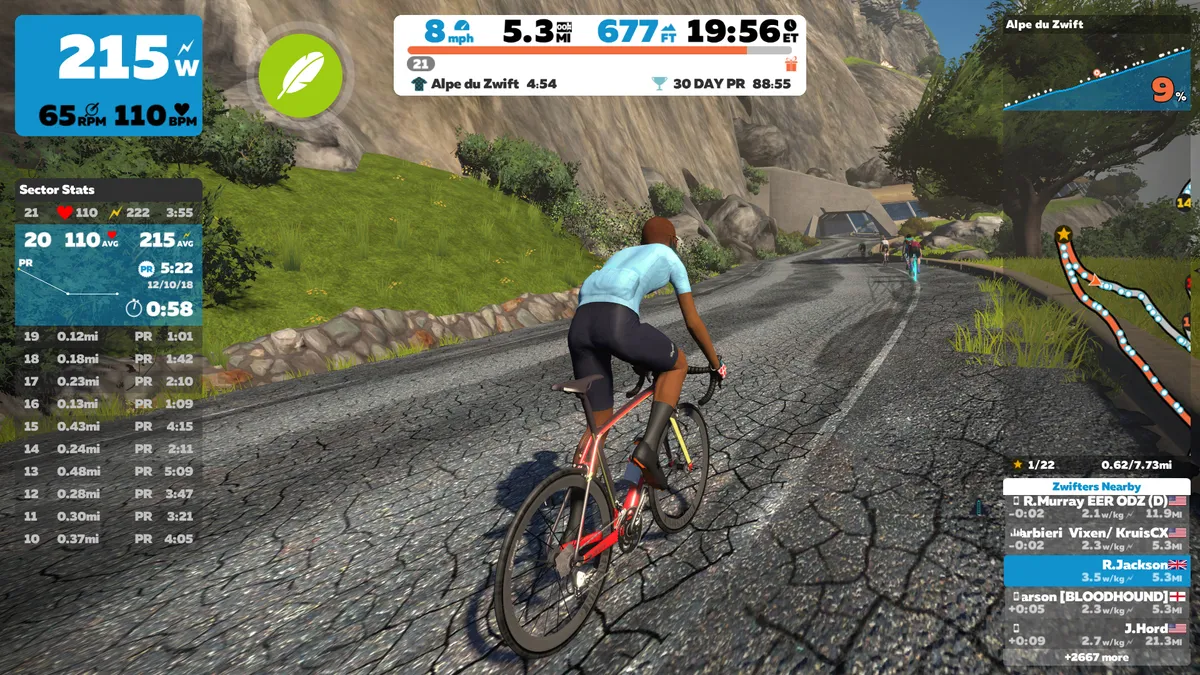
Smart trainers have revolutionised indoor training, allowing us to experience immersive training and racing platforms such as Zwift from the comfort of our own homes.
We recently tested ten of the best smart trainers on the market, so if you’re new to the indoor training world, don’t forget to check out our round-up.
Like any technology though, you need to know your way around a smart trainer to get the most out of it. So, with that in mind, here are seven tips to keep everything running smoothly.
How to sign-up to Zwift
Visit the Zwift website to sign-up for a free 7-day trial. After your trial period ends, Zwift costs £12.99 / $14.99 per month.
Don’t forget to calibrate your smart trainer
Just like an on-bike power meter, your smart trainer’s power readings can be affected by movement, changes in temperature or air pressure, and general use.
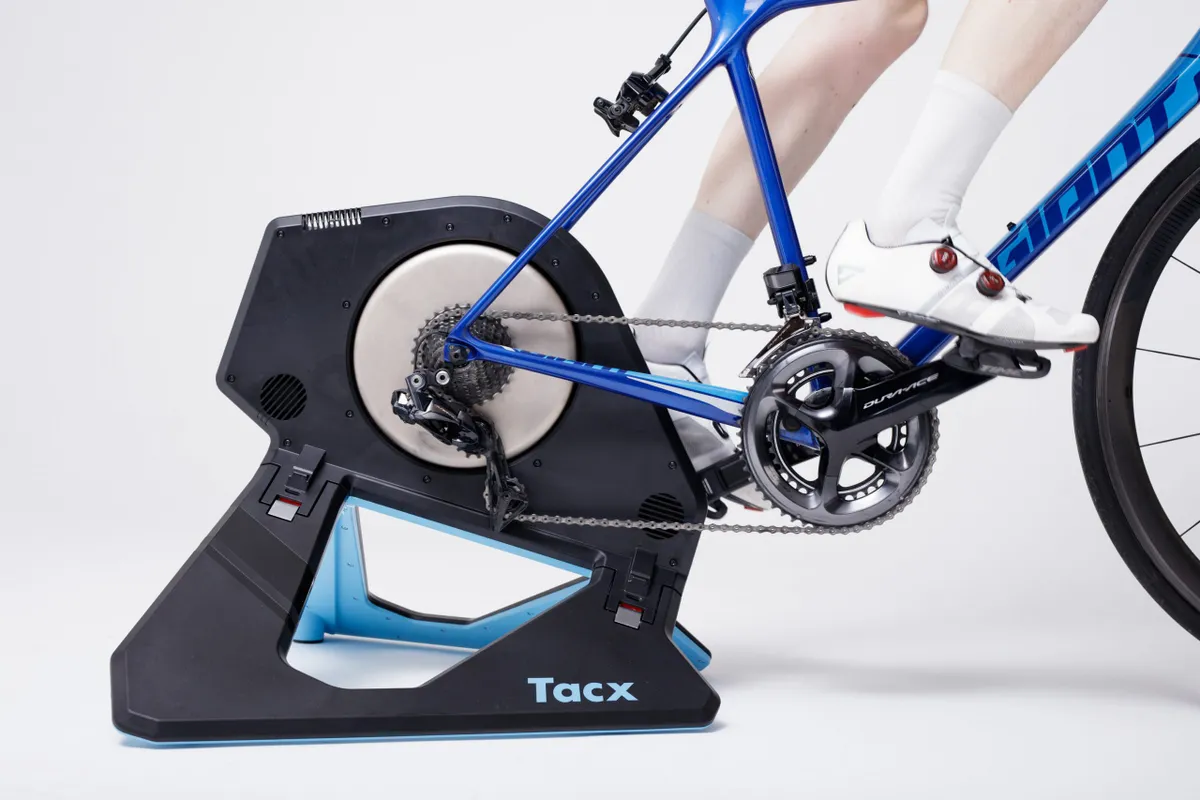
Manufacturer recommendations will differ on how regularly you need to calibrate (perform a zero-offset) your specific smart trainer (Tacx says its Tacx Neo 2T Smart, for example, doesn’t ever need to be calibrated), but it makes sense to do it regularly, especially if you’re moving it around for storage or swapping between different bikes.
Luckily, performing a zero-offset is very simple and should only take a few minutes. Compatible smart trainers can be calibrated in Zwift – find your trainer on the devices page, then click the wrench under ‘Power Source’ and follow the instructions – but each brand will have a slightly different protocol (many use branded smartphone apps), so it’s worth checking the manufacturer’s website for instructions.
While you’re in the manufacturer’s app for your smart trainer, you can also check for and download any firmware updates, in order iron out any bugs in the software and make sure you’re getting the best experience.
This is particularly important if you’re using a wheel-on smart trainer. These trainers rely on translating the friction between the roller and your back wheel into power data, rather than measuring it directly, and consequently have a slightly wider margin for error.
Understandably, a key factor in this equation is having your rear tyre consistently pumped up to the correct pressure, so don’t forget to stay on top of that too (refer to the manufacturer's guidelines for recommended pressures).

Keep pedalling
When following Zwift workouts, you can choose to use your smart trainer in ERG mode (short for ergometer) mode to ensure you’re hitting the target wattages.
Your smart trainer does this simply by increasing the resistance required to turn the pedals, so if you coast just before a hard interval, the resistance can be comically difficult to overcome when you start pedalling again.
If this does happen to you accidentally, don’t worry – Zwift will simply disable ERG mode temporarily so you can bring your cadence back up to the correct range again. It’s better if you can hit the start of the interval with a good cadence from the start though, so try to hold a consistent cadence throughout the workout.
It’s also a good idea to keep pedalling during rest intervals. Active recovery promotes increased blood flow and helps you get ready for the next interval of effort.
You can adjust the difficulty
If you’re finding the courses on Zwift a bit too hard (or too easy!), you can adjust the resistance of your smart trainer in-game, on the go.
Under the settings page, you’ll find the Trainer Difficulty slider. Simply move the slider to the left to make climbs a bit easier and vice versa.
The default setting is midway between “Off” and “Max”, which means Zwift simulates 50 per cent of the resistance you’d find by riding the climb in the real world. So, for example, if Zwift says a climb is 20 per cent in game, it will feel like riding a 10 per cent road climb on the default setting.
We’re not talking about e-doping here. Changing this setting doesn’t change how far or fast you ride in game (this is still calculated by the power you generate), simply how the climbs and descents feel.
Likewise, if you’re doing a workout with your smart trainer in ERG mode, this won’t make your intervals any easier.
If you’re having a tough day (or a really good one!), you can adjust the difficulty of a workout mid-ride by using the up and down arrows on screen, or on the Zwift Companion app.

Plan your session in advance
Smart trainers can undoubtedly help make your indoor training experience more enjoyable, but it’s still advisable to have some sort of plan with how you’re going to spend your time in saddle.
If you’re aiming to get fitter, you could try one of many workouts that most interactive training apps offer, or even sign up for a training plan.
There are also loads of events taking place on Zwift every day, from group rides and workouts to races and gran fondos. Just head over to the Events page on the Zwift Companion app and you can sign up.
When the event is about to start, Zwift will automatically transport your avatar to the start line.
Focus on your form
Training on a smart trainer is an ideal way of training for different kinds of events, such as sportives, road races or time trials.
It’s not all about the raw numbers though – don’t forget to focus on your form.
The most obvious example is if you’re training for time trials. Use your time trial bike and try to spend as much time as possible in the aero position. Keep your shoulders shrugged and your head low (while still looking ahead, of course), and try to stay relaxed in your upper body. Let your legs do the real work.
Likewise, when you’re on your road bike, keep your head up and don’t let your shoulders bunch up around your ears. Focus on breathing properly, apply the power smoothly and keep your form intact.
Don’t forget to get out of the saddle and stand up on the pedals every now and then too. Not only does this help better simulate how you would ride in the real world, it can also help to prevent any saddle discomfort that might result from sitting in one place for extended periods of time.
These are small details, but they’ll add up to a big difference when you’re out on the roads again.

Troubleshoot your connection
Occasionally, WiFi and other wireless networks can interfere with your trainer signal and cause connectivity issues, possibly leading to frustrating power dropouts in the middle of intervals or races.
There are a number of things you can do to troubleshoot your setup though.
Many smart trainers support both ANT+ and Bluetooth, for example, so if you’re having trouble with one, try using the other to connect your smart trainer to the screen you’re riding on.
If that doesn't solve your problem, it’s worth getting an extender lead for your ANT+ dongle. Moving the dongle closer to the data source, where the signal is strongest, will usually help you get a stable connection.
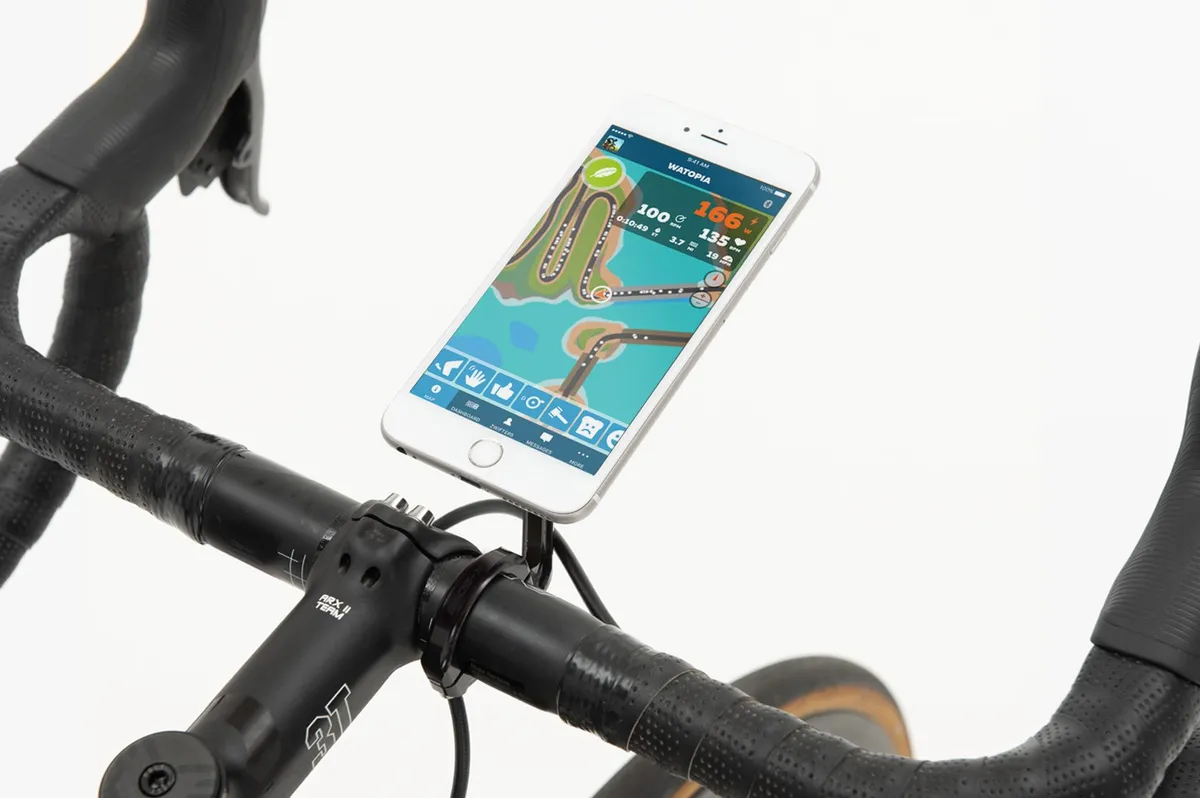
Apple TV users might have noticed that it only allows you to connect two Bluetooth devices at a time. If you need to connect a third though, such as a heart rate monitor or cadence sensor, you can use the Zwift Companion app as a bridge.
If you have a power meter, use it
If you’ve got a power meter on your bike, it’s also worth considering pairing it to Zwift at the same time as your smart trainer. Simply select your power meter as ‘Power Source’ and the smart trainer as ‘Controllable Trainer’.
Thanks to Zwift’s power matching feature, it can use your power meter as the data source to drive both your avatar and the resistance of the trainer in ERG mode.
If you’ve got a lower end smart trainer, your power meter will likely have a tighter margin of error, so you’ll get more accurate data.
It’s not just about accuracy though. Even if you have a high-end smart trainer, each power source will measure the torque differently so the outputted numbers can vary slightly, even if they’re both properly calibrated and performing as intended.
Using the same measurement device for all of your training should help to make sure your data is consistent on every ride, inside and outside.

