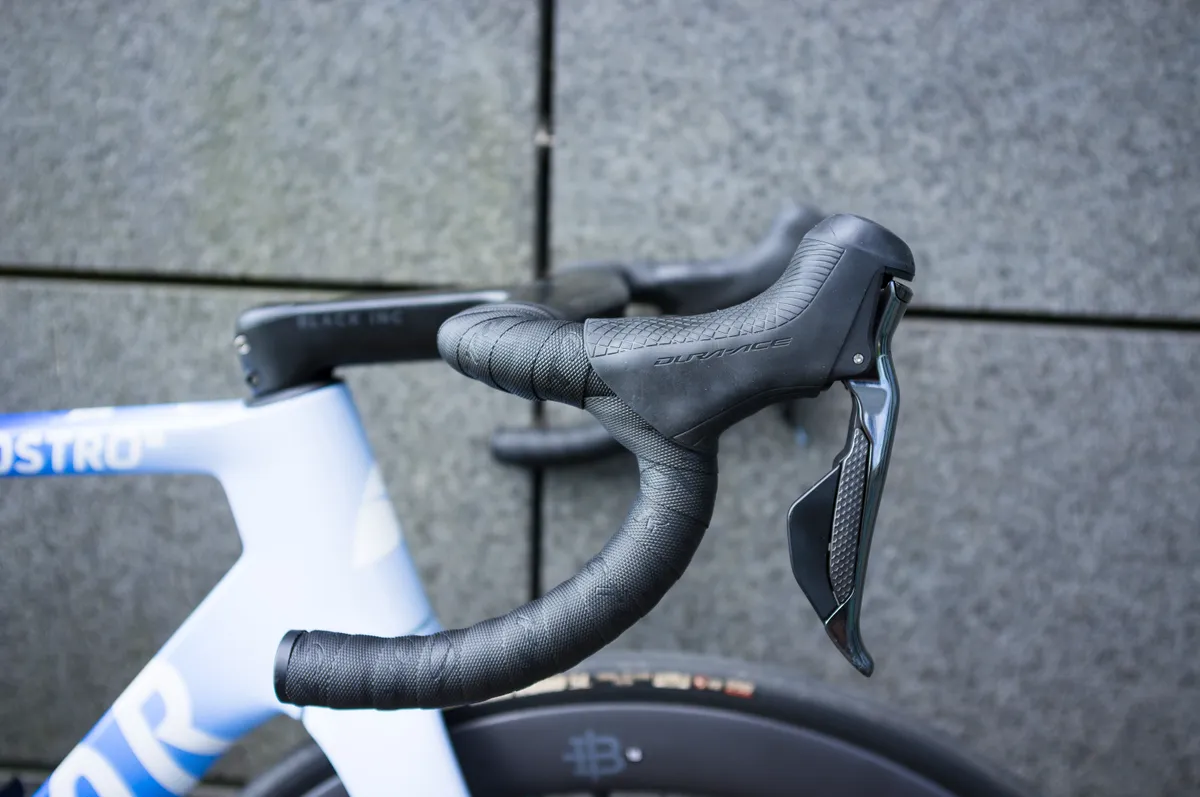
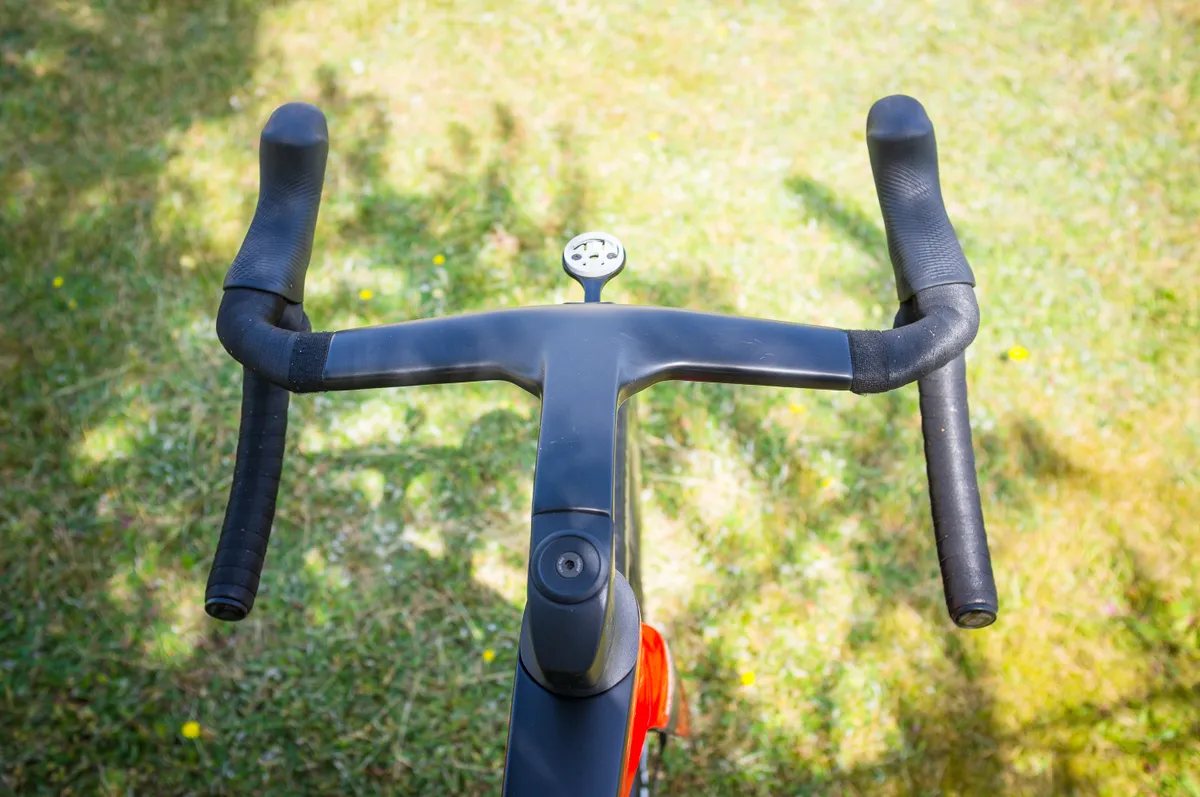
The handlebar is one of the most important components on your road bike. Along with your saddle and pedals, it's one of the three major contact points and, crucially, it controls your steering and how the bike handles.
The handlebar also plays a role in determining your frontal area and, as a leading edge (in aerodynamic terms), is often a prime suspect for an upgrade on performance road bikes, with many riders also tempted by the thought of adding a little more carbon to their bike.
The best road handlebar for you should offer a comfortable transition between the tops, hoods and drops, and a drop shape you are capable of using effectively. Being able to use the drops is critical, as it offers the greatest leverage possible on the brake levers when descending.
However, the wrong setup could lead to pain on the bike, including neck pain and back pain, as well as the risk of developing more serious issues such as handlebar palsy or ulnar neuropathy (numbness of the two smallest fingers due to compression or traction of the ulnar nerve as it passes across the wrist into the hand, with or without hand muscle weakness).
Like bike saddles (but unlike pedals), all bikes come with a handlebar, but the only real way to find out which size, shape and type works best for you is to try out a number of different options, either at home or with the help of a professional bike fitter.
However, we'll get you in the right ballpark with this guide to handlebar width, shape, setup and material.
How to choose the width of your handlebars
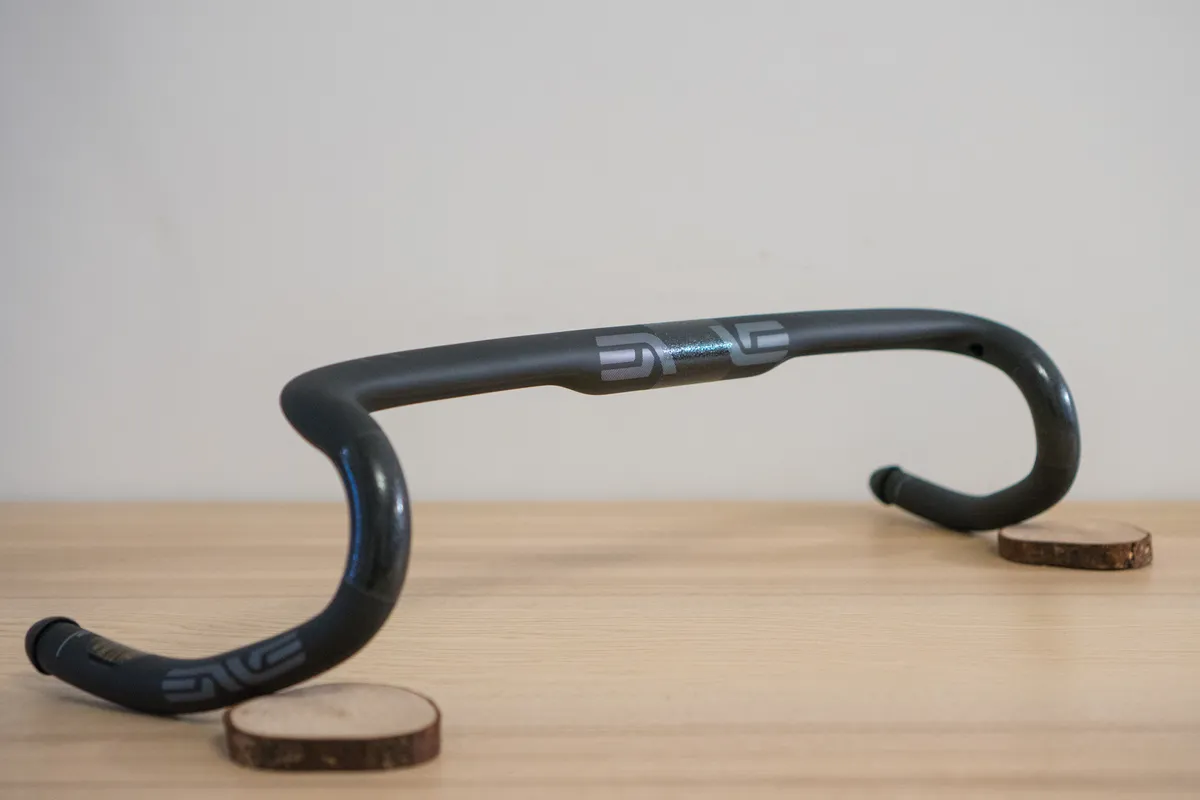
It's often said handlebars should match shoulder width, though in reality too much fuss is made about the importance of shoulder width when choosing a bar.
While it may be a decent starting point (as we'll come on to), sizing handlebars using this method isn't likely to result in an optimal setup for most riders.
Off-road, for example, handlebars have become increasingly wide in recent years as riders look for increased stability on rough terrain. The same applies on the road, where a broad handlebar slows down steering and can offer stability and confidence to an inexperienced rider, regardless of their size or shoulder width.
Riders looking to take on mixed terrain, rough roads or gravel tracks may also look for a slightly wider handlebar, or one with flared drops (common on gravel bikes).
Wider bars may also help riders who suffer shoulder tension, neck pain, jaw pain or hand fatigue from the 'death grip' they have due to riding narrow bars. This can be most notable on many women's bikes, which often come stock with narrow handlebars to suit narrow-shouldered riders.
However, for more experienced riders, or riders with a naturally slimmer grip, narrow handlebars can offer some benefits. If you find your wrists splay outwards to the brake hoods, you might consider trying a narrower bar.
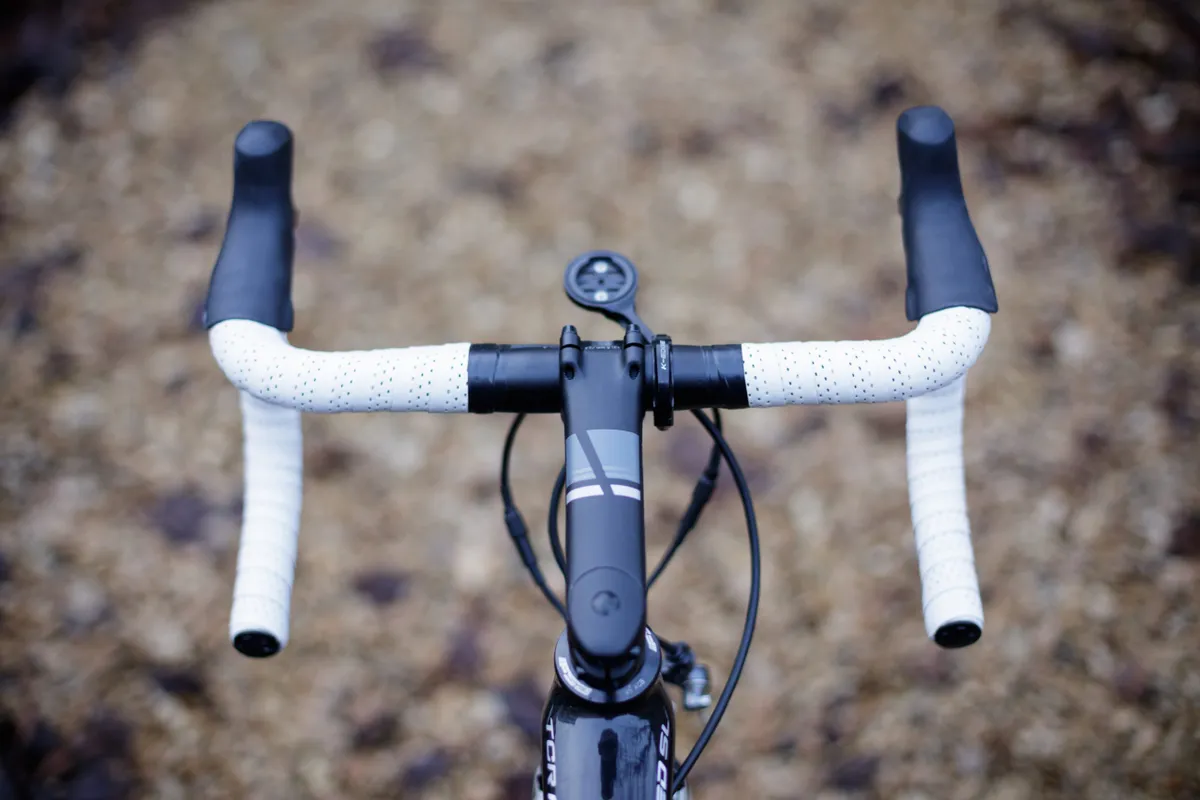
Handlebar width can have an impact on your aerodynamic drag, too. In general terms, narrower equals faster.
If you're currently riding 44cm bars and would like a little free speed, consider moving to 42cm or 40cm bars, for example. Likewise, if you're currently using a 42cm or a 40cm bar, you could try a 38cm or even a 36cm bar (the 32cm bars Jan-Willem van Schip uses might be a little extreme for most amateurs though).
Assuming you get on with them in terms of comfort and control (that, of course, is vital), a change of handlebars can be a better-value upgrade than a new bike or a set of fancy road bike wheels. If you're racing, it can also make moving through the bunch a little easier.
How to choose the shape of your handlebars
It took a long time, but around the early 2000s manufacturers finally realised that the bulk of bike sales are not made to elite bike racers.
Until that point, most bikes catered to the racing fraternity, with short head tubes combined with bar and stem setups that were thought to offer the most aerodynamic position possible when riding in the drops.
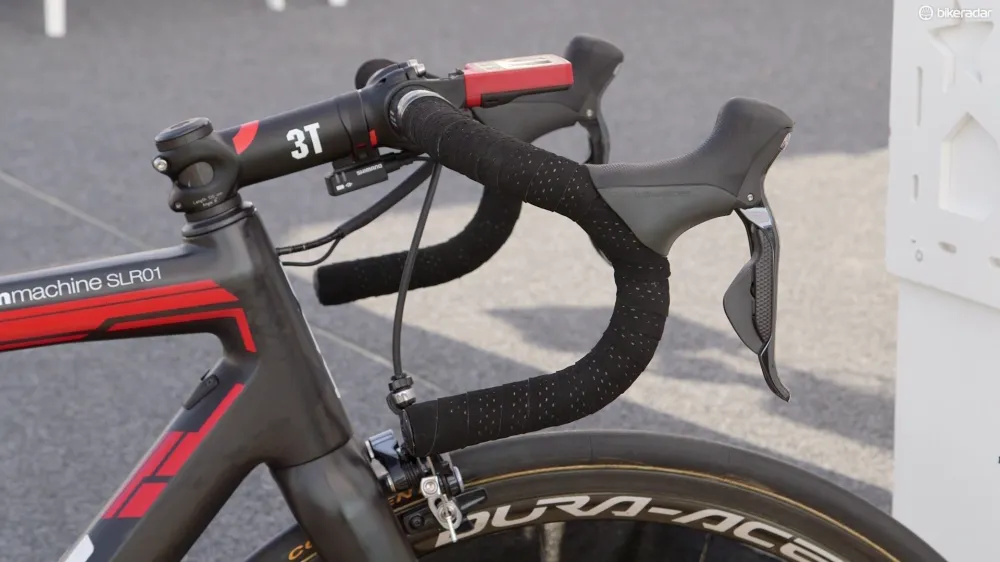
Drop and reach were usually deep and long, the idea being that the more stretched out you were, the faster you'd go.
This all changed when FSA and 3T offered up the Omega and Ergonova handlebars respectively, triggering a trend of short-shoulder, shallow-drop (or 'compact') bars on new bikes.
This more ergonomically considered hardware, especially when paired with 'endurance' bike geometry, allows even the most dedicated office worker to be comfortable on weekend rides when on the hoods. It also puts the drops in a much more realistic location for the average cyclist.
As already noted, this is crucial because it's the point where brake leverage is maximised, which is vital for safe descending.
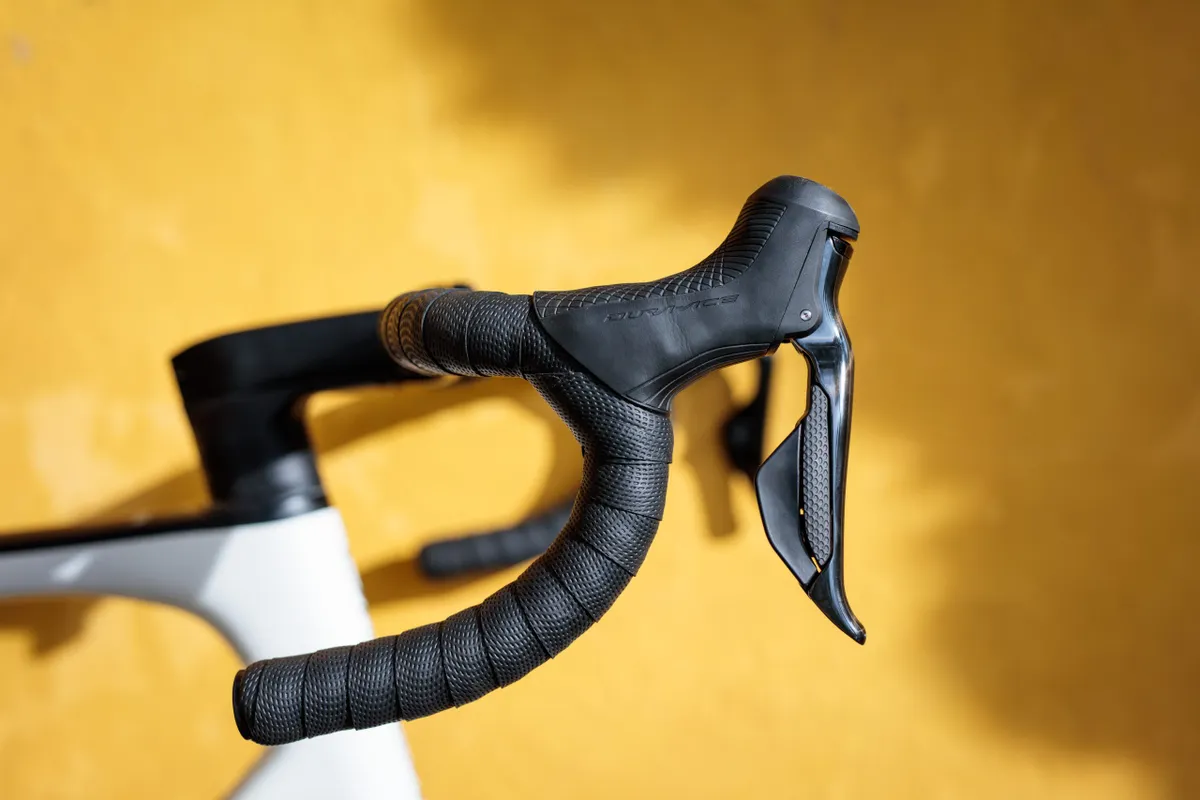
For those interested in riding fast (or with a little less effort), wind tunnel testing has shown that riding on the hoods with your elbows bent and horizontal forearms is similarly aerodynamic or, in some cases, even more so than using deep drops.
As we've seen in time trials, the goal is no longer to simply get as low as possible, but to get into a compact and sustainable position that allows you to keep you head in line with your torso. This is why we see some of the fastest riders in the world with a healthy amount of stack height on their handlebars nowadays.
Should you opt for flared bars?
Some manufacturers are starting to introduce a small amount of flare to their handlebars. This sees the drops measure slightly wider than the measurement between the hoods. It's a popular trend with gravel bike handlebars, but the flare on road handlebars is more subtle.
If you opt for a road handlebar that is slightly flared, it's worth checking how your shifters interact with the particular bar, because it can negatively affect the ergonomics.
How to set up your road bike handlebars
Road bike handlebars can dramatically affect your comfort and control on the bike.
Most riders will likely be better off with compact bars and a longer stem rather than a shorter stem with a bar with long reach and deep drops. Opting for the former gives easy access to the controls when riding on the tops, as well as improved bike handling, a good torso posture, and easy access to the brake levers when riding in the drops.
If you’re new to road cycling, start with a bar that's slightly wider than your shoulders, then aim to get narrower as your skills improve.
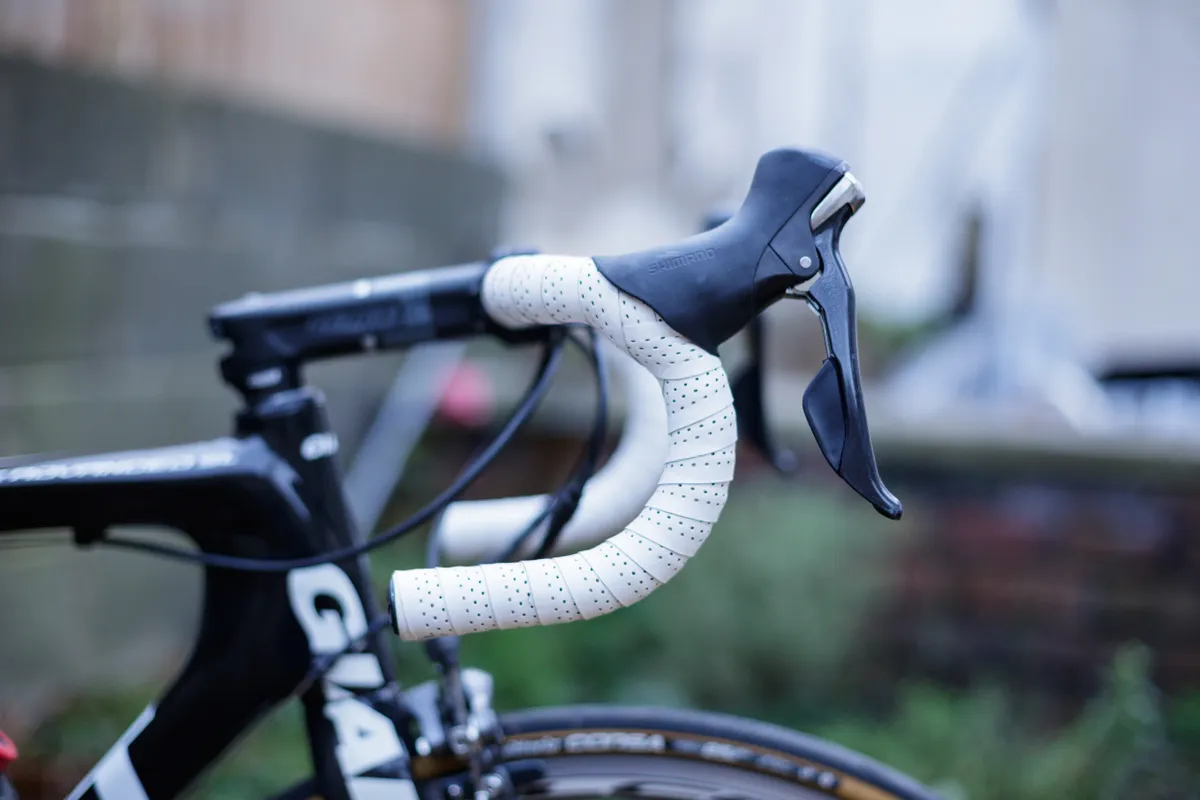
You should position your hoods so there is a continuous, level surface from the bar's shoulder onto the hoods.
Make sure the transition from the bar shoulder/hood surface is a degree or two up from horizontal. This allows a good platform for the hand and puts your wrists in a far more natural position when reaching for the controls.
Handlebar tape also has a huge impact on hand pressure and fatigue. We recommend cork or other easy-to-grip tape. Gel inserts can also be used to absorb road vibration, but make sure they are positioned such that they don't cause pressure points.
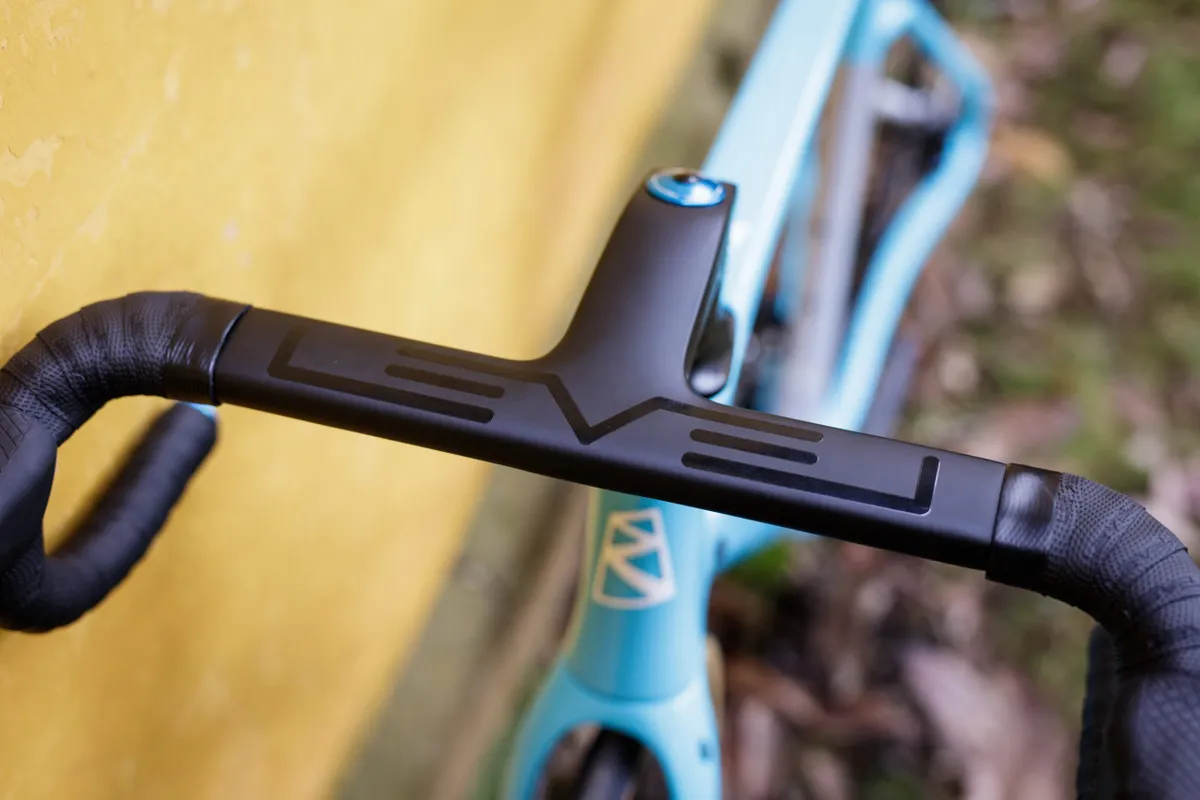
In terms of overall fit, the height of your handlebar can have an impact on your road bike position. Raising the handlebar will reduce reach, while lowering it will increase reach and put you in a lower, more aggressive riding position. We've got a separate guide on adjusting handlebar height.
When it comes to bar selection, it’s usually best to avoid anything too fancy if you want any flexibility in your setup. Full carbon integrated bar-stem units may save a few watts and get the conversation started at the coffee shop, but because their position is fixed, they are a bike fitter’s nightmare.
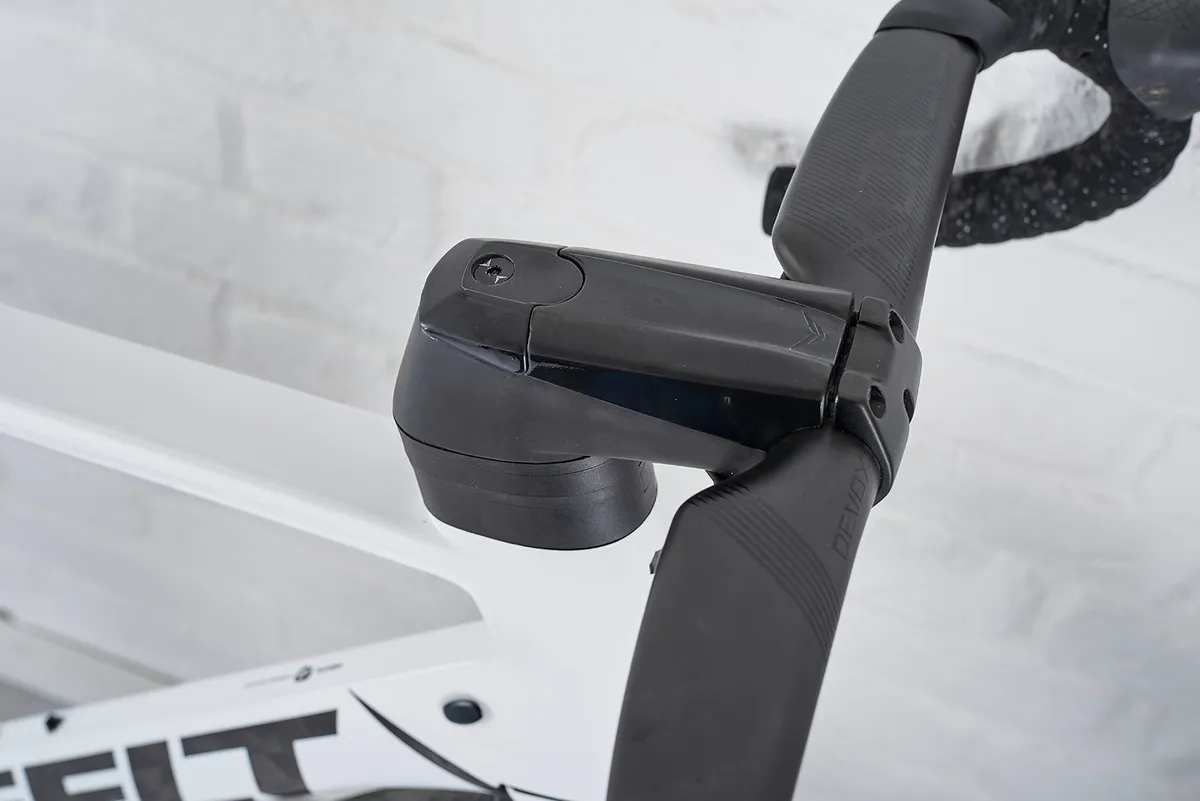
Anything aerodynamic might also neglect ergonomics – those with smaller hands might find the flat top section of a wing-shaped handlebar uncomfortable – and if the internal cable routing hasn't been smartly thought out it can create serious hassle for mechanics, and even negatively affect shifting quality if not set up properly.
It’s for this reason we've started to see many brands (including Giant, Specialized, and Felt) moving back to semi-integrated handlebar setups on aero bikes.
Carbon vs aluminium handlebars
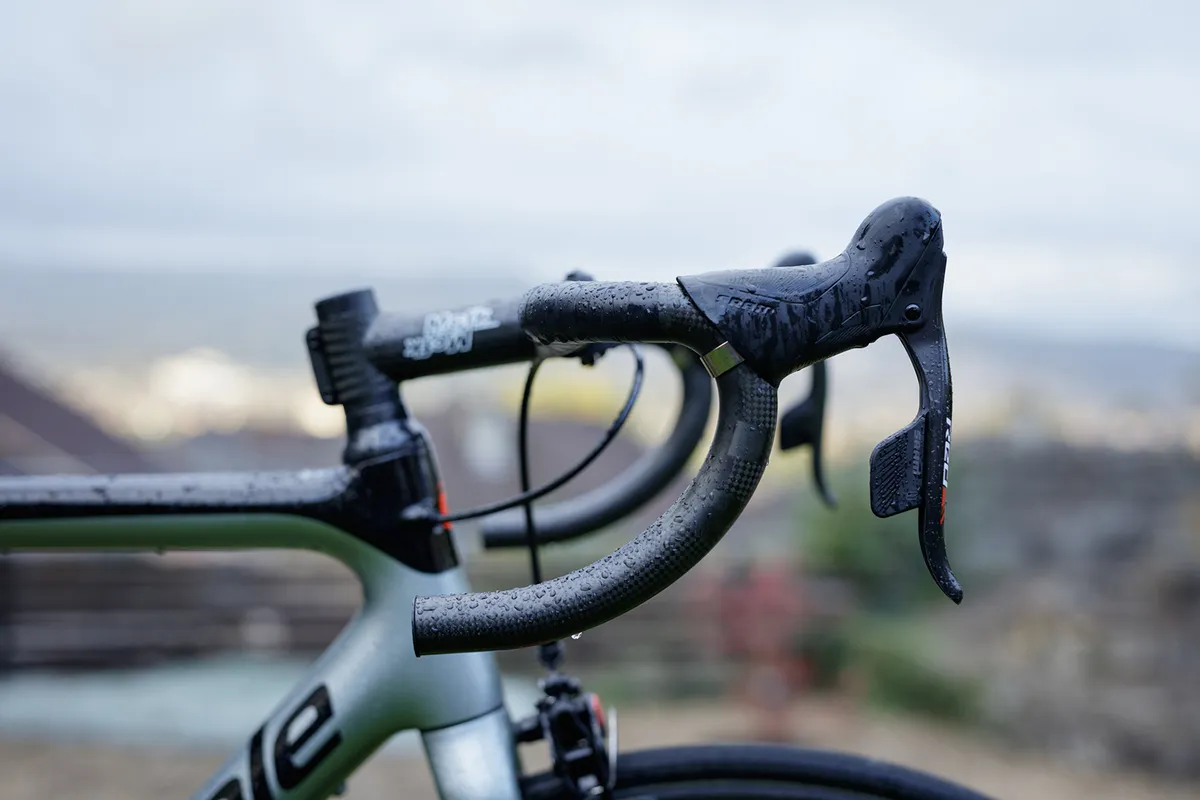
Carbon handlebars are becoming an increasingly common sight on high-end road bikes. It's easy to see why in some senses. As well as undoubtedly looking cool, carbon can be moulded into whatever shape a manufacturer likes and it also has the potential to shave off a little weight. Carbon also naturally dampens vibrations, so it can be a more comfortable option.
However, as we explained in this video on expensive road bike upgrades you don't need, if you haven't got carbon bars, don't feel you should rush out and buy some.
For the relative cost, the weight saved by switching to carbon bars is fairly minimal and humble aluminium bars offer essentially the same performance at a much lower cost. An aluminium handlebar is also less likely get damaged beyond repair in a crash.
Thanks to advances in manufacturing techniques, you can even get aluminium bars with aerodynamically shaped top sections these days.
