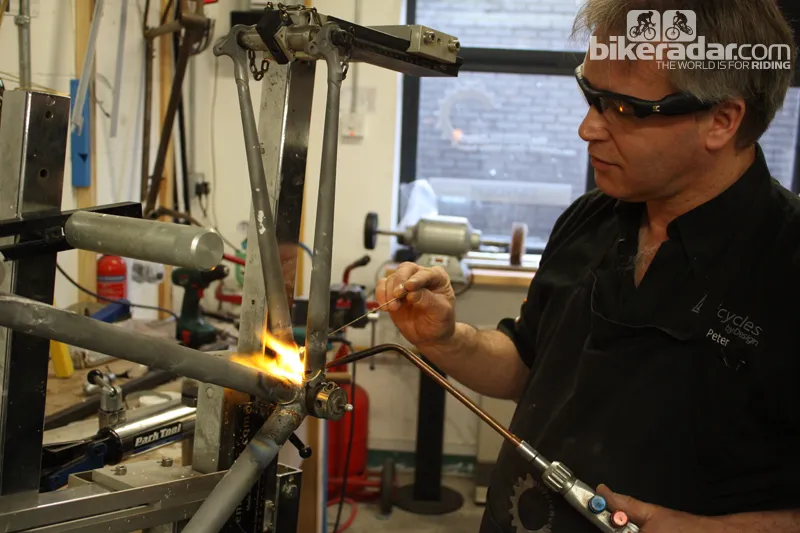
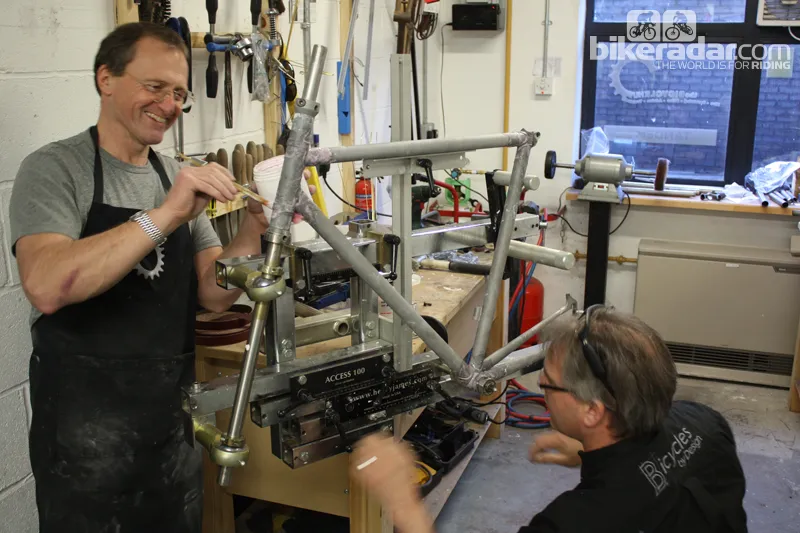
Peter Bird working his magic in the Bicycles by Design workshop in Shropshire, UK Oli Woodman/Future Publishing
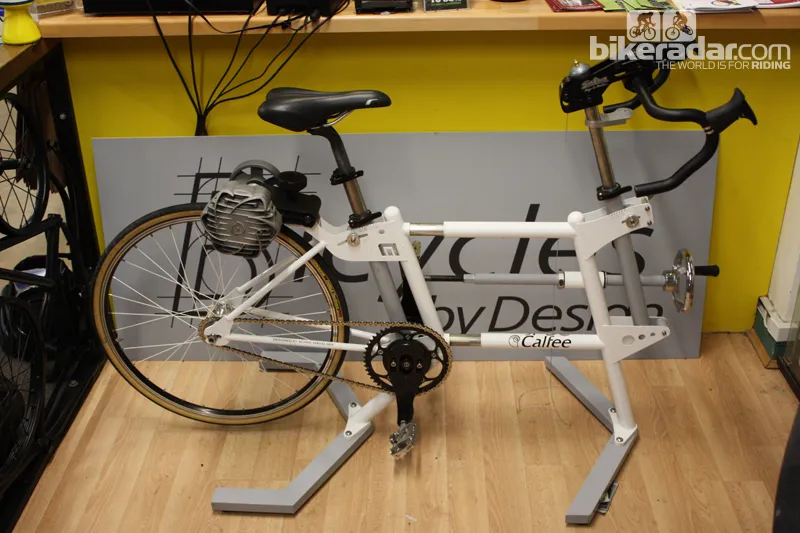
Blackett was introduced to the Calfee Sizer, a bike fully adjustable to the exact millimetre and angle. It's used to replicate the optimum frame geometry for each individual Oli Woodman/Future Publishing
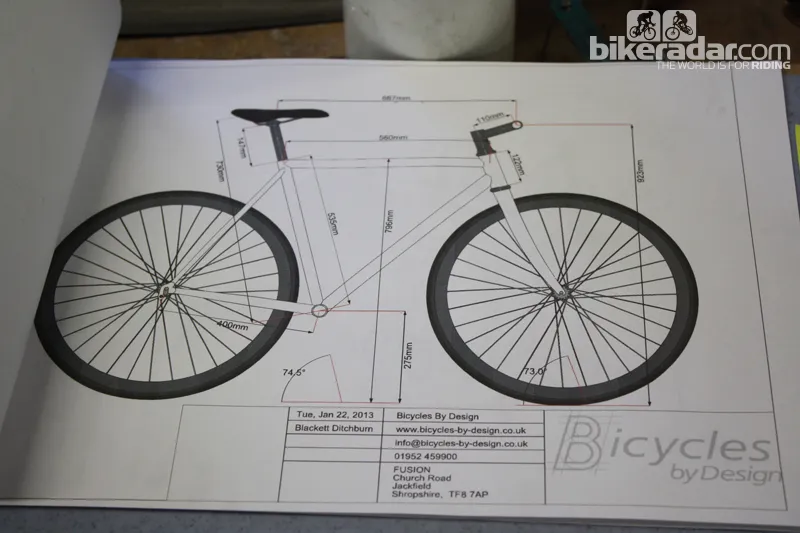
Blackett's figures from the Calfee Sizer can now be put forward for use with the BikeCAD software Oli Woodman/Future Publishing
BikeCAD software is then used to simulate the frame and calculate exact dimensions. It can even be used to highlight potential overlap and clearance issues Oli Woodman/Future Publishing
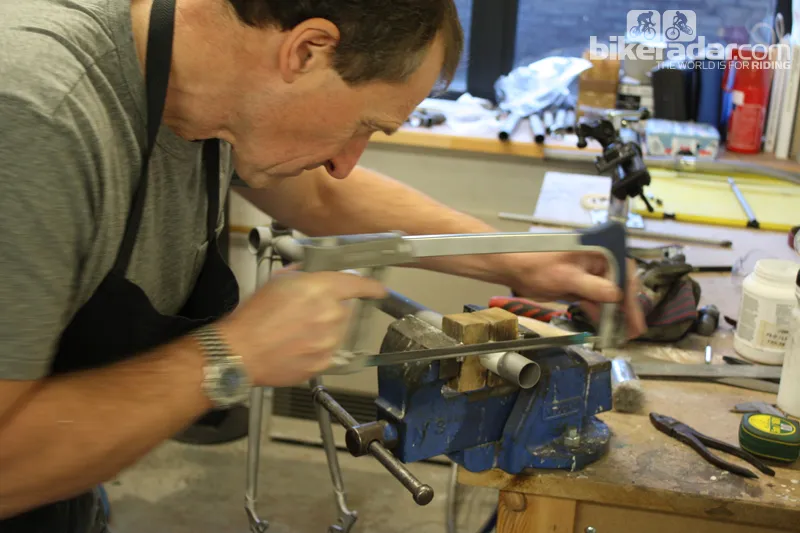
The numerous cuts involved for the tubing is a laborious task Oli Woodman/Future Publishing
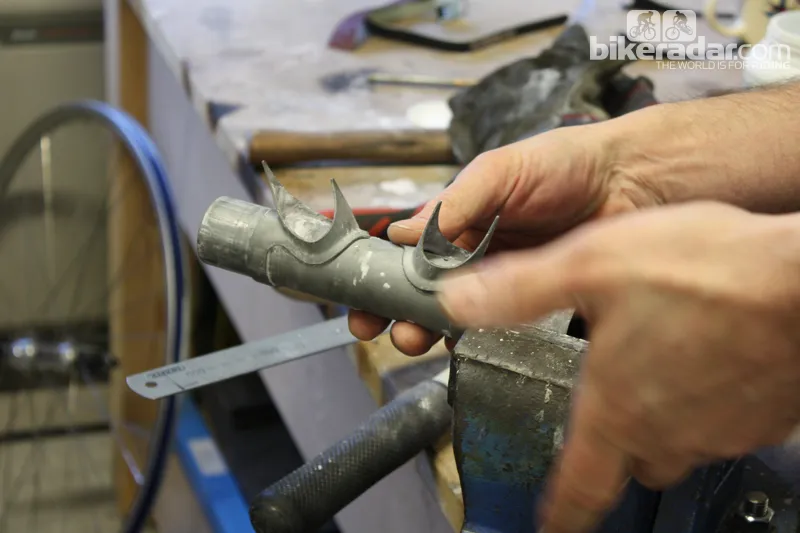
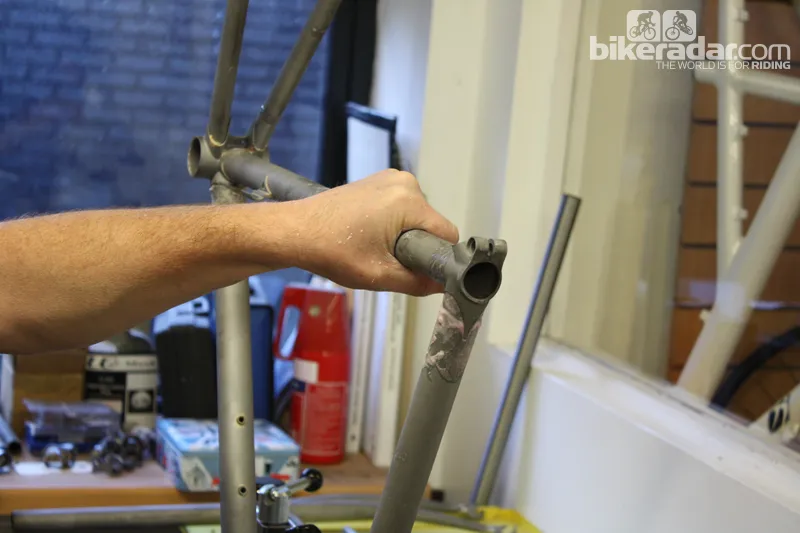
Once all cuts are correct, the lugs have to be offered up to the tubes – some are a very tight fit! Oli Woodman/Future Publishing
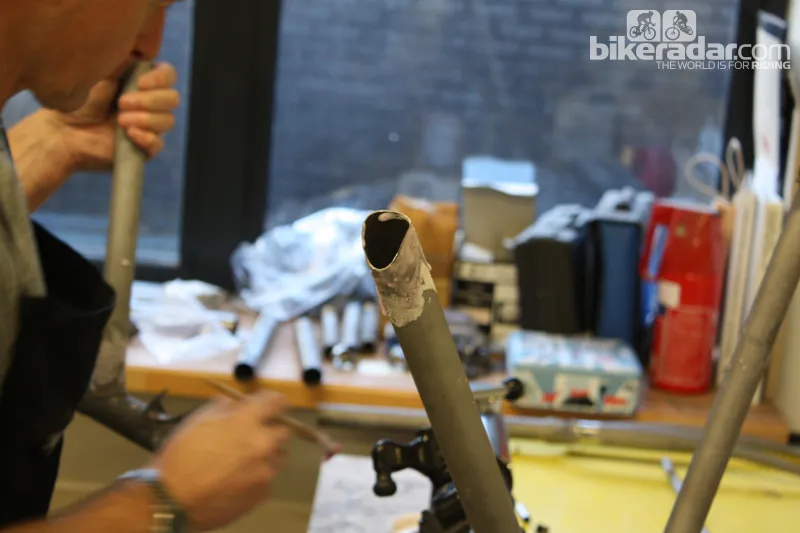
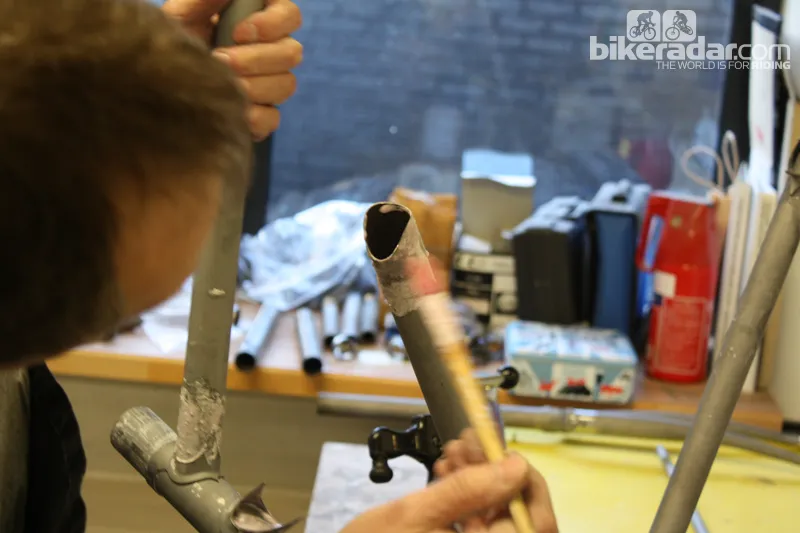
Miter cuts require a patient approach and demand absolute accuracy Oli Woodman/Future Publishing
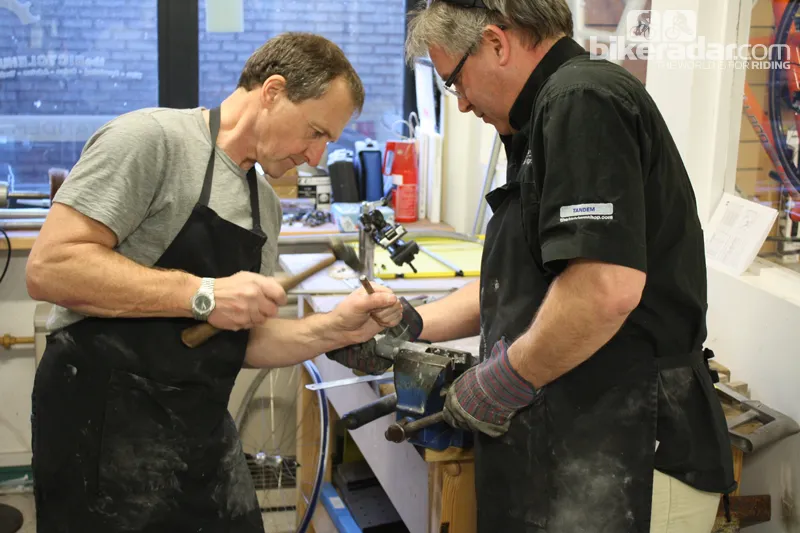
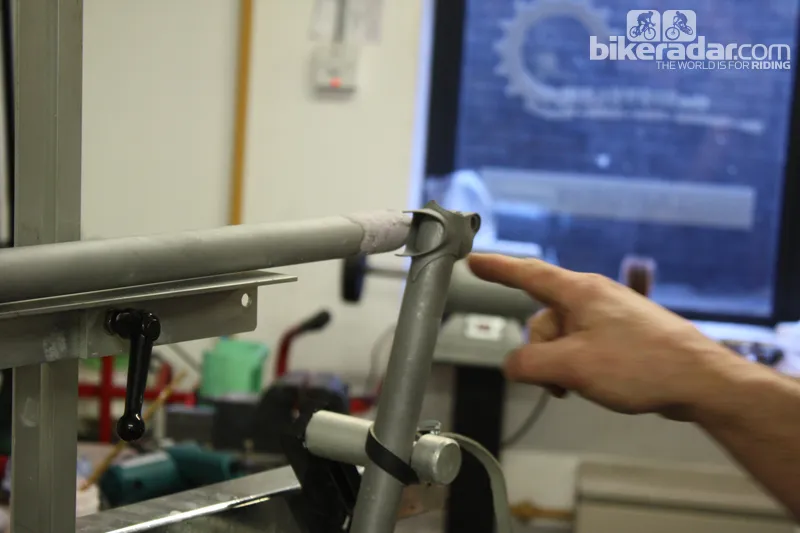
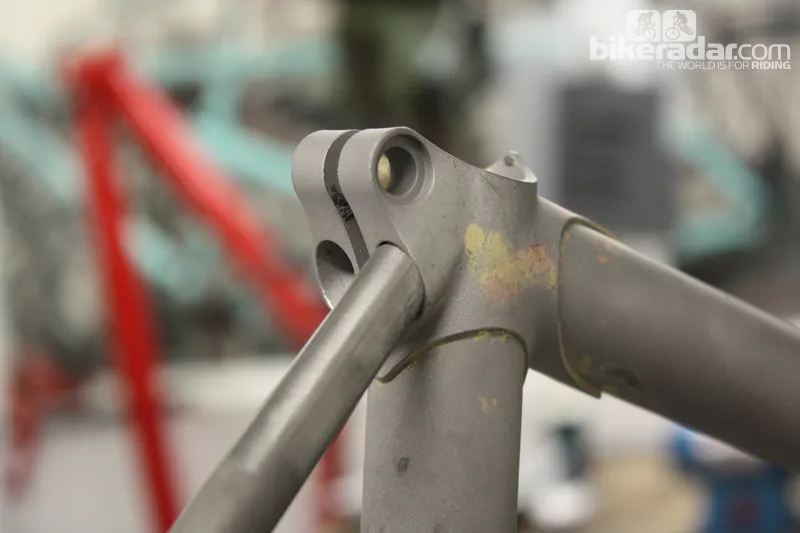
Head tube lugs have to be positioned exactly and require some gentle persuasion Oli Woodman/Future Publishing
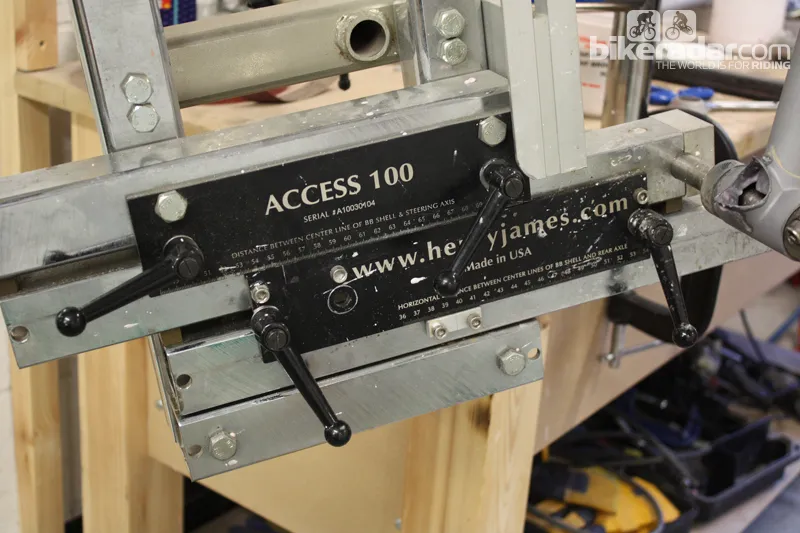
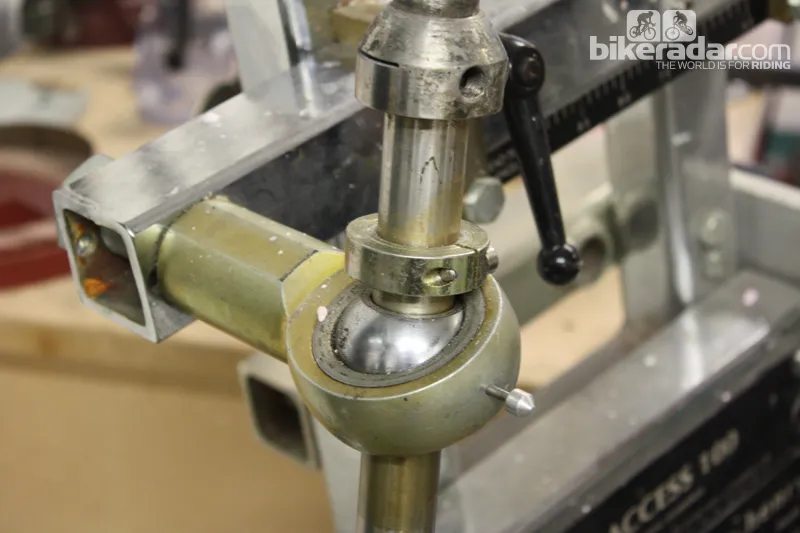
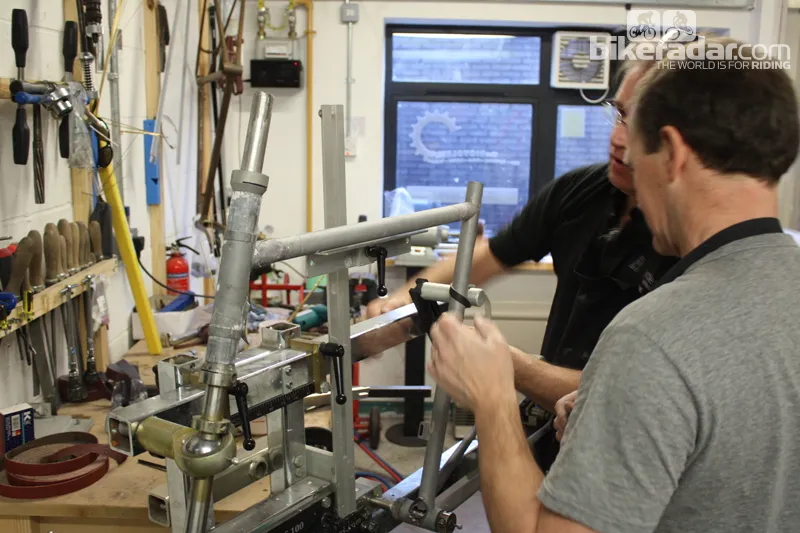
All measurements are then dialled into the frame building jig Oli Woodman/Future Publishing
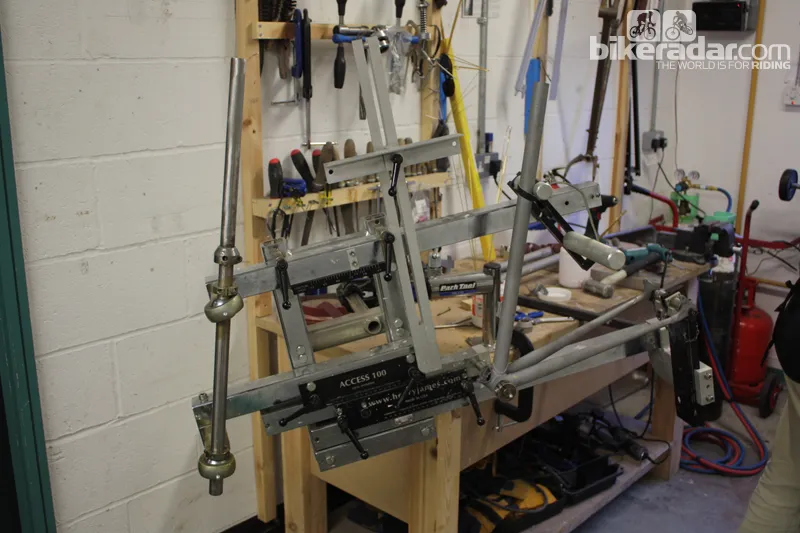
The jig provides all the accuracy and stability necessary for the build Oli Woodman/Future Publishing
Slowly but surely the frame starts to come together within the jig Oli Woodman/Future Publishing
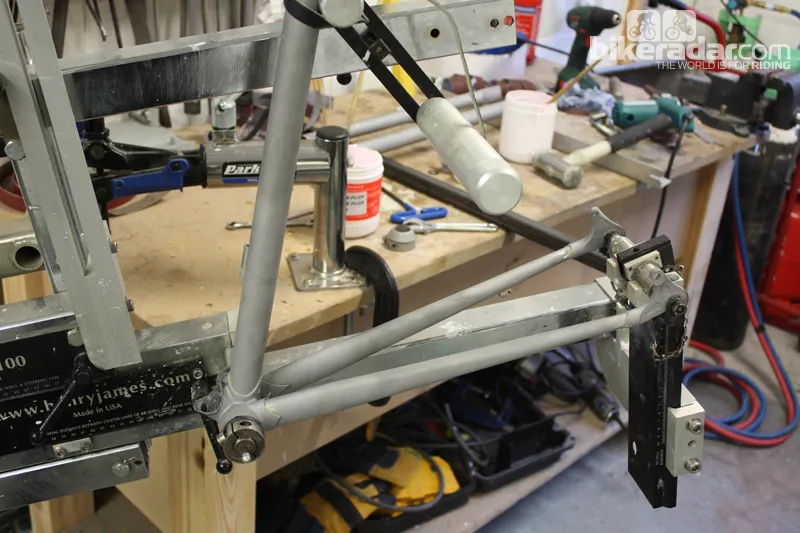
Bottom bracket, seat tube and chainstays all in place within the jig Oli Woodman/Future Publishing
Plenty of flux is applied before assembly. Flux is required to prevent oxides from forming while the metal is heated. It also cleans the area and works as a valuable indicator while brazing is going on Oli Woodman/Future Publishing
Plenty of flux is applied as Peter opts to use traditional brazing rods instead of modern flux impregnated ones Oli Woodman/Future Publishing
Things are starting to take shape nicely Oli Woodman/Future Publishing
The frame has to be removed from the jig several times during more stubborn parts of the assembly Oli Woodman/Future Publishing
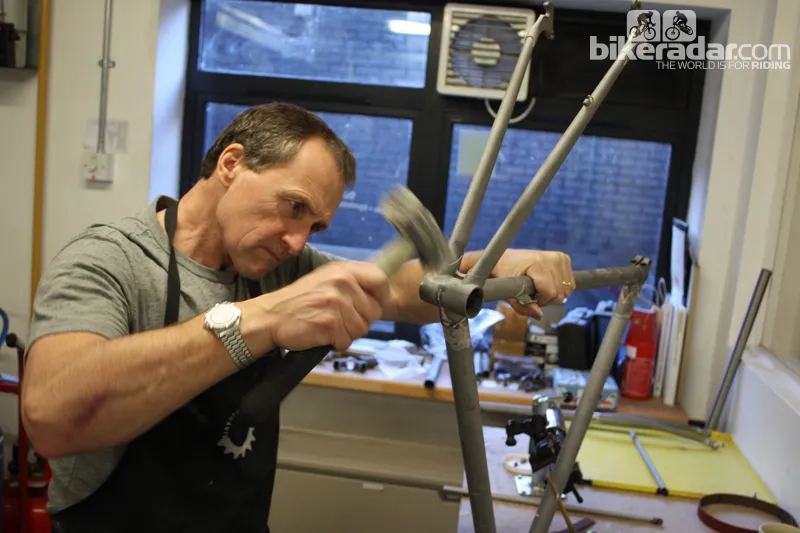
Stubborn parts are persuaded with our favourite tool Oli Woodman/Future Publishing
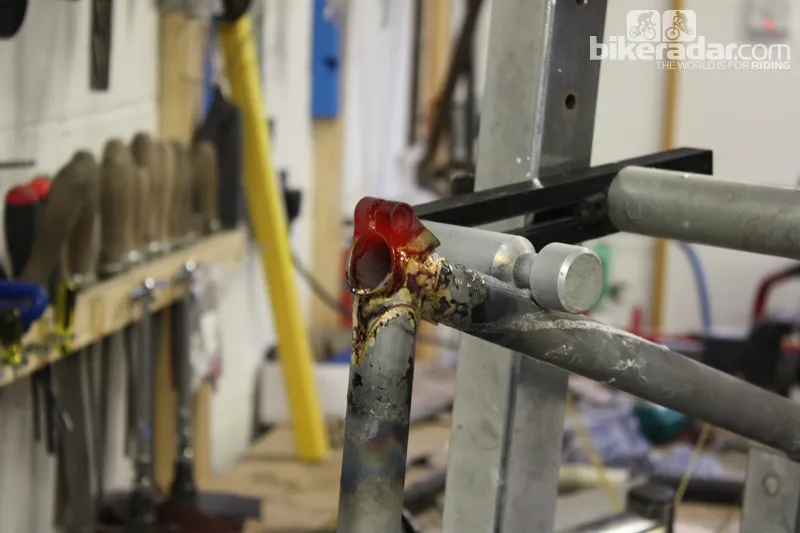
Final preperations have to be made before the brazing process can begin. It's time for more flux! Oli Woodman/Future Publishing
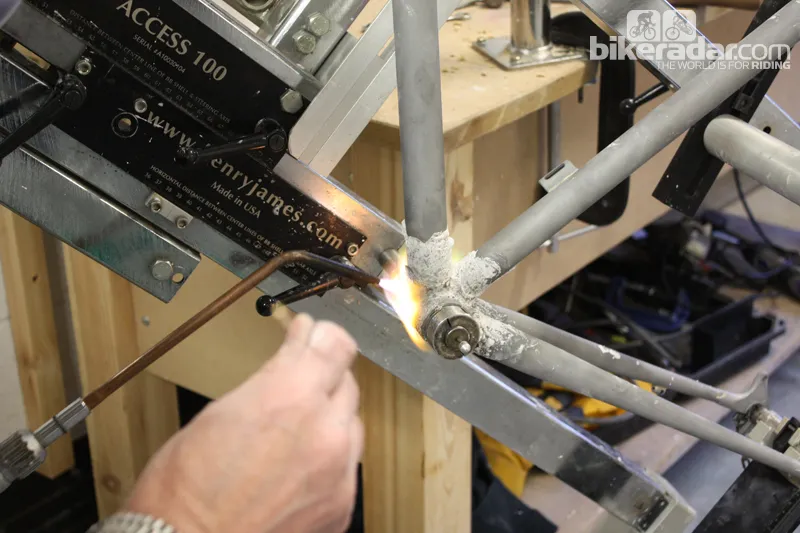
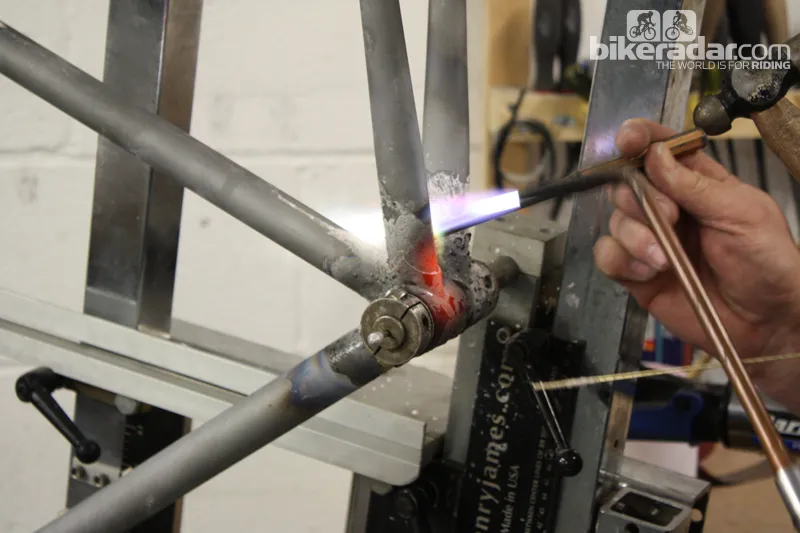
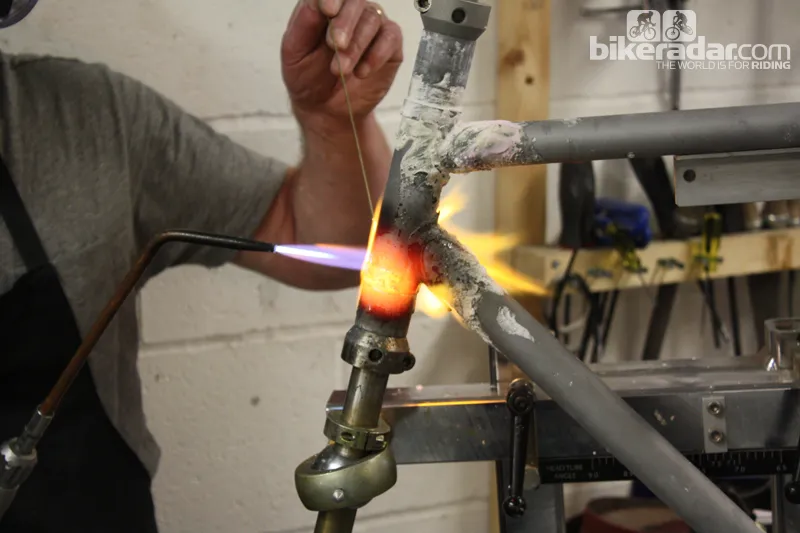
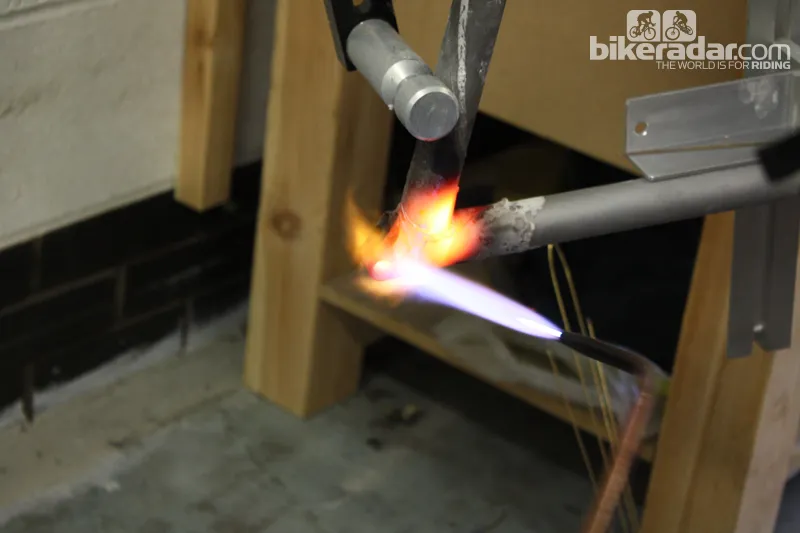
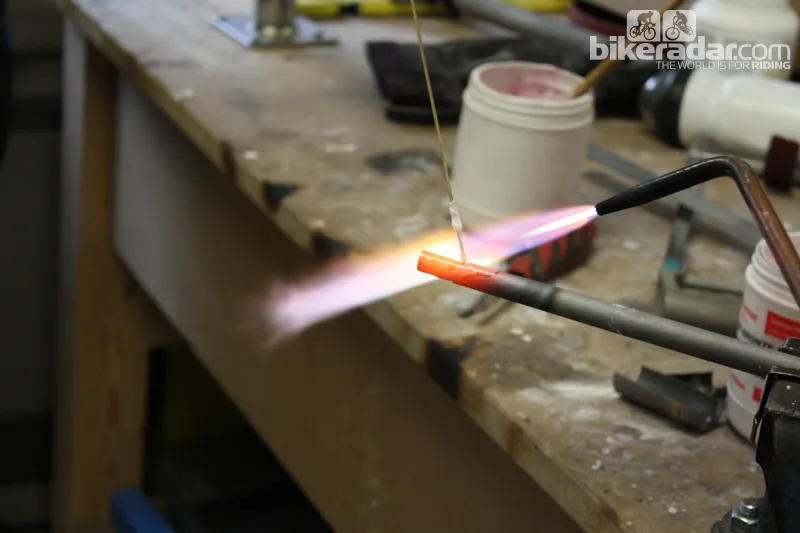
With the torch fired up, heat is then applied to the relevant areas of metal Oli Woodman/Future Publishing
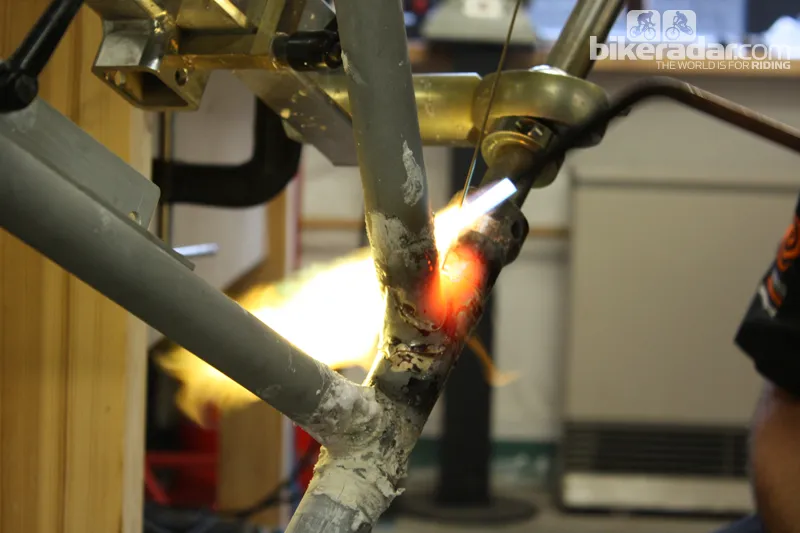
With all metal up to the correct temperature it's time to feed in some brass Oli Woodman/Future Publishing
The lugs are outsourced and as a result require a slight bit of adjustment once malleability is increased with heat Oli Woodman/Future Publishing
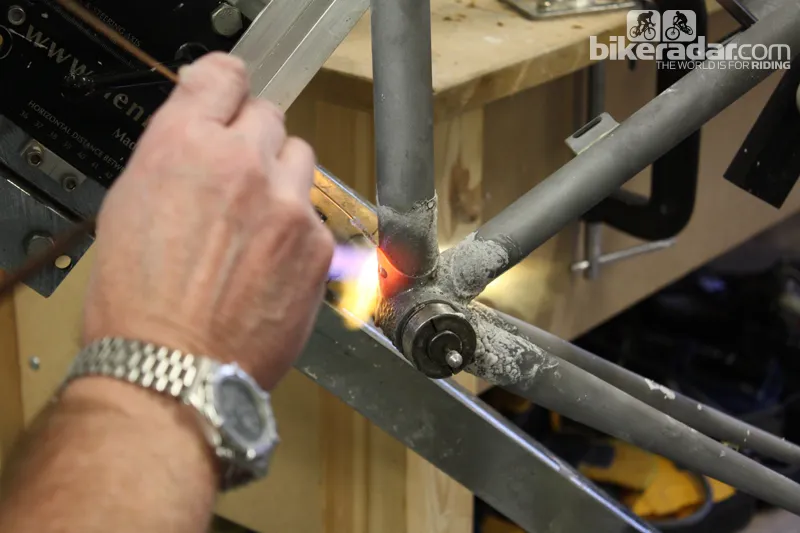
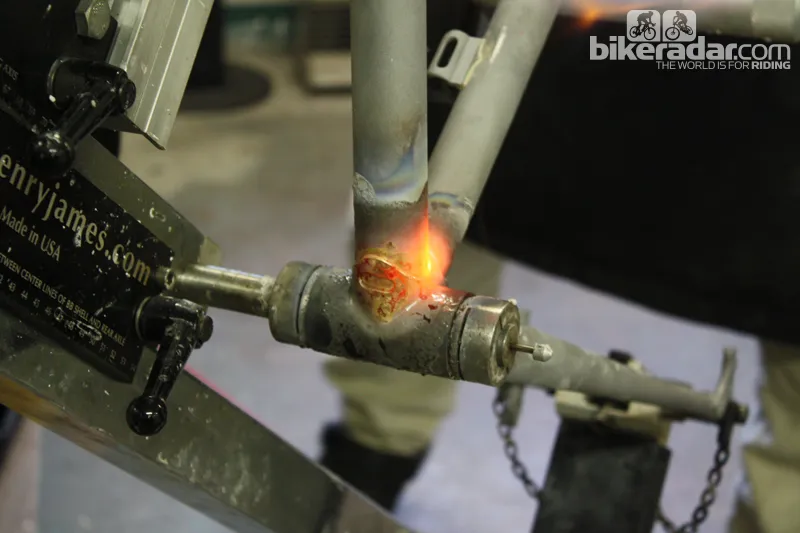
The brass is then pulled along using the heat of the torch Oli Woodman/Future Publishing
That's one lug complete Oli Woodman/Future Publishing
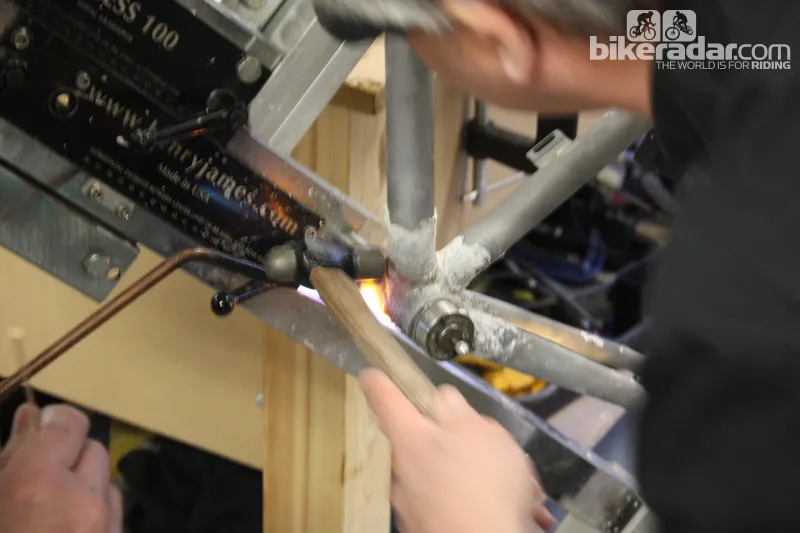
The jig allows for rotation, something completely necessary when you need to feed brass into such tight and awkward areas Oli Woodman/Future Publishing
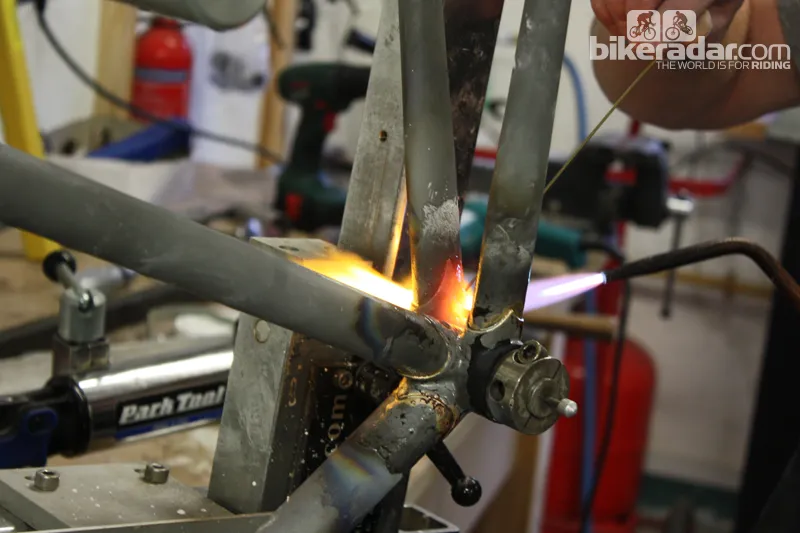
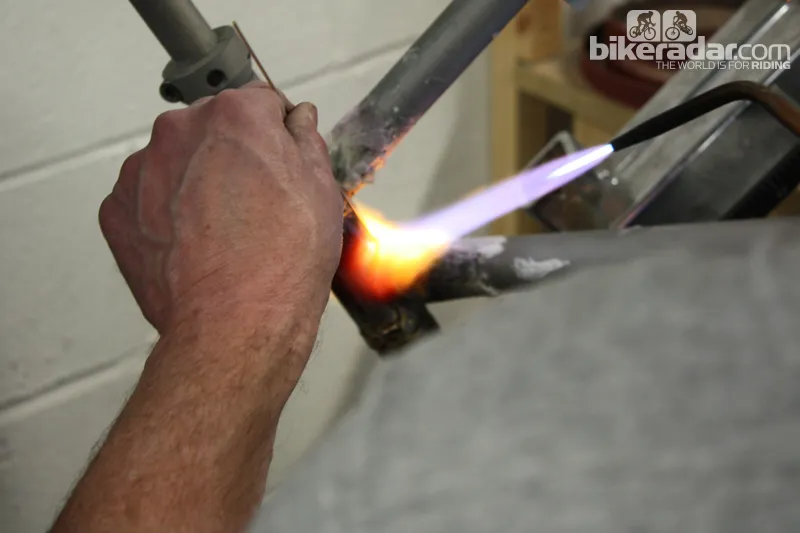
Work now starts on the chainstays. The torch is applied to once gain acheive the correct temperature Oli Woodman/Future Publishing
Blackett soon gains confidence with his brazing Oli Woodman/Future Publishing
Every bit of brazing has to be signed off by Peter himself, a man with more than 30 years of experience in handbuilding bikes Oli Woodman/Future Publishing
Next it's on to the head tube Oli Woodman/Future Publishing
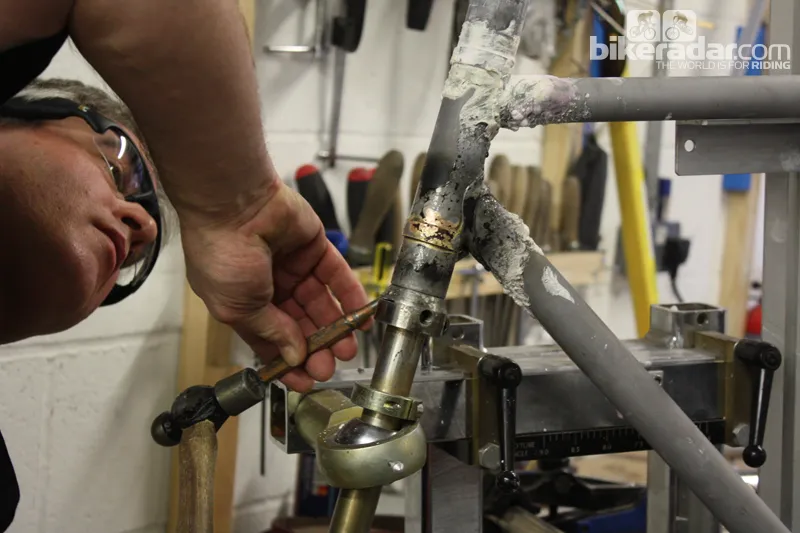
Peter once again makes sure that the lugs fit flush with the tubing Oli Woodman/Future Publishing
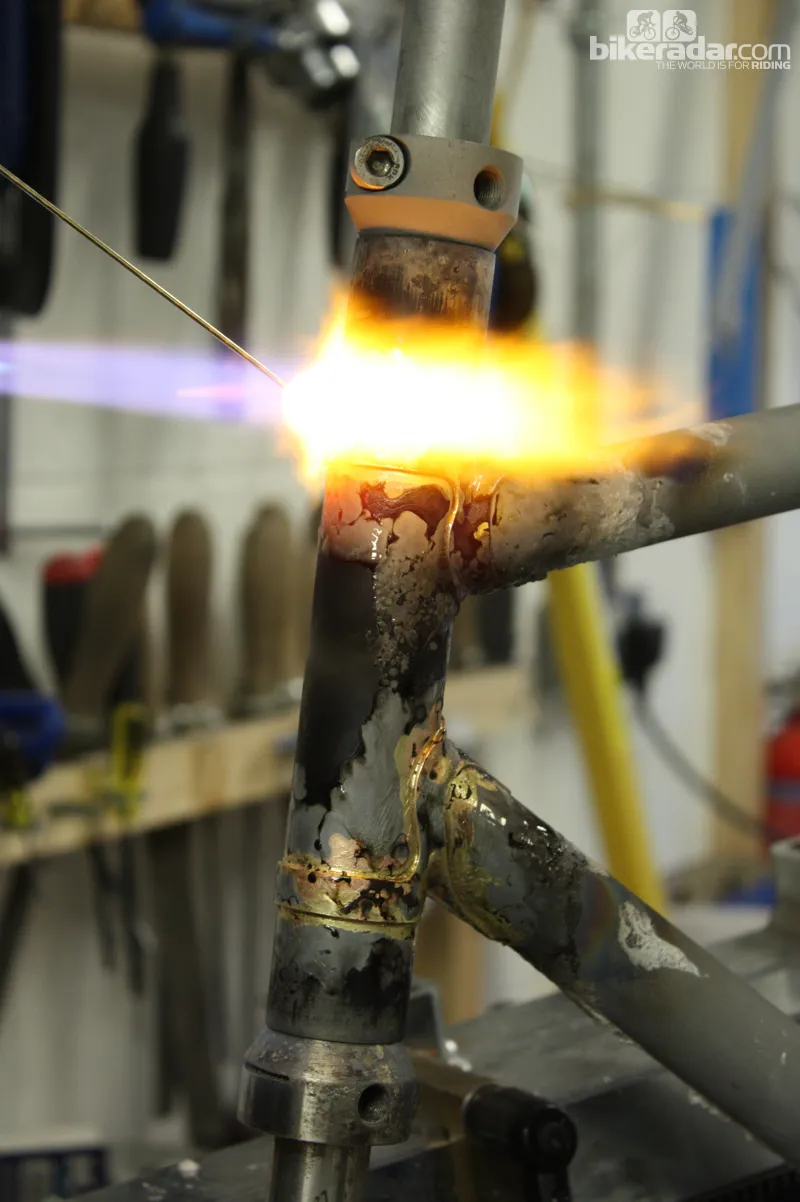
Head tube brazing Oli Woodman/Future Publishing
The jig has to rotate again in order for the underside of the head tube to be brazed Oli Woodman/Future Publishing
Brazing the underside of the head tube area Oli Woodman/Future Publishing
Then it's back the right way round to finish off the brazing required for the head and down tube lugs Oli Woodman/Future Publishing
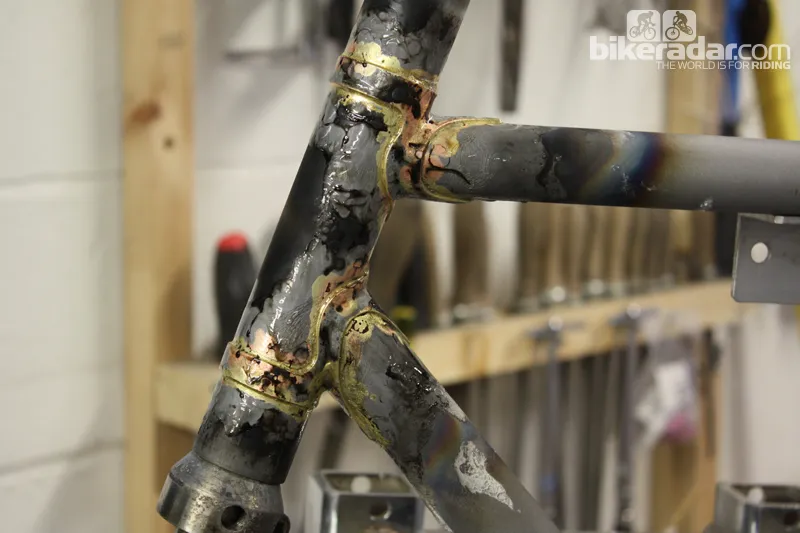
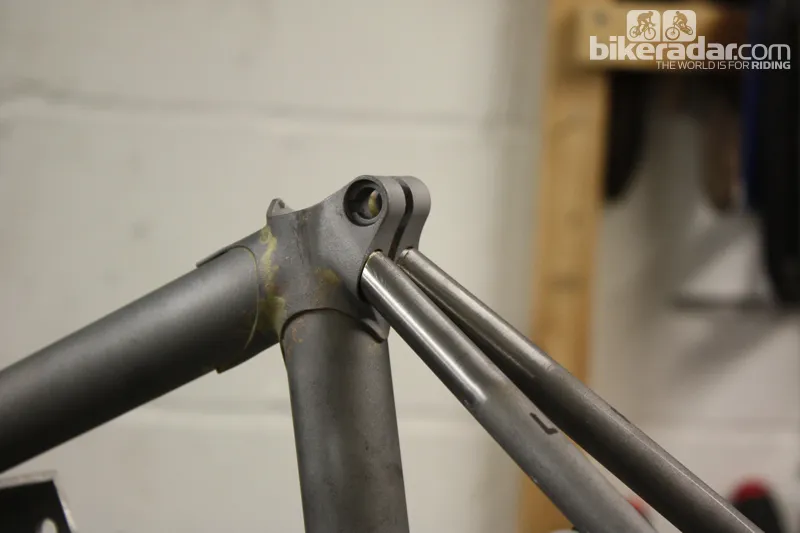
The head tube area after cooling Oli Woodman/Future Publishing
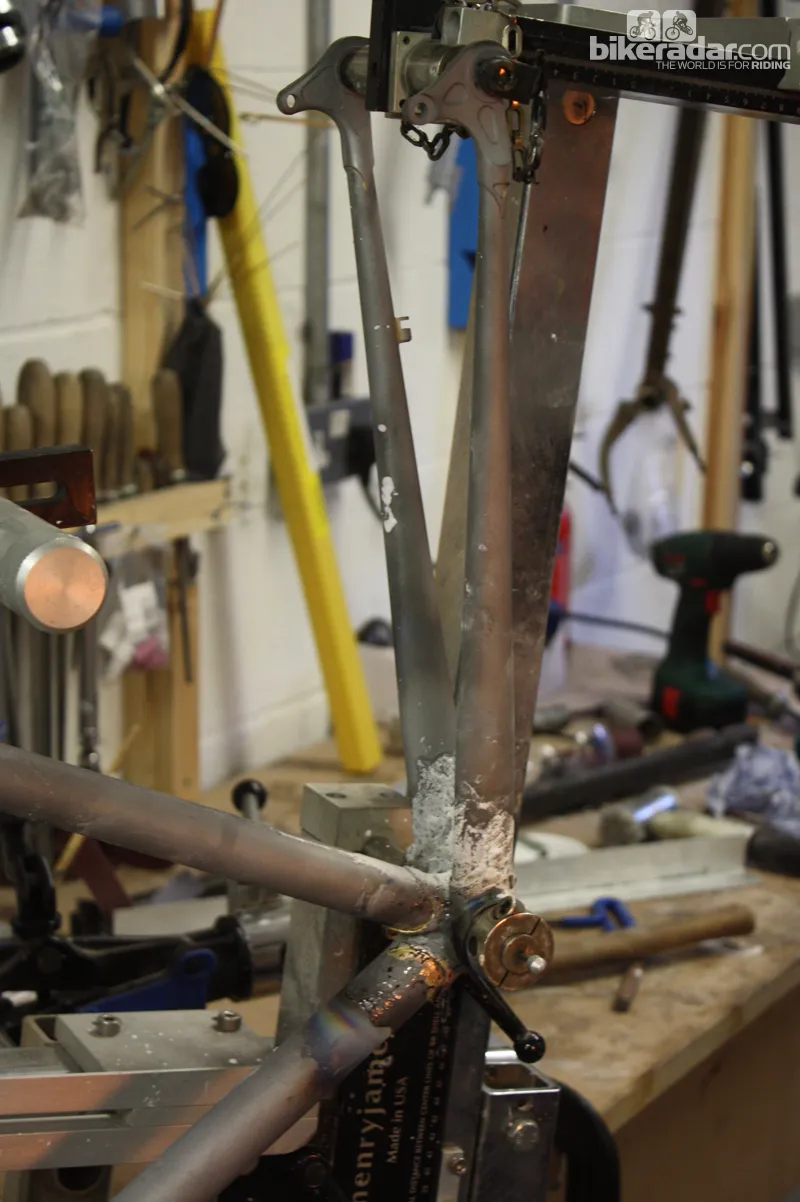
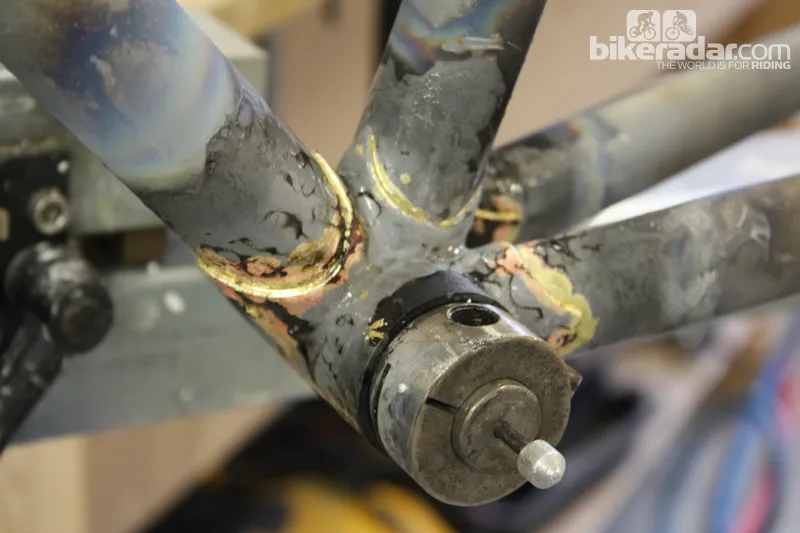
The bottom bracket area post brazing Oli Woodman/Future Publishing
Next, the lug at the top of the seat tube gets the same treatment Oli Woodman/Future Publishing
This lug requires particularly close attention as a lot of brass needs to be fed internally due to the design Oli Woodman/Future Publishing
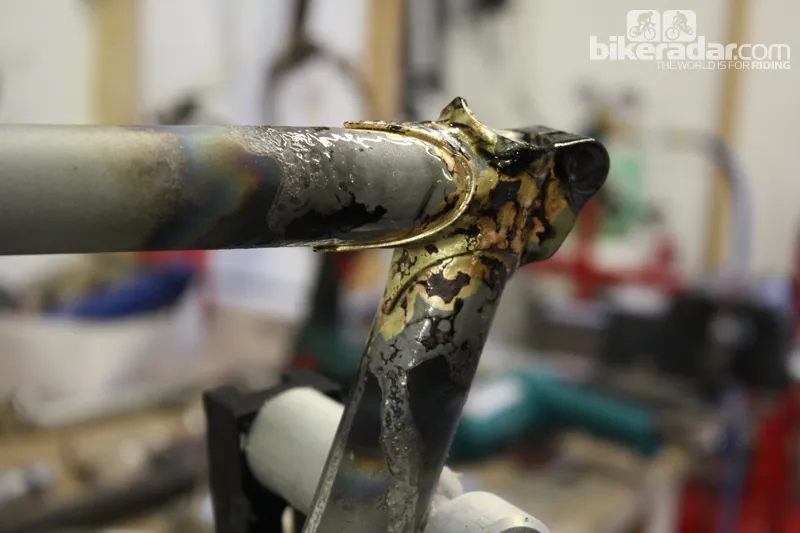
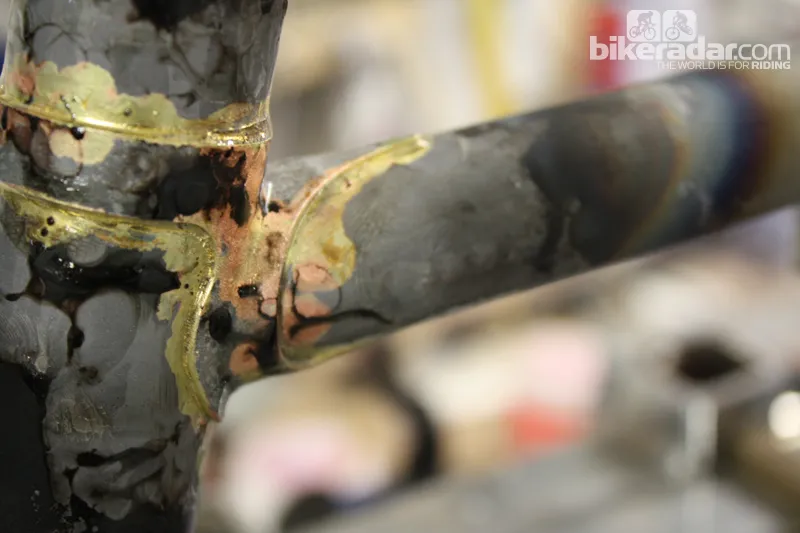
Beautiful colours are revealed post cooling Oli Woodman/Future Publishing
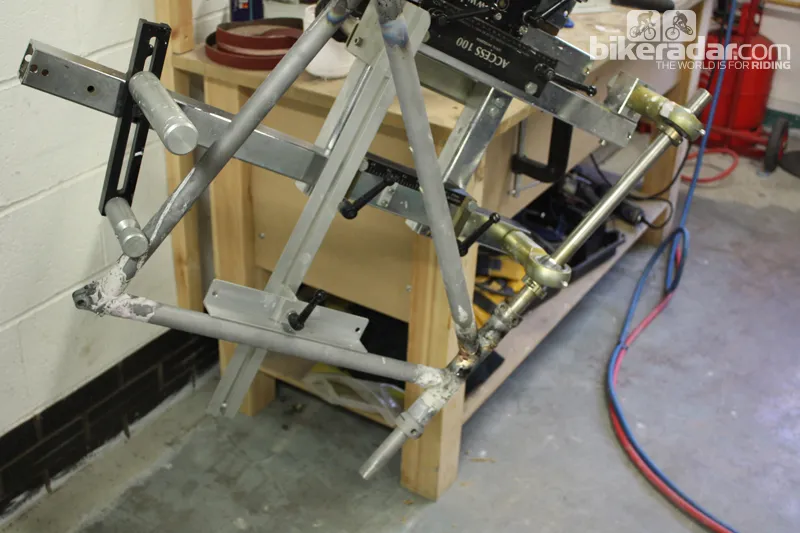
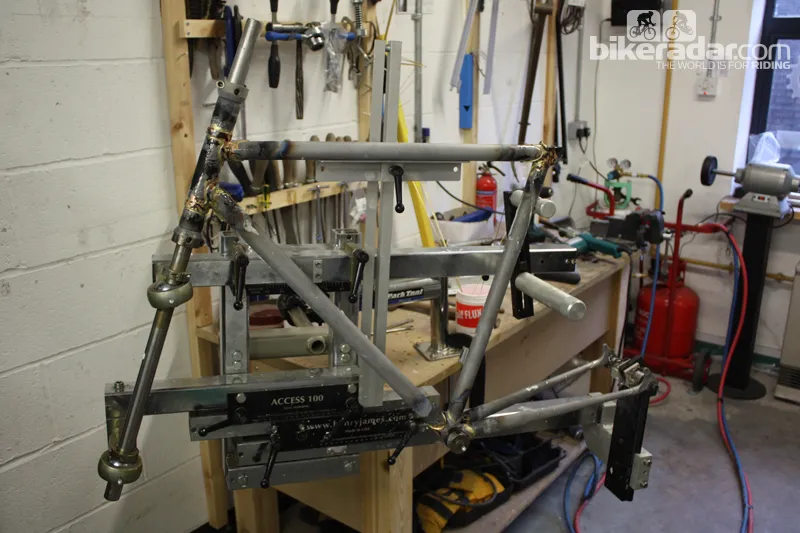
Things are really coming together now – the front triangle is completely brazed and now needs time to cool Oli Woodman/Future Publishing
All builders have different ways of ordering their work, and Pete’s preference is to complete the main triangle of his frames before completing the rear end Oli Woodman/Future Publishing
Wonderful colours soon appear Oli Woodman/Future Publishing
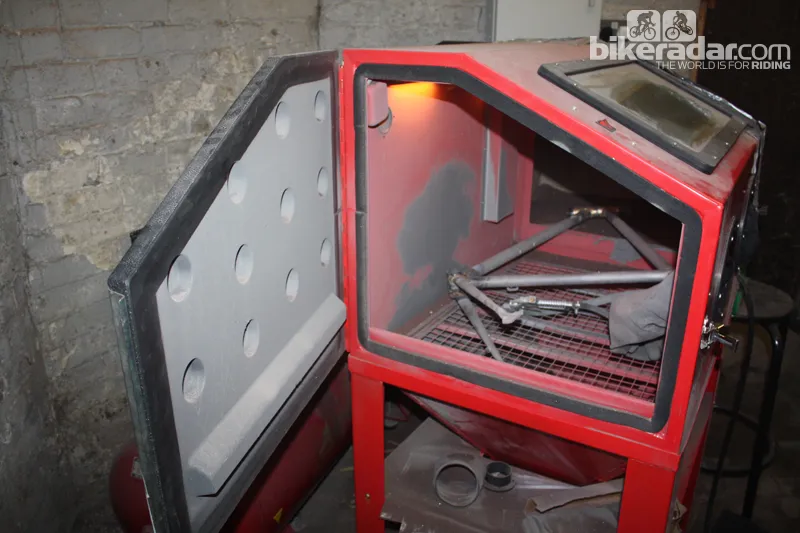
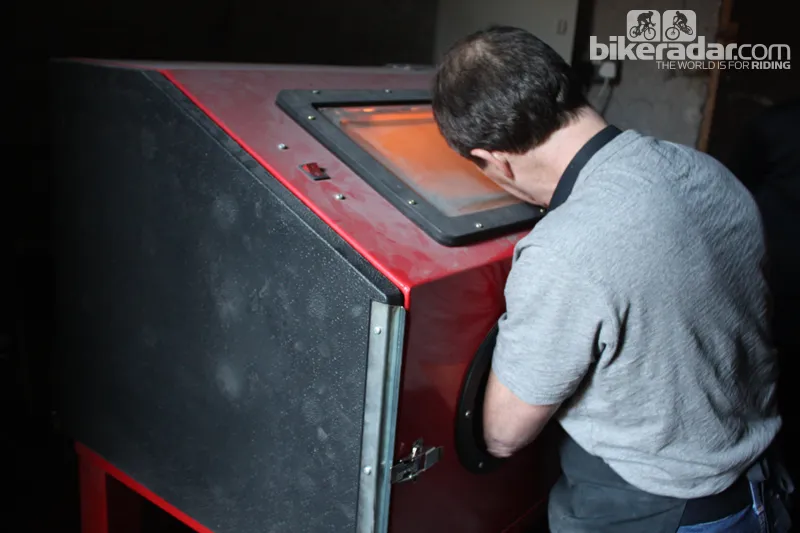
After the cooling period the frame is subjected to sandblasting Oli Woodman/Future Publishing
Blackett works to remove the post-brazing hardened flux in the sandblaster, prior to filing the lugs Oli Woodman/Future Publishing
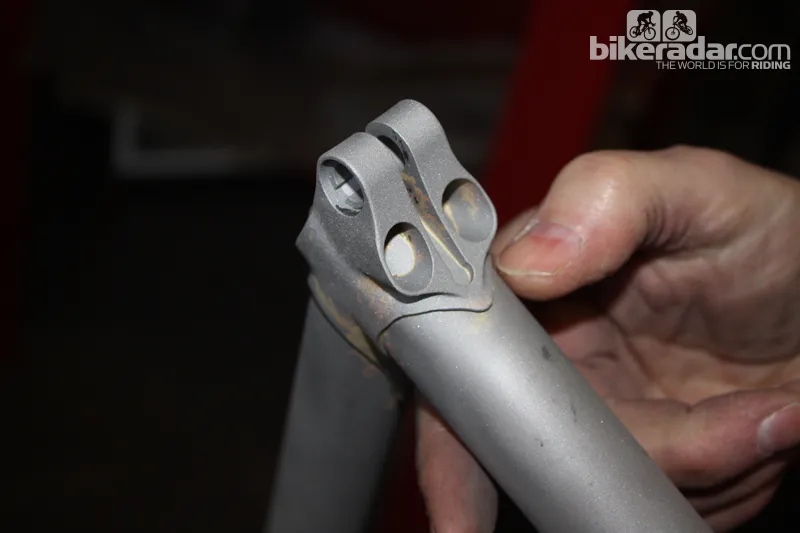
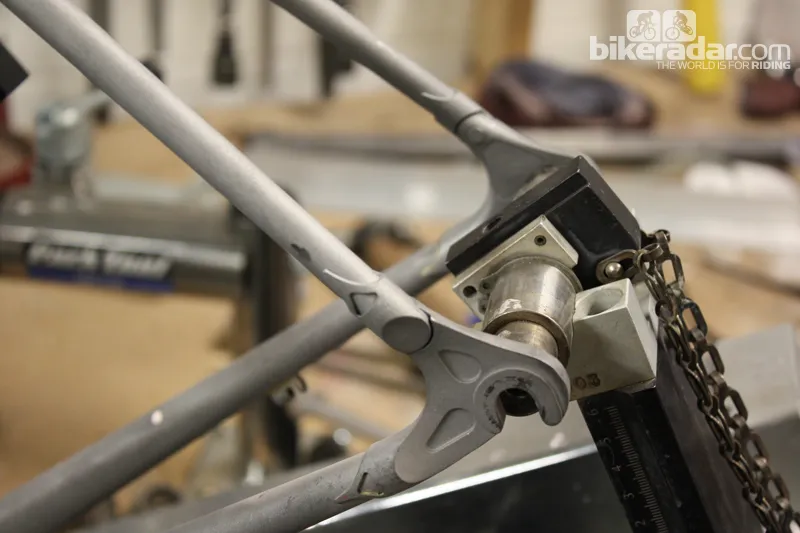
Blackett's frame uses this unusual lug to connect the seatstays to the seat tube. It means that two small inserts have to be made in order to make everything fit Oli Woodman/Future Publishing
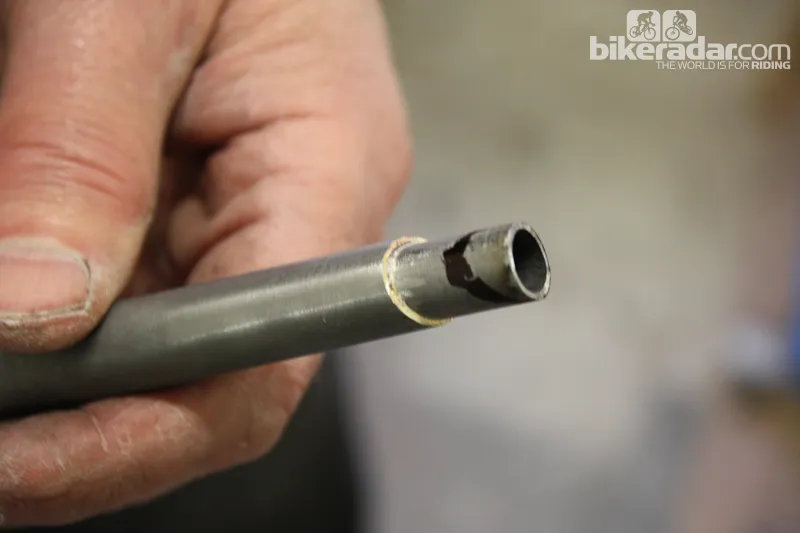
Blackett brazes the insert into one of his seatstays Oli Woodman/Future Publishing
With the insert now brazed in, it's a case of making the perfect cut to ensure everything lines up Oli Woodman/Future Publishing
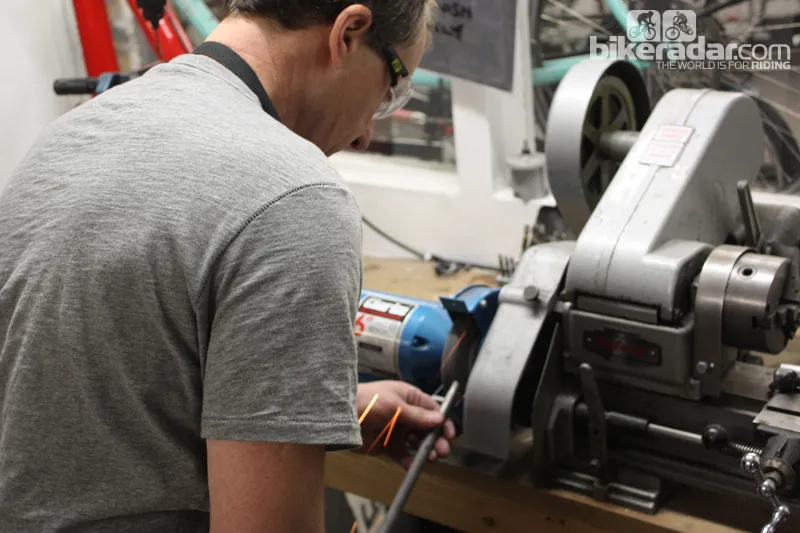
Blackett removes the bulk of the material that he needs using a bench grinder Oli Woodman/Future Publishing
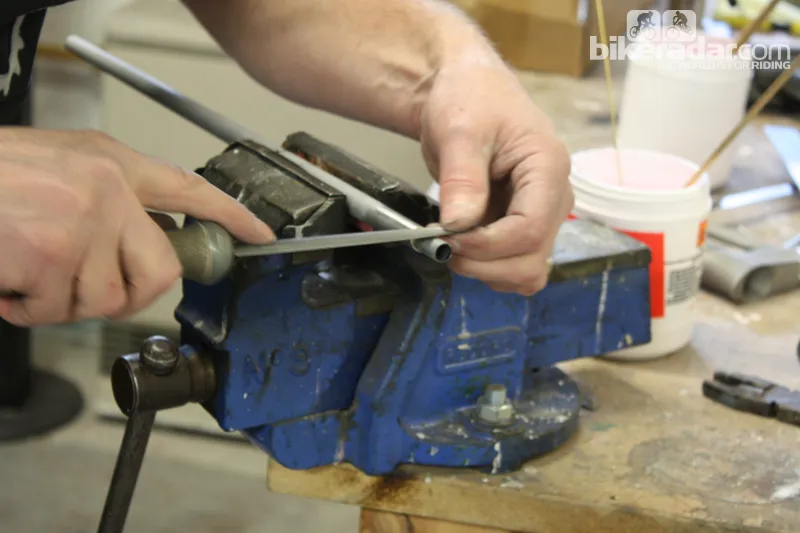
Then the angle is perfected using hand tools Oli Woodman/Future Publishing
After a bit of trial and error Blackett has the fit spot on Oli Woodman/Future Publishing
He then repeats this process for the opposing seatstay, ready for brazing Oli Woodman/Future Publishing
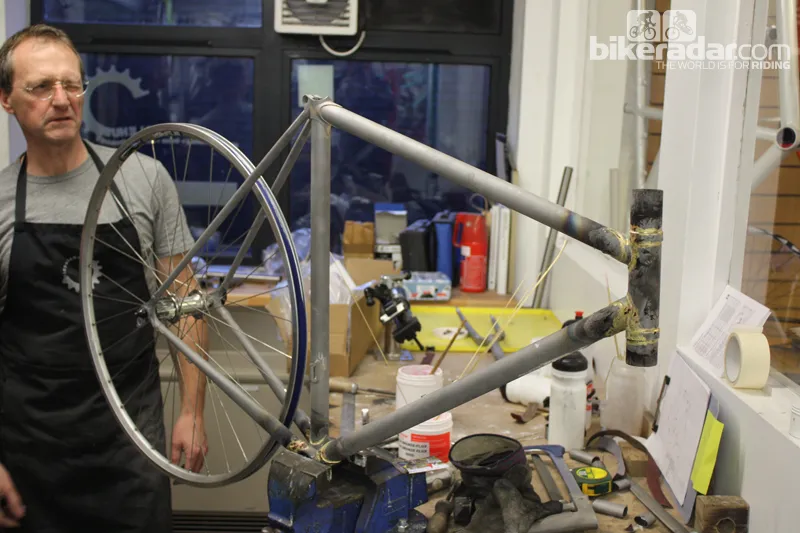
The back end is now completely assembled Oli Woodman/Future Publishing
Unfortunately, we run out of workshop time at this point, but Blackett has still managed to go from tubes to a 95 percent complete frame in four working days. On day five he finished the forks and most of the cleaning up, leaving some final emery cloth finishing prior to painting the frame himself Oli Woodman/Future Publishing
Frame building is something most of today’s cyclists take for granted. Just the thought of being able to manufacture your own usable frame isn’t feasible to the majority of people. Yet BikeRadar were recently invited to a frame building course at bespoke bike builders Swallow, and were left captivated by the experience and its relative accessibility.
Situated within the wonderful Ironbridge world heritage site in Shropshire, UK, is the workshop of Peter Bird and Robert Wade. With nearly 60 years of combined experience working with bicycles, both men have been offering bespoke steel frames since the early Eighties.
Swallow have never offered a production run of any frame. Instead, their customers are involved in a lengthy and totally individual experience that offers everything an off-the-peg purchase cannot.
We shadowed keen cyclist Blackett Ditchburn. He’d paid for a week-long frame building course with Peter and had set out to build an Italian-inspired, lugged steel racer. It’s a bike Blackett intends to ride from Rome to London, and then on to his home in Hambleden, Buckinghamshire.
Both Peter and Robert are keen to let their pupils be as hands-on as possible with the builds, and all students finish up with a frame designed exactly to their requirements. There are limitations, of course – builds are restricted to lugged steel frames, for example – but you’re still left with a whole world of choice.
All work is completed with the patient and immmensely experienced Peter, so every cut, bit of filing and braze is given the onceover. You can therefore leave the course knowing your frame has been built to very exacting standards and quality control.
It’s important to understand that when a bespoke frame is made, the builders literally start with a blank sheet of paper. It’s their time to listen and advise as they work out the customer’s exact requirements. In Blackett’s case, it was a Columbus tubed road bike using pleasant but not overly ornate lugs.
Take a look at our image gallery and follow Blackett's progress as he goes from a box of tubes and blueprint drawings to a beautiful, near-complete frame within the space of one day.
You too could book yourself into one of Swallow's frame building courses. Five days of tuition will set you back £850, with most builds requiring £200 to £300 in materials. See www.bicycles-by-design.co.uk for more information, and read Blackett’s take on his experience here.
Former BikeRadar staffer Oli is passionate about anything with wheels and/or an engine or motor. A keen eye for technical detail and a general curiosity for how things work often gives Oli a unique insight into products he's either testing or writing about. An unhealthy interest in older motor vehicles keeps him poor but happy.
This website is owned and published by Our Media Ltd. www.ourmedia.co.uk