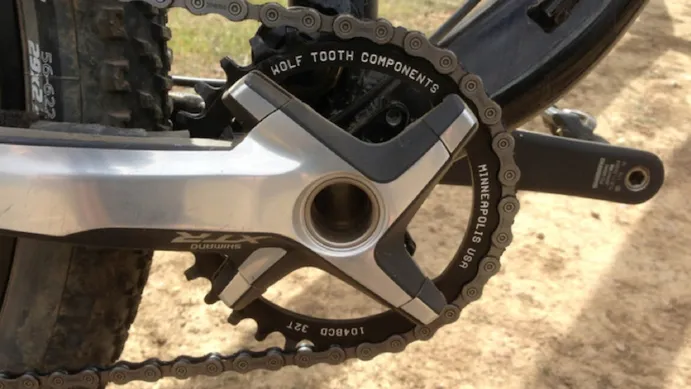
There is an undeniable appeal to a single chainring set up, provided it suits your riding style and terrain. Ditching one or more chainrings, a front derailleur, a shifter and the associated cables can not only shed weight, but also adds a bit of simplicity to your bike's cockpit at a time when handlebars are increasingly cluttered with GPS units, dropper post remotes, and suspension lockout levers.
How to convert your bike to a 1x drivetrain
Ditch the shifty bits
Remove your front shifter, front derailleur and all your geared chain rings. This includes your middle ring (if running a triple). While you can experiment with the chainring you already have, it’s far from optimal for a 1x application.
Geared chainrings have ramps, pins and tooth profiles that are designed to ease the chain’s transition from one ring to another.This is great for smooth and fast shifting, but isn't ideal when you want the chain to stay put.
Acquire and install non-shifty bits
Chain retention is the key to creating a reliable single-ring drivetrain and your chainring is your first line of defence again dropped chains.
There are dozens of companies who are now producing chainrings with alternating width tooth profiles, similar to SRAM’s X-SYNC technology. These are generally referred to as narrow-wide chainrings.
These chainrings match the width of their teeth to the width of the chain's inner and outer plates, which greatly reduces any side-to-side movement of the chain, thus reducing the likelihood of dropping it.
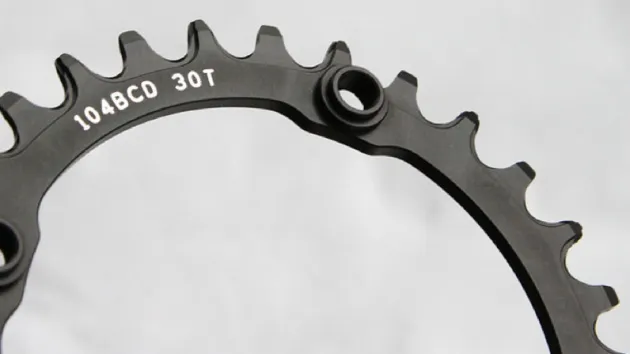
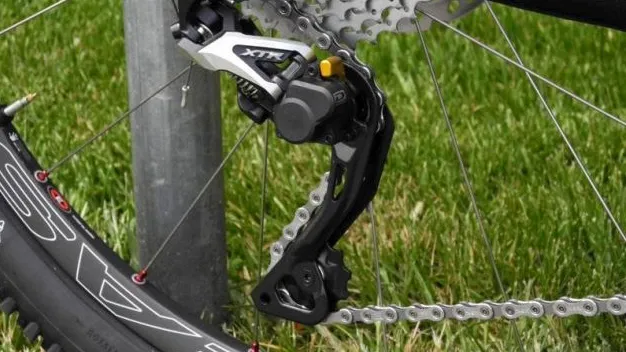
While not a necessity, rings such as these can reduce the likelihood of dropping a chain. When used in conjunction with a rear derailleur with a clutch mechanism, such as Shimano’s Shadow Plus or SRAM’s Type 2, you should be able to run your 1x drivetrain without a chain guide.
Chainring positioning in important. Try to line up the chainring with the middle of the cassette to minimize the angle between the chain and chainring in the highest and lowest gears. In many cases, the chainring will line up best when mounted to the inside of the crankarm, though this isn't always the case.
In addition to swapping your chainring, you will likely also need to pick up some shorter chainring bolts. Alloy bolts will work, though steel bolts can prove more durable, especially if you're hard on gear.
Choose a chain guide
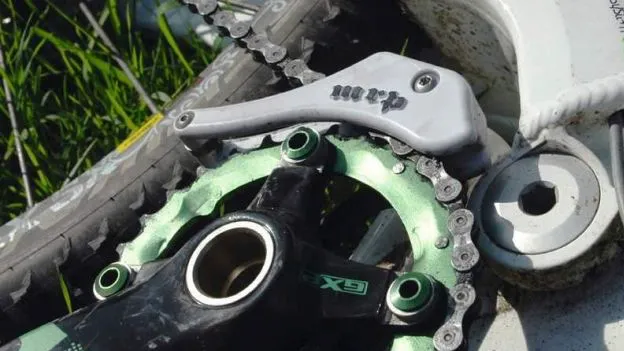
As mentioned above, some set ups may not require a guide at all. If you do find you need additional chain management, a simple upper guide should suffice for cross-country and trail riding.
Resize your chain
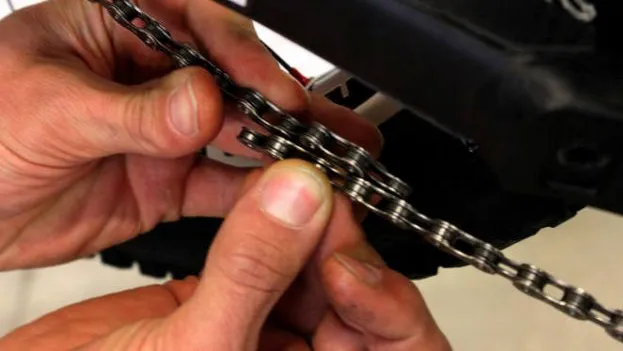
Last and certainly not least, shorten your chain. Failing to remove links will result in excessive chain slap and poor shifting performance.
When sizing a chain, the general rule of thumb is 'big-big plus two', which is to say, size your chain by wrapping it around the largest chainring and largest cog on the cassette (without routing the chain through the rear derailleur), then add two links to get your ideal chain length.
The problem with this approach for single-ring drivetrains is that you will frequently find yourself pedalling in the 'big and big' combination. This is to be avoided when running three chainrings, as it can stretch the derailleur to its maximum capacity.
Try the following when sizing a chain for your 1x setup: wrap the chain around the chain ring and around the largest cog on the cassette (without routing the chain through the rear derailleur), but try adding four links, rather than two. You can always remove additional links if needed.
You're bike should now be good to enjoy some faff-free and silent shredding!
