Disc brakes are fantastic, but when incorrectly set up or badly maintained they can also prove to be a royal pain. Thankfully, most disc-related issues are normally quick and easy to sort out. There are, however, plenty of tools and tricks that can help bring peace to problematic discs.
- BikeRadar's complete guide to bottom brackets
- 6 common beginner's bike maintenance fails
- 5 reasons why roadies should embrace disc brakes
- UK readers: can you help us get more people on bikes? Whether you’re a keen cyclist or a complete beginner, we’d love you to get involved in our Get Britain Riding campaign, in association with B’Twin. Click here to sign up!
In the past, these tips and tools were specific to mountain bikers, but are now just as relevant to road disc users and cyclocross riders too.
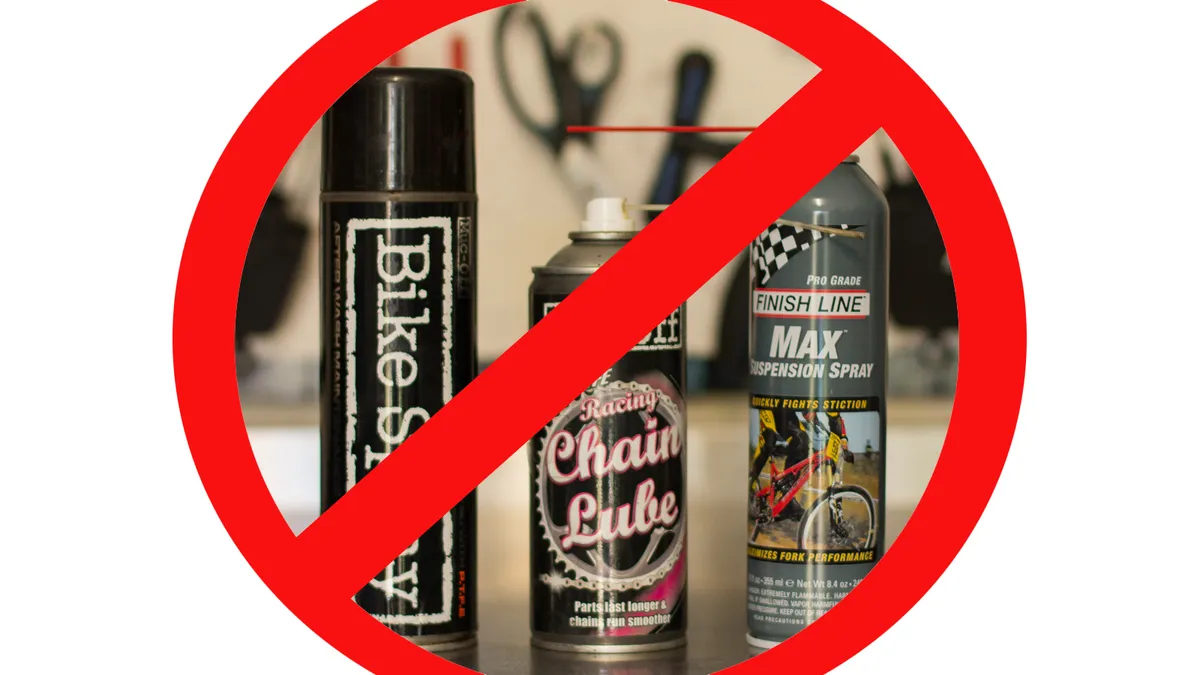
Modern disc brakes are reliable and durable components, but the key to keeping them working right is cleanliness. Disc brakes hate oil — all forms of it — even the natural oil on your skin is enough to upset braking performance.
With this in mind, don’t use aerosol sprays near your brakes, don’t touch the disc brake rotors with your bare hands, always use perfectly clean rags and be careful how you wash your bike.
Beyond bleeding (specific to your brake brand), hose-cutting and mount-facing tools (which tend to be shop-only due to their expense), here are a handful of items and tools that shops use to keep discs braking.
Clean rags/paper towel
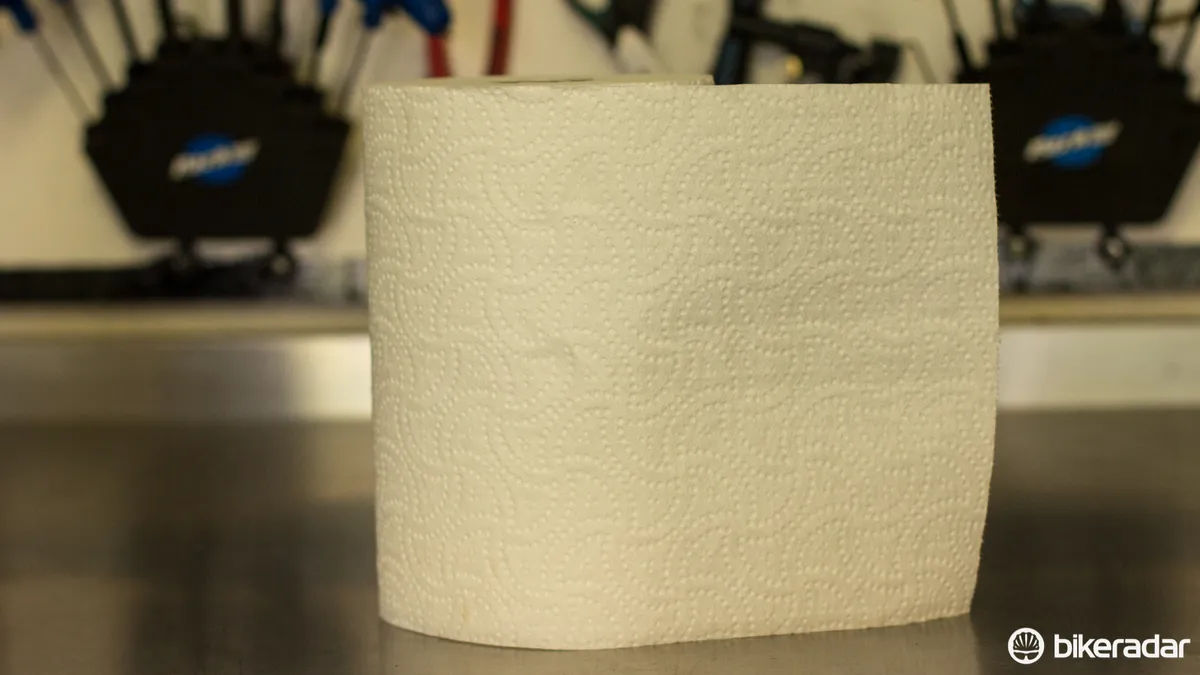
An old clean T-shirt, towel or similar will work fine here, but really, you just need to ensure that whatever you use is lint-free. We keep a roll of paper towel handy for brakes, which means there's no doubt about whether it’s clean or not.
Disc brake cleaner
There are many bicycle-specific aerosol disc brake cleaners on the market and most are very effective, if not a little too powerful. The idea of a brake cleaner is to cut the grime, grease and oil without leaving behind any residue.
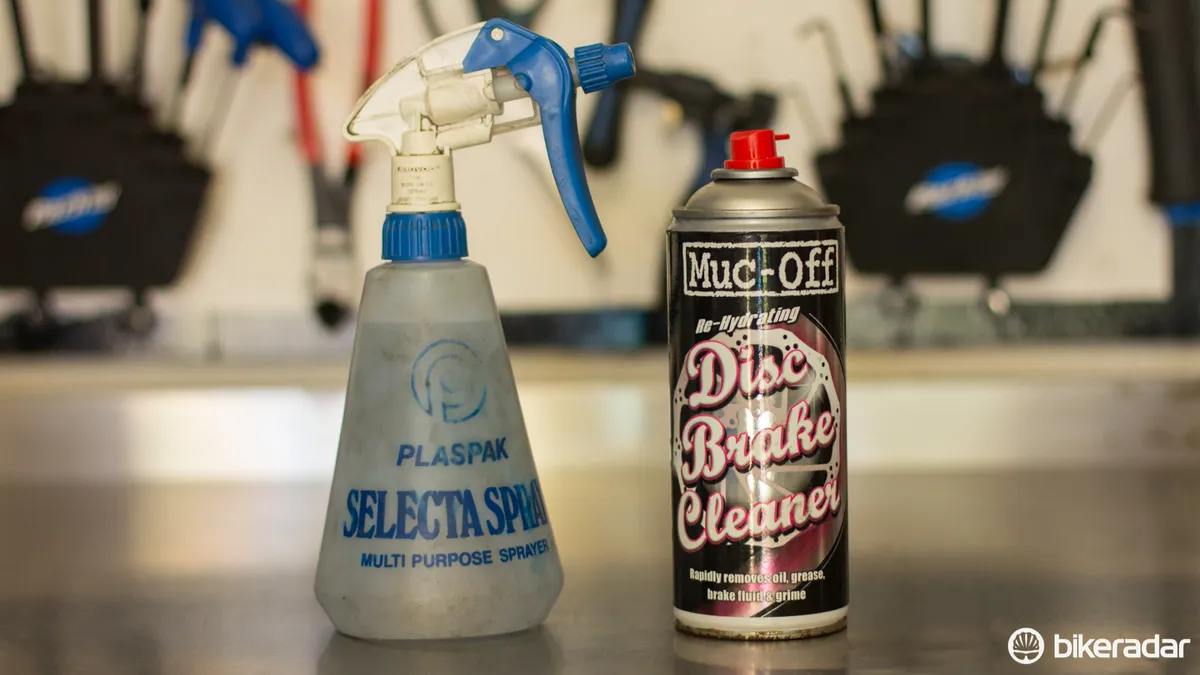
Isopropyl alcohol is an alternative that you can buy from pharmacies or supermarkets. This popular antiseptic is the perfect safe cleaner for disc brakes. I use mine in a cheap universal spray bottle with a mist setting.
No, it’s not as hardcore at cutting through the grime, but the fact that it won’t dry out the delicate piston seals is why most brake manufacturers recommend it.
Pad setting spacer
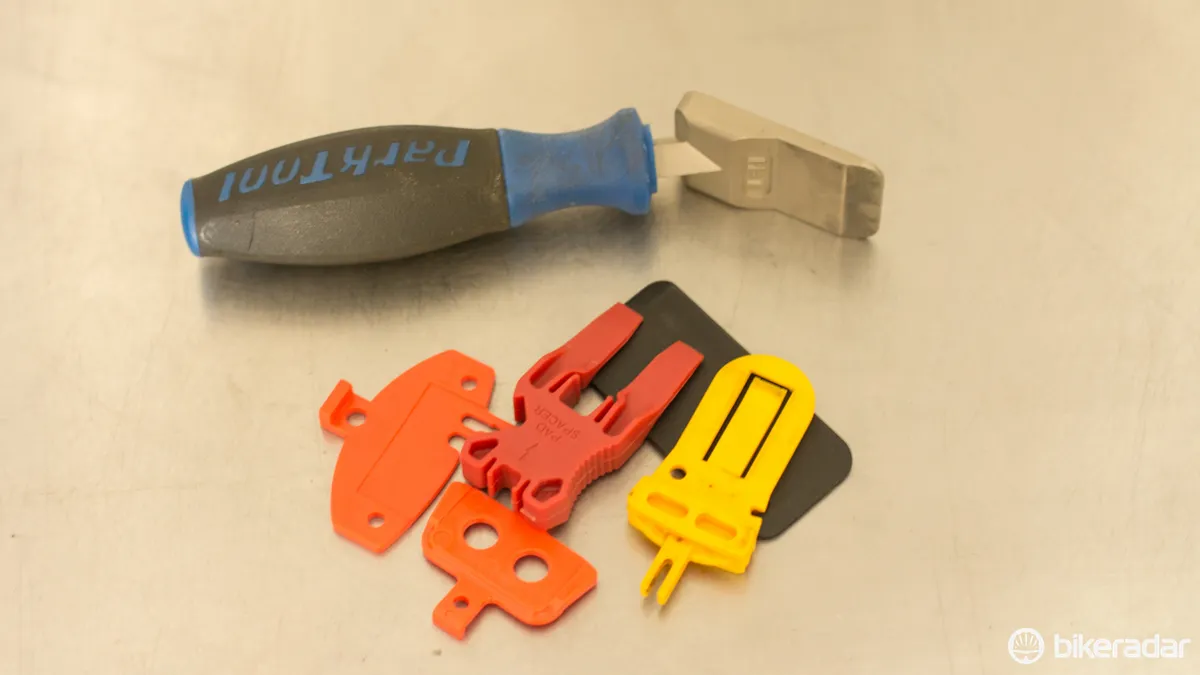
This is needed for travelling without your wheels in place, but a pad spacer is also perfect for re-setting the brake pads before adjusting them, or after an accidental squeeze of the lever with the wheel out.
Many tool brands do offer a workshop version of this, called a piston press. They are useful in a shop, but realistically don’t achieve more than what can be achieved with the free plastic version.
These plastic pad spacers will often come with your bike or brakes, but politely asking your local shop mechanic should get you one too.
Rotor truing fork
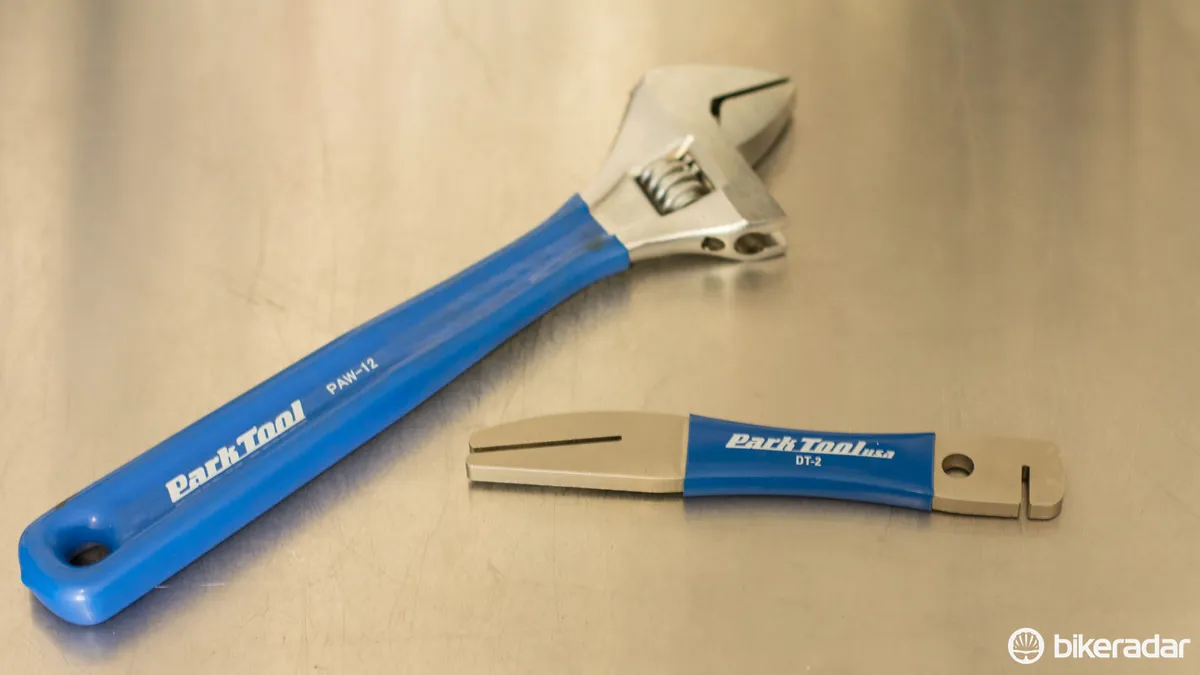
It’s common for disc brake rotors to warp slightly, whether that's through bike transportation or excessive heat. An inconsistent rub, ‘ping’ or ‘shing’ on every wheel revolution is often a giveaway that things could be straighter.
Rotor truing forks are simple, just a slotted piece of metal that you slide onto the rotor for delicate bending leverage. Cheaper options include a well-cleaned adjustable wrench or even your thumbs when used with a clean rag.
Calliper centring helpers
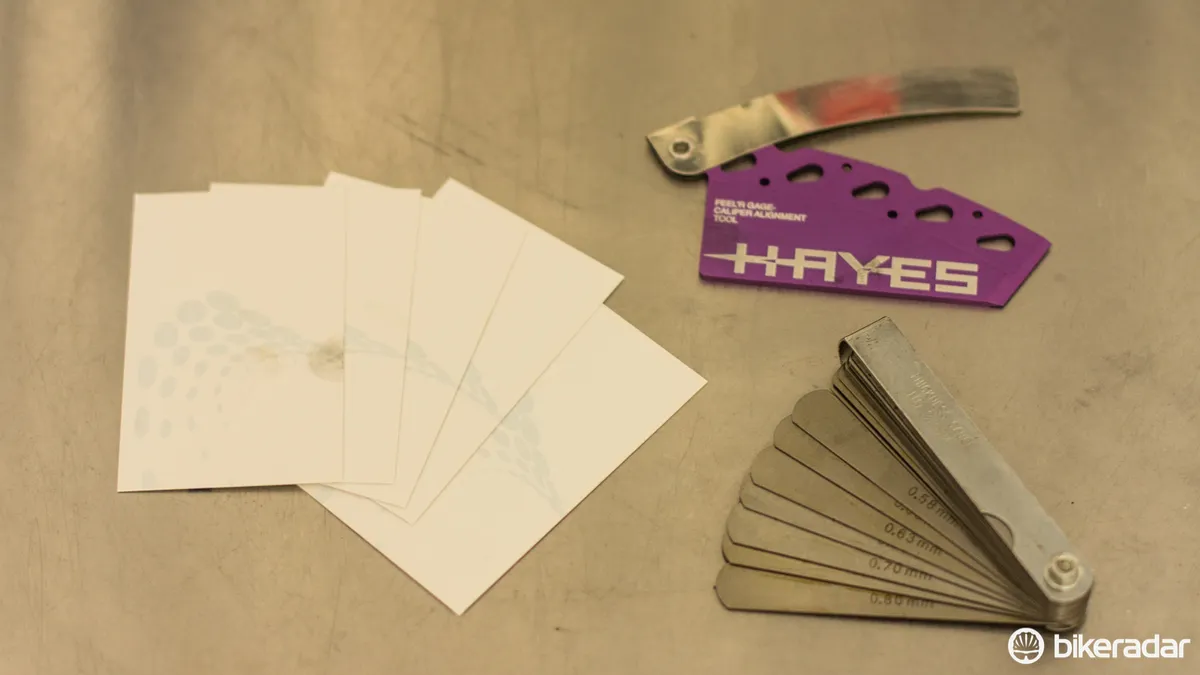
Most brakes adjust by just squeezing the brake lever, then tightening the caliper bolts evenly. But sometimes tolerances are tight and pistons don't pull evenly. In such cases, try sticking something between the pads and rotor to help create a balanced gap and then retry the normal set up technique.
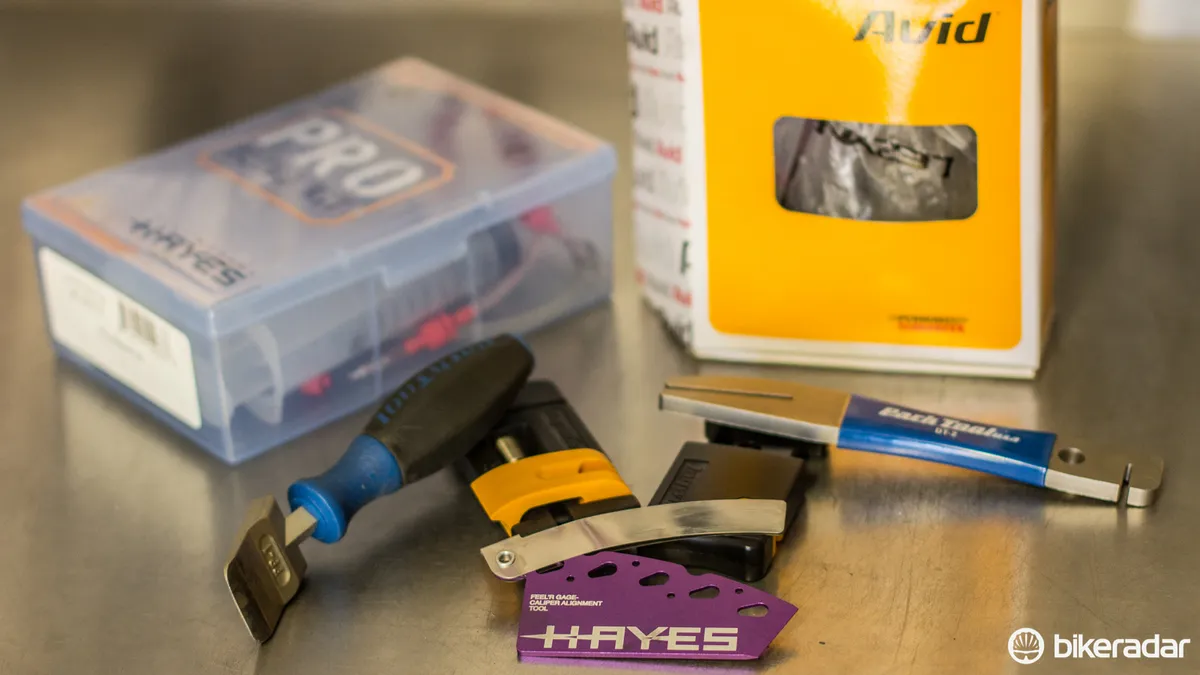
Old business cards work a treat here — they are a good thickness and the paper shows when they are dirty. A set of automotive feeler gauges is another popular choice, allowing you to find an appropriate thickness. I use the Hayes pad and rotor alignment tool, with its feeler-gauge prongs pre-aligned to slide over the rotor.
These simple tools aren’t always a perfect solution to centring a fussy caliper, but sometimes they're just the trick.
Soft light torch
Okay, this isn’t a common one among mechanics. But if you’re struggling to see between the brake pads for the cause of the rubbing, shining a low brightness torch (a cheap one) through the back of caliper will highlight your problem.
A more common option is to use a white piece of paper placed on the other side of the caliper to which you're looking — this light, plain background is often enough to spot what's wrong.
Emery cloth (sandpaper)
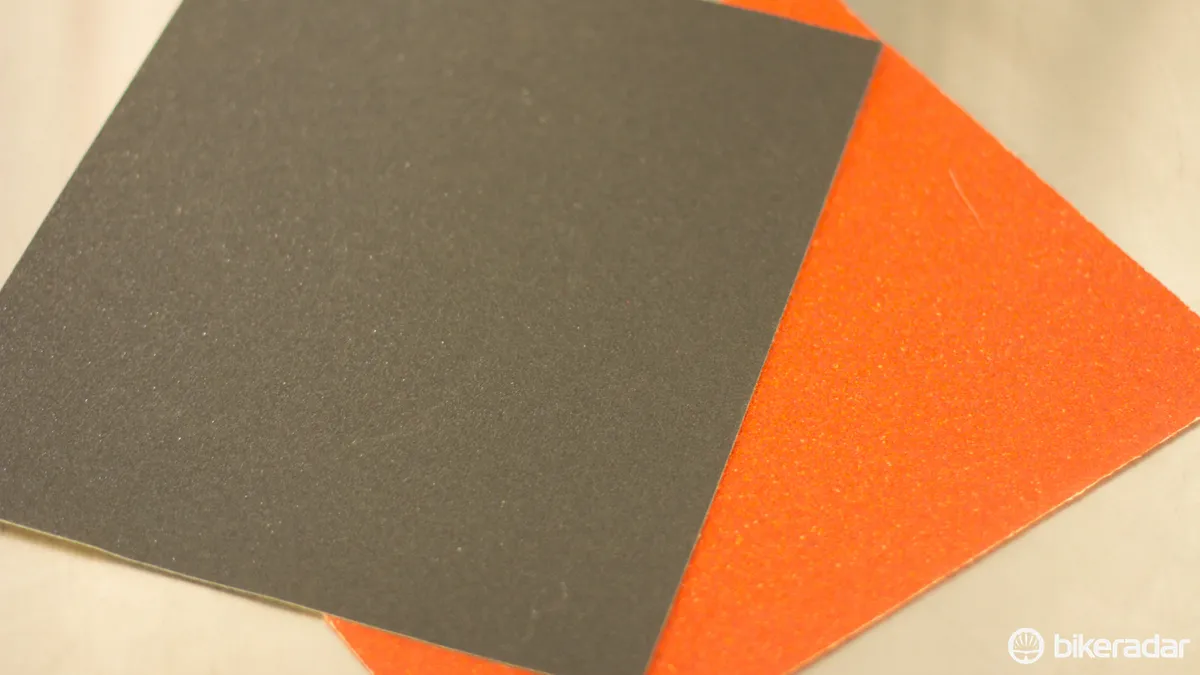
Over time, brake pads (and rotors) can glaze over, and brake performance will suffer. A quick fix is to remove the pads and lightly rub them across clean sandpaper. You don’t want too fine a grit — a grit of 120 or below will do the job well. I cut little pieces as I need them, that way the rest of the sheet stays clean.
Blow Torch
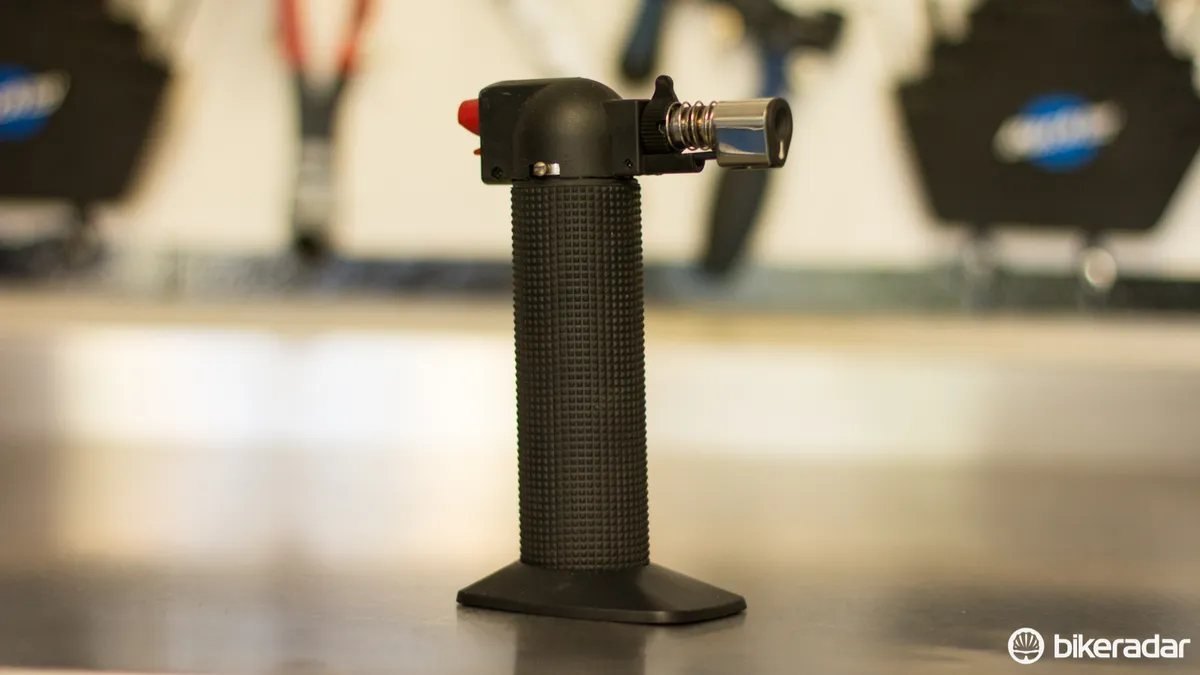
A blow torch comes with an element of danger, but it is a viable option for bringing some life back into lightly contaminated brake pads (in conjunction with sandpaper).
If you’ve poured oil or grease on the pads, just give up, this is for pads that still offer some bite but are perhaps squealing or lacking 100 percent power. Just be very careful and don't burn the house down!
Another serious precaution is that excessive heat like this may weaken the bond between the brake pad surface and backing plate — so certainly don't bake it to a glowing red and, if in doubt, replace the pads.
If burning and sanding the pads doesn’t work, it's time to get new brake pads and ensure your rotors are beyond clean (in rare cases, you'll need to change these too).

