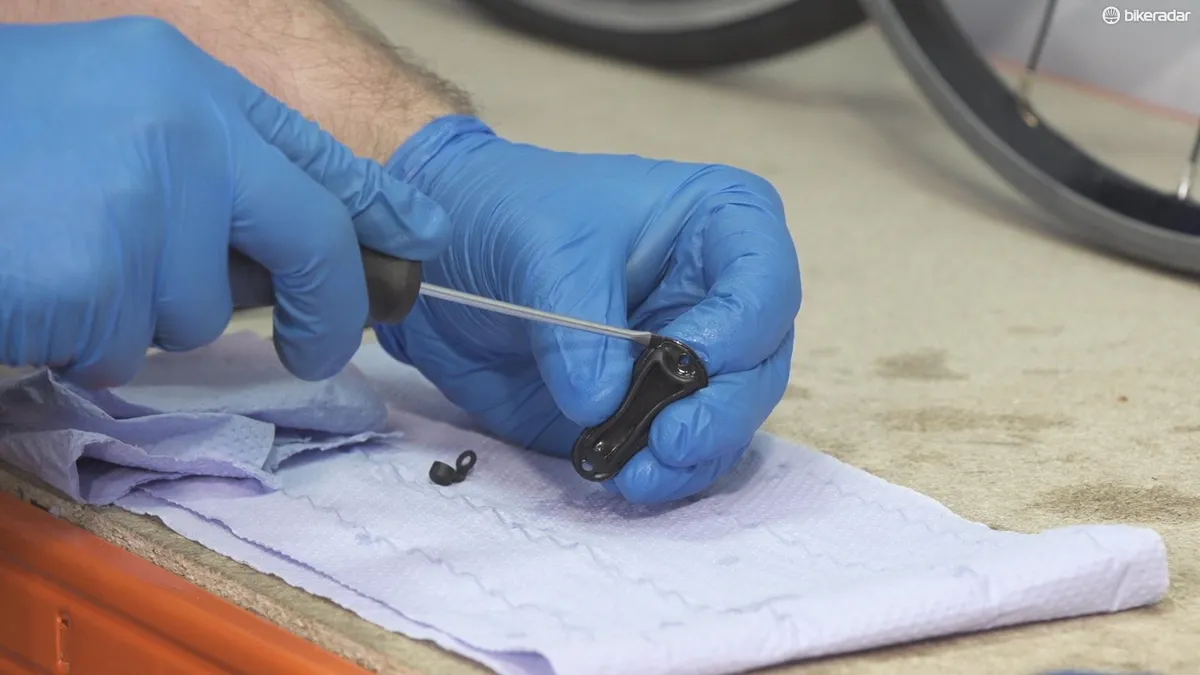
They may be ready to take plenty of use and abuse, but even Lancashire’s finest stoppers need a bit of TLC now and again.
In the video below, BikeRadar's James Tennant demonstrates how to bleed Hope brakes if you have air in the system, or if you just want to give them an oil change. You can also read written instructions below.
How to bleed hope brakes
Video: How to bleed Hope brakes.This video is part of the Park Tool Maintenance Monday series. You can purchase the Park Tools used in the video at a number of dealers across the UK and internationally. For more maintenance videos, subscribe to the BikeRadar YouTube channel.
Tools for the job
- 8mm ring spanner
- Allen keys and/or Torx keys
- Flat-head screwdriver
- Bleed tube/pipe
- Oil collection container
- Brake cleaner spray
- Degreaser
- DOT 5.1 brake fluid
- A small bottle or can
- Paper cloth
- Gloves and eye protection are recommended
How to bleed Hope disc brakes
1. Remove the relevant wheel from the end you are bleeding. Remove the pads from the caliper too. Pull the split pin out of the pad retaining bolt and remove it with a 3mm Allen key. Withdraw the pads and spring from the caliper and put them well away from the area you’re working in. This keeps the pads away from hydraulic fluid, which will contaminate them permanently, rendering them useless.
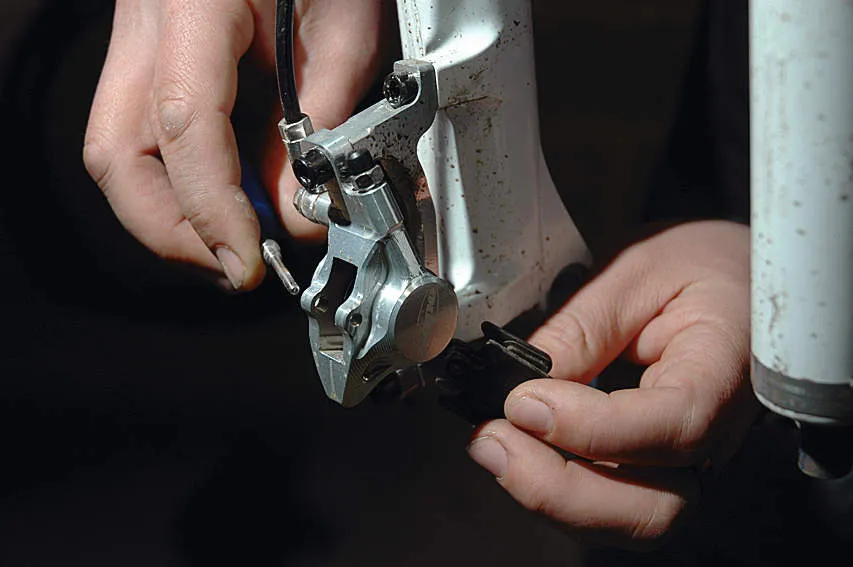
2. Next you need to make sure that the bleed nipple on the caliper is at the highest point. If you’re not using a workstand, then place blocks under the rear wheel to get it positioned correctly. If you don’t have a post-mount, remove one of the bolts to rotate the caliper into position. For the rear, remove the top bolt and rotate into position.
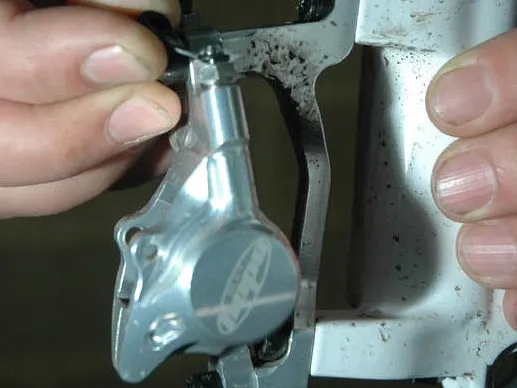
3. Once the caliper is positioned, move the brake lever so it is horizontal.
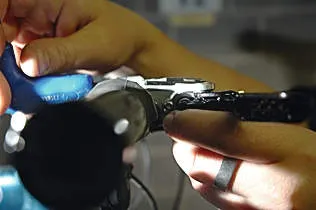
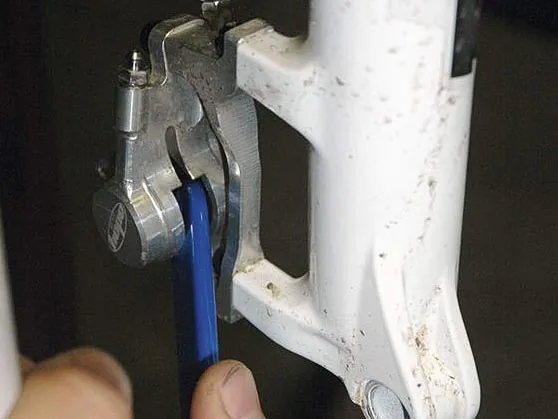
4. Push the pistons back until they are flush with the inside face of the caliper. Do this with a soft tool, like the handle of a small screwdriver, so you don’t damage the piston face. The pistons need spacing so they don’t push out. Use a 10mm Allen key or similarly sized piece of wood to keep them apart.
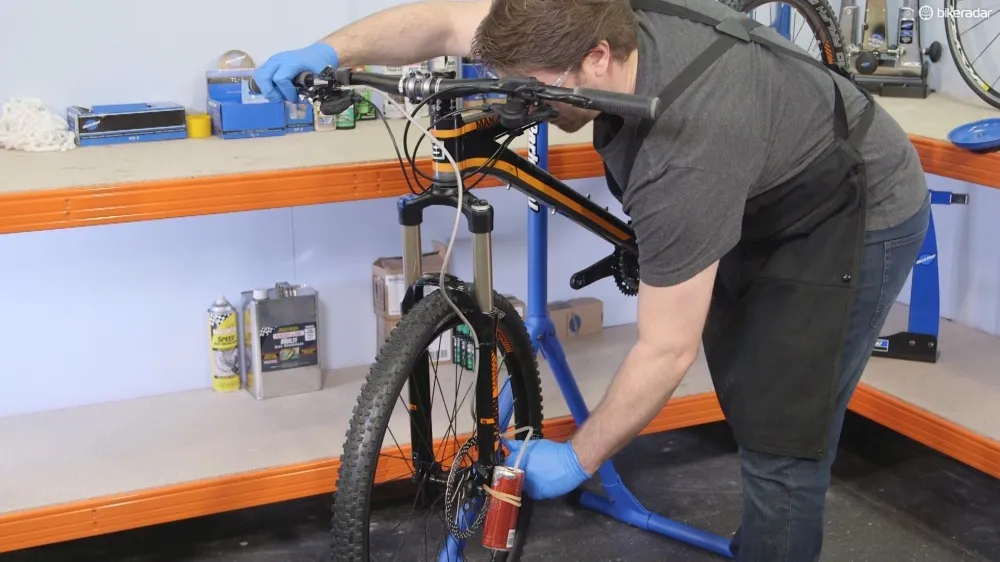
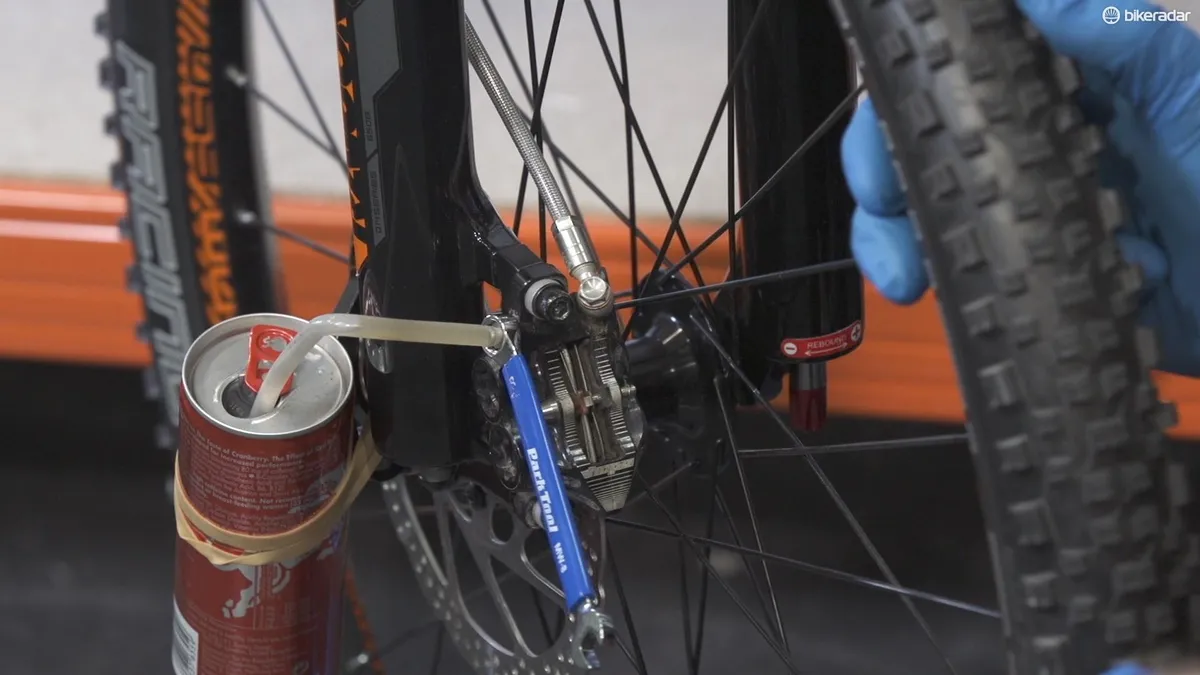
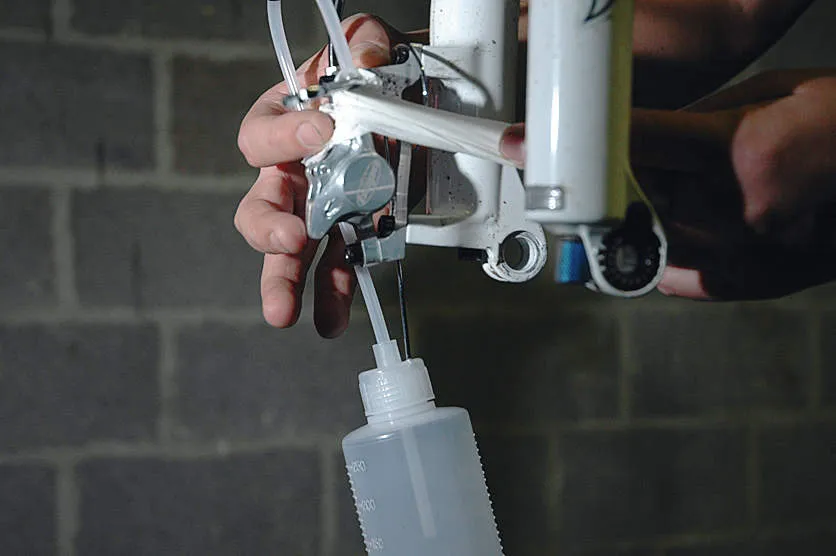
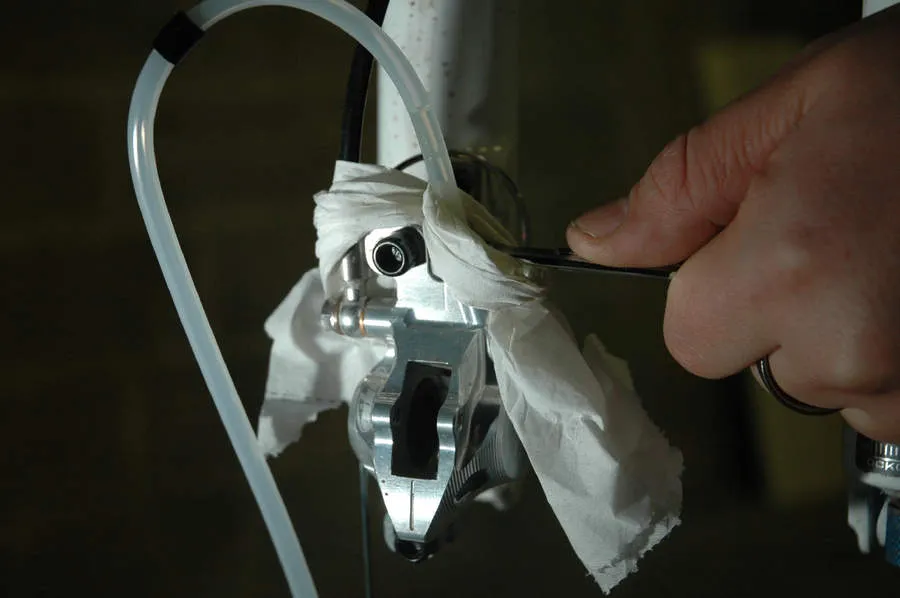
5. Place your ring spanner over the bleed nipple. Push the bleed tube onto the nipple too, with the exit end in a sealable container, to help with safe disposal of the used brake fluid. Wrap some tissue around the end of the tube and bleed nipple to stop any accidental spillage making its way onto the pistons.
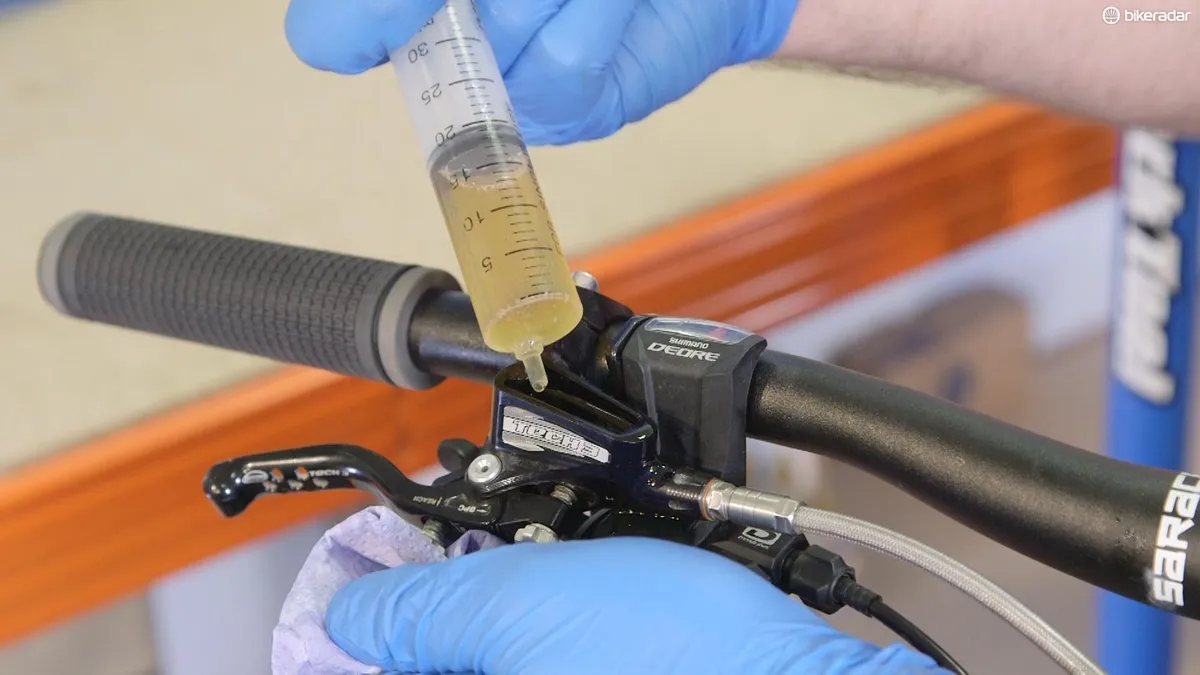
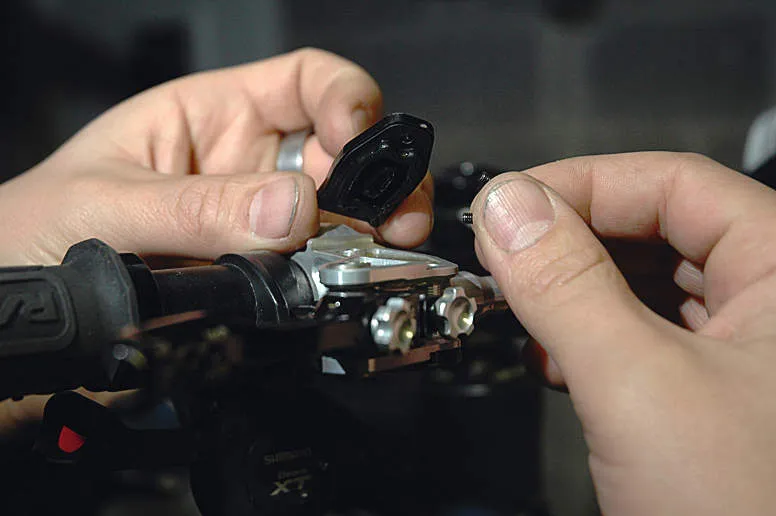
6. Time to remove the top cap from the lever. Remove the two retaining screws, which will either be a 3mm Allen screw or a T10 Torx key. Once the screws are removed, you can lift the cap and diaphragm (the rubber piece under the cap) away from the lever. Put them on a clean piece of cloth to stop any dirt contamination, which can get into the brake system when they are re-fitted.
7. Make sure the lever reservoir is full, then it’s bleeding time. The cycle for pushing oil through the system is as follows:
A: Open the bleed nipple.
B: Pull the brake lever to the bar.
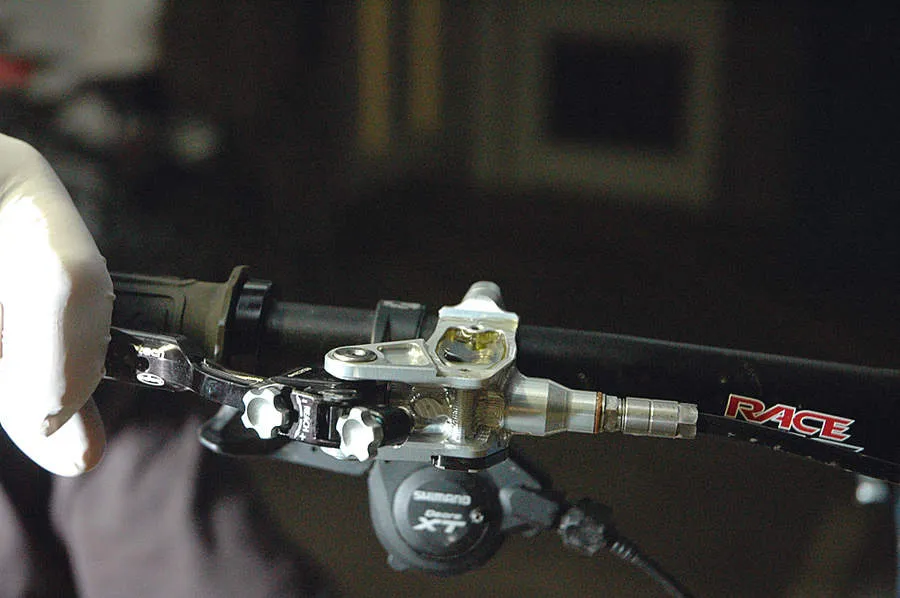
C: Close the bleed nipple.
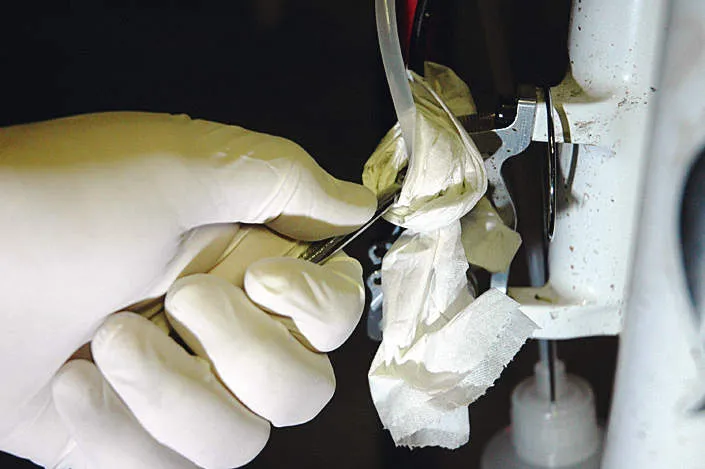
D: Release the lever.
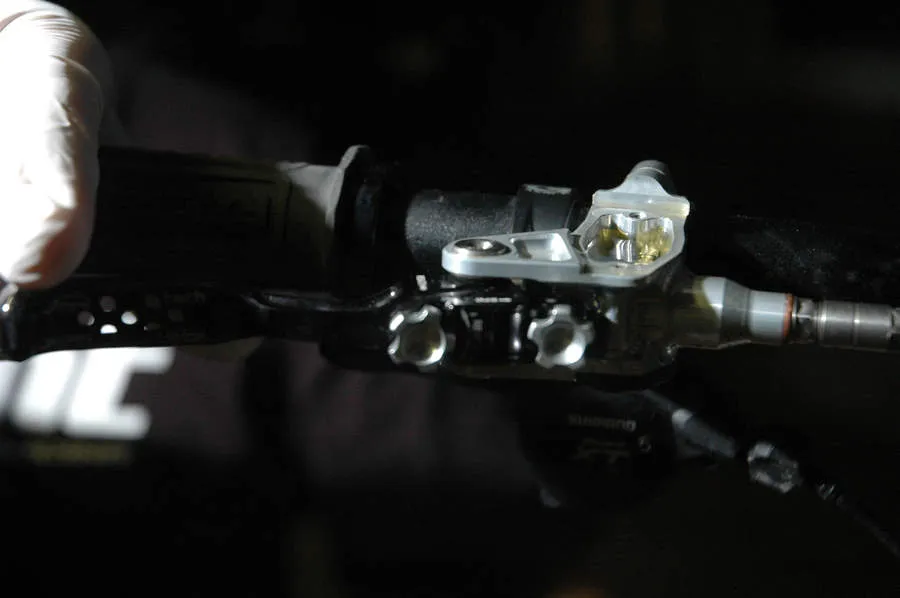
8. The level in the reservoir will drop with each cycle, and it’s of the utmost importance to not let it run dry. If you do it will pull air into the system and you are back to square one. Keep topping the reservoir up at least every second cycle.
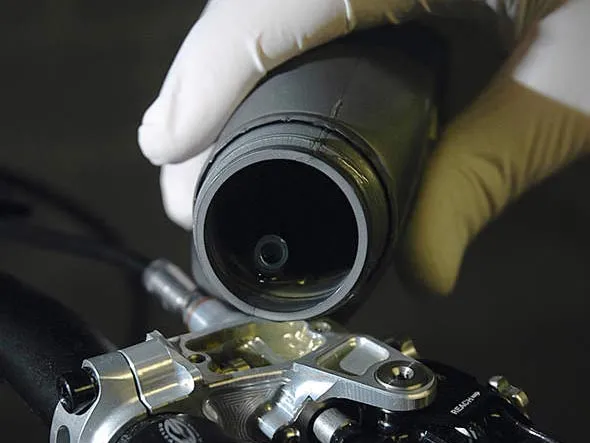
9. Continue going through the cycle. You’ll see the oil coming out of the bleed tube along with air bubbles. Keep repeating until no more air comes through. It’s worth tapping the caliper with the handle of a screwdriver to release any trapped air. Also, pump the brake lever occasionally between cycles, with the bleed nipple closed.
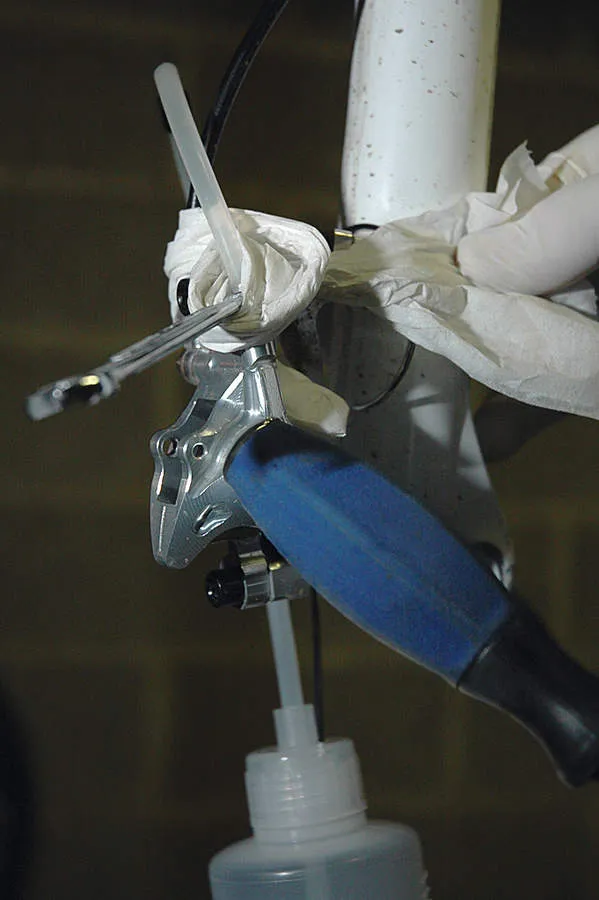
10. Once you’re satisfied that all the air has been removed from the system – or, if you’re replacing the oil, the clean oil starts to come through – then you can remove the bleed hose. Make sure you carefully cover the end of the tube to catch any oil as you pull it off the nipple.
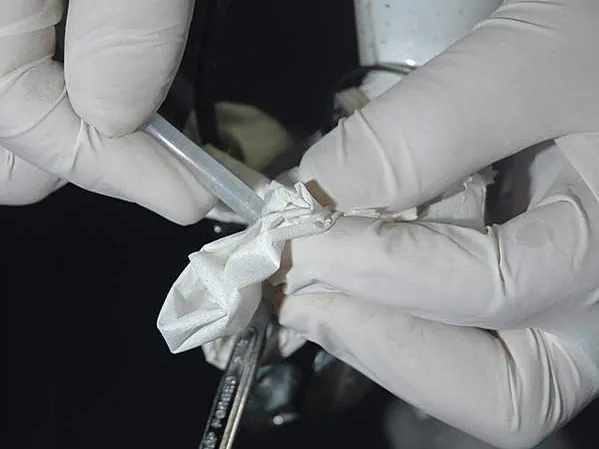
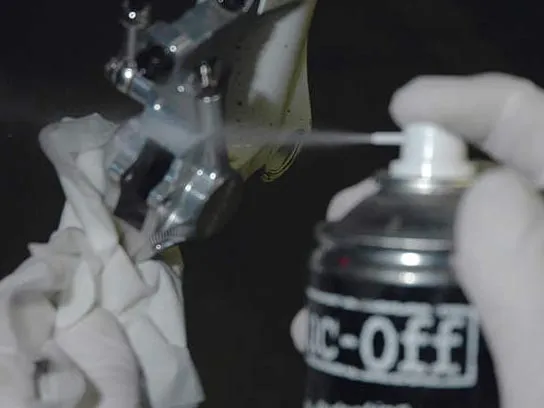
11. Once the hose is out of the way, give the caliper a good spray with brake cleaner and wipe it clean, so no oil residue remains. Hydraulic fluid is corrosive, and will mark the anodising on your lovely shiny kit. Once this is done, push the pistons back as described in step 3.
12. Now replace the rubber diaphragm in the lever. Roll it in by first putting one side into position and then rolling the diaphragm out until it’s flat on top of the reservoir. This expels any air that might get trapped underneath this rubber cover, which would then get into the system and ruin brake performance.
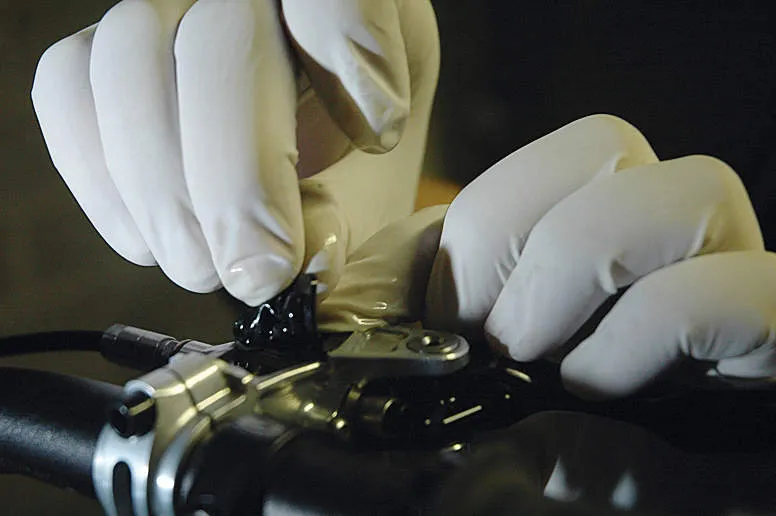
13. Replace the top cap and refit the retaining screws so they are just nipped up. Grab the brake cleaner and give the brake lever, and all the surrounding area, a good clean to remove any brake fluid residue.
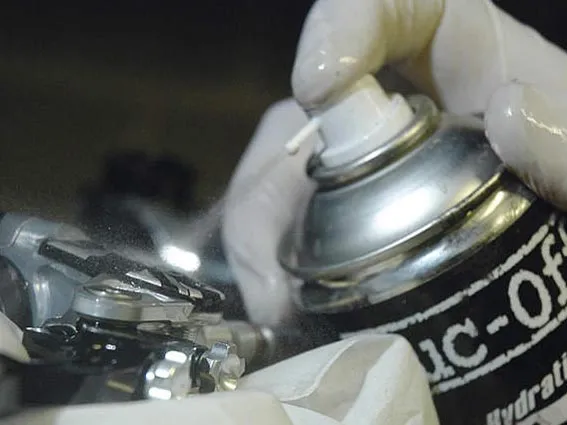
14. Clean your hands to make sure you don’t have any brake fluid on them, and then replace the brake pads. Put the spring in position in between them and slot both pads and the spring into position as one unit. Replace the retaining bolt and tighten. Clip the split pin back into the end of the bolt.
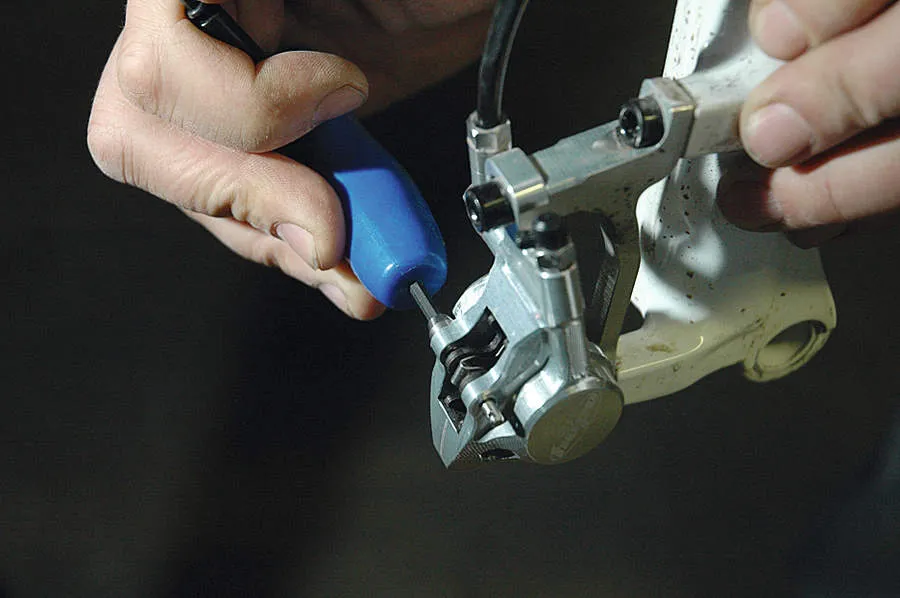
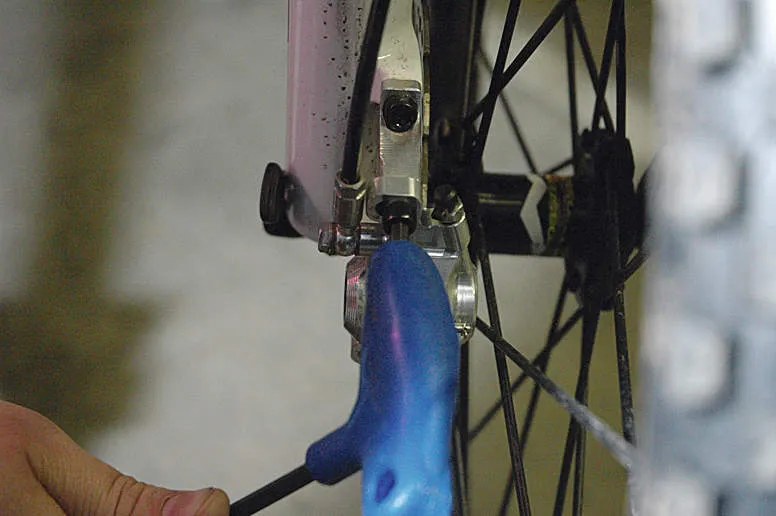
15. If you’ve moved your caliper, bolt it back into place and tighten it. Give the lever a few hard pulls to get the pads into position. Spin the wheel to check the rotor isn’t rubbing the pads, and you’re ready to go.
Workshop Wisdom
- Hydraulic brake fluid is corrosive and attacks paintwork, anodising and polished surfaces, so make sure you clean up spillages immediately.
- Brake fluid is also bad for you. Make sure you wear latex gloves when working with it, as it dries the skin causing dermatitis.
- Hydraulic fluid is bad for the environment too, and should be disposed of at recycling centres with oil disposal tanks. Many motoring stores and garages also have disposal tanks you can use.
