If the hydraulic disc brakes on your bike are feeling spongy at the lever or lack power, it may be a sign they need to be bled.
Brake bleeding is the process of removing any bubbles of air from a hydraulic system and replacing old brake fluid.
Over time, hydraulic disc brake systems take in air, affecting performance and lever feel.
Even if the brakes don’t feel spongy, it’s worth bleeding your brakes annually so the fluid is kept fresh.
In this guide, we’ll take you through the bleed process. We’ve also included a guide to burp-bleeding, which is effectively a shorter version of the bleed process and isn't typically something you can do when bleeding a SRAM brake. This might work as a half-way house solution if the system was recently fully bled or if you’ve shortened the hose on your bike.
How to bleed Shimano disc brakes
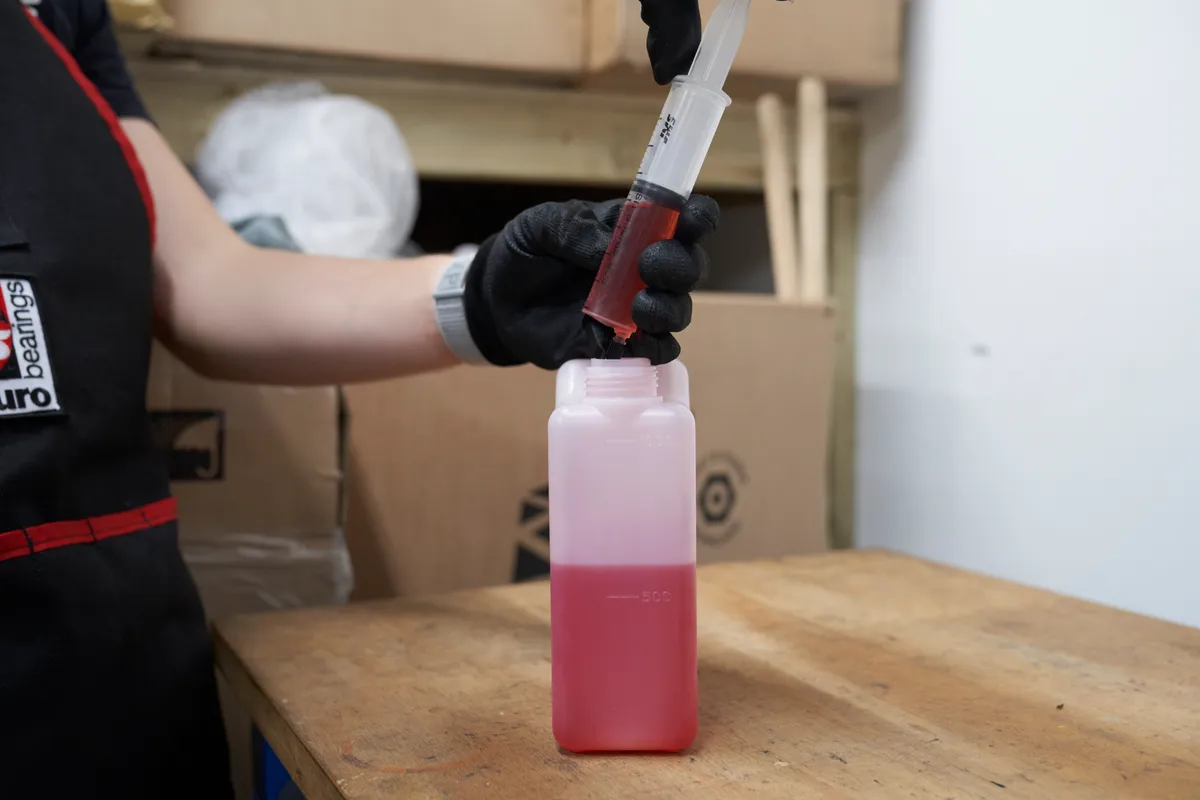
This guide follows Shimano’s official method for 12-speed drop-bar hydraulic disc brakes, with a few small tips and tricks to improve the quality and ease of the bleed.
The bleeding process is largely identical to all other modern Shimano disc brake systems, including flat-bar mountain bike brakes.
The levers need to be rotated to certain angles (this is referred to as ‘burp positions’) during different points of the bleed process. These positions differ across levers. You can check the specific positions required for your lever on Shimano’s technical documentation.
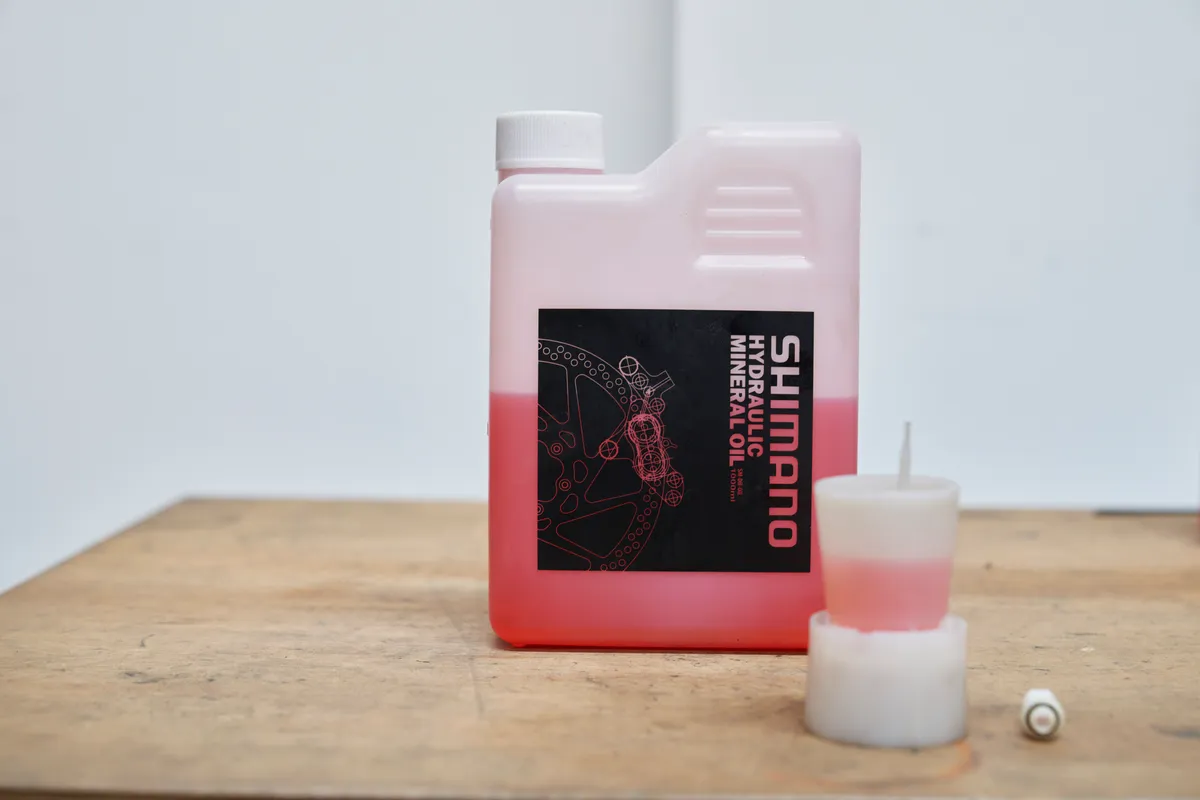
Shimano brakes use mineral oil. Because mineral oil is not regulated, we recommend you use genuine Shimano brake fluid for the best performance.
Do not use DOT fluid or use a bleed kit that was used previously with a different fluid. Using the wrong fluid can destroy the seals and lead to brake failure.
Tools required
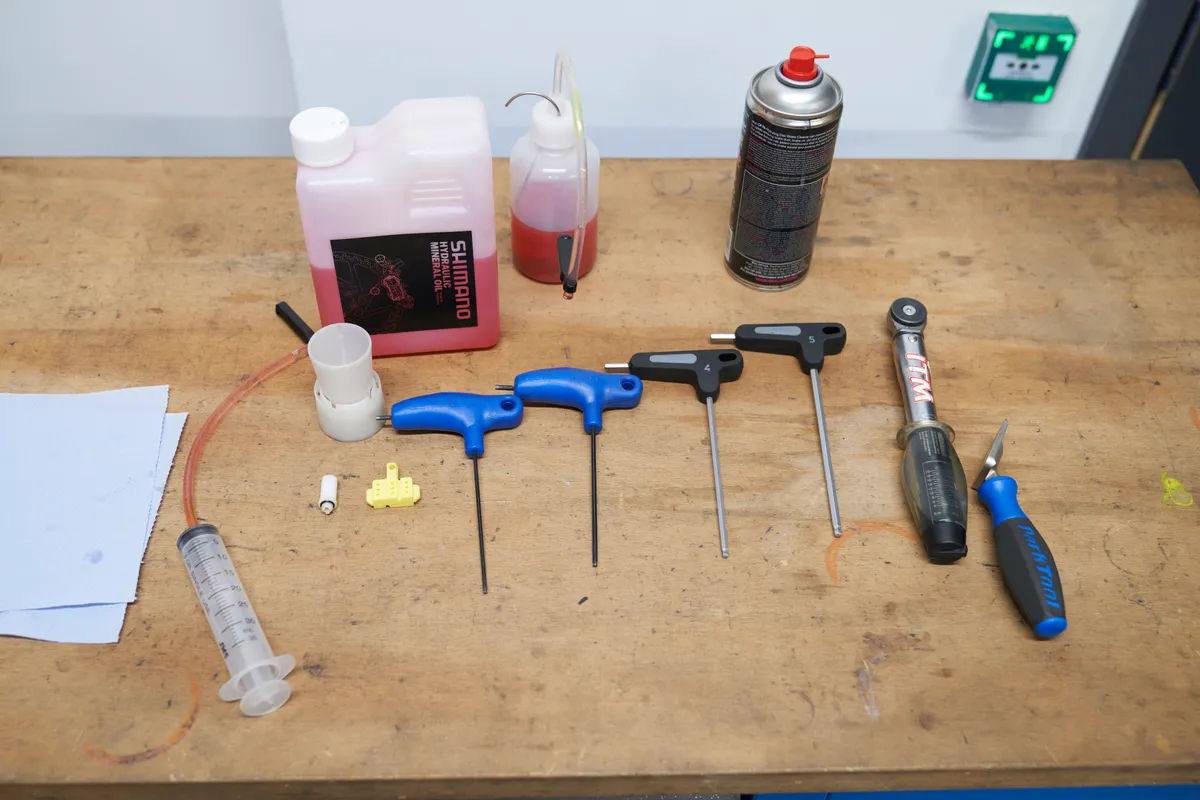
- Isopropyl alcohol
- Safety glasses and protective gloves
- Shop towel/rags
- Shimano mineral oil
- Hex keys (2/2.5mm for bleed port screw, 3mm or flat-blade screwdriver to remove disc brake pads)
- 7mm open-ended spanner for caliper syringe
- Torque wrench and relevant sockets (optional)
- Bleed block
- Piston press (or a plastic tyre lever)
- A Shimano-compatible bleed kit
- Oil-collecting bottle or bag (may come as part of kit)
Step 1
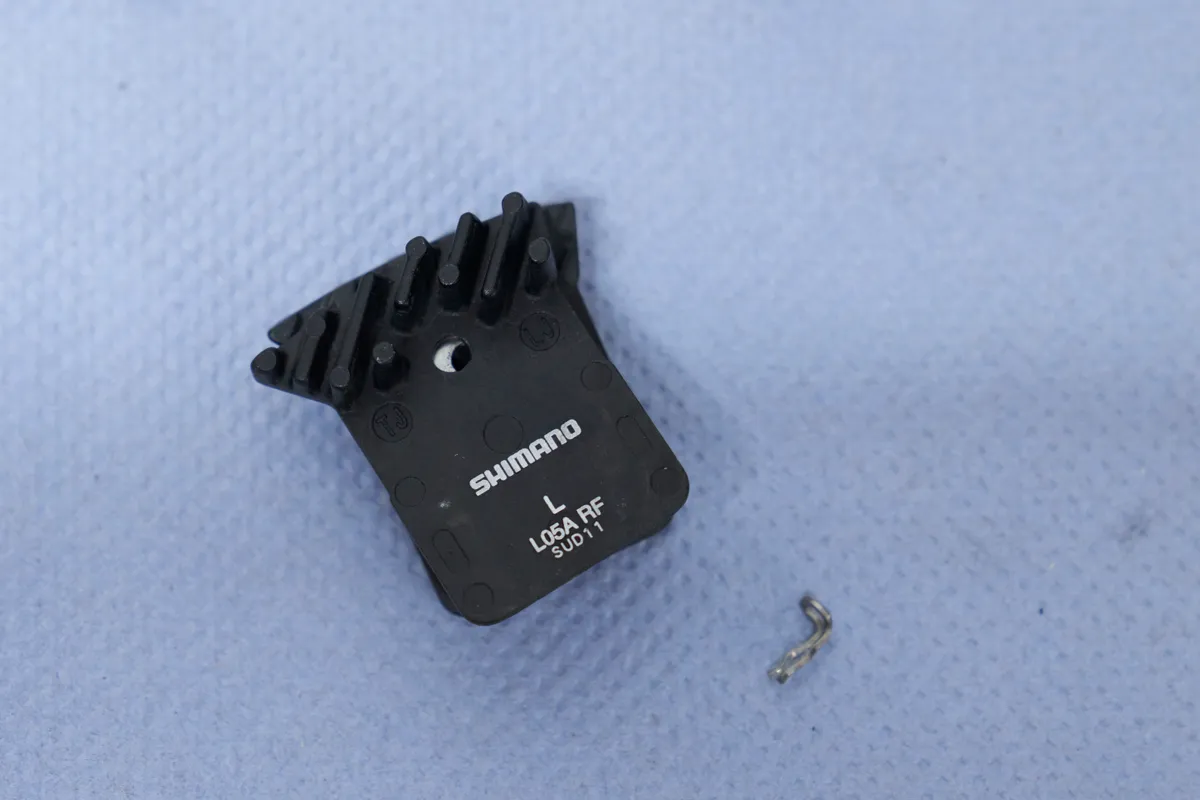
Remove the wheel and the disc brake pads.
When removing the pads, make sure you only handle them on the backing plate to reduce the risk of contamination. It’s also worth giving the caliper a clean to reduce the risk of contamination.
If your brake has free stroke adjustment, make sure it is wound fully out and the lever reach returned to its original position.
Step 2
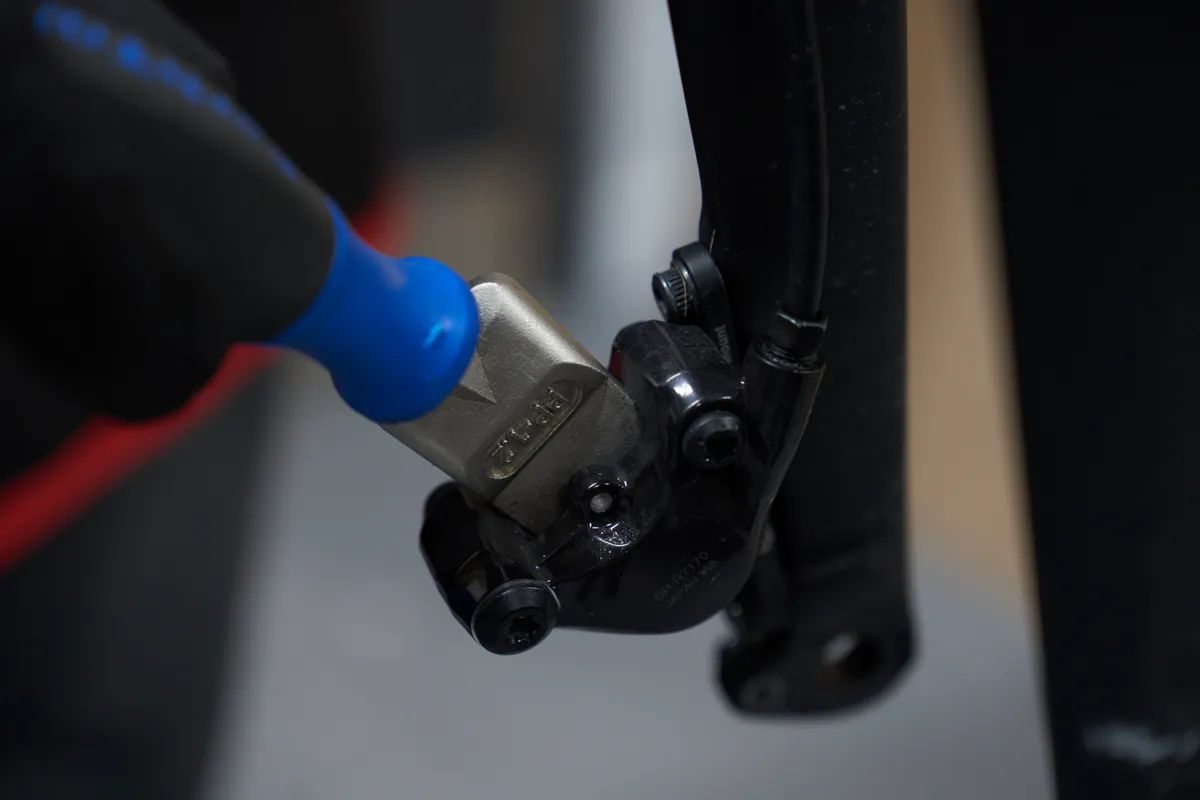
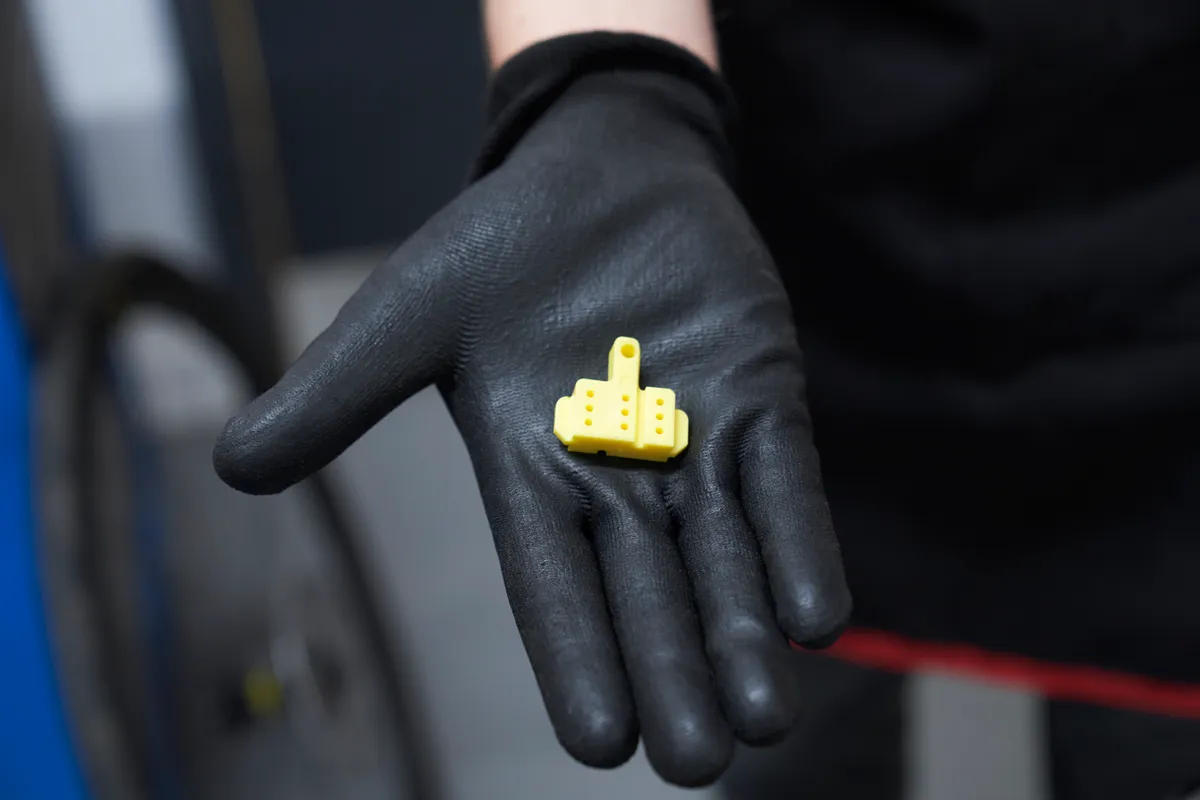
Push the caliper pistons back using a piston press or plastic tyre lever and install a compatible bleed block, reusing the pad retaining bolt. If the bleed block doesn’t fit, the pistons are not pushed back completely. It may also be the system was overfilled previously.
Take care when pushing the pistons back, particularly with the ceramic pistons found on high-end Shimano brakes – these can crack easily.
If you are bleeding the rear caliper, although not essential, you could consider removing it from the frame and letting it dangle vertically. This is so the caliper becomes the lowest part of the system and provides a cleaner path for any bubbles to escape.
Pull on the brake lever 10 times to stabilise the piston position.
Step 3
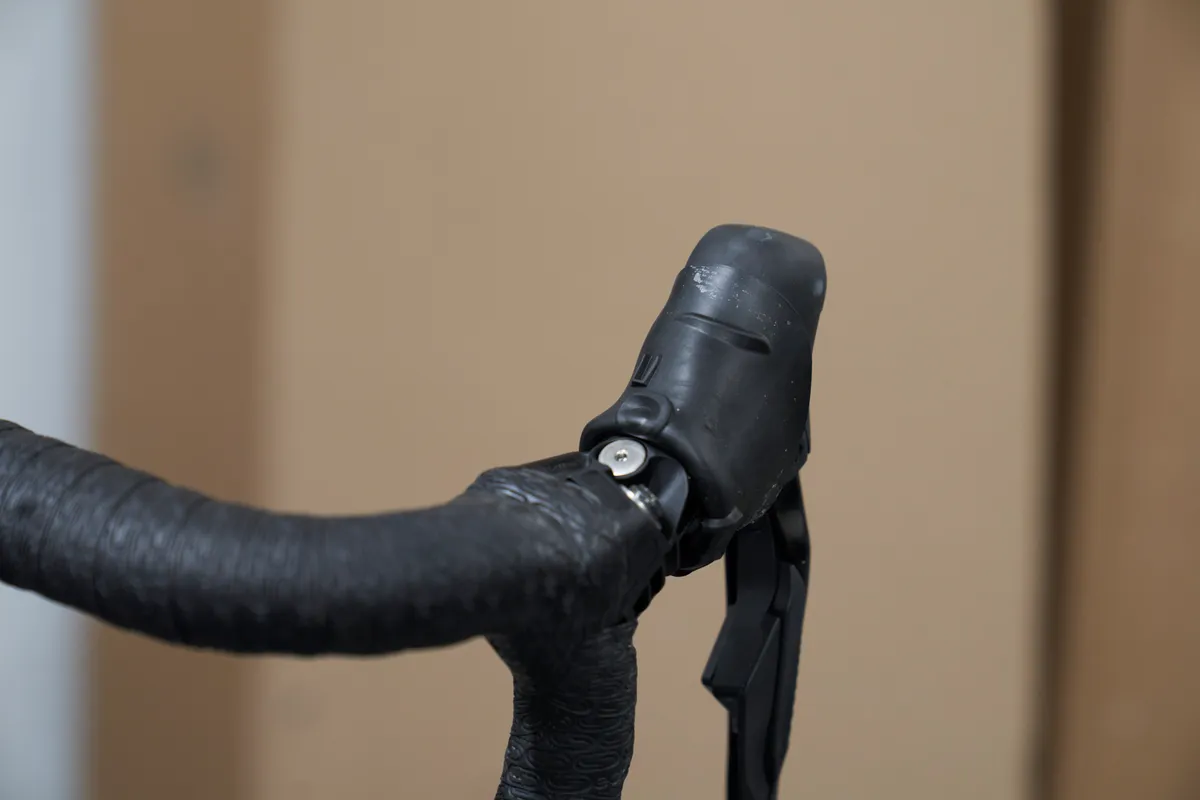
If you’re working on a drop-bar shifter, peel back the rubber hood. Rotate the bike on the repair stand or the handlebar so the bleed screw is parallel with the ground and the highest part of the system.
This is important so the master cylinder is parallel and air can move into the funnel.
If you’re working on a flat-bar brake lever, reposition the brake lever so the bleed port is the highest part of the brake system.
Step 4
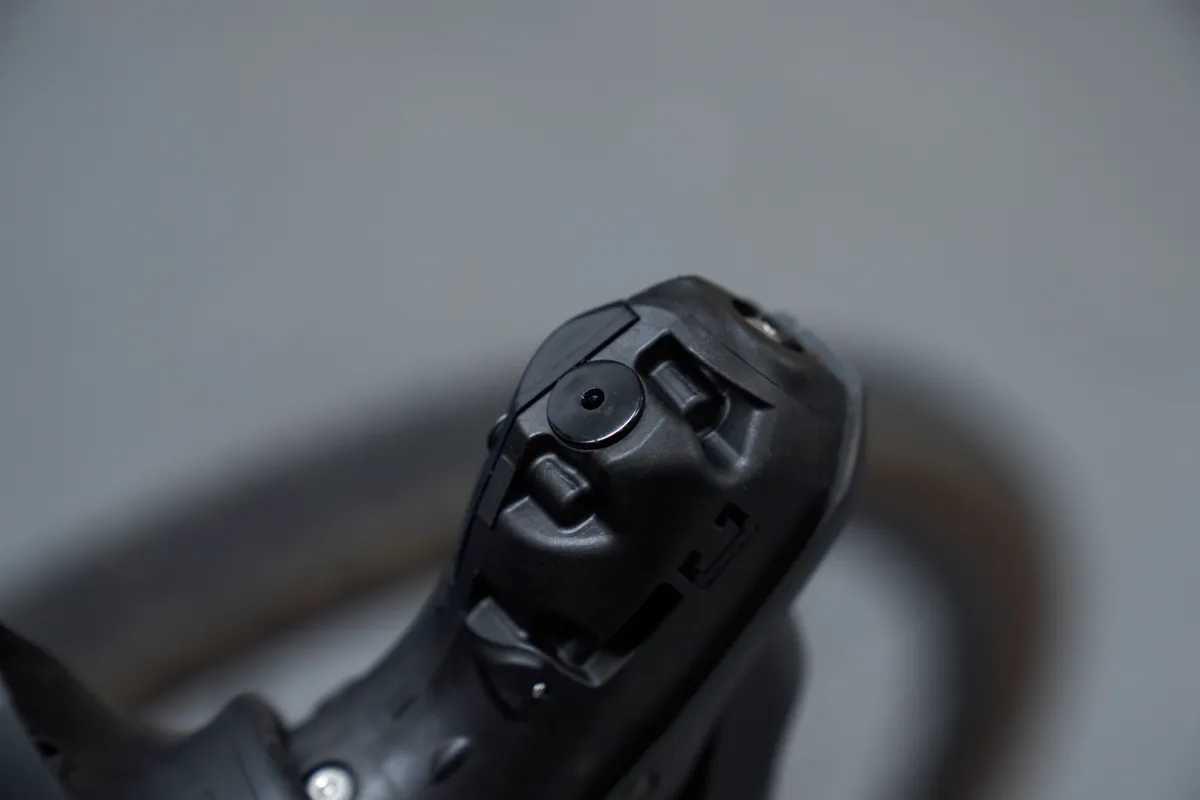
Remove the bleed screw, making sure the O-ring comes out with it, and install the bleed kit funnel.
On some shifters, you may need to use an adaptor to attach the bleed funnel. Remove the plunger.
The bleed port screws are so soft they feel as if they're made of chocolate and very easy to accidentally round. Make sure you use a good quality Allen key and avoid using the ball-end to undo it.
You should also take caution when installing the bleed funnel into the threads because they too are easy to strip.
Step 5
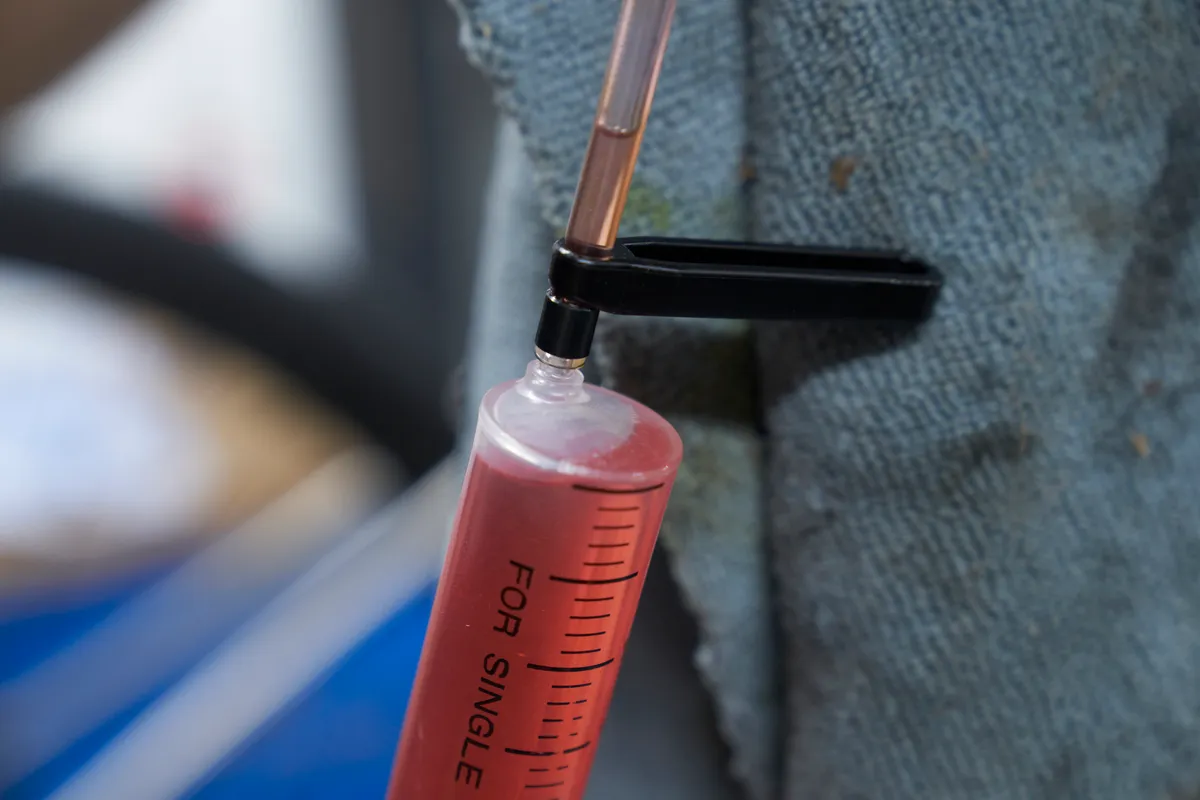
Prepare a syringe full of mineral oil.
Make sure you eliminate any air bubbles to avoid introducing air into the system. Hold the syringe vertically and plunge to remove the bubbles, holding a rag over the top to catch any oil.
Step 6
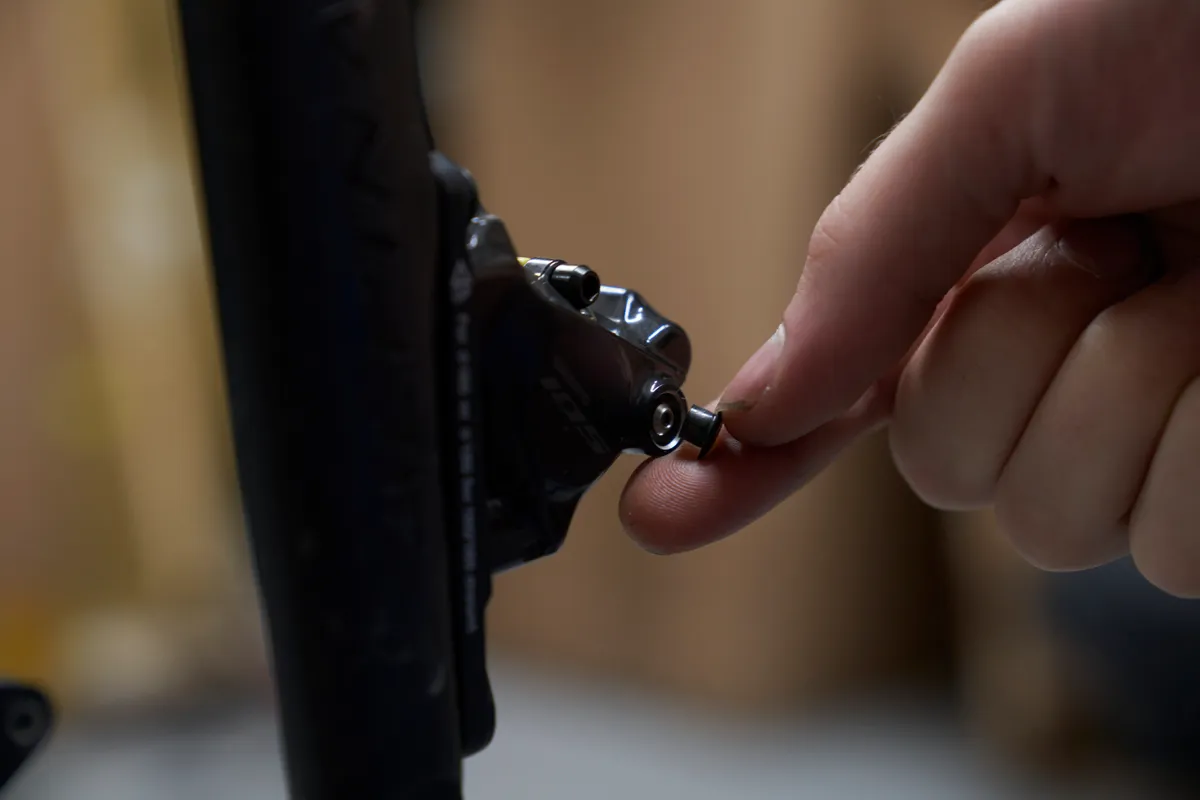
Undo the caliper bleed port screw and attach the syringe.
On Shimano’s 12-speed road calipers, you’ll first need to remove the bleed boss cap and bleed screw cap. Connect the syringe to the bleed boss and loosen the bleed screw by half a turn.
Other calipers feature a ‘nipple cap’. Remove the cap, position a 7mm spanner over the bleed screw and then attach the hose. This screw only requires loosening by a quarter-turn.
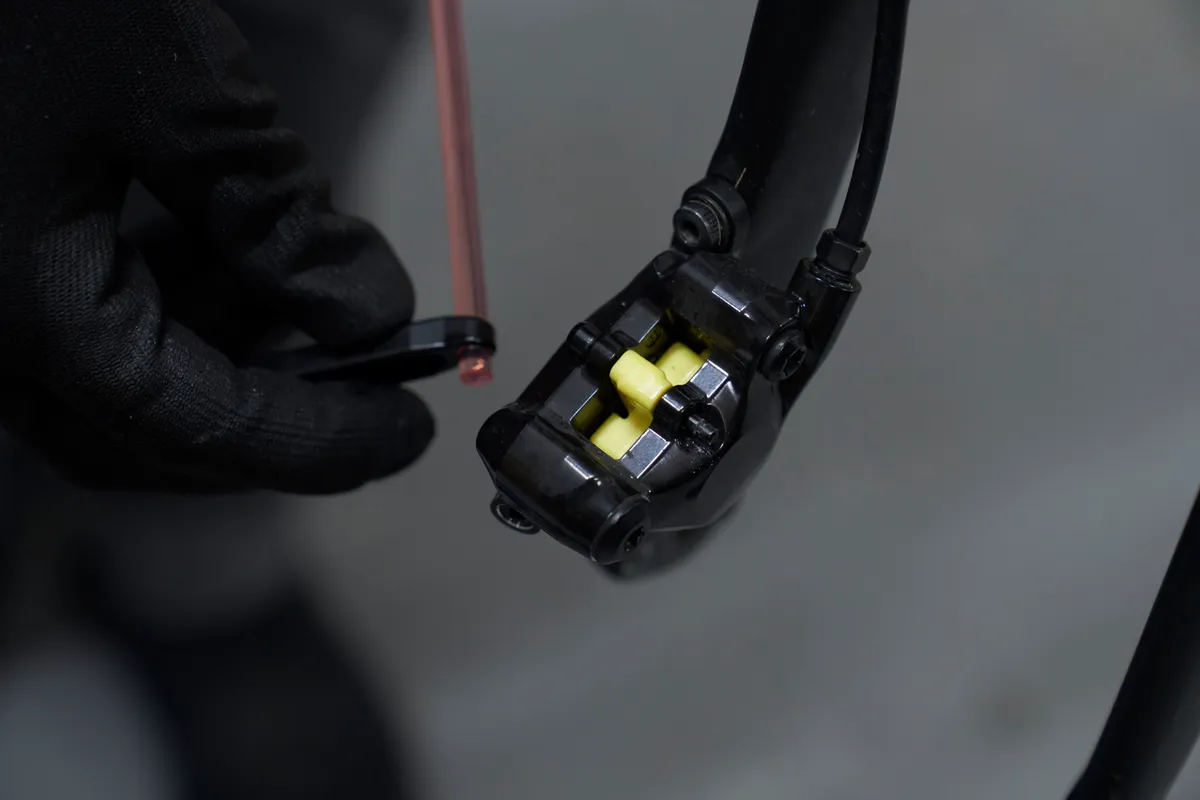
If you aren’t using a bleed kit with Shimano’s latest hose-end fitting, the older hose won't have the most stable connection with the caliper. Some kits also include ‘hose clips’ you can position over the hose at its connection, otherwise keep one hand on the hose to keep it in place.
Step 7
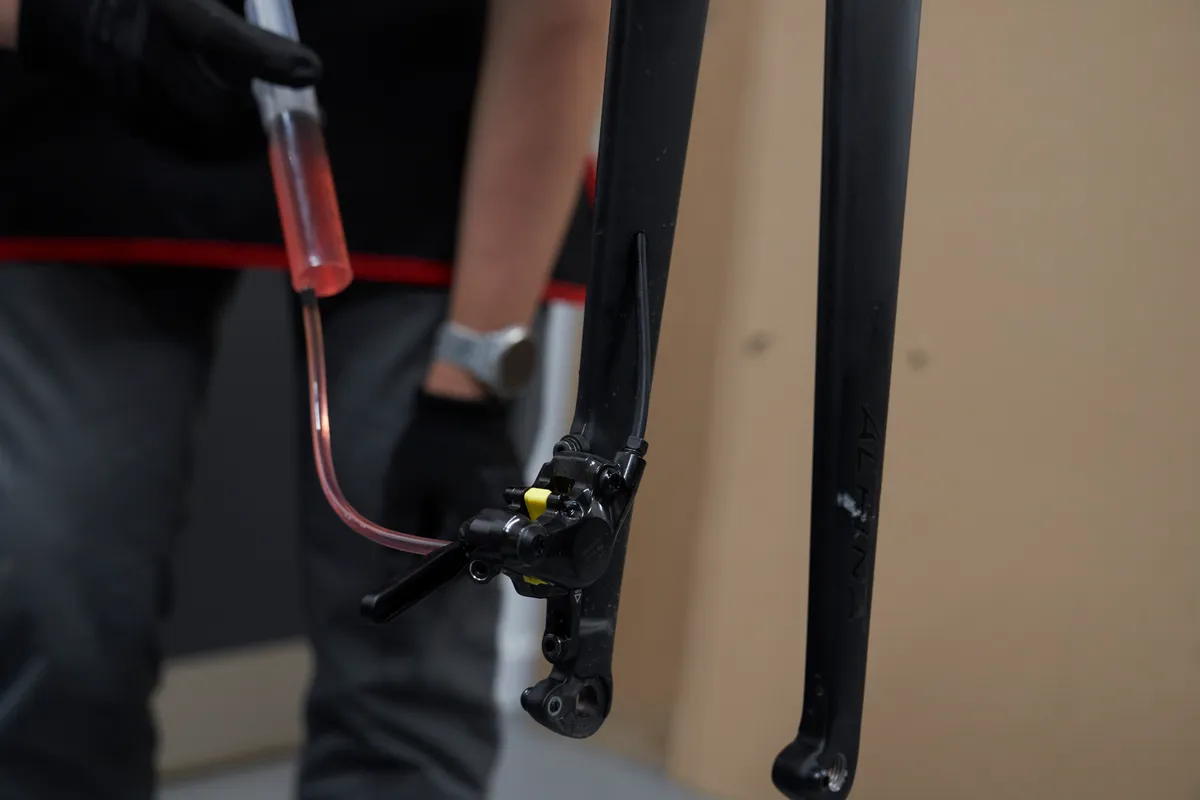
Slowly push the fresh oil into the caliper. You will likely see air bubbles entering the funnel.
If it’s difficult to push the oil through the system, the caliper bleed screw isn’t undone enough.
If the old fluid is discoloured, you’ll need to discard it and refill the syringe with new fluid until the fluid coming out of the funnel is no longer discoloured.
Make sure you don't push all the way down on the syringe to avoid air entering the system.
Once there are no more air bubbles coming into the funnel, close the caliper bleed screw and pull the brake lever ten times.
Step 8
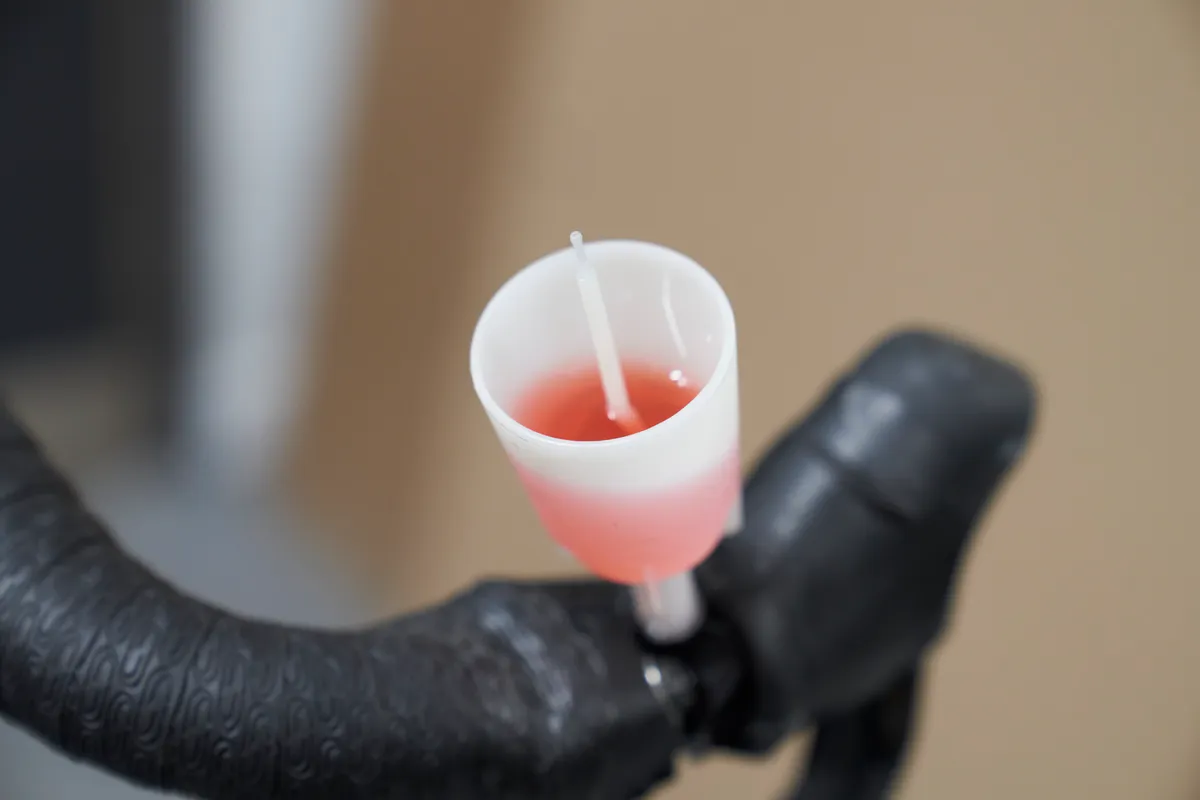
Now place the lever so the top of the funnel is 20 degrees to the ground. This helps move trapped air from the reservoir to the funnel.
Actuate the levers slowly and stop operating when you no longer see air bubbles coming through into the funnel.
Step 9
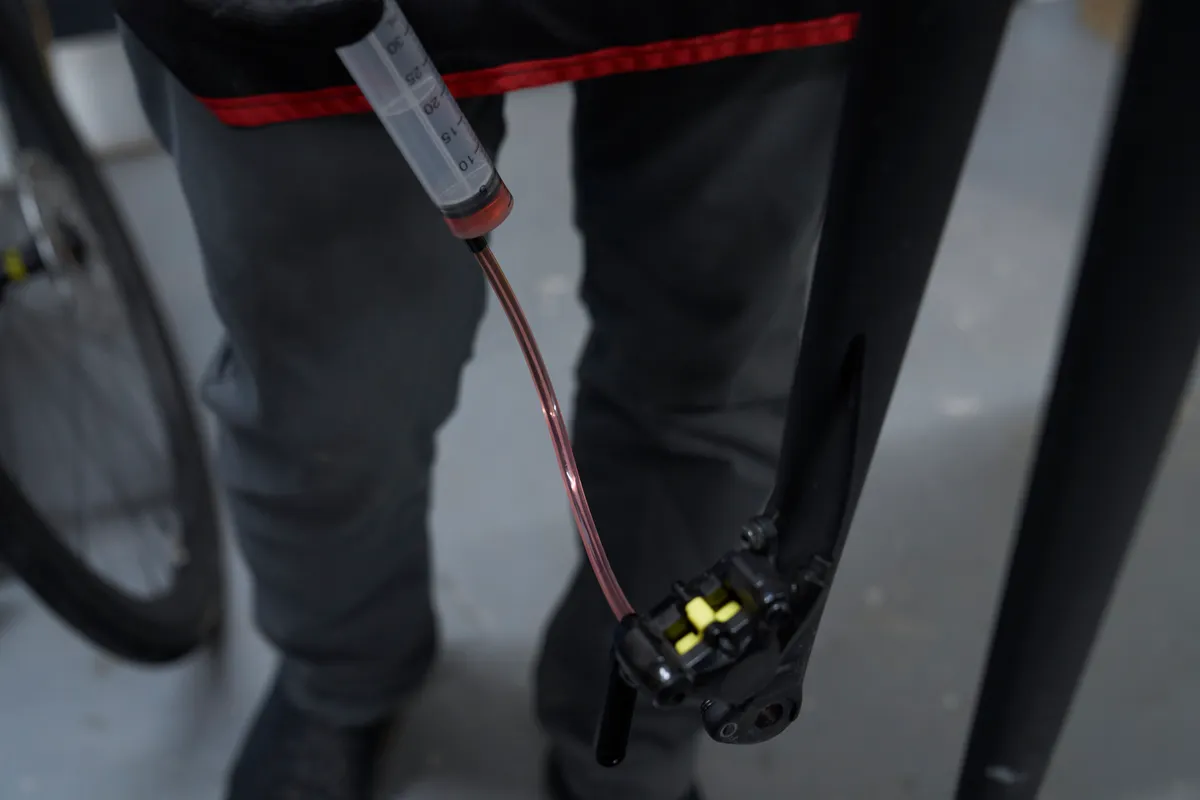
Loosen the caliper bleed scew to reopen the system. Push oil into the caliper a second time – if the syringe is not at least half full, refill it with mineral oil before proceeding.
Watch the oil come into the funnel and stop pushing when there are no longer any bubbles.
Close the bleed screw on the caliper and remove the syringe. If you want to avoid the syringe spraying fluid as you remove it, once the bleed screw is closed, gently draw air out of the syringe when removing.
Step 10
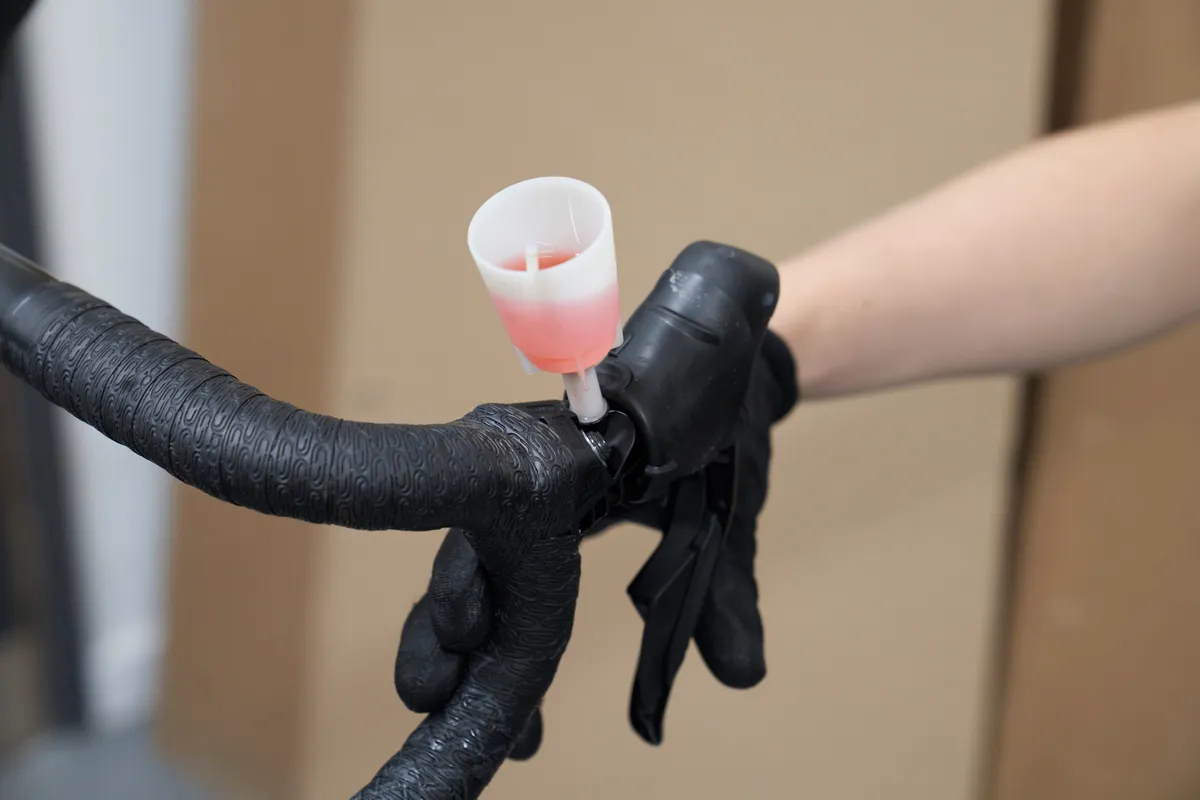
Pull on the lever until the actuation becomes firm. If it doesn’t, there is still air in the system. Repeat the above process if this is the case.
Step 11
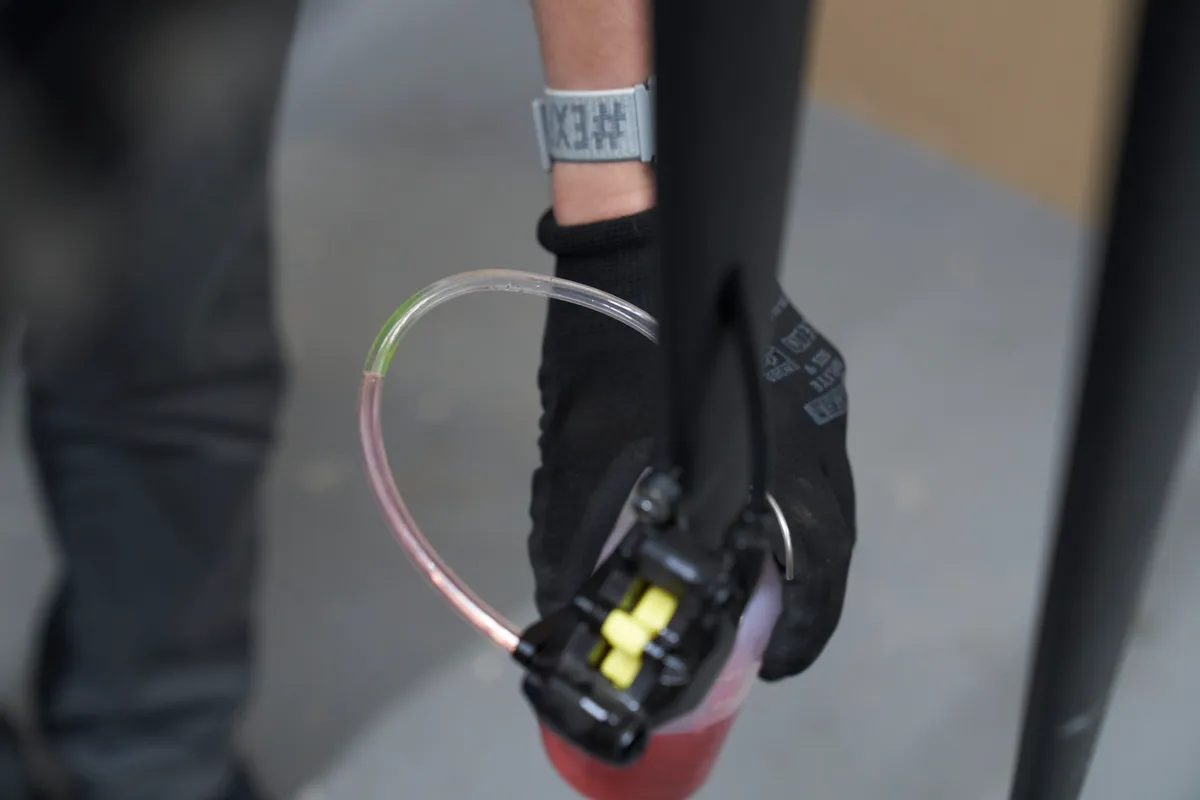
Place the lever so the funnel top is parallel with the ground.
Attach a bottle or an oil-collecting bag into the caliper bleed port screw and open the system.
Let oil flow naturally into the bottle or bag. You may need to tap on the shifter, hose and caliper to encourage any rogue air bubbles to move down. Make sure you do not press on the lever.
Add oil to the funnel as needed so air does not get pulled into the lever.
Close the caliper bleed screw when you no longer see air bubbles in the caliper and torque to between 4 and 6Nm.
Step 12
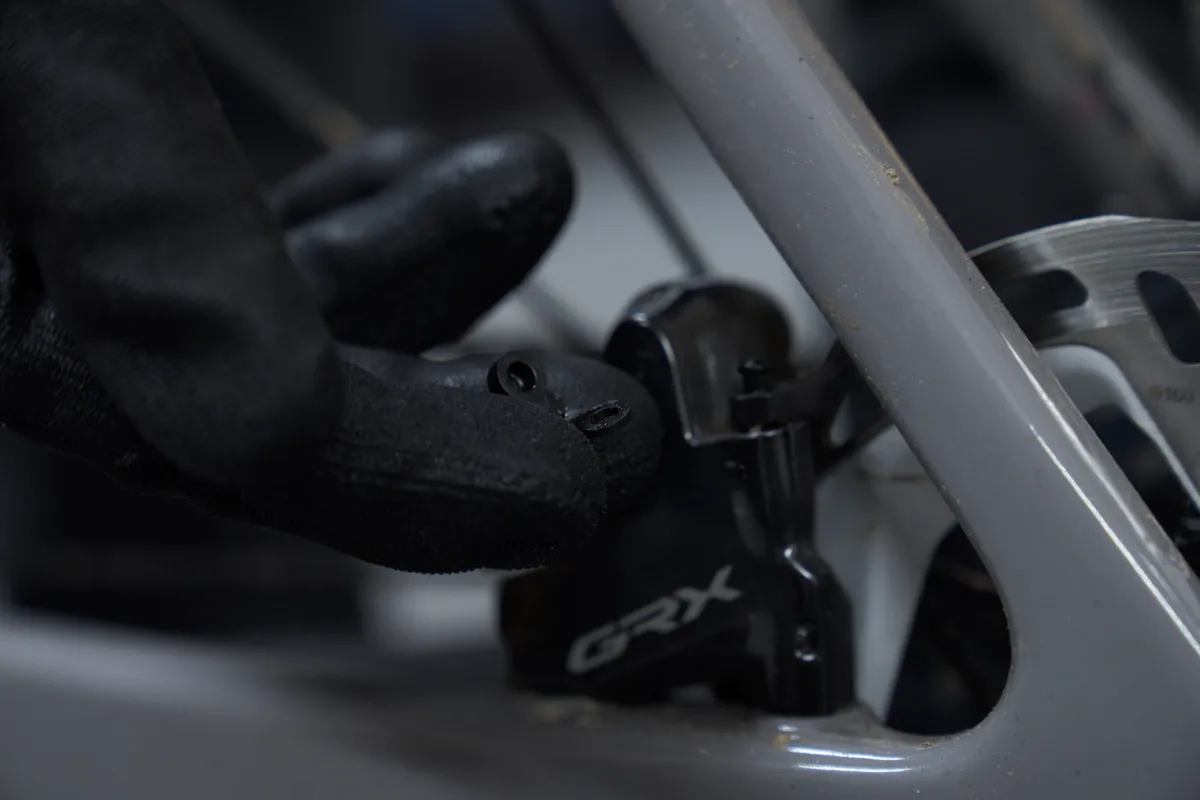
Remove the bottle or bag and clean the caliper with a rag and isopropyl alcohol. Reinstall the bleed boss and bleed screw cap, or the nipple cap if it’s an older caliper.
Step 13
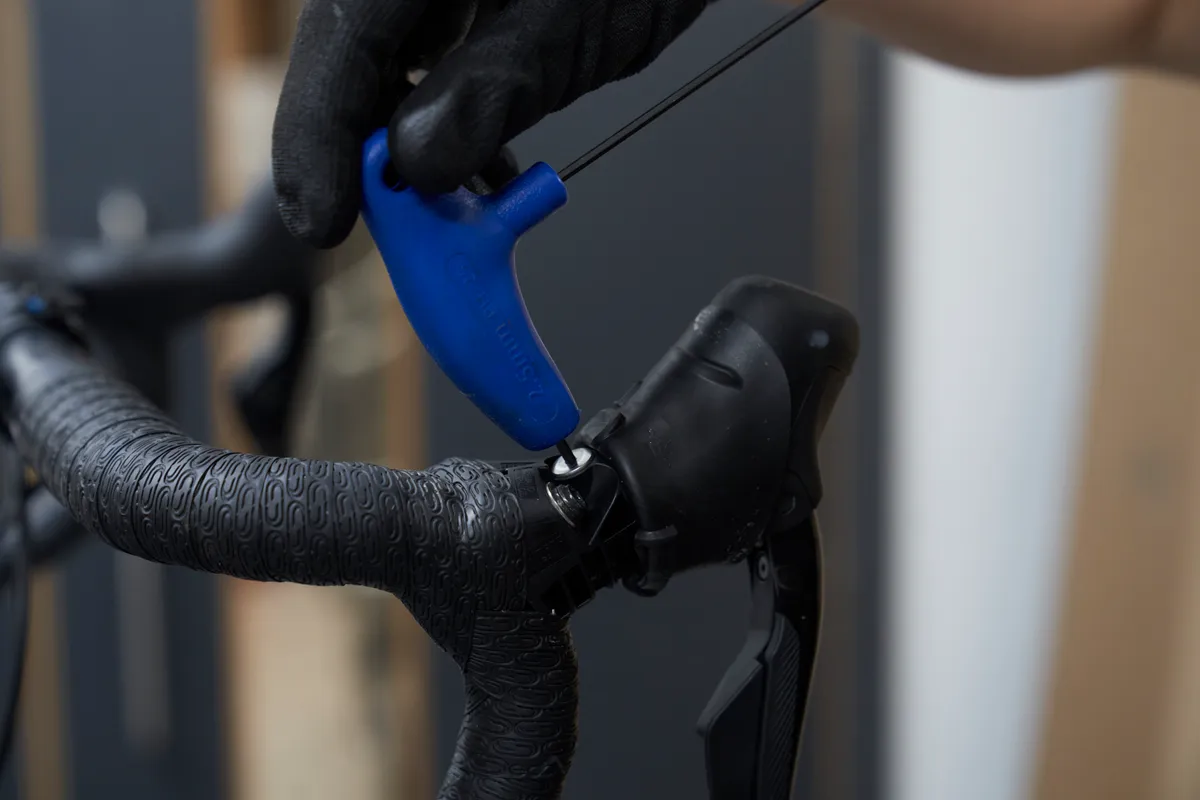
Insert the plunger in the funnel and remove it. Install the lever bleed screw. Be very careful because the bolt is easy to round. Shimano recommends a torque of 0.5 to 0.7Nm.
Clean the shifter with isopropyl alcohol and reinstall the hoods.
Step 14
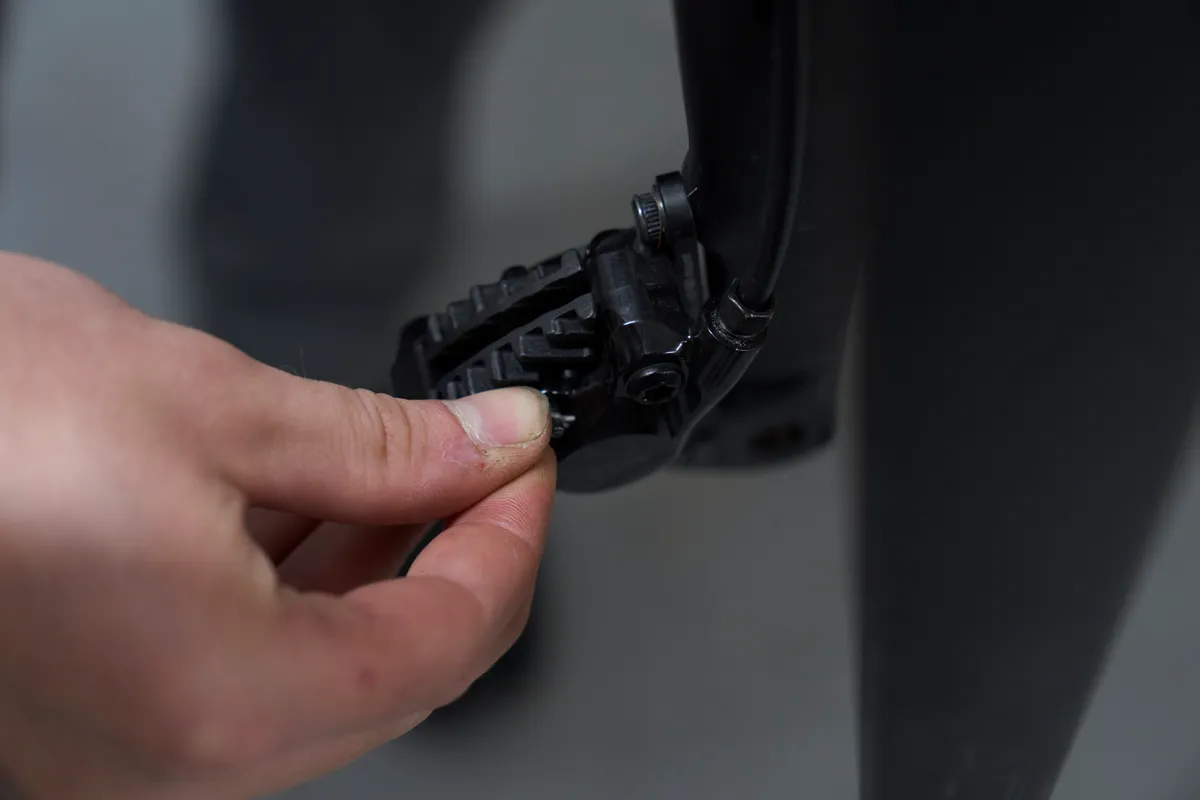
Install the brake pads and rear wheel and check your work. You may need to realign your brakes.
It’s worth test-riding the bike in a safe environment before heading out on a ride.
Finally, make sure you clean the brake bleeding kit thoroughly before putting it away. Remove the hose from the syringe and any adaptors, and clean with isopropyl alcohol.
How to burp-bleed Shimano disc brakes
If you’ve recently bled your brakes and they feel a little spongy, or if you’ve shortened the hydraulic hose, you could try burp-bleeding the brakes. This is a shorter, less involved process.
Tools required
- Isopropyl alcohol
- Safety glasses and protective gloves
- Shimano mineral oil
- Hex keys
- Shimano bleed funnel
Step 1
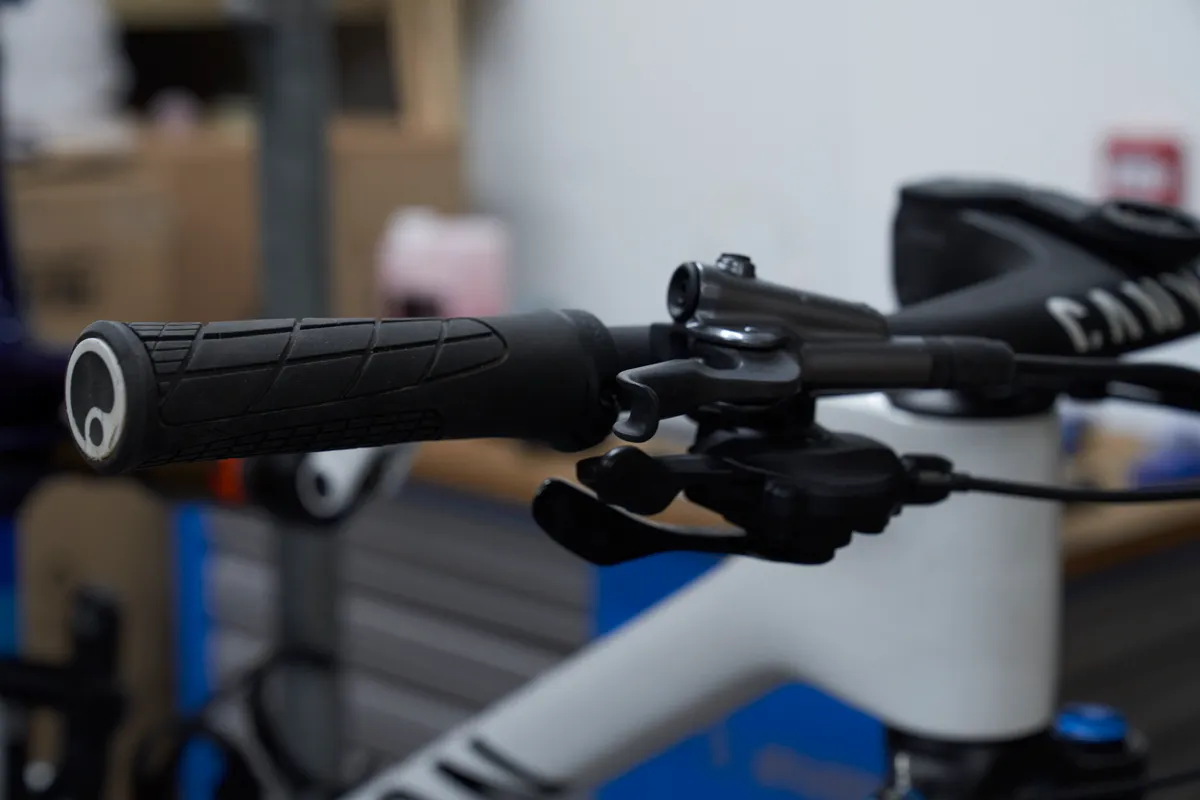
Make sure the bleed port is parallel to the ground and the highest point in the braking system.
You can leave the wheel and disc brake pads in for this job, but it’s wise to cover them with a rag and be careful to avoid spilling any fluid.
Step 2
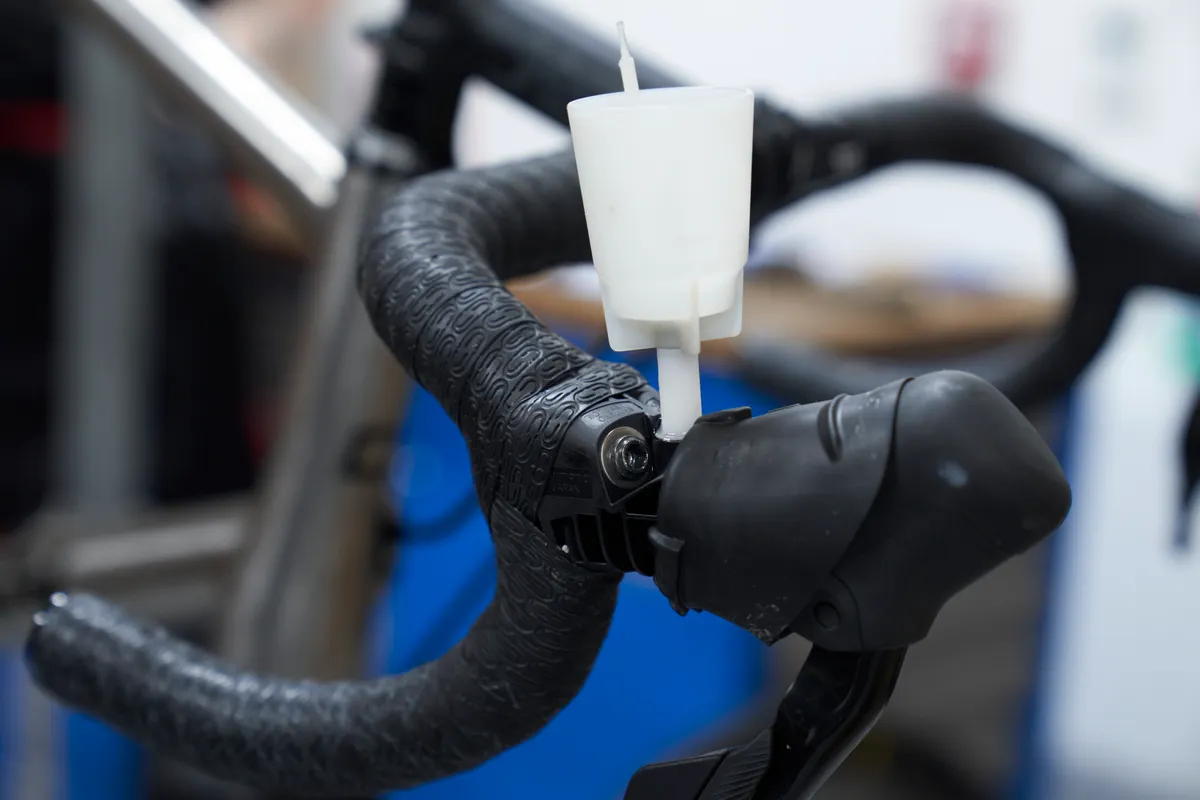
Undo the lever bleed screw and attach the bleed funnel with the plunger installed.
Step 3
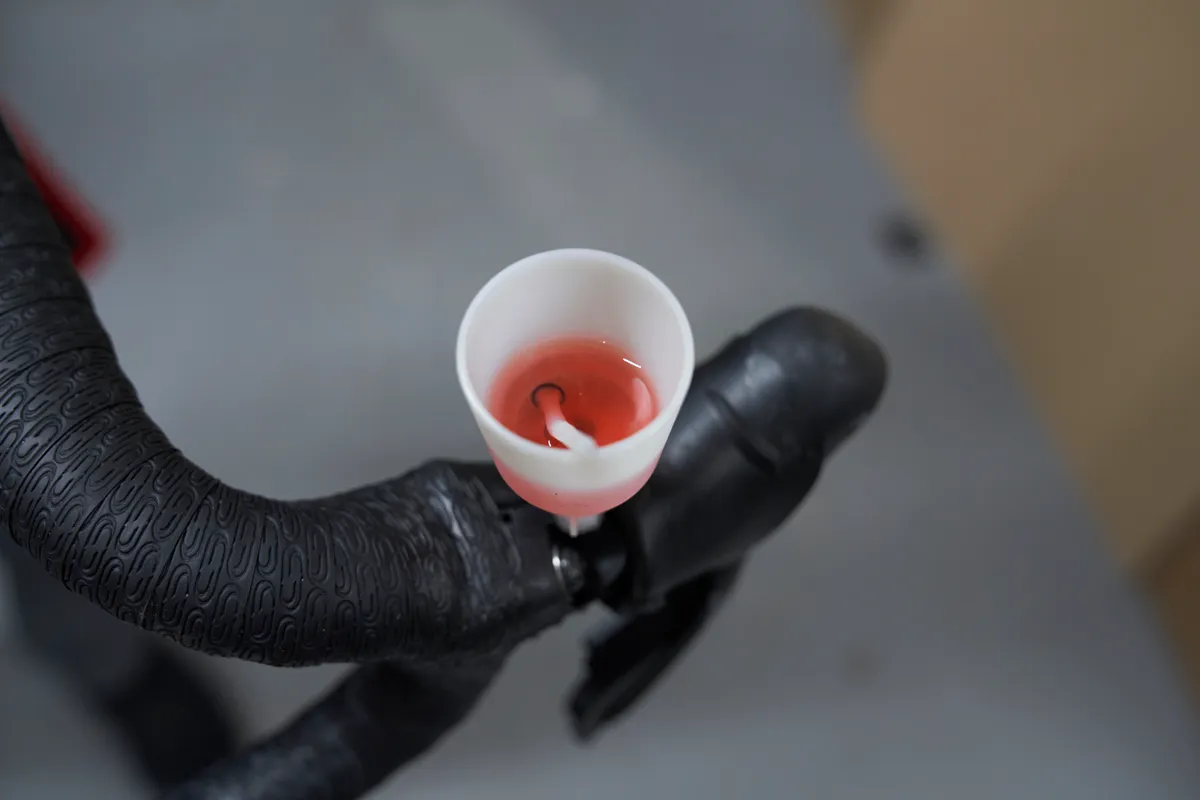
Pour a small amount of Shimano mineral oil into the bleed funnel, so it’s around a quarter full. Remove the plunger.
Step 4
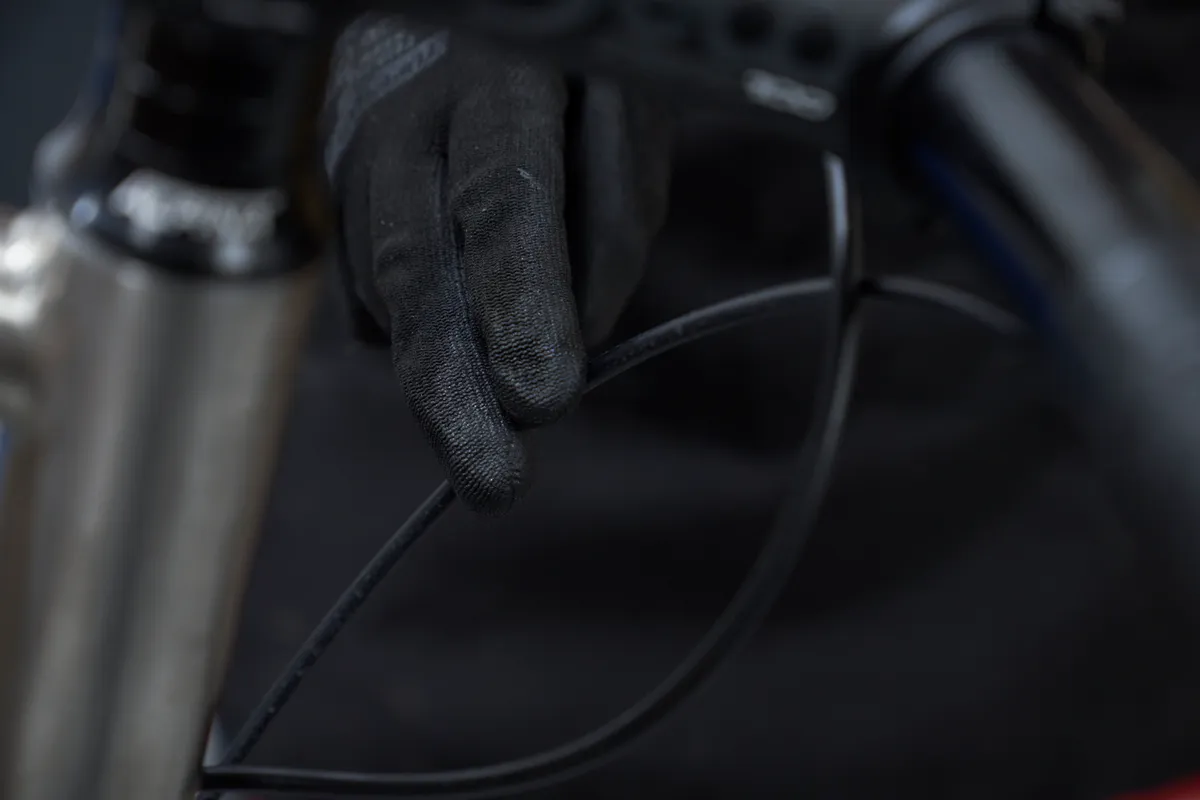
Pull on the brake lever repeatedly, keeping an eye on the funnel for any bubbles. If there are bubbles, this is a good thing.
Tap on the caliper, hose and lever to force any rogue air bubbles up the system. You can also rotate the bike on the workstand or the handlebars to encourage any rogue air bubbles up.
Because we’ve left the brake pads and wheel installed, you’ll know if this process does the job because you should be able to feel an improvement in the lever.
Step 5
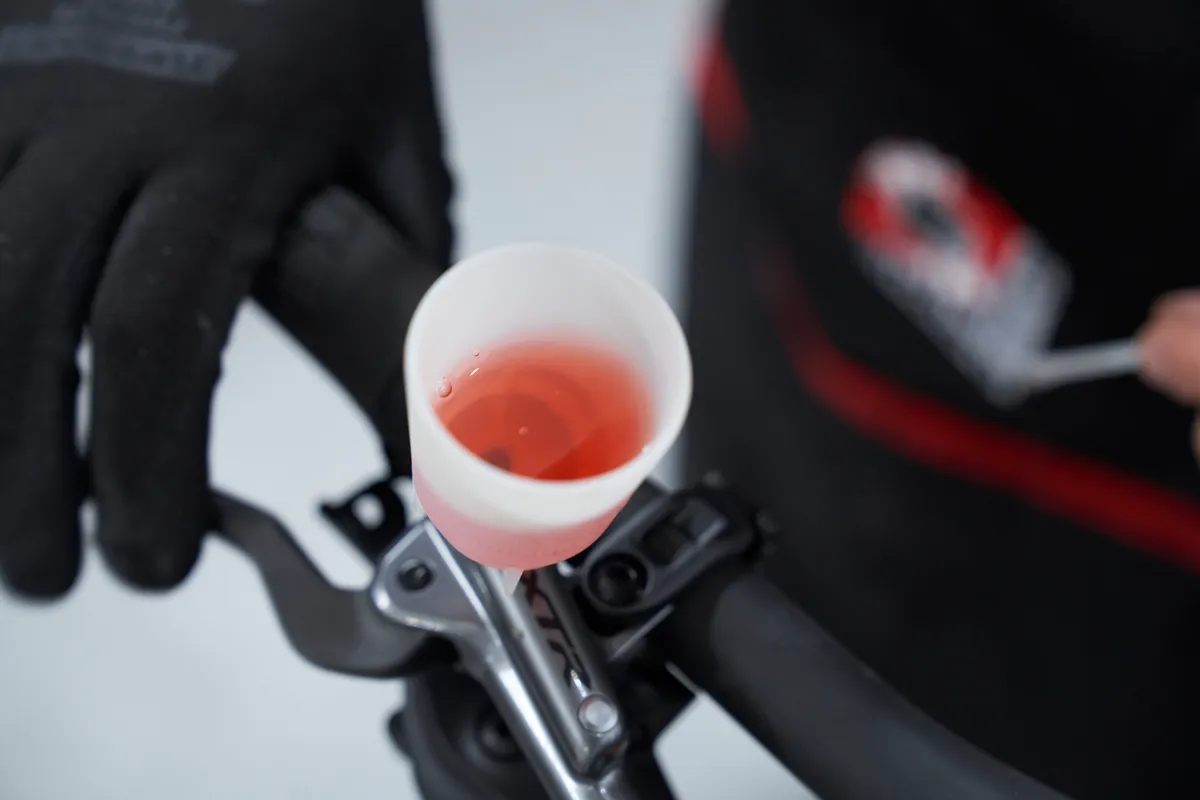
Once there are no more bubbles, install the plunger in the bleed funnel.
Step 6
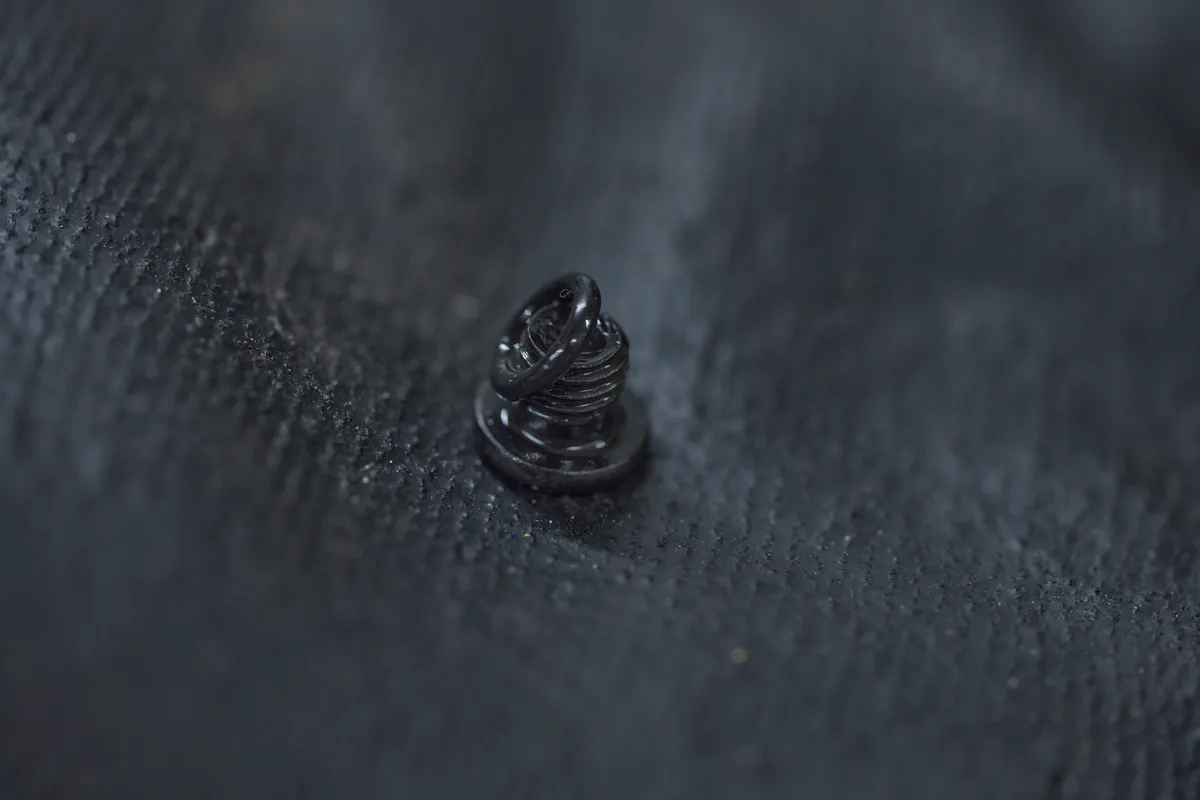
Remove the plunger and replace the bleed screw. If the brake still feels spongy, you’ll need to do a full bleed.
Make sure you clean the bleeding kit thoroughly before putting it away.
