Knowing how to remove and install a bike wheel is a crucial skill to learn.
Removing and refitting a bike wheel is necessary if you want to fit your bike in a car boot or if you need to fix a puncture.
In this guide, we’ll take you through the steps for quick-release and thru-axle wheels on both rim brake and disc brake systems.
How to remove and install a bike wheel
How to remove a quick-release rim brake wheel
Step 1
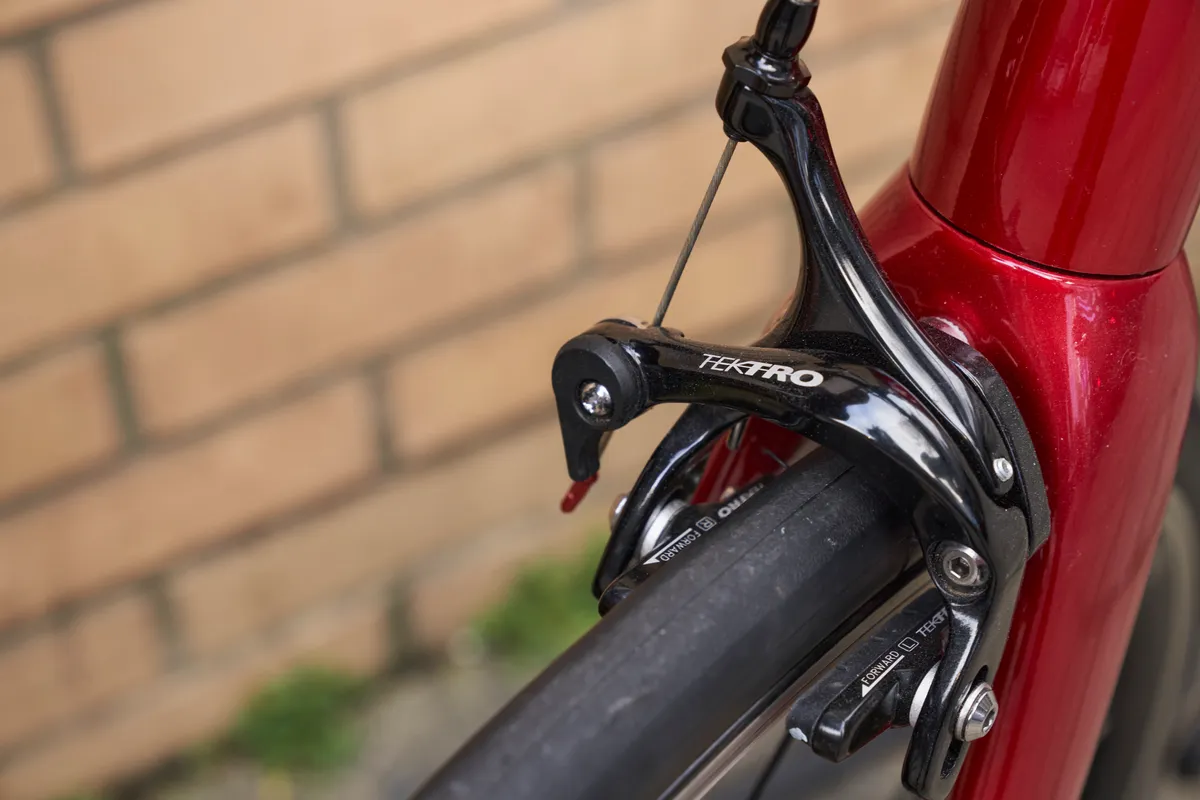
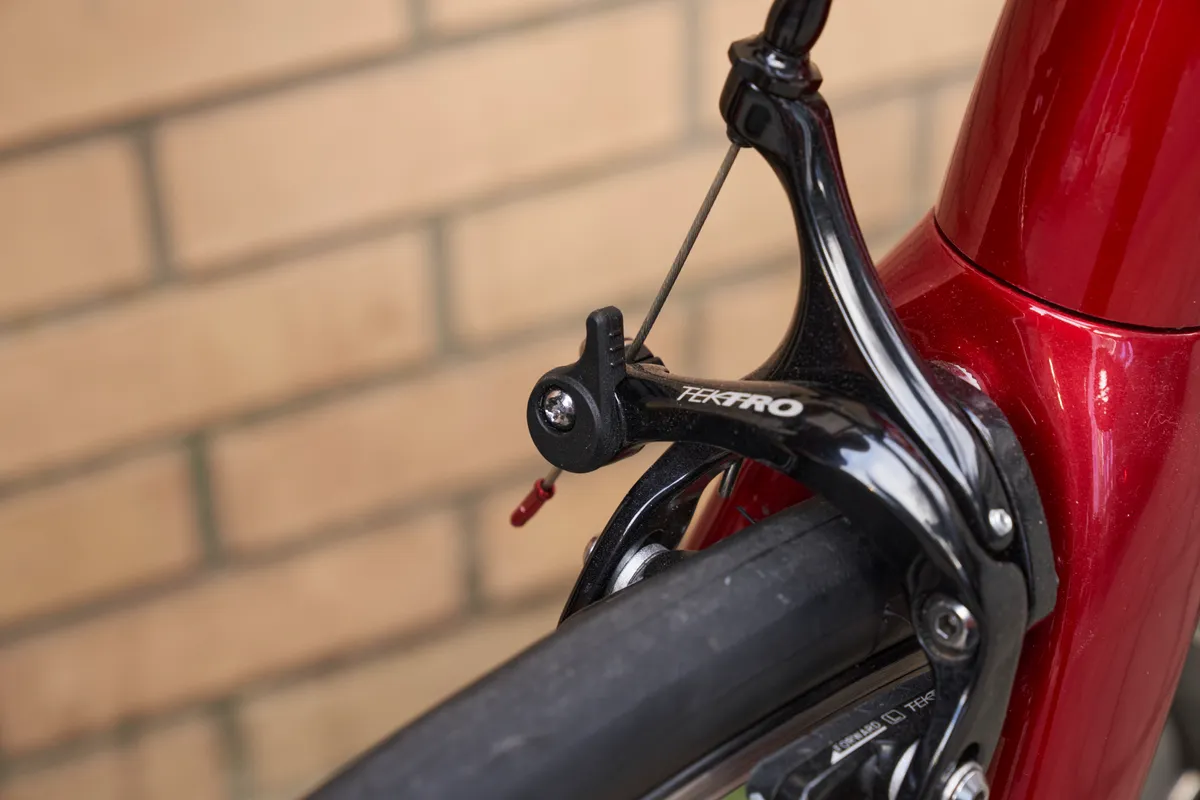
Many rim brakes feature a quick-release. Toggling increases the space between the brake pads, enabling the tyre to slip past more easily.
Campagnolo (and some other) rim brakes differ, with the quick-release function built into the shifter. Toggling this small button opens up the caliper.
If your bike uses V-brakes or traditional cantilever brakes, actuate the brake and disengage the noodle or straddle cable.
Step 2
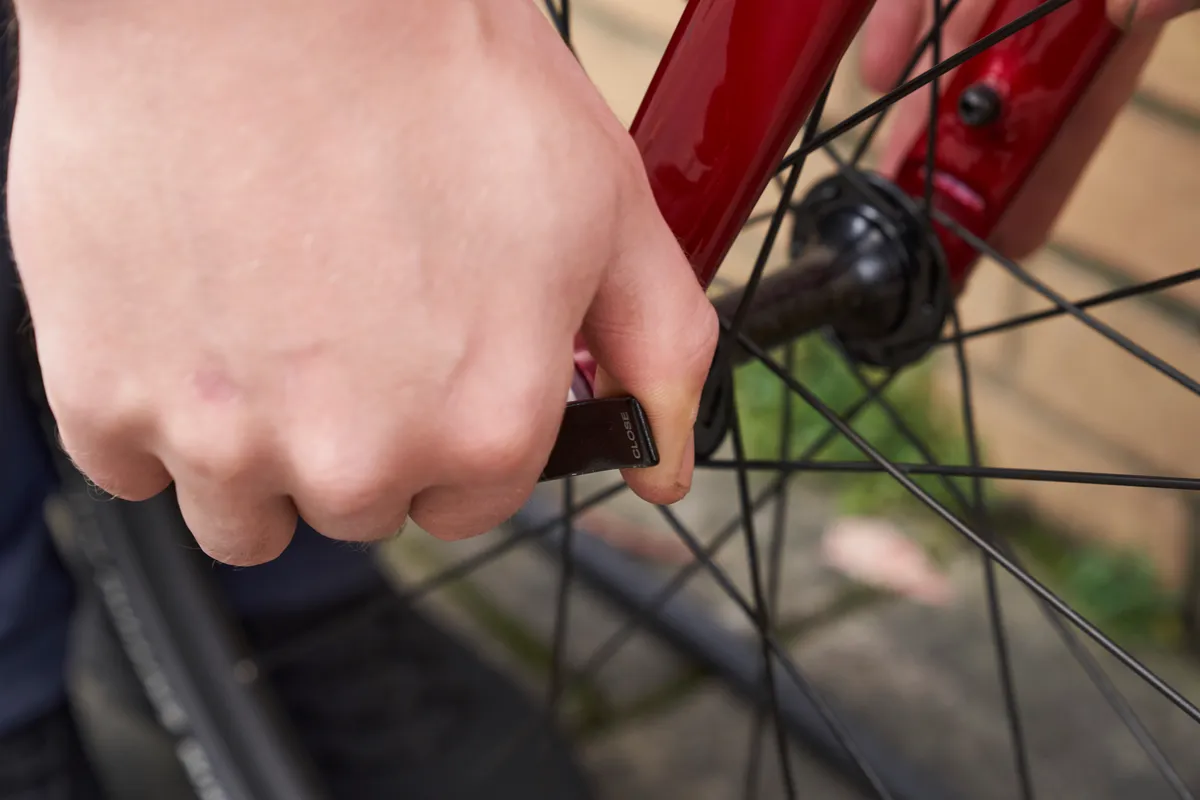
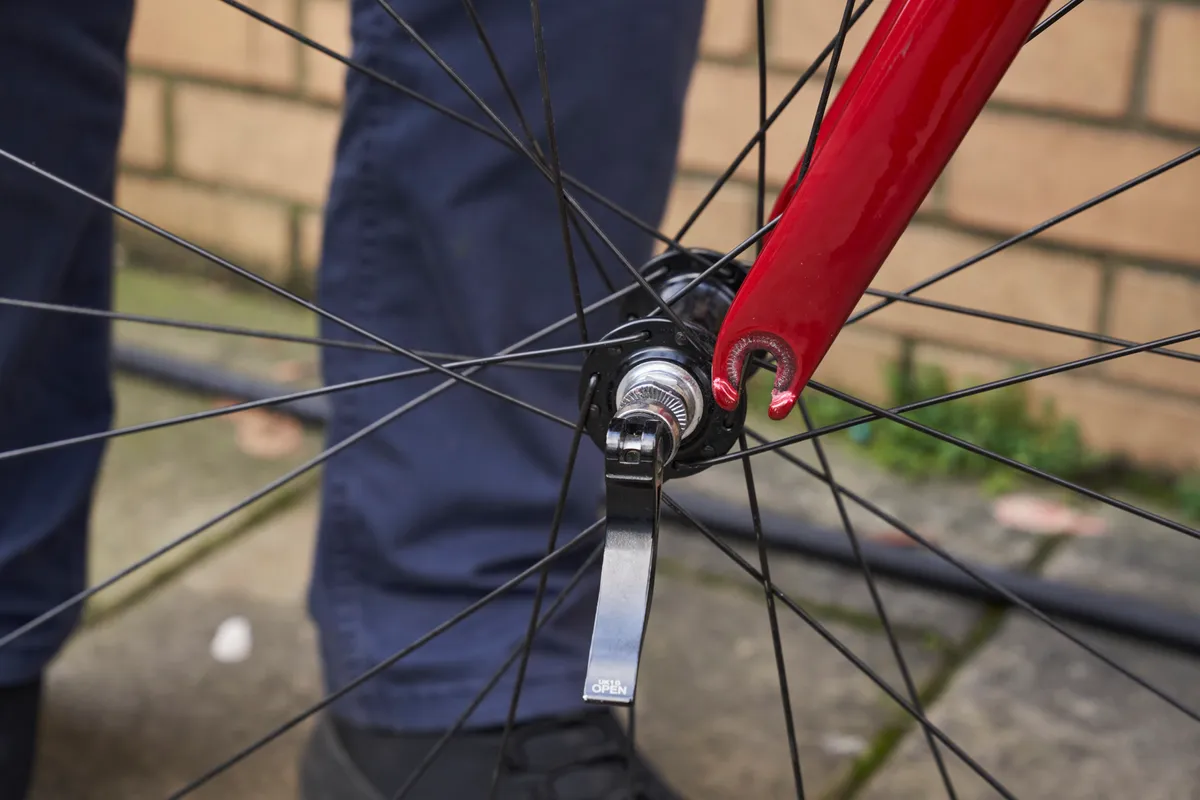
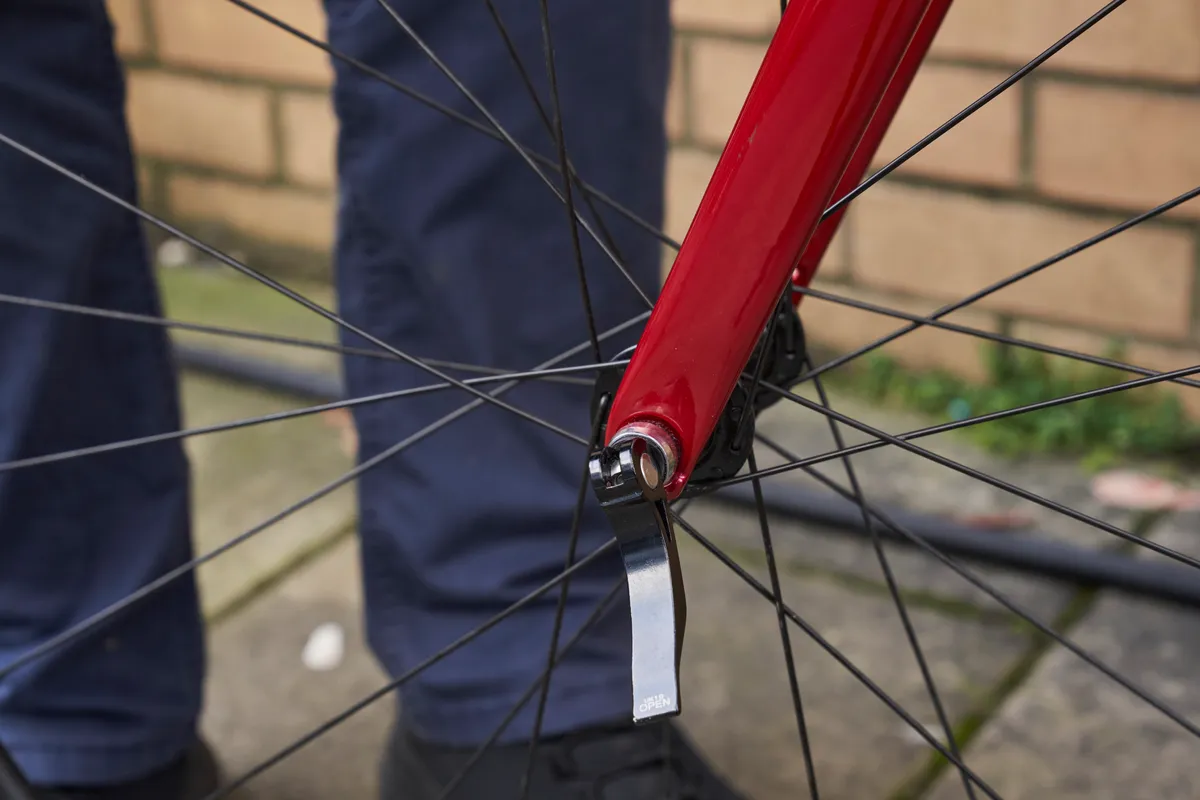
Undo the quick-release skewer by opening it out towards you.
After opening, you’ll most likely need to back off the nut on the other side of the skewer to remove the wheel.
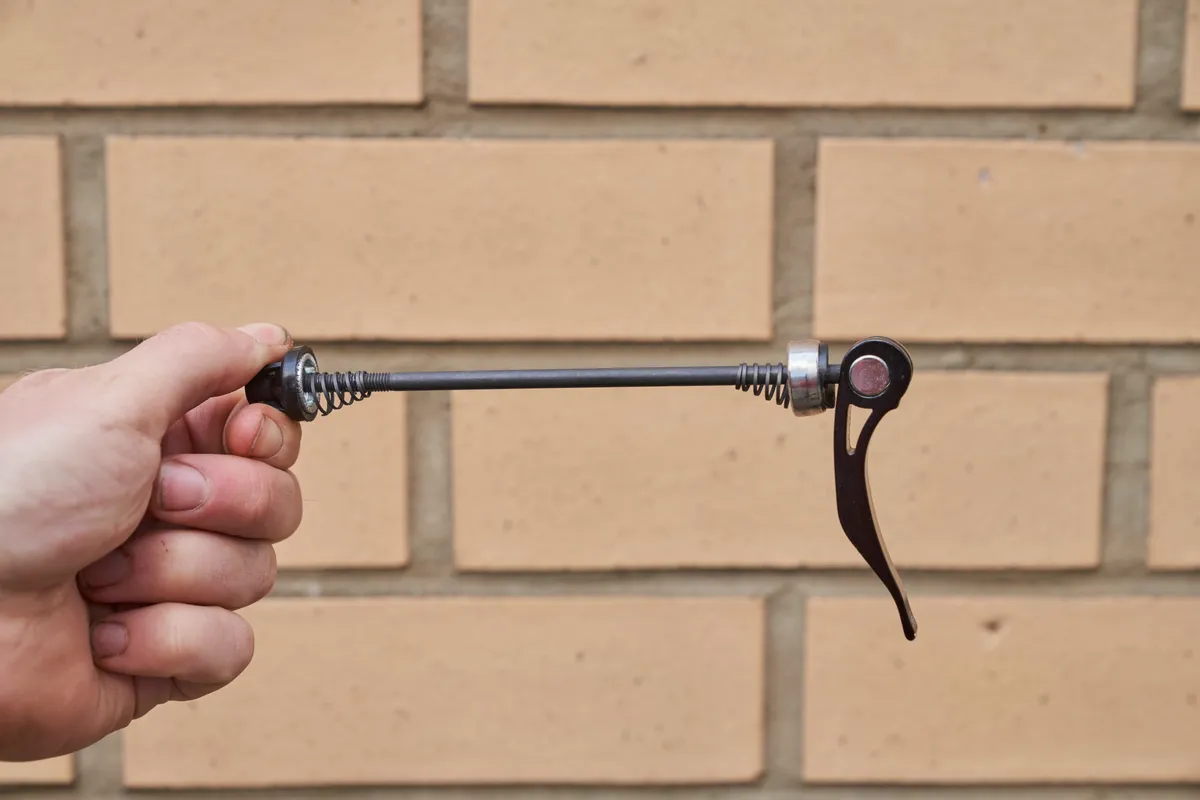
You don't need to undo the quick-release all the way – otherwise you’ll have a pile of pieces to pick up off the floor.
Step 3
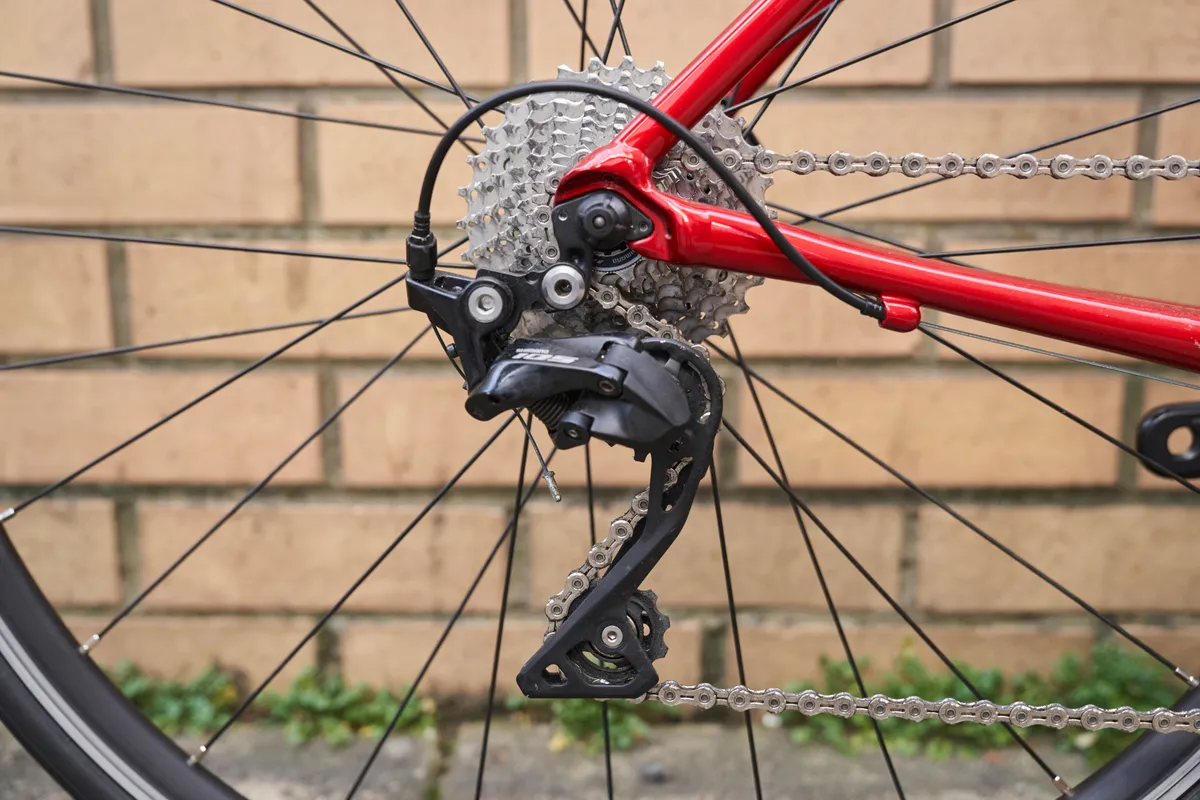
If you’re removing a rear wheel, you'll also need to unhook the chain from the cassette.
Shift the chain into the smallest gear. This will not only ease removal because the chain will be slacker, but you’ll know what gear you’ll need to slot the chain back onto when reinstalling.
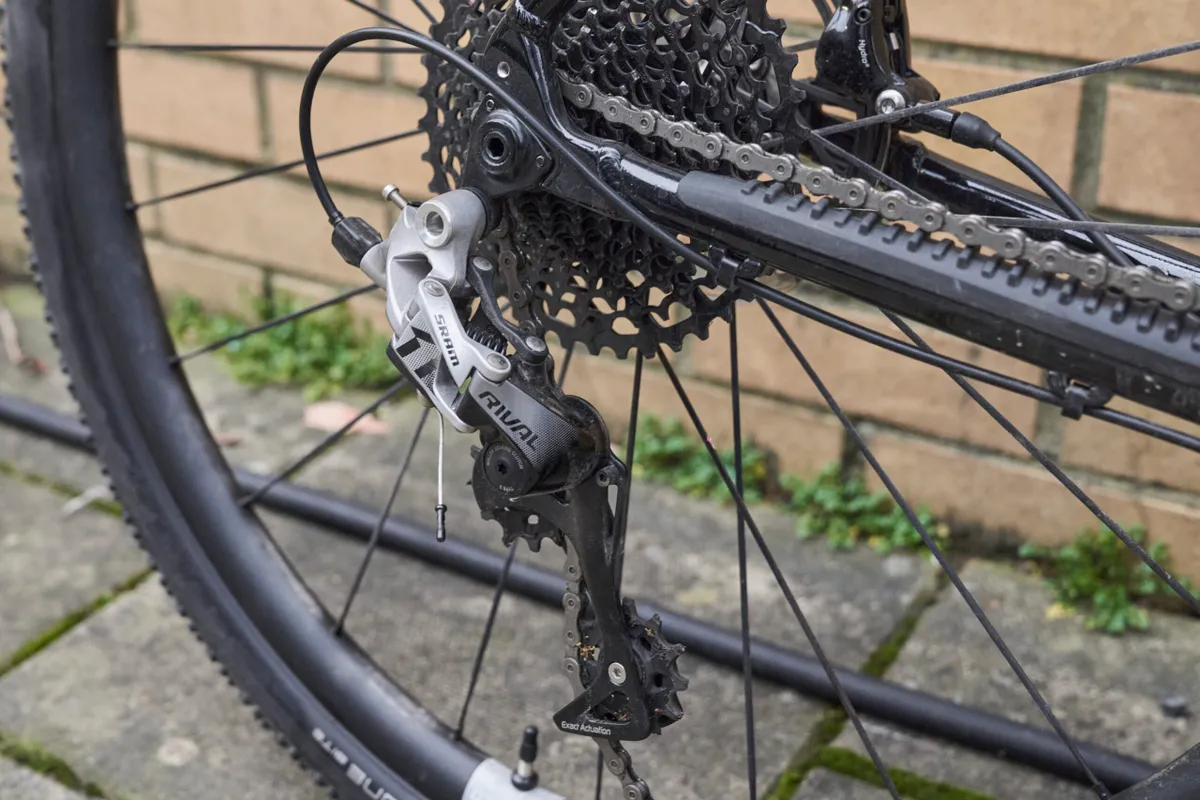
If you have a clutch-equipped rear derailleur, make sure you turn the clutch off before attempting to remove the wheel.
Undo the quick-release and loosen it a couple of turns, gently pivot the rear derailleur backwards and unhook the chain. Lift the rear end of the bike up and remove the wheel.
Place the bike carefully when you’ve removed your rear wheel. If you rest it on your rear derailleur, you risk bending the derailleur or the derailleur hanger.
How to install a quick-release rim brake wheel
Step 1
To reinstall the wheel, slot it into the dropouts.
It’s always best to perform this procedure with the bike on the ground. Gravity will help guide the wheel into place, ensuring it sits straight in the dropouts.
Step 2
Wind in the quick-release. You don’t need to tighten it fully. If you do, you will struggle to close the quick-release lever.
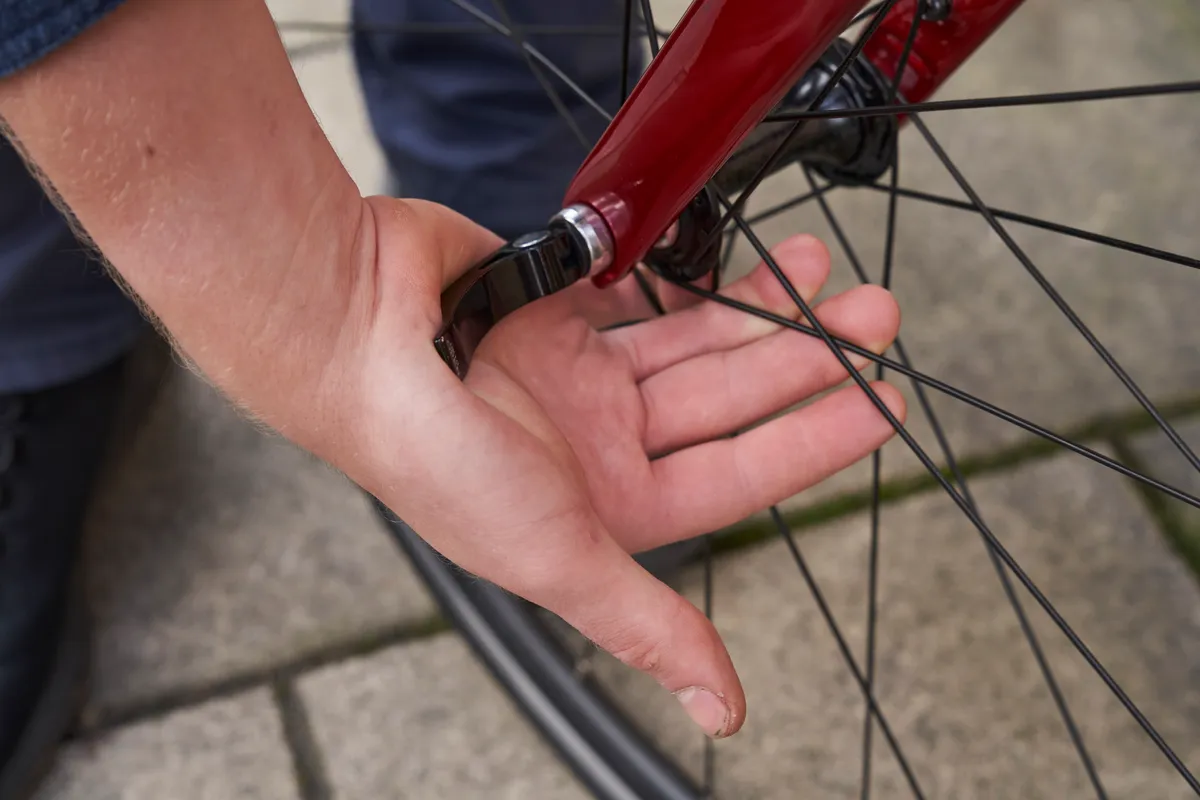
The quick-release lever should be tight enough that the wheel is held firmly, but not so tight that you struggle to close it. As a rough guide, the lever should leave a light imprint in your palm when you close it.
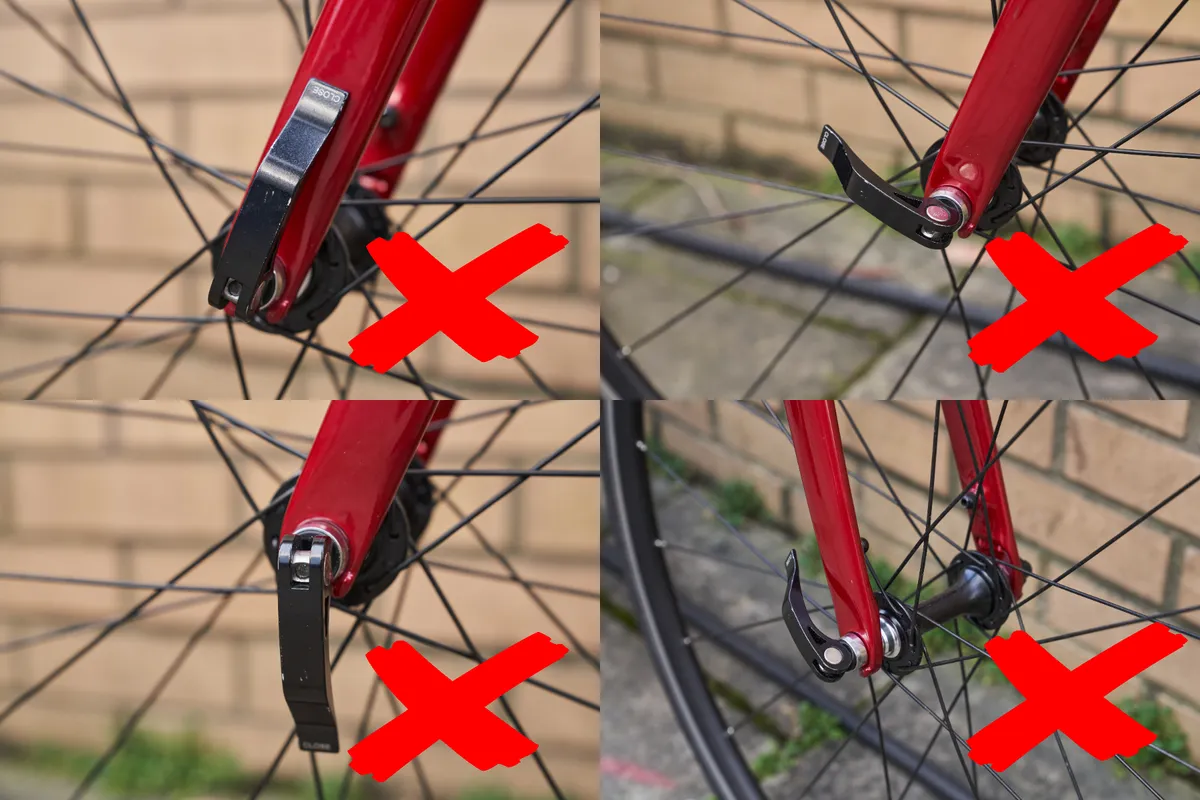
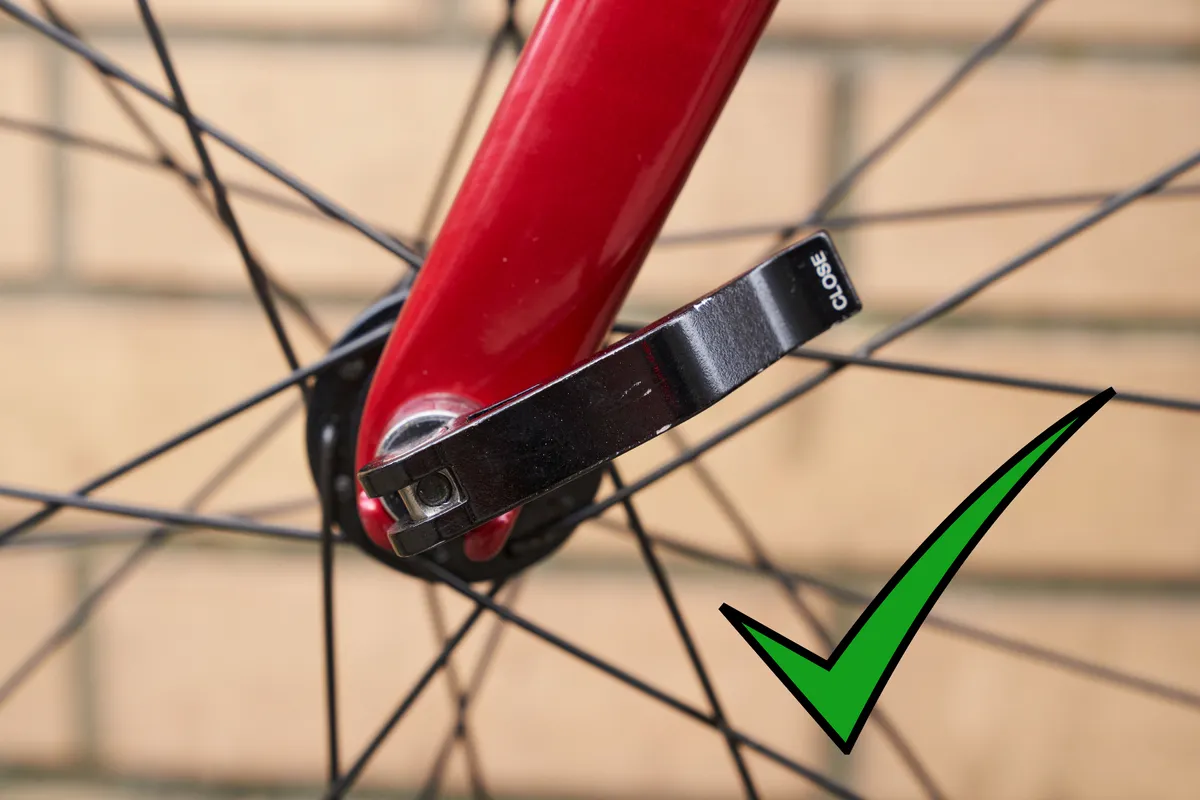
On a front wheel, the quick-release should ideally sit just past the fork blade or as a second option, just in front of the fork blade.
Never position the skewer so it is facing downwards or pointing forward. Doing so runs the risk of opening the quick-release if it catches on something. If it's sat in line with the fork blade, you'll struggle to open it.
On a rear wheel, the skewer handle should bisect the non-driveside seatstays and chainstays. However, this isn’t always possible with some quick-release designs, such as Shimano, so positioning it just underneath the chainstay is the next best option.
As with the front quick-release, don’t position the lever facing outwards or downwards.
On both the front and rear, the quick-release skewer handle should always be on the bike’s non-driveside.
Step 3
With the wheel now installed, close the quick-release on the caliper back up.
Spin the wheel to make sure the rim doesn’t rub on either of the brake pads. If it does, either the wheel is not straight or the brake caliper is slightly wonky.
If it's the latter, you can simply grab the caliper on many models and reposition it so the rim sits between the pads.
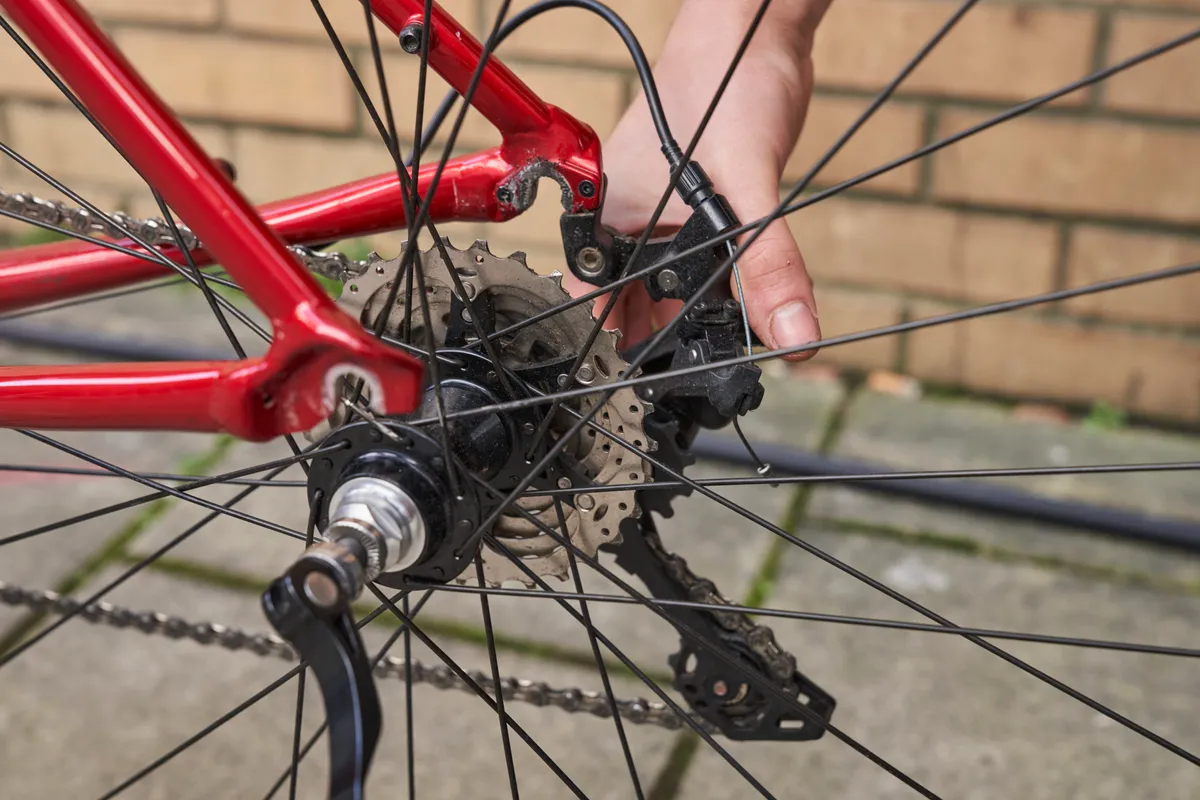
How to remove a quick-release disc brake wheel
There are some slight differences if you're removing a disc brake wheel.
Step 1
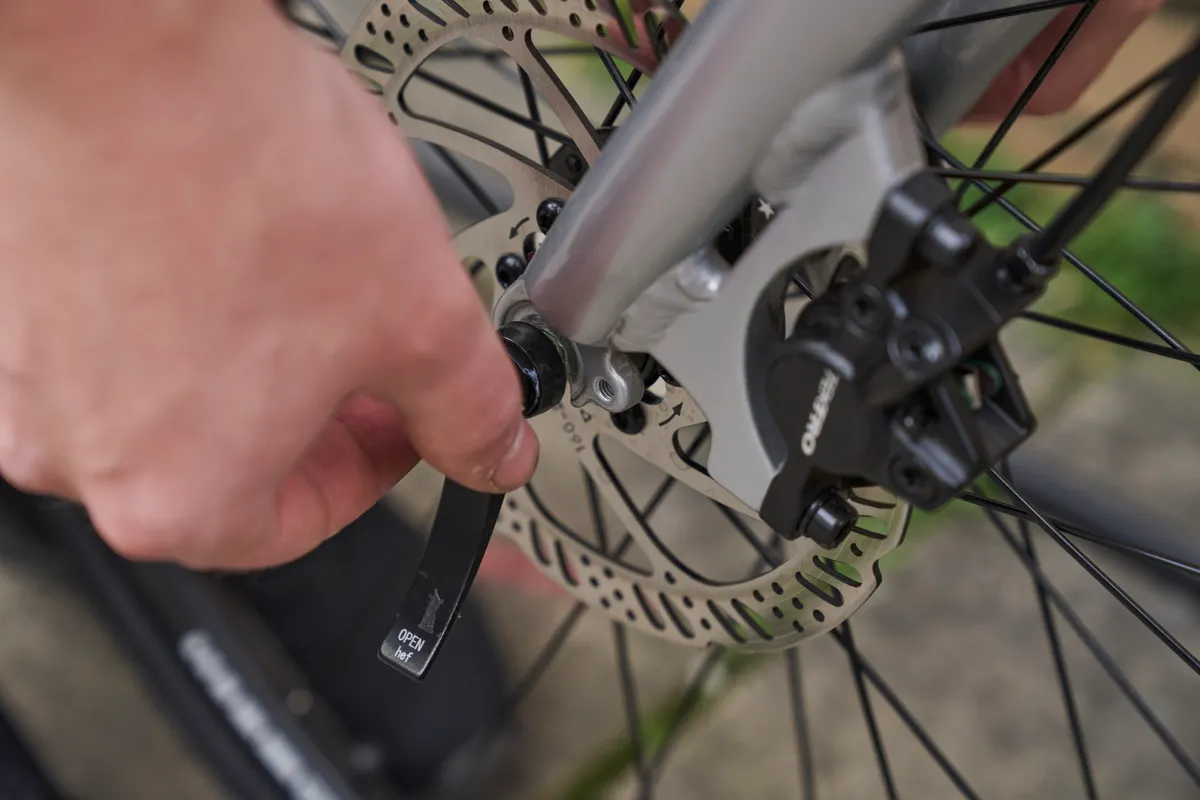
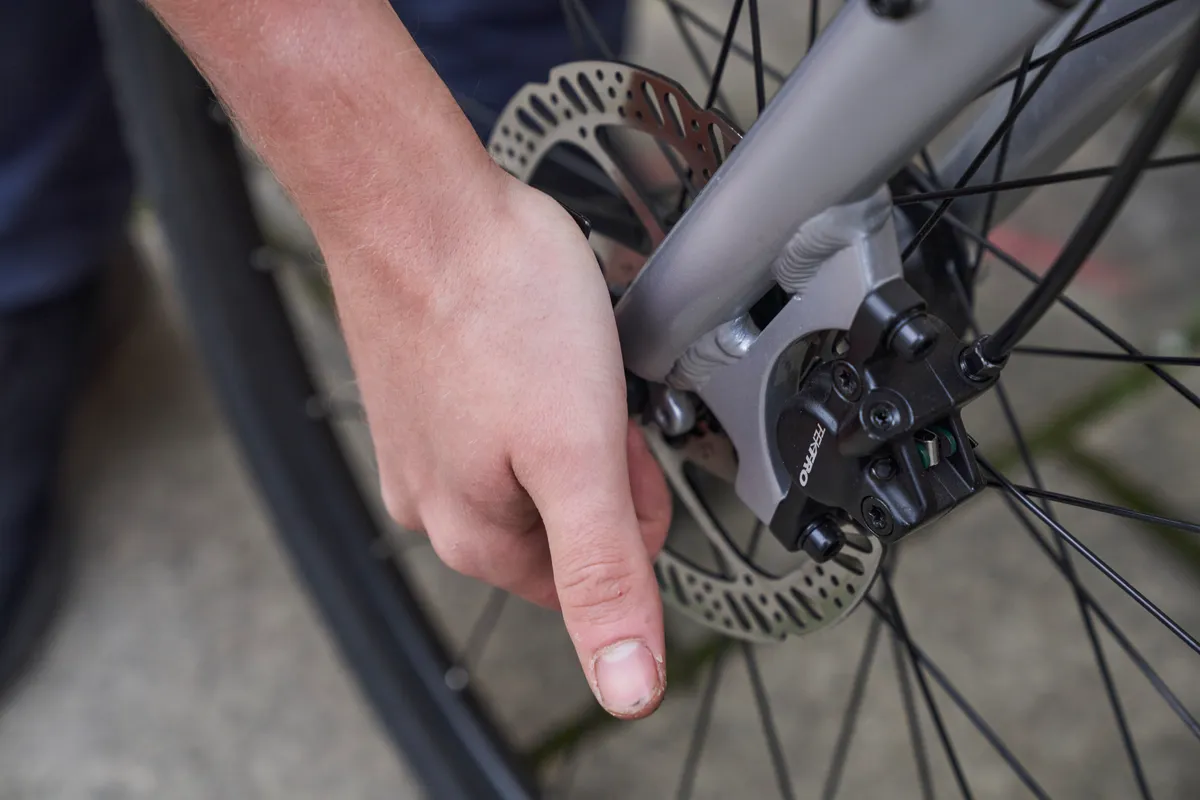
Open the quick-release lever and undo it a couple of turns until you can remove the wheel from the dropouts.
Step 2
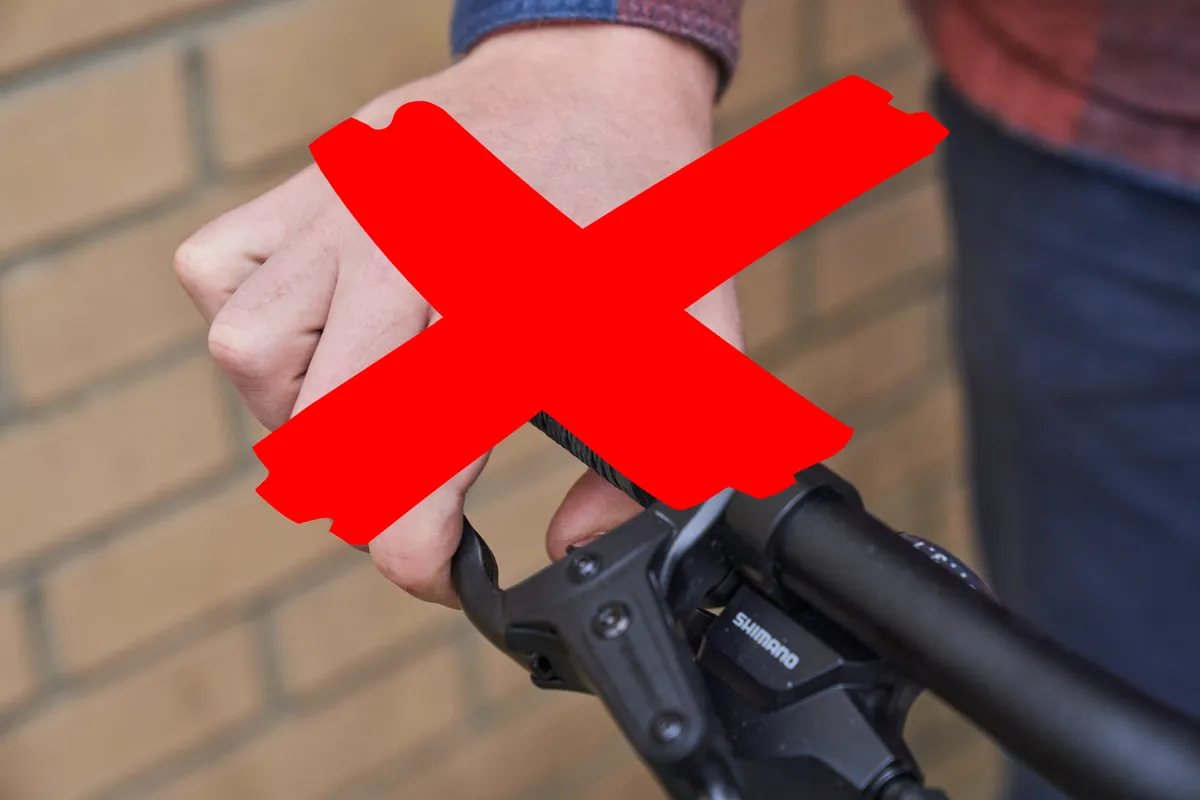
Don't squeeze the brake lever when the wheel is removed. This will cause the pistons to advance. Not only will this make re-installing your wheel more difficult, but the pistons could even drop out of the caliper.
If you accidentally squeeze the lever, you’ll need to push the pistons back. This procedure is covered in our how to change disc brake pads guide.
How to install a quick-release disc brake wheel
Step 1
Position the wheel in the dropouts and gently reinstall with the rotor slotted into the caliper.
Again, this is best done with the bike on the ground.
With the wheel installed correctly, tighten the quick-release skewer. Again, it should be of a suitable tightness so the handle leaves a slight imprint on your palm.
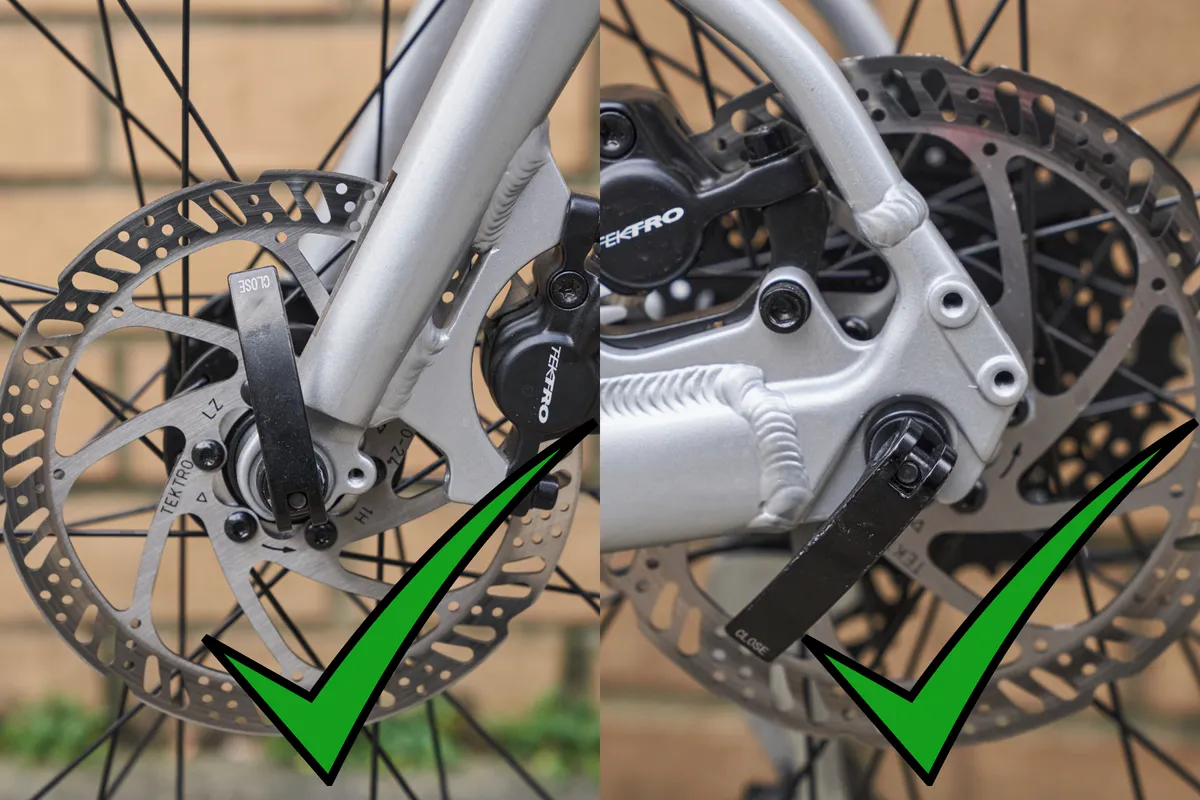
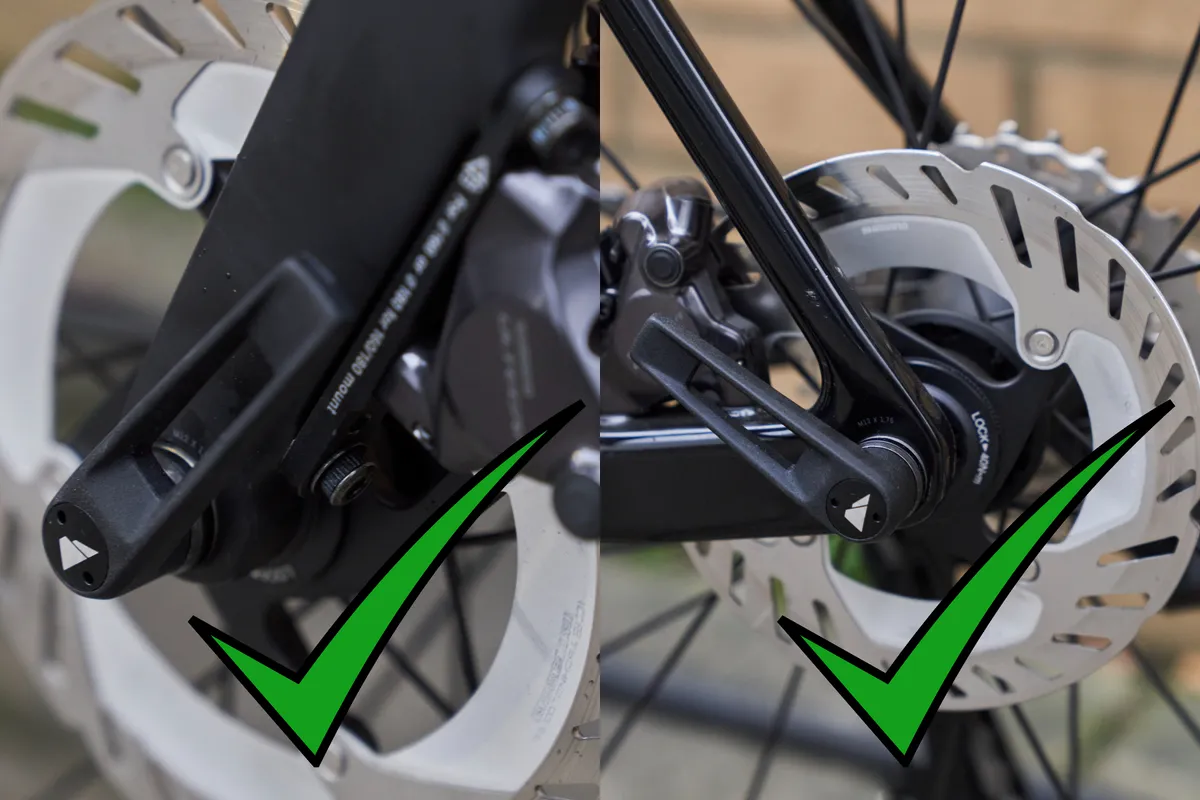
On the front wheel, the skewer handle should be positioned vertically just before the fork blade rather than behind it – this is because the caliper is in the way.
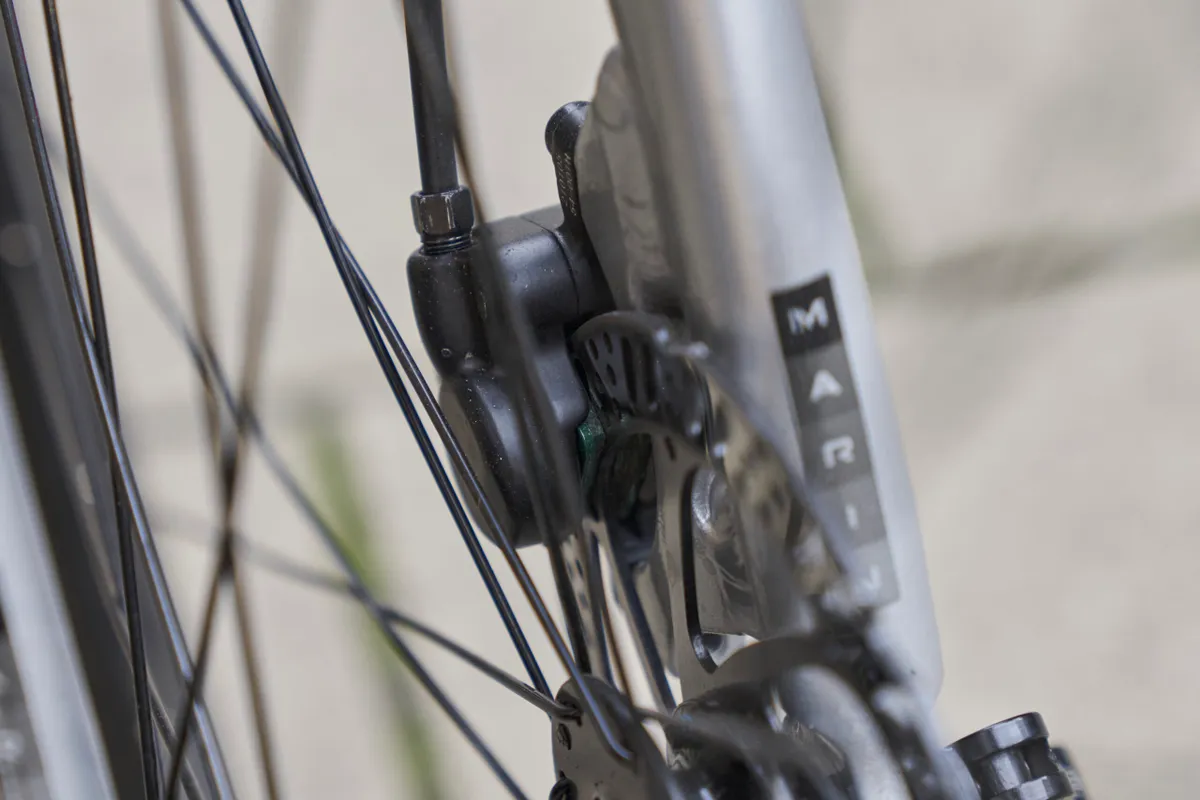
On the rear wheel, position the quick-release so the handle sits just below the non-driveside chainstay, rather than bisecting the seatstay and chainstay where the caliper is situated.
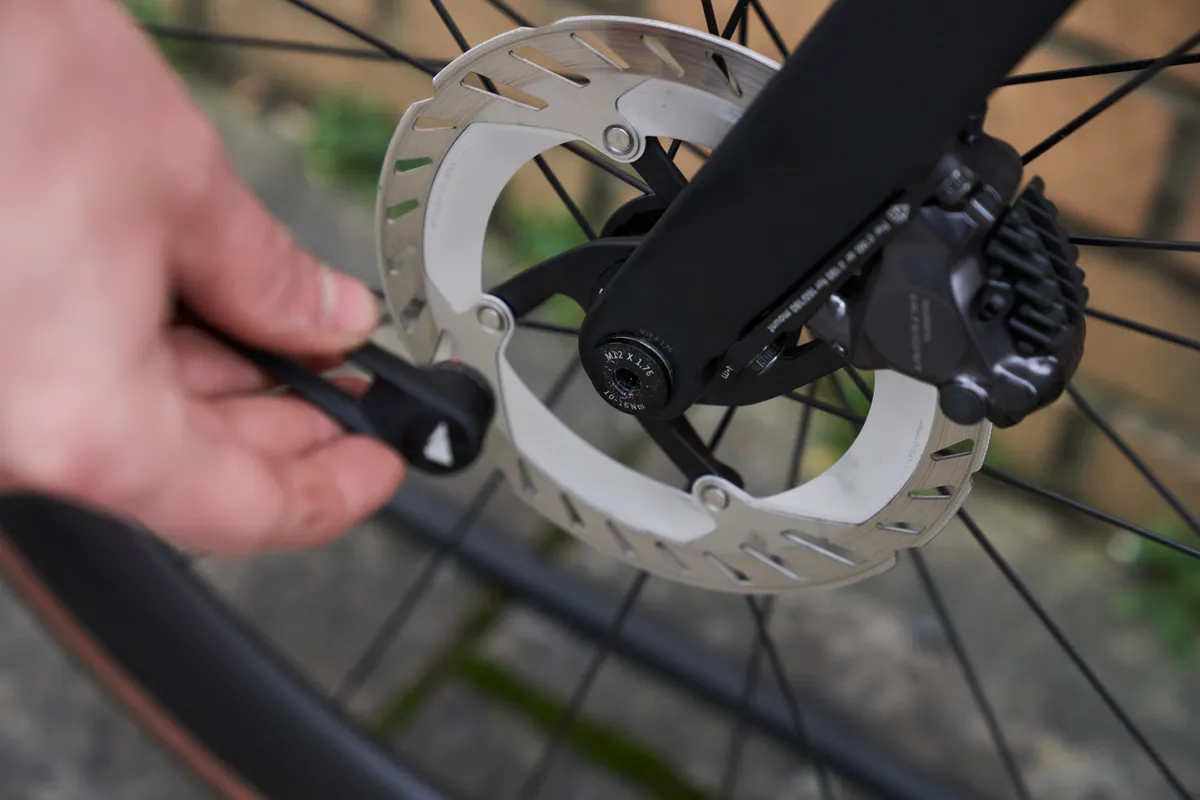
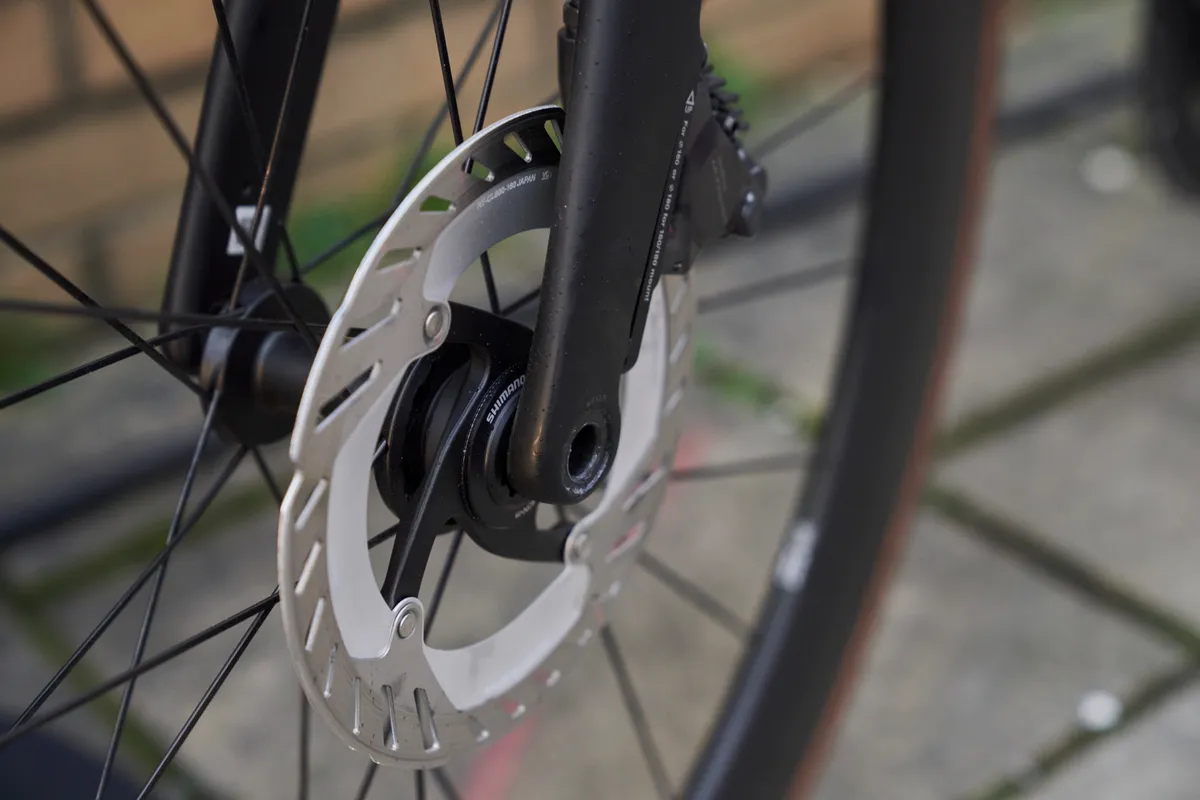
Removing a disc brake thru-axle wheel
Many disc brake bikes now use thru-axles over quick-releases. Removing a wheel with a thru-axle is slightly different from a quick-release wheel.
Step 1
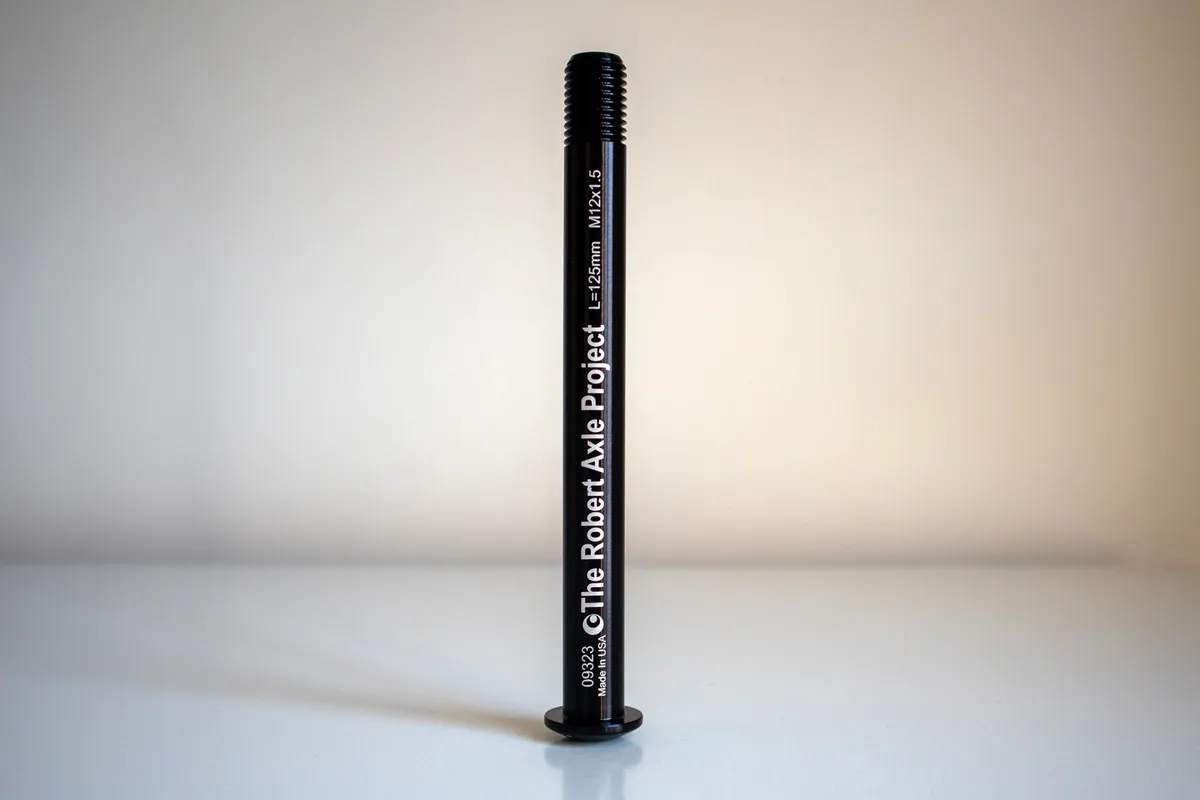
Unthread and remove the thru-axle.
There are different types of thru-axle designs. Some feature a lever, which you loosen anti-clockwise, whereas others have a lever that slots into a notch on the axle, such as the RockShox Maxle.
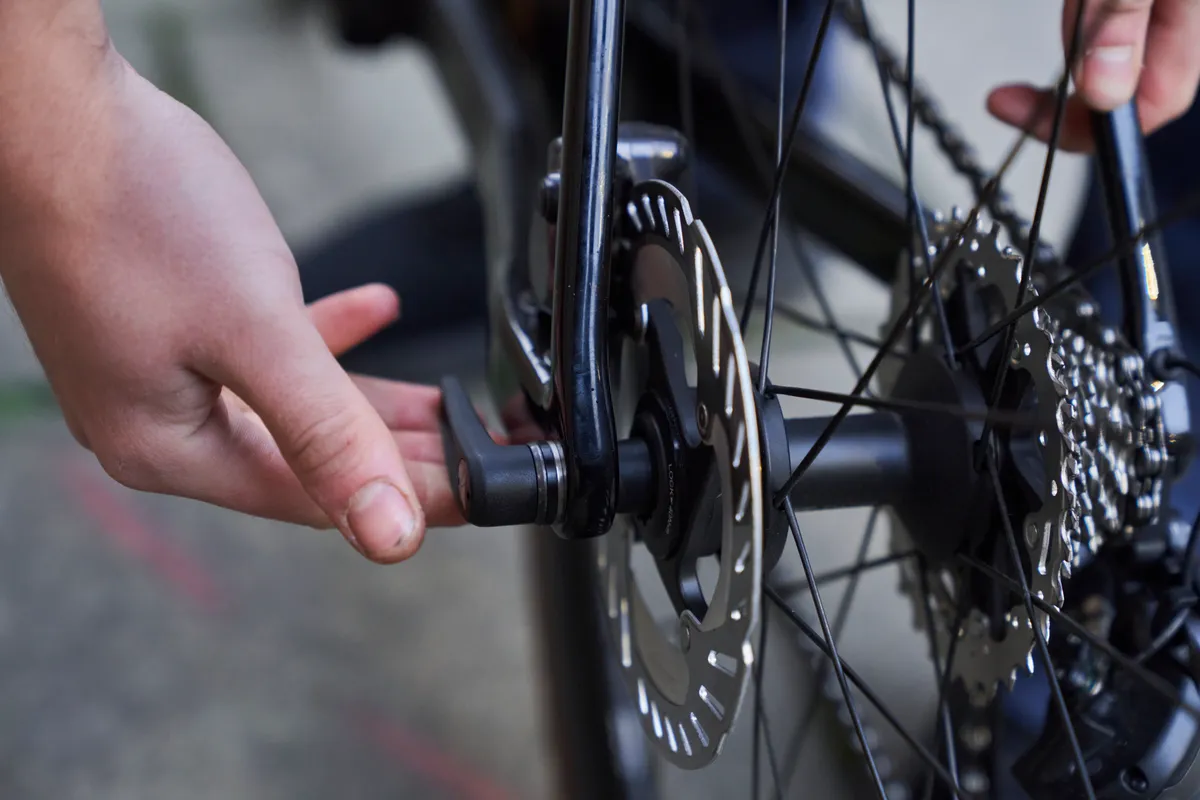
Other designs omit levers entirely and you remove the thru-axle using an Allen key.
Finally, some thru-axles have a removable lever, which can be shared between the two axles on the bike.

Once the axle is removed, the wheel will drop out. The same principles for removing a rear wheel are true of thru-axle wheels.
How to install a disc brake thru-axle wheel
Step 1
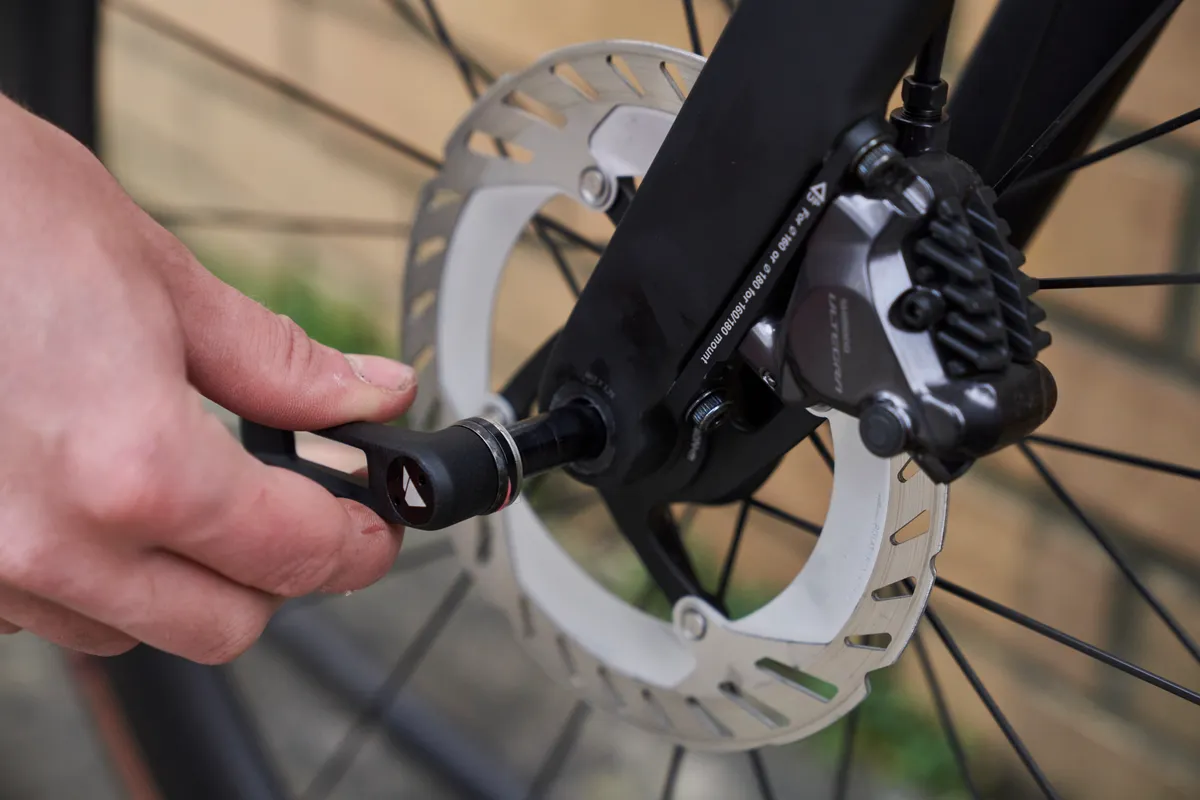
To reinstall the wheel, slot it in between the dropouts and feed the axle back in.
Tighten the axle – some frames specify a torque that you should adhere to.
If your thru-axle uses a lever, the same principles in regard to its positioning apply as a rim brake quick-release wheel.